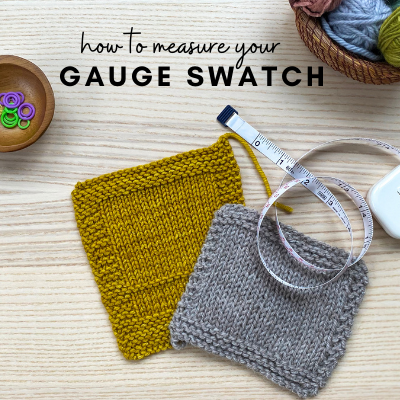
I recently did a whole tutorial about swatching as part of my Audrey’s Cardigan KAL. And it made me realize that although I talk a lot about swatching in general, I haven’t posted any kind of tutorial on my website about how to actually measure your swatch!
What’s gauge and what’s a swatch?
Gauge is simply the measurement of your stitches. And a swatch is a piece of fabric you create (usually at least 6″ x 6″) with your chosen yarn that’s created simply for the purpose of measuring your stitches to see what needle size you need to use in order to get the gauge listed in a pattern. In my gray sample you see below, I put just a tiny bit of garter stitch edging on each side to help the swatch lay flat – you just want to make sure you measure away from these edgings and only do a little bit of edging (if you choose to). You don’t have to do an edging either – it’s optional.
I went into lots and lots of details about swatching basics in my Audrey’s Cardigan KAL tutorial, so if you would like to read more, you can click here to read (just note that there are some references to that specific pattern, although the lessons are the same regardless of what you are knitting). In this particular blog post I’ll be focusing more about how to measure your swatch, so read on to learn more!
If you’re wondering how to figure out how many stitches you’re supposed to cast-on in order to have a swatch that is at least 6″ x 6″, one rule of thumb you can try is this:
Take the number of stitches listed in the gauge over 4″ and multiple that number by 1.5 (and round up as needed if it needs to be a certain multiple).
So for example if the pattern says the gauge is 20 stitches = 4″, take 20 and multiple it by 1.5 and you get 30. Then round up as needed.
Once you have your swatch done and ready to measure, this is how you do it! You can either read below to see my written description with photos, or you can click below to watch my YouTube video:
How to measure your swatch
When measuring stitches:
Place your measuring device (I used a tape measure in my example below but there are also gauge rulers you can use) horizontally over the middle 4″ of the stockinette stitch fabric. Each stitch is shaped like a “v”. Place your measuring tape at the left-side edge of one of the v’s and then count the number of v’s until you get to the 4″ mark, keeping in mind that you may have a partial v at the end (as I do in my below example). So in the picture below, I have highlighted each stitch (each v) in red. So you can count that over 4″, I have about 15.5 stitches over 4″:

When measuring rows:
Turn your measuring device so it’s now laying vertically over 4″ of the stockinette stitch fabric. Line it up so that the measurement starts at the base of one of the v’s. Then to measure a row, you’ll count into each v’s vase – you’ll see a little hole/space here so that is what you can count (identified below with a little red dot). I find it especially helpful to use a little DPN or pencil to count into each of these spaces. Below you can see that I have 22 rows over 4″:

Don’t forget to block your swatch!
I highly recommend blocking your swatch. So I always measure my swatches before I block (as I did above), then I block them in the same manner I plan to block my finished garment (which for me is usually wet blocking), and then I re-measure. Most gauges listed in a pattern are post-block so it’s important to block your swatch to know if you are indeed getting the right gauge. But I like measuring before I block too so that I know how much I can expect my fabric to grow after I block. If you have any follow-up questions, feel free to reach out!

