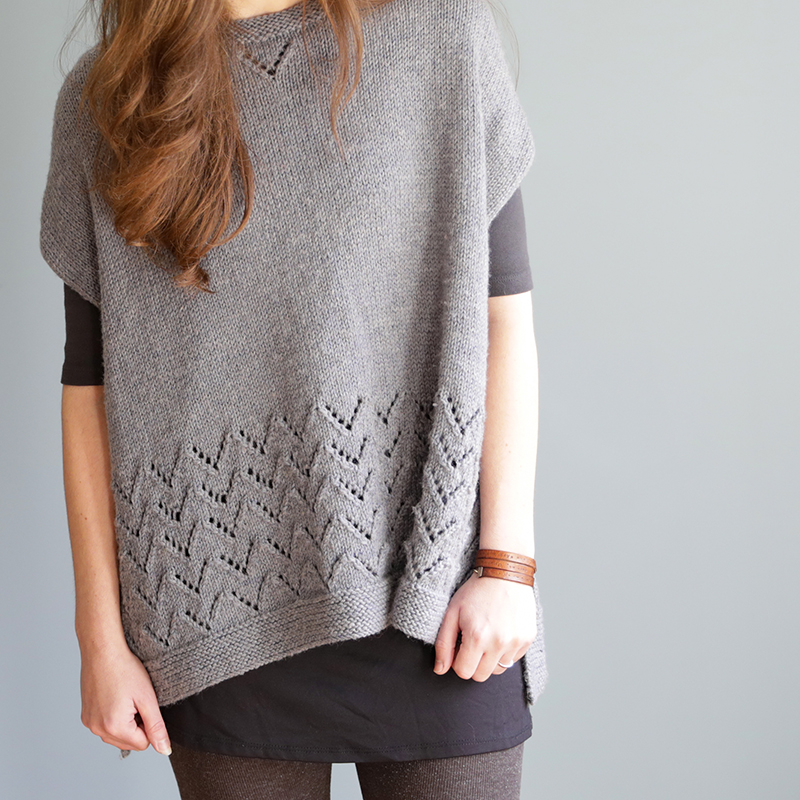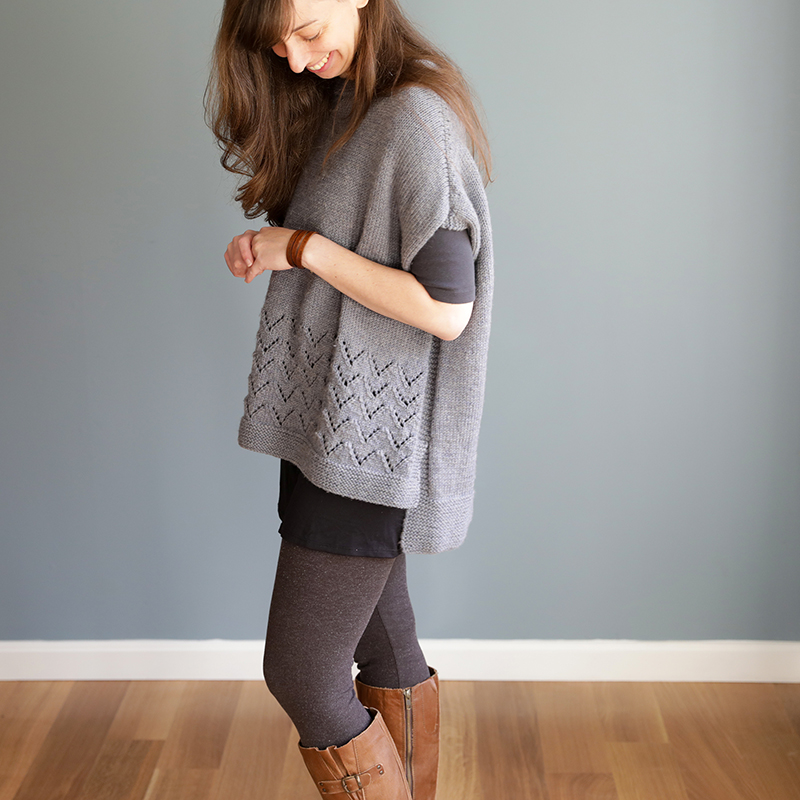
I’ve received several messages over the last year from knitters who really wanted to make the Camden Hills Poncho but were looking for some help on how to make a size smaller than what is offered in the size options. The smallest size in the pattern has a finished circumference of approx. 56.5″/143.5 cm – this is fairly typical for a poncho but if you have a more petite frame I can definitely understand how that size might just be too big still.
So since this is common question I receive, I thought I would provide my notes on how you can make a smaller size. The revisions I provide below would give you a finished measurement closer to 48.5″/123 cm. If you are more petite, this would still give you a poncho-like fit, but you won’t be swimming in fabric! I recommend reading through the revisions below and them marking up your pattern with the edits. For the most part you will be following the same instructions as that of the smallest size, but then making adjustments as noted below. If you do not see a section listed below, that just means you should follow the instructions as written for the smallest size.

Camden Hills Poncho Revisions (for a smaller size):
Step 1: Front & Back Sections and Body-Section 1
- Follow the smallest size instructions BUT cast-on 113 stitches instead of 131 (for both the front and back).
- You’ll follow the exact same instructions for the smallest size through all of these sections: Front-hem, Front-eyelet bottom, Back-hem, AND Body-section 1.
Step 2: Body-Section 2
- In “Body-Section 2″, this is where you can shorten your length. It says to work until it measures 15.75″ – depending on your height, you may want to consider knitting until it measures more like 12-14”.
- After you work the “divide for armholes”, you’ll have 109 sts on each Front/Back (instead of 127).
Step 3: Front Yoke Section 1
- Follow instructions for smallest size except when you get to “Center Chevron Eyelet Setup”. On that row, you will do the following: k4, sm, p 46, pm for eyelet patt, p9, pm for eyelet patt, p to next marker, sm, k4.
Step 4: Front Yoke Section 2-Shoulder Shaping
Follow smallest size instructions except do the following:
- On Row 7: k until there are 45 sts on the RN (including edge sts), BO next 19 sts, then k to 12 sts before last marker, w&t.
Step 5: Right Front Section
Follow same instructions as smallest size (your stitch counts will be off from those listed those of course), EXCEPT:
- On Row 8, k to 23 sts before marker (instead of 24)
- On Row 10: k to 25 sts before marker (instead of 27)
- On Row 12: k to 27 sts before marker (instead of 30)
- Omit rows 14-17. At the end of Row 13, you will have 34 sts. So go right from row 13 to Rows 18 and 19.
Step 6: Left Front Section
Left Front Shaping section: follow same instructions as smallest size (again, your stitch counts will be off from that listed), EXCEPT:
- On Row 9, p to 23 sts before marker (instead of 24)
- On Row 11, p to 25 sts before marker (instead of 27)
- On Row 13, p to 27 sts before marker (instead of 30)
- Omit rows 15-18. At the end of Row 14, you will have 34 sts. So go right from row 14 to row 19.
Step 7: Back Shoulder Shaping
Back Shoulder Shaping: Follow instructions for smallest size EXCEPT:
- On Rows 15 & 16: work to 23 sts before marker (instead of 24)
- On Rows 17 & 18: work to 25 sts before marker (instead of 27)
- On Rows 19 & 20: work to 27 sts before marker (instead of 30)
- Omit rows 21-24. At the end of Row 20, go straight to Row 25
- On Row 26, p 34, then BO next 41 sts, then follow rest of row as written.
- For remainder of pattern, follow same instructions as smallest size.
Finished Measurements (that are different from smallest size)
- Each Front/Back Width at Bust: 24.25″
- Bust Circumference: 48.5″
- Shoulder Depth: 3.5″
- Shoulder Width: 7.5″

