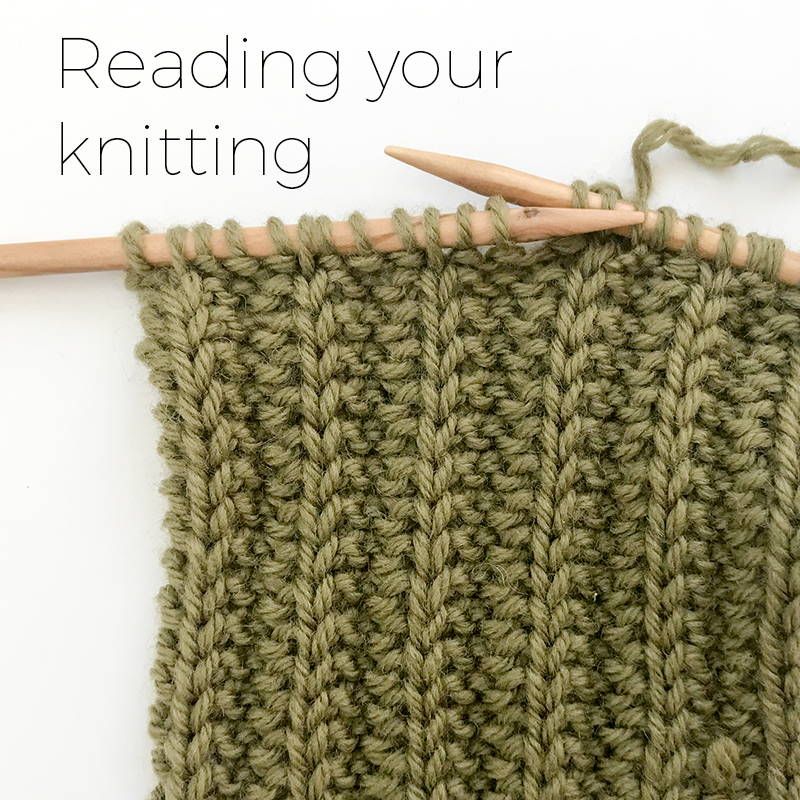
Have you ever heard anyone say that you need to “read your knitting”? It has nothing to do with reading words – it’s actually about visually understanding a stitch pattern (not just reading the written words of the stitch pattern on paper) and seeing where each stitch belongs in that pattern by looking for visual cues in the fabric or the stitches themselves (or both). Reading your knitting is understanding a stitch pattern visually.
Why reading your knitting is important
The biggest benefit to reading your knitting is that you will spend much less time ripping out! Have you ever been working a particular stitch pattern and everything is going smoothly but then you make it to the end of the row and you have too few or too many stitches to finish the stitch pattern? Happens to all of us. So then you proceed with tinking (the process of ‘un-knitting’ each stitch) or ripping back to try to figure out what went wrong. This whole scenario can be prevented if you learn to see patterns with how your fabric looks on a particular row of your stitch pattern. This way you can catch a mistake early on and avoid having to rip back an entire row or rows.
A perfect ‘read your knitting’ example
A great example is with the stitch pattern I used in my latest design, 1979. I used the Cartridge Rib stitch, a stitch that has great definition and texture and involves only 2 types of stitches: knit stitches and slip stitches. Seems simple enough, right? Well it is, but the key to this stitch is that you work the knit stitches and slip stitches in the exact right spots. So as I was working this stitch pattern, I began to notice a pattern. Here is the written out stitch pattern:
RS Rows: k3, *sl1 wyif, k3; repeat from * to end.
WS Rows: k1, *sl1 wyif, k3; repeat from * to last 2 sts, sl1 wyif, k1.
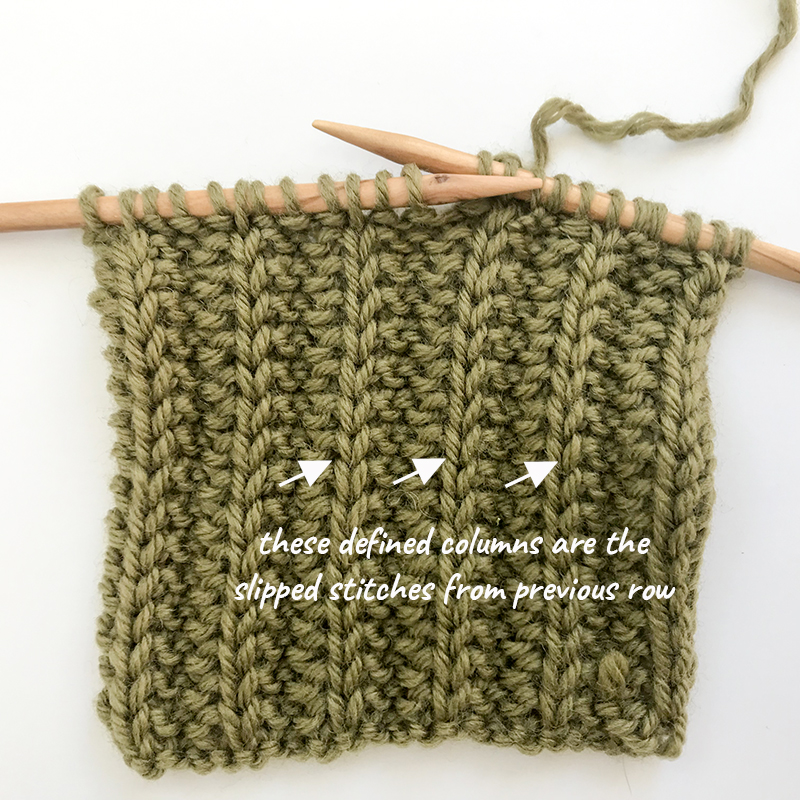
Here is the fabric this stitch pattern creates. See each of those columns of defined stitches? Those are created from the “sl1 wyif” stitches worked on the previous row. All the rest of the stitches are the “k” stitches.

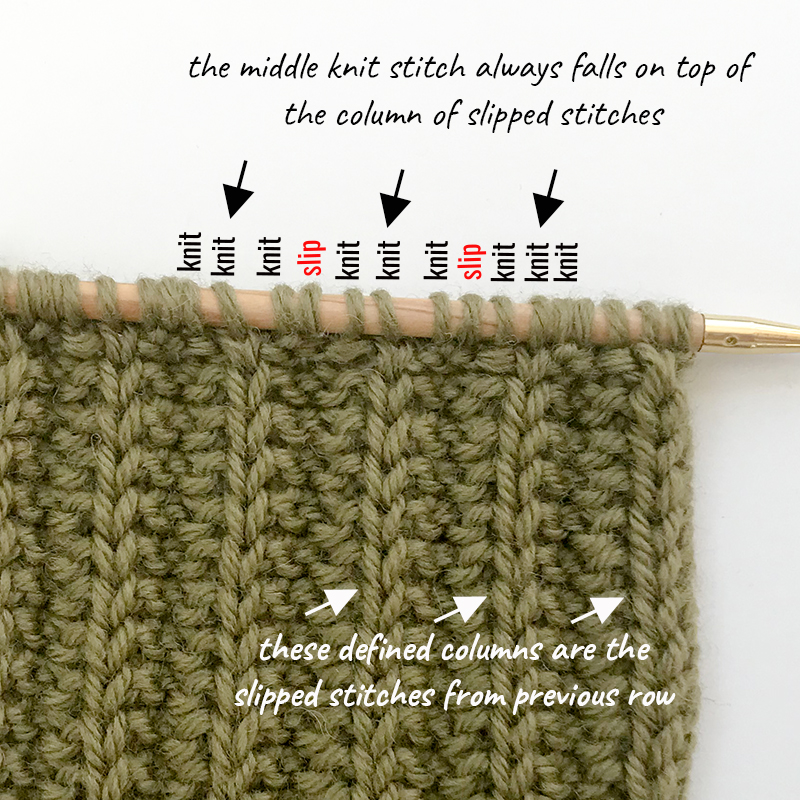
So the beginning part of a RS row is simple enough – just knit 3. But then for the rest of the row you need to slip 1 stitch with the yarn held in front (that’s the “sl1 wyif”), followed by knitting 3 stitches. If you aren’t paying attention, you can easily work more or less knit stitches (happened to me!). But once I had about 1″ worth of fabric, I noticed that in the part where I “knit 3”, the middle knit stitch always fell on top of the column of defined stitches – these were the stitches that had been slipped on the previous row. Here’s another graphic that might help:

So the “knit” and “slip” words above show what needs to be done in the next row. See how after the slip stitch, you work 3 knit stitches and that middle knit stitch falls right on top of that column of defined stitches? This is your visual cue! If you always know that, then you catch yourself before you get into trouble. By noticing a visual detail like that, you can monitor yourself as you’re knitting and if you find at some point that your middle knit stitch is not on top of a column, well then you know you must have gone out of sequence and you can tink back a few stitches to see where it happened (which is much better than tinking back an entire row!)
Look for visual cues
In the above example, I saw there was a visual cue that helped me to know where my middle knit stitch should always go (that visual cue being the column of defined stitches). For any stitch pattern that you work you will notice these visual cues if you start paying attention to them. You usually start to notice these cues after you have about an 1″ worth of fabric. If you have a particular stitch pattern you have never worked before, then doing a swatch is the best way to get to know it and you can look for those visual cues ahead of time.
Give it a try next time you’re working a stitch pattern you aren’t comfortable with – you may notice visual cues that you had never noticed before that can save you hours of ripping-out grief!

