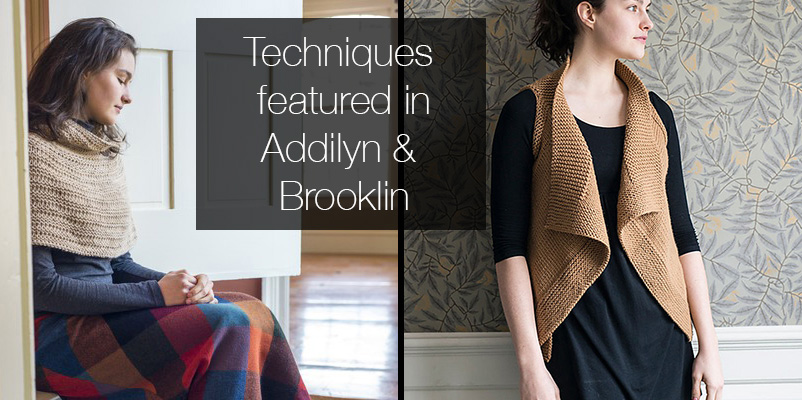
Last month Berroco released Porfolio Volume 2 and I am so excited to have 2 designs featured in it. Addilyn is a capelet (that can also be worn as a cowl) and Brooklin is a drapey, layering vest.
Both are very beginner-friendly but may have techniques that a beginner has not encountered so far. Specifically, Addilyn features a drop stitch stitch pattern and Brooklin’s armholes are created by casting-on in the middle of your work. Neither of these are difficult, but because a new-ish knitter may not have encountered them before, I’ve created two videos that illustrate the techniques and I’ve also explained them in detail below:
How to work a “Drop Stitch” as featuring in the Addilyn Capelet:
Written Explanation:
- On the row before you actually “drop” the stitches, you’ll be instructed to work numerous “YOs” (yarn-overs) throughout the row. To work a YO, when the next stitch you will work is a knit stitch, you simply bring the yarn to the front of your work, and then knit the next stitch. To work a YO when the next stitch you will work is a purl stitch, you bring the yarn to the front, then wrap it around the right-hand needle (from front to back) one more time, then bring it back to the front of the work so you are ready to purl that next stitch.
- On the next row, you’ll be instructed to knit across the row, “dropping YOs as you reach them”. It helps to be able to visually see the difference between a regular stitch and a YO stitch. A regular stitch comes out of a stitch from the row below whereas a YO stitch is just a loop around the needle with no foundation underneath it. So you will knit your regular stitches, and when you get to your YO stitches, simply slide it off the left needle without working it. It may look strange at first, but don’t worry – give it a row or two and you will see the neat stitch pattern it creates.
How to cast-on in the middle of your work as featuring in the Brooklin Vest:
Written Explanation:
- On the row before you have to cast-on you will be instructed to bind-off a number of stitches in the middle of the row. This is the first step to creating the armhole where your arm will go through.
- On the next row you’ll be instructed to work to where your stitches were bound-off and then using the cable cast-on technique, cast-on the same number of stitches you bound off + 1. To start, you need to turn your work so that the stitches you just worked are now on your left-hand side (along with the working yarn).
- Insert right needle in-between the first 2 stitches on the left needle, wrap the yarn around the right needle and bring the stitch through as if to knit. Transfer this newly created stitch onto the left needle. One stitch is cast-on.
- Continue in this manner until you have cast-on the specified number of stitches. After all stitches have been cast on, turn work again and knit into the first stitch on left needle, connecting the two sides together. Then insert right needle tip into the 2nd stitch in on the right needle (the last stitch you had cast on) and lift it over the first stitch (the stitch you had just knit). This helps tighten up the end. Then work the rest of the row as instructed. You have now created your armhole!


On the addlyn capelet , when working the bind off from the last row , do I drop the yarn overs or bind them off as I would the knit stitches ?
please advise , thank you !
Hi Janet,
I know this is going to be a little different than what the pattern says, but I think after your last YO row (which falls on a round 3) you should work Rounds 4-6 1 time and THEN bind-off. I have just found this looks better. I’m going to be contacting Berroco so that they can update the pattern with this recommendation.
Thanks so much!!
Best,
Elizabeth