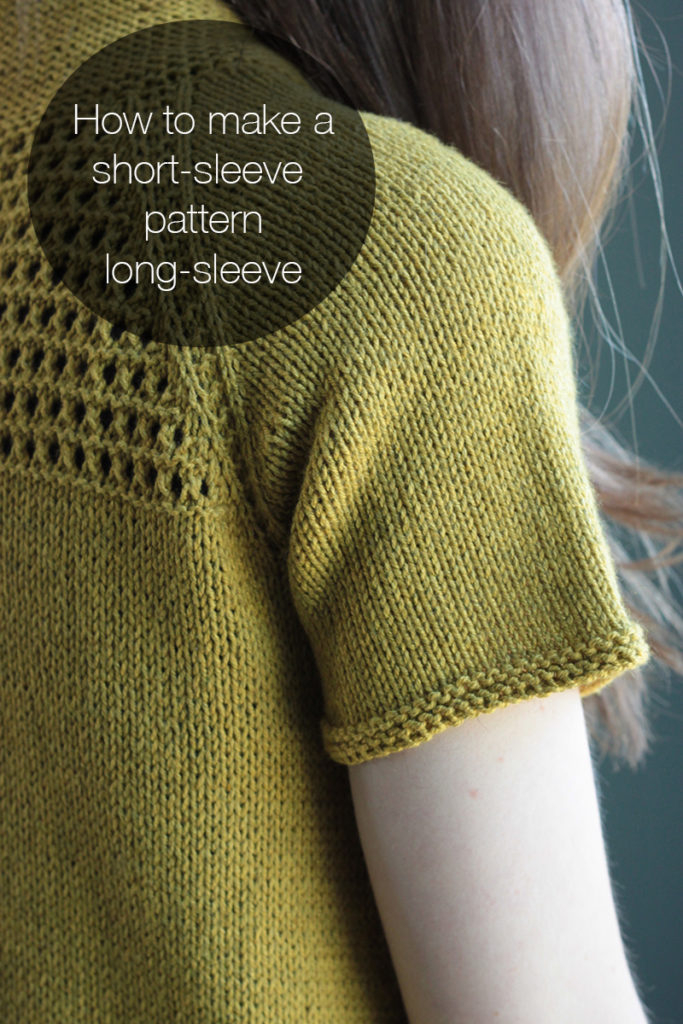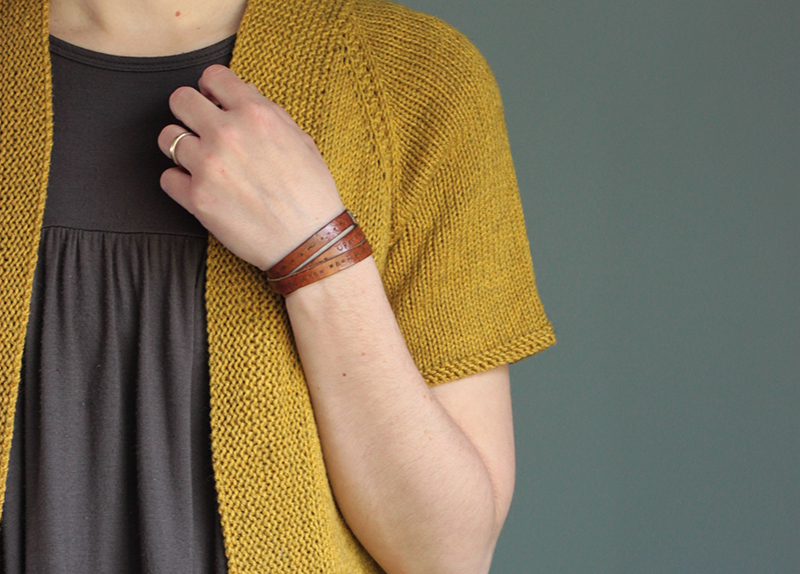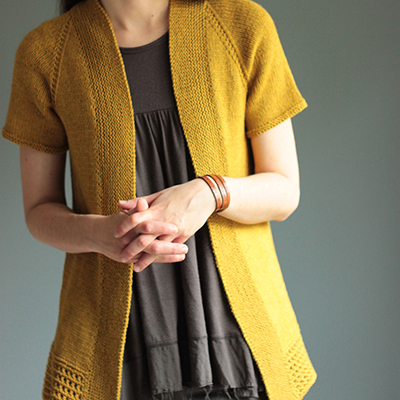
Lately I’ve been asked by a number of people how to make the sleeves in my Passing Showers cardigan long-sleeves instead of short.

Because a sweater like this should have tapered sleeves (smaller circumference at the wrist than at the upperarm), the challenge is to figure out how many stitches you need to decrease and how often do you work these decrease rounds. Below I’ve provided a step-by-step tutorial on how to figure out the numbers.
- Typically a sleeve measures approx. 18″ from cuff to underarm. Measure yourself (or a favorite sweater) and see if this is true for you. For this exercise we’ll assume it will be 18″ but if not, you can follow along with the calculations.
- Decide how much of a cuff you want. Let’s assume you want 1″ of garter stitch for your cuff. So this means that your “above the cuff” to underarm measurement is 17″ (18″ – 1″ cuff).
- The other measurements to account for are that you will want to work even (i.e., no decreases) for approx 2″ from the underarm and 1″ above the top of the cuff. So this means that area you have to work your decreases is 14″ (18″- 1″ for cuff – 2″ work even below underarm – 1″ work even above cuff).
- Your row gauge in this pattern is 7 rows = 1″. So, this means you have 98 rows to work your decreases (7 rows per inch * 14″).
- But wait, you still need to figure out how many stitches you want to decrease! For this example, I will assume we’re doing the size medium which has 66 sleeve stitches (after stitches are picked up at the underarm). For a sweater like this, for this size, I would want a wrist circumference of around 7.5″. To figure out what kind of wrist circumference you want, measure a sweater you love! I’ll take this measurement of 7.5″ and multiple it by the stitch gauge of 5 stitches per inch: 7.5 * 5 = 37.5. Let’s round this number up so it’s even to 38. So now we’ll take our upperarm stitch count of 66 and subtract our desired wrist stitch count of 38 and we get 28. So we need to loose 28 sts over 98 rows. And because sleeve decreases are worked 2 per decrease round, this means we’ll need 14 decrease rounds (28/2 = 14). Your first decrease round will take place right under the 2″ you worked even at the underarm. So this means you will need 13 decrease rounds left to work over the length of the sleeve.
- So how do you figure out how to space these 13 decrease rounds over the 98 rows? I have a slightly complicated formula I use when designing, but since I’m trying to make these nice and easy in this post, I will give you the easy version (slightly less precise but it will definitely do the job!). Take the number of rows (98) and divide by the number of decrease rounds (13). In this example, that gives me 7.5. Now we’re going to do some general rounding because we can’t decrease every 7.5 rows. But we can decrease every 7th round for about half of the decrease rounds and then decrease every 8th round for the other half. So the instructions, after you have picked up the underarm stitches and are ready to work the sleeve in the round, would read like this:
- Work even (knitting every round) until measures 2″ from underarm
- Decrease round: k1, ssk, k to 3 sts before end of round, k2tog, k1
- Work in stockinette stitch (knitting every round), repeating above decrease round every 7th round 7 times then every 8th round 6 times. Total decrease rounds worked: 14. Total sts: 38.
- Work even (knitting every round) until measures approx 17″ from underarm or 1″ less than desired sleeve length
- Switch to 1 needle size smaller and work in Garter stitch in the round (purl 1 round, knit 1 round) until measures 1″. BO loosely.
And voila – you have made a short-sleeve sweater long-sleeves. Yes it requires a little bit of math, but hopefully this tutorial took some of the mystery out of the calculations and now you feel empowered to make such edits on your own!


Thanks for your help. Just what I was looking for.
So glad it was helpful for you!
Thank you. This is a great help.