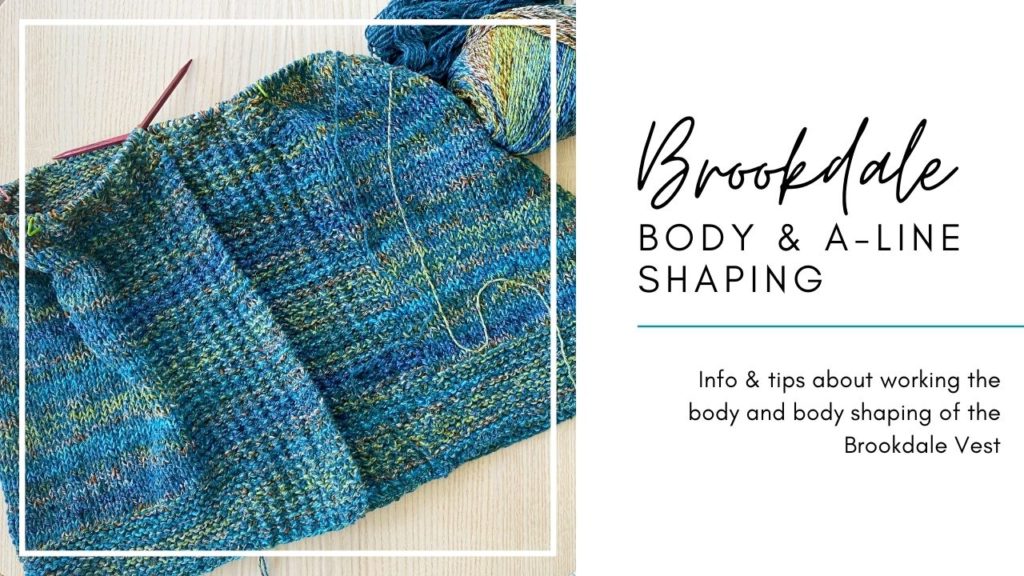
Working the Body of the Brookdale Vest

When you’ve completed the hem of Brookdale you’ll be ready to move on to the Body section. One thing I wanted to bring up first is that, if you want to add length to your vest, now is a good time to decide how much length you want to add (if you haven’t already figured that out). If you want to adjust the length, then check out my page here where I provide tips on how to alter the instructions, depending on how much body length you want to add. This doesn’t mean you can’t make any last-minute length changes though – if you decide later on that you want to add another inch or two, I explain below where you can do that.
The body set-up
The first row of the body section instructs you to place 1 marker at each side of the garment. These are your “side markers” and I would recommend that you use a different color or style marker than that used for your front panels. This just helps to differentiate the different markers you have placed (but it’s not necessary – just a helpful visual cue). You won’t really be paying attention to these side markers until you get to the “A-line Body Shaping” sections 1 & 2.
At this point you will also transition to working the rest of the body in Stockinette stitch. Your Front panels will continue to be in the same rice stitch pattern (with garter stitch edges) as you worked in the hem, but the rest of the garment’s stitches will be in Stockinette (so knit on RS rows, purl on WS rows).
Body Shaping

In the “A-line Body Shaping” section 1, you will work your first decrease row. The decreases will be made on either side of each side marker, utilizing the decrease stitches ssk or k2tog (click on their links if you need a tutorial on how to work them).
After the first decrease row, you’ll work a bunch of rows as established with no decreases (13 rows to be exact). Then the instructions say to repeat all of section 1 two more times. So that means you’ll start at the beginning of the section again and work the decrease row, then the 13 rows that follow it and you’ll do that a total of two more times. There is then a stitch count that tells you how many stitches you should have for each front and back at that point.
“A-line Body Shaping” section 2 is just 3 rows where the first 2 rows you work as established with no decreases, and then the last row is your final decrease row. At this point all of your A-line shaping is done and the next section, “Remaining Body Rows”, just has you working as established. If you decide that you want to add just a little bit of extra length, this “Remaining Body Rows” section is where you will work those extra rows. Just keep in mind that you will still have another 1″ left to work before you get to your underarm (this is the next “Body Underarm” section). When you’re ready for that part, you can check out my tips/tutorial for it here.
Tip for Working the Body
Where should I join a new skein?
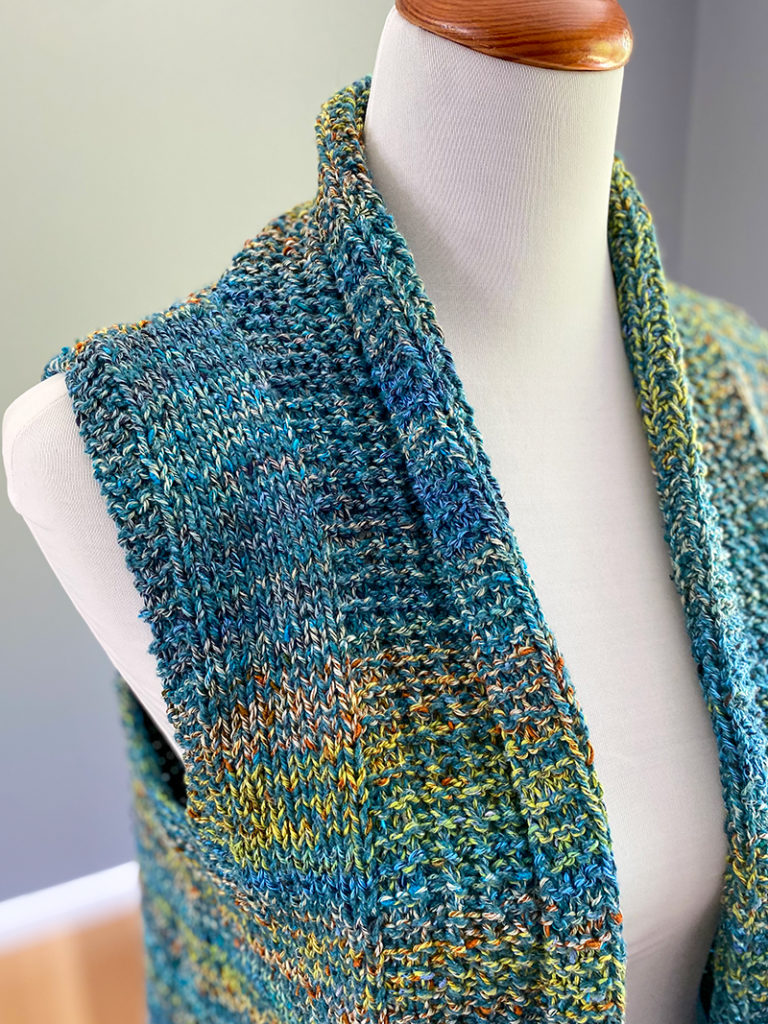
As you’re working the body, you’ll eventually need to join a new skein of yarn. I recommend NOT joining at the beginning/end of row. This is because the front edges will fold-over a bit and you don’t want ends showing. I recommend joining new skeins at the sides (near the underarm area). This will be the most inconspicuous area in Brookdale. See picture below that shows the finished vest and how the front edge folds in:
What if my row gauge is off?
If as you knit the body you start to notice that your row gauge seems different from your swatch (or at least different from your pre-blocked swatch, since we know row gauge can change after blocking), I would just suggest that you add or take rows out of the “Remaining Body” section as that will be the simplest and will work for slight row gauge discrepancies. Had you decided to knit a different size to account for a gauge discrepancy and this is causing your length to be off, you can also take out or add rows in the “Remaining Body” section. However, if your gauge was significantly off (so more than 1 stitch off over 4″), you may want to consider adding or taking out rows in-between each decrease row as well.
What if, after all of the A-line shaping is done, my stitch count is off?
If this happens, you likely just missed a decrease in one of the rows. If you’re just a stitch or two off, it’s not worth ripping out – simply work a decrease stitch in the section that needs it on the next RS row. It’s not noticeable when you have to throw in an extra decrease stitch or two in situations like this so ‘fudging’ things to get the right stitch count is a-ok in my book!

