Working the Body Underarms of the Brookdale Vest

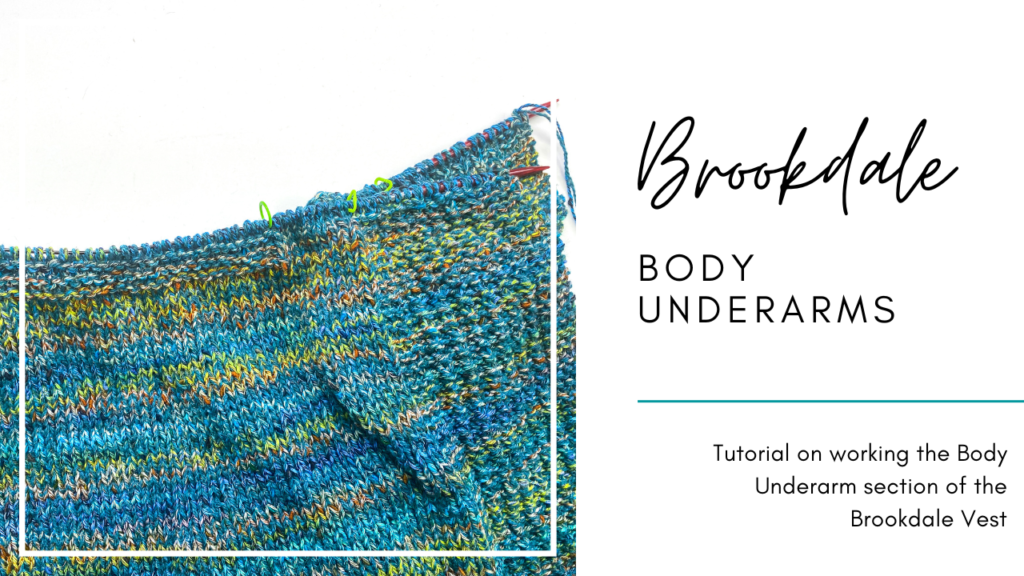
At the end of the body you will find the “Body Underarm” section. This is where you will work the last 1″ or so of the body and create the garter trim that’s located at the underarm. Here’s a picture of what that underarm garter looks like after it’s done:
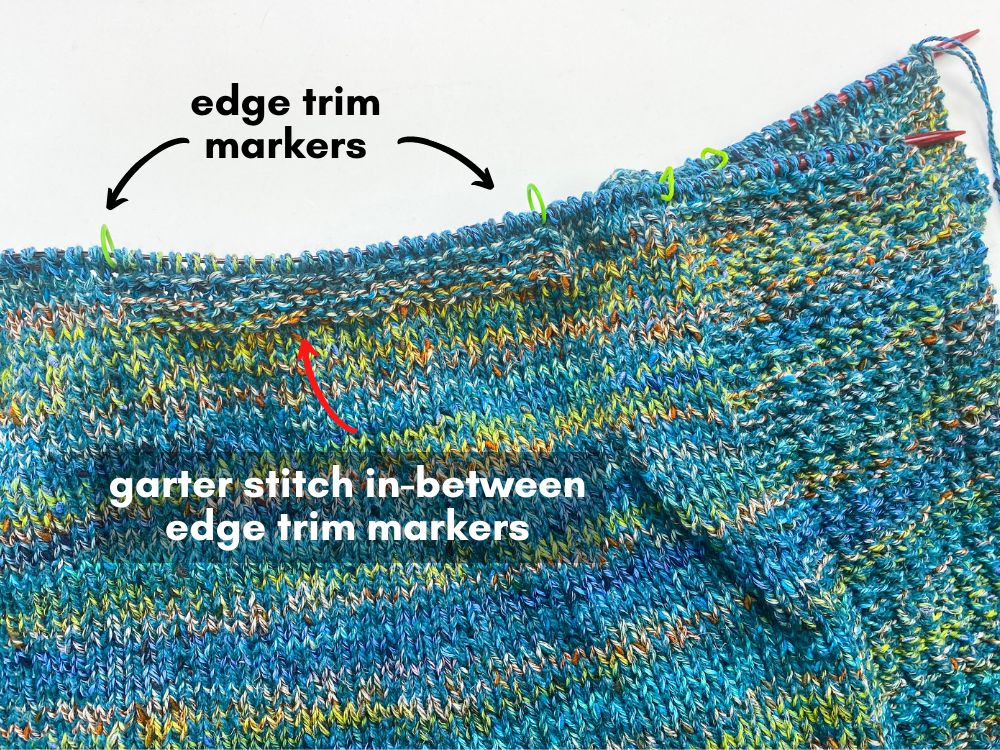
This garter stitch at each underarm is worked in-between a set of edge trim markers which you will place at the beginning of this section. Once the section is complete, it will look like this on the needles:

Important Note:
On the set-up row, when you are instructed to place your edge trim markers, right before you place your first one you are told to “*p to 8 (11, 13, 15) (17, 19, 21) (23, 25, 27) sts before side marker.” This is one place where some people make a mistake – you don’t want to purl that number of stitches. You want to purl to that number of stitches before the side marker. It’s a small distinction but since it has tripped up some people in the past I wanted to point it out!.
Video Tutorial:
Want me to walk you through the Body Underarm section? What the mini lesson below!
One you’ve completed this section you’ll be ready to move on to the Underarm Divide!

