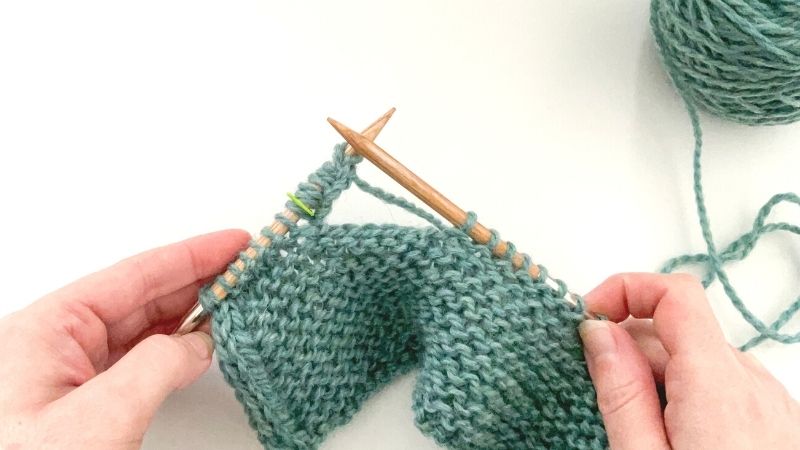
Study Buddy Mitts Thumbhole – Row 2
In section 2 of the pattern you work 3 rows to create the thumbhole. On this page I provide photo tutorials of the different techniques used in Row 2 of this section. In step 3 you will be working the cable cast-on technique – for a video tutorial of this technique, click here.
Step 1:
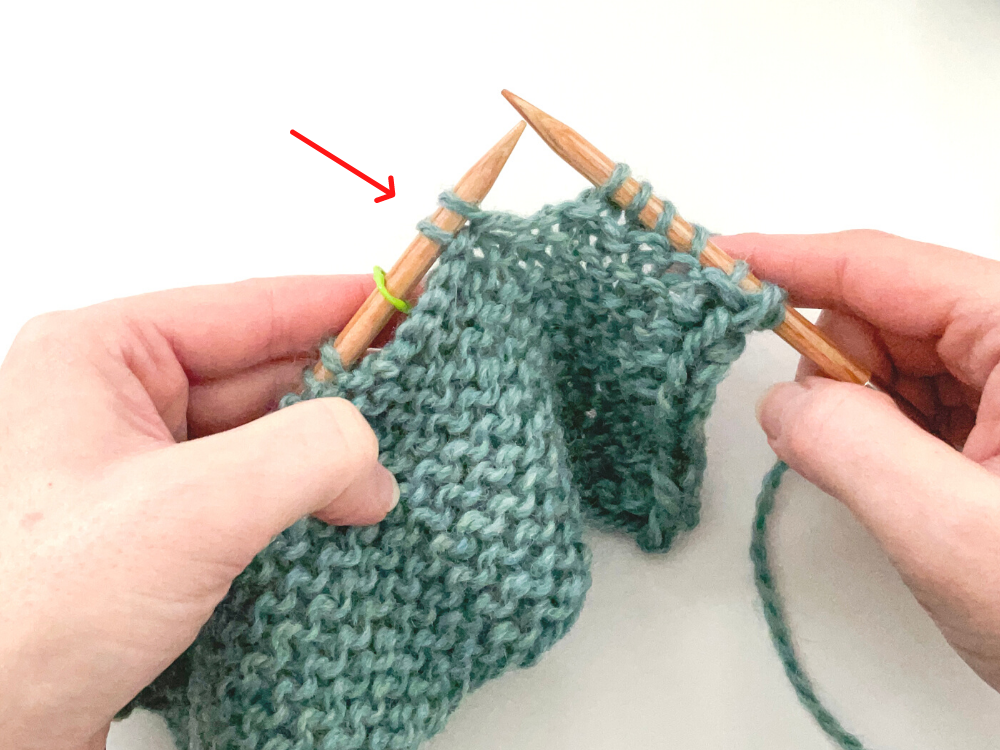
1. Work as instructed until 2 stitches before marker.
Step 2:
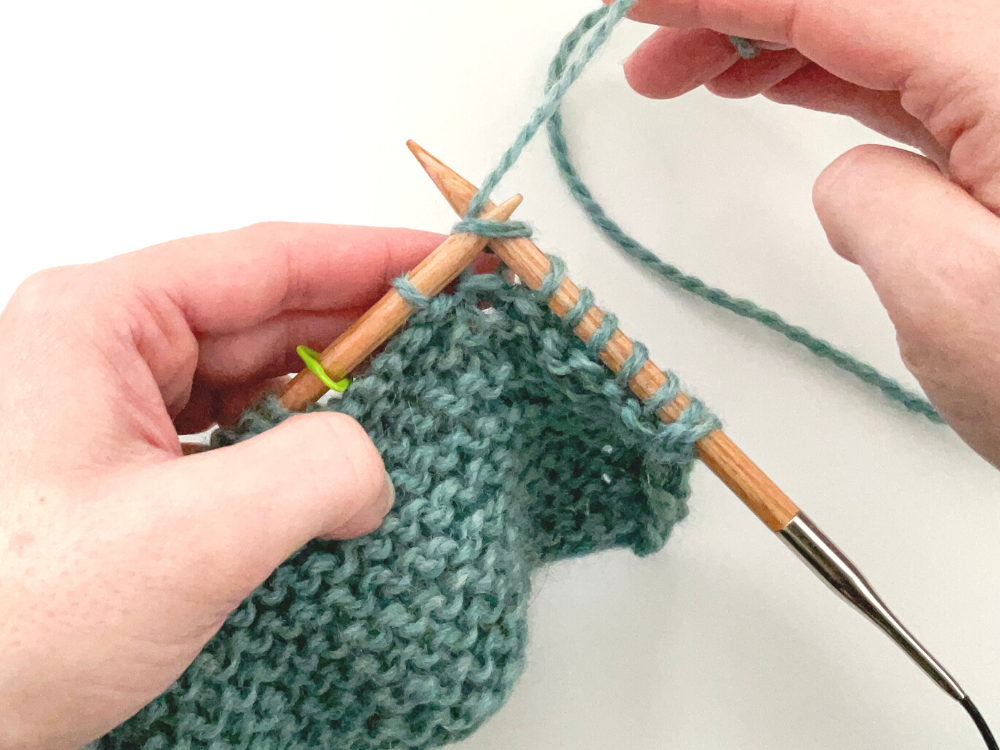
2. Work a kfb in next stitch as follows: knit next stitch…
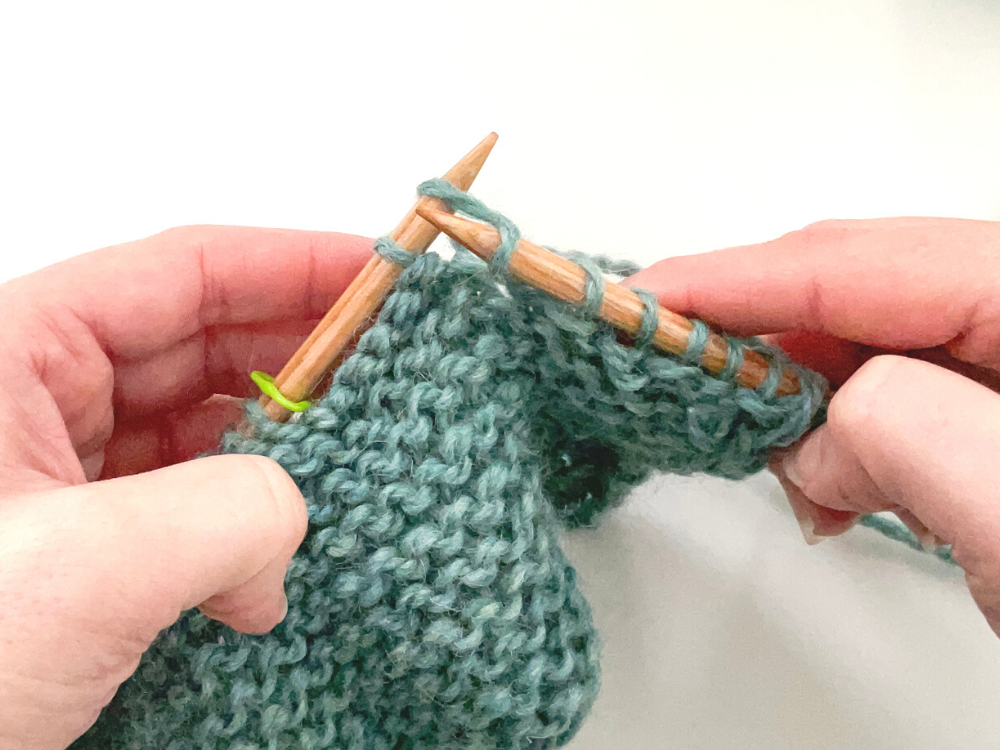
3. …But instead of sliding stitch off left needle…
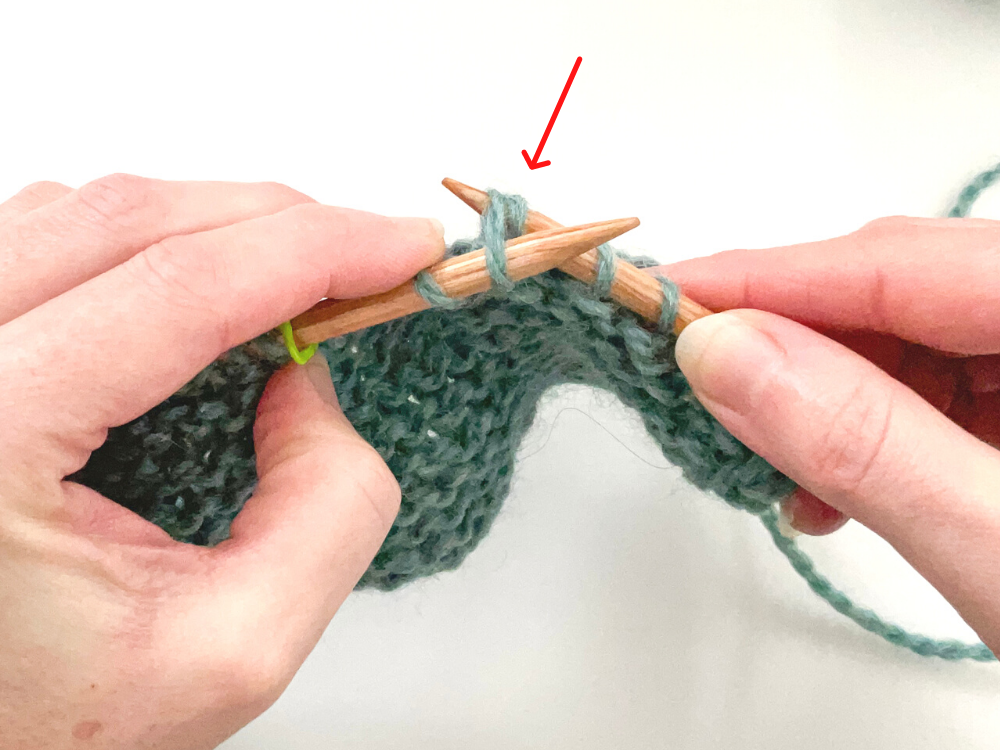
4. …Twist work and insert right needle into the back of the same stitch…
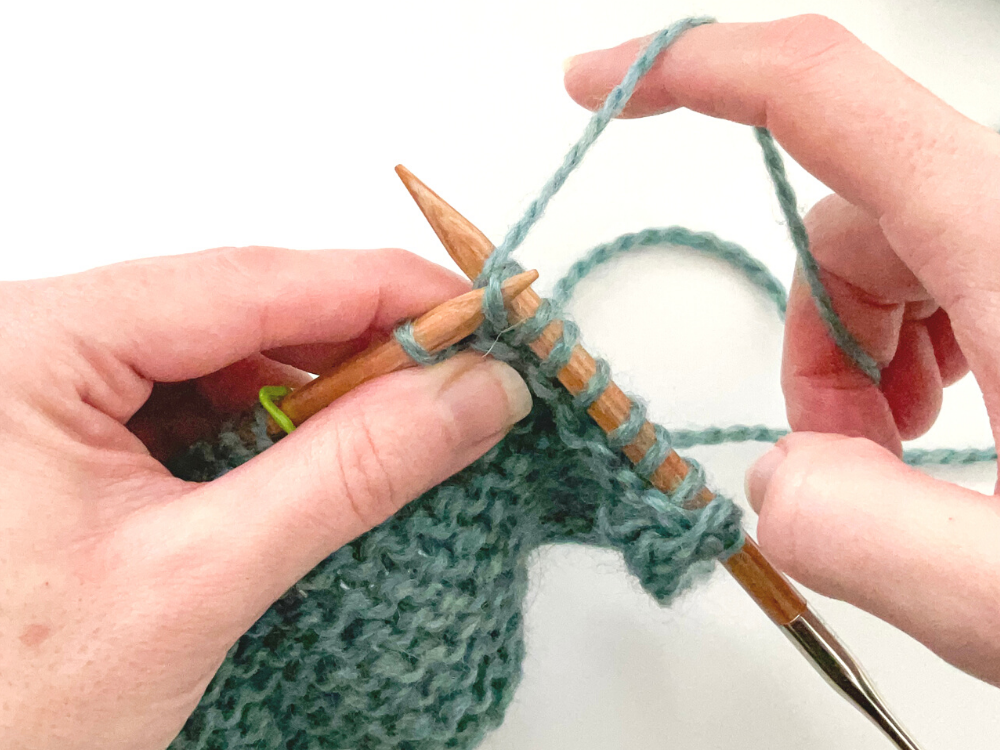
5. …And knit the stitch again…
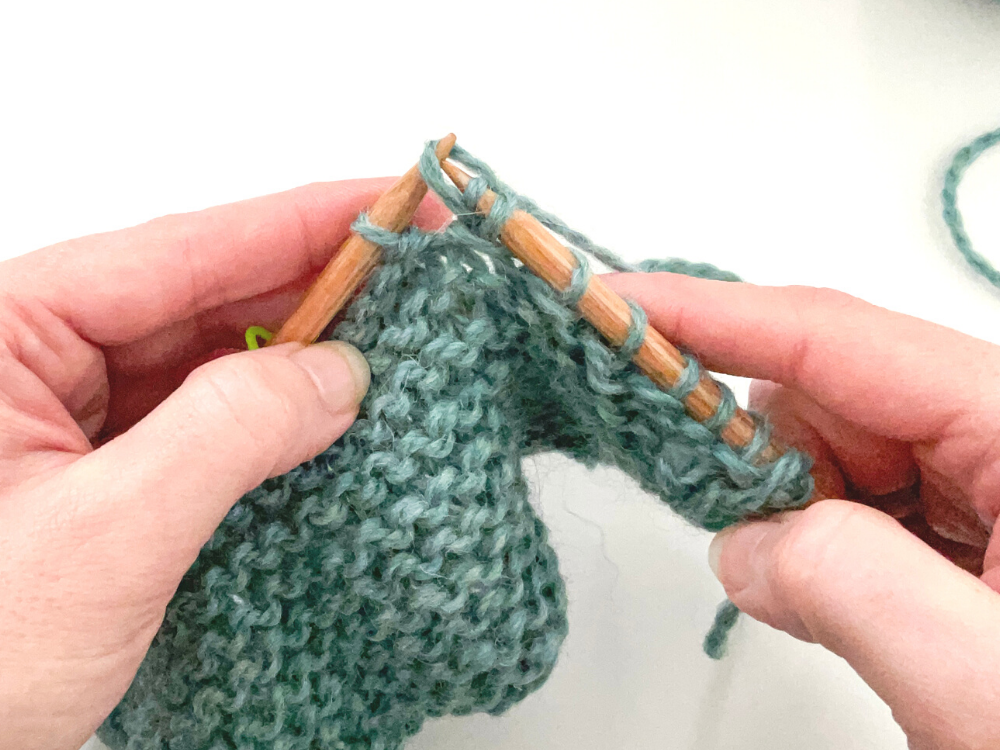
6. …And then slide stitch off the left needle.
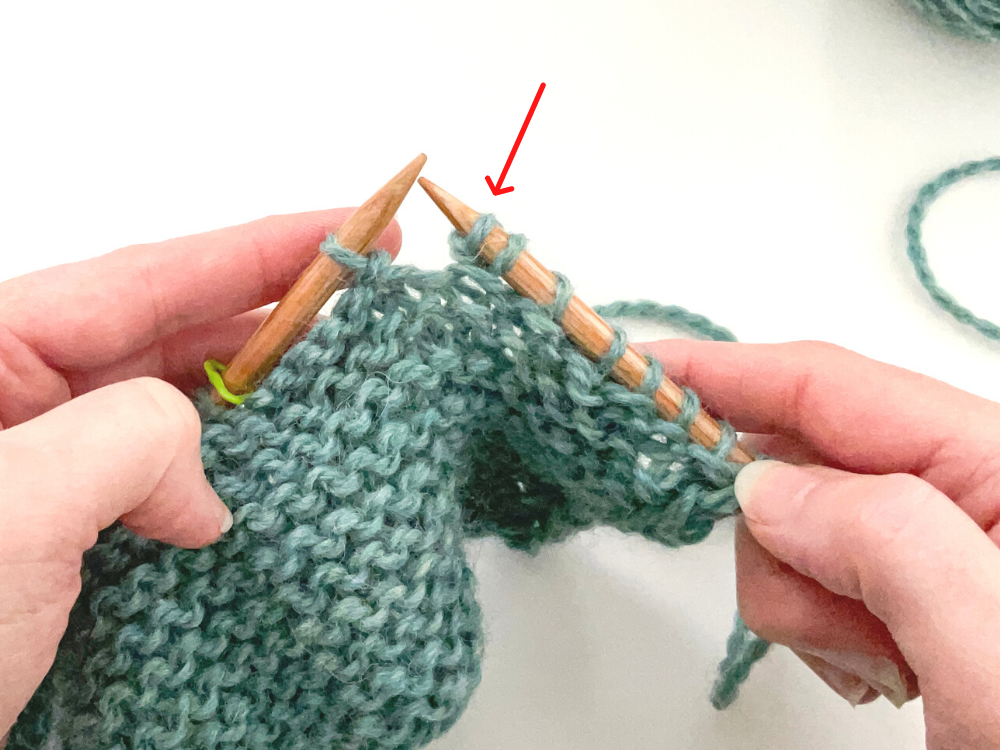
7. An extra stitch has now been added.
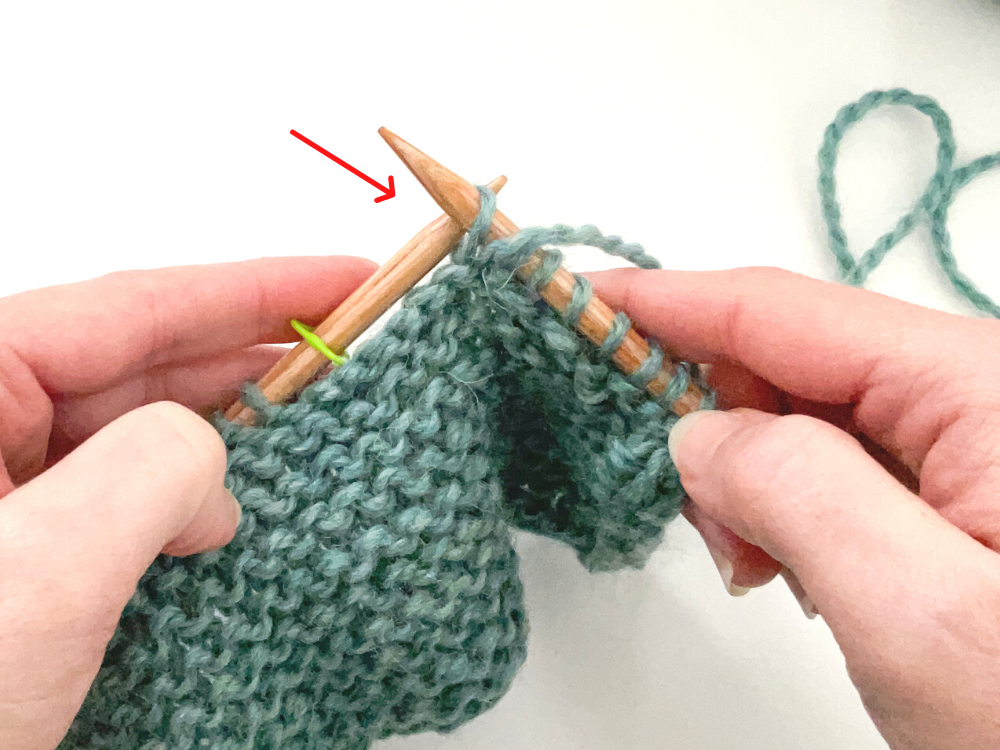
8. Then you’ll work a “sl1 pwise wyif” as follows: bring yarn to front and insert right needle into next stitch on left needle as if to purl, and then slide it onto the right needle.
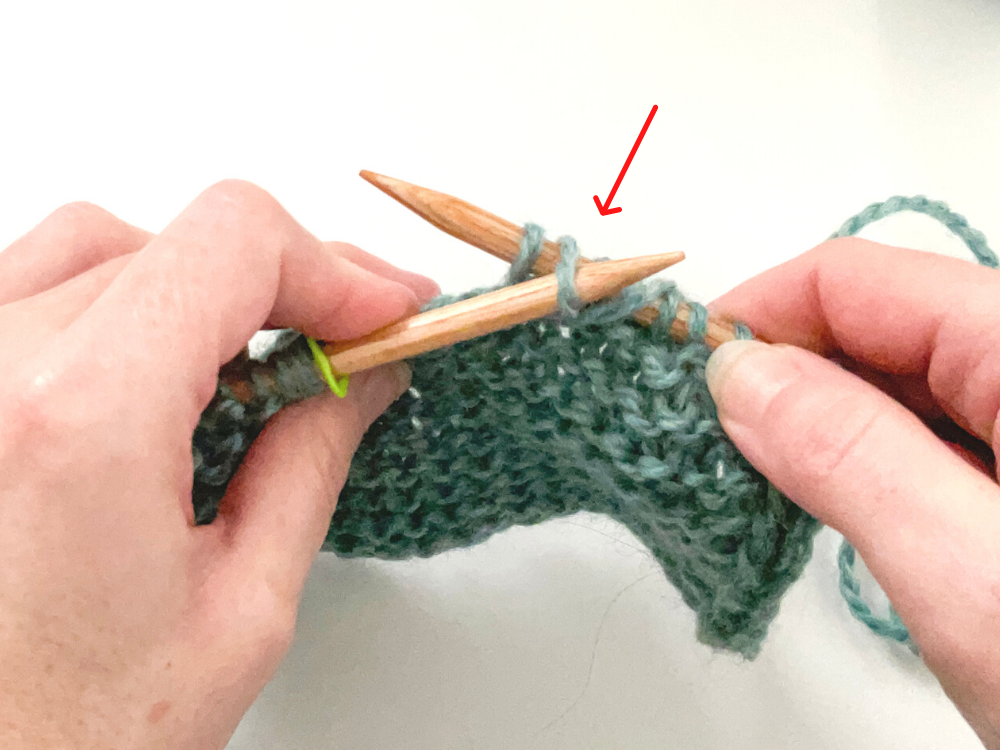
9. Insert left needle into 2nd-stitch-in on the right needle…
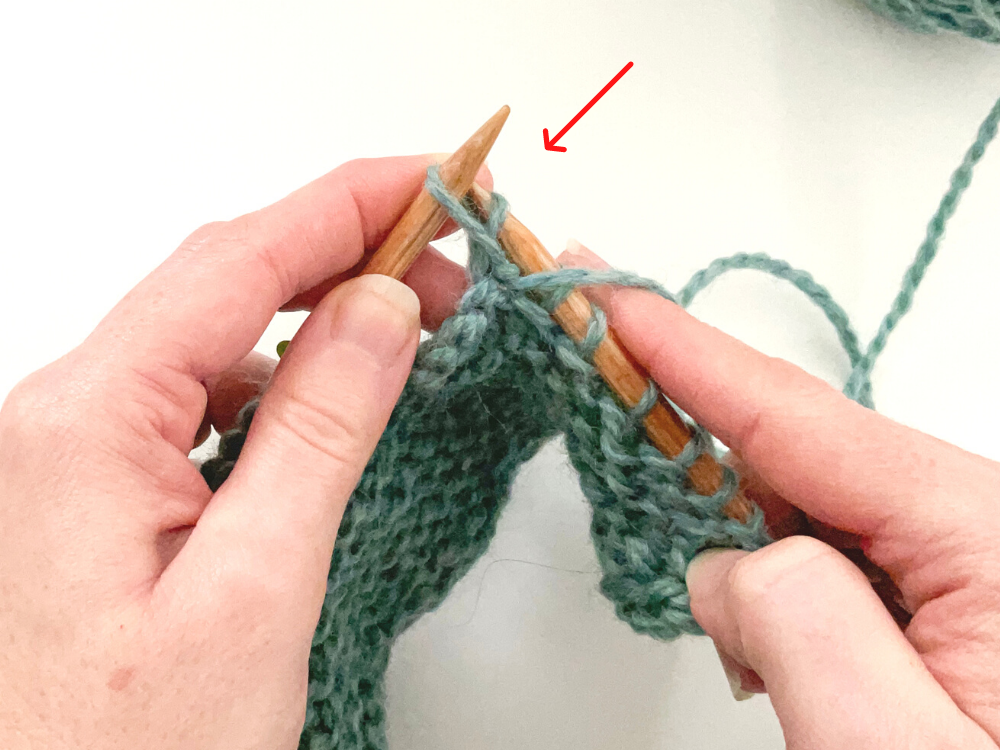
10. …And lift it up and over the last stitch and off the right needle.
Step 3:
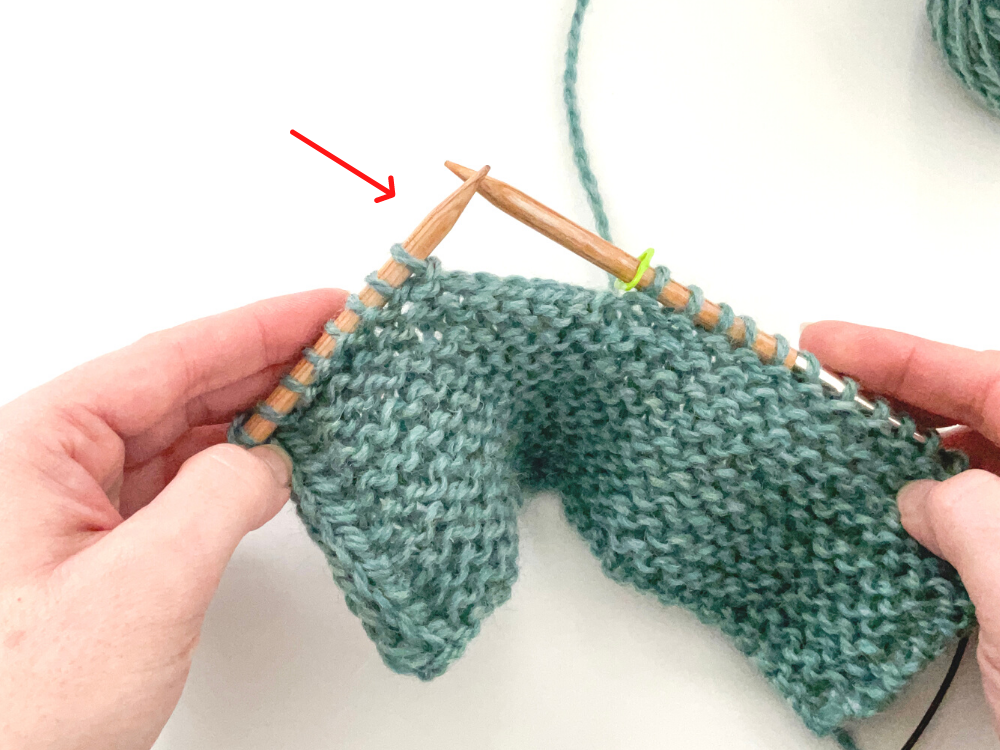
1. Turn work so RS is facing you.
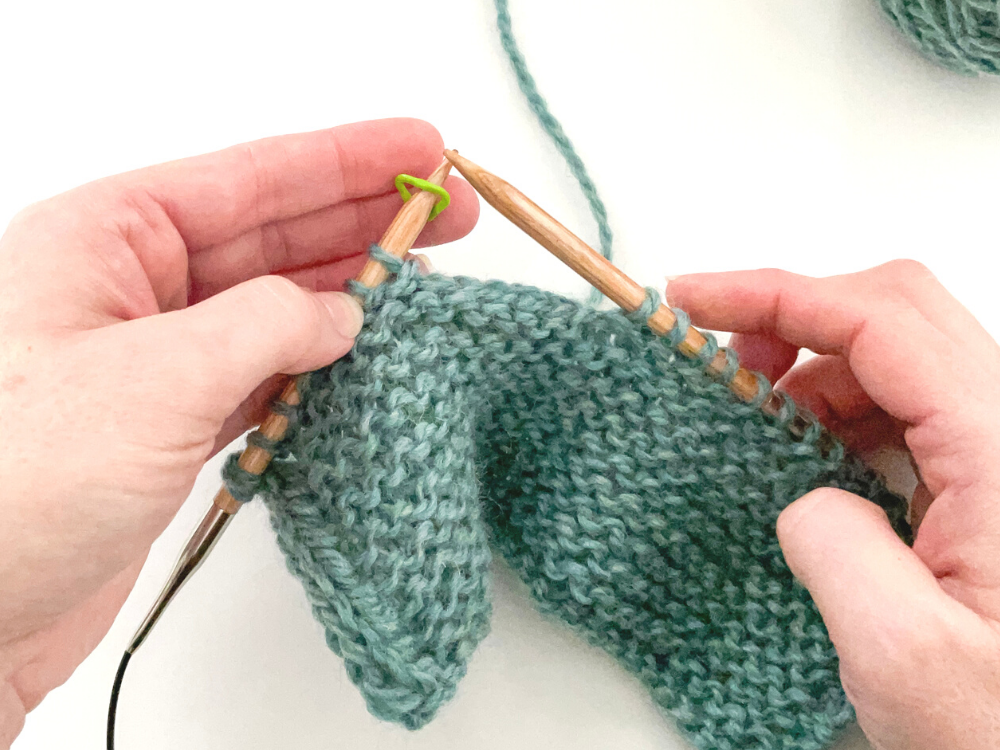
2. Slide marker from right needle to left needle.
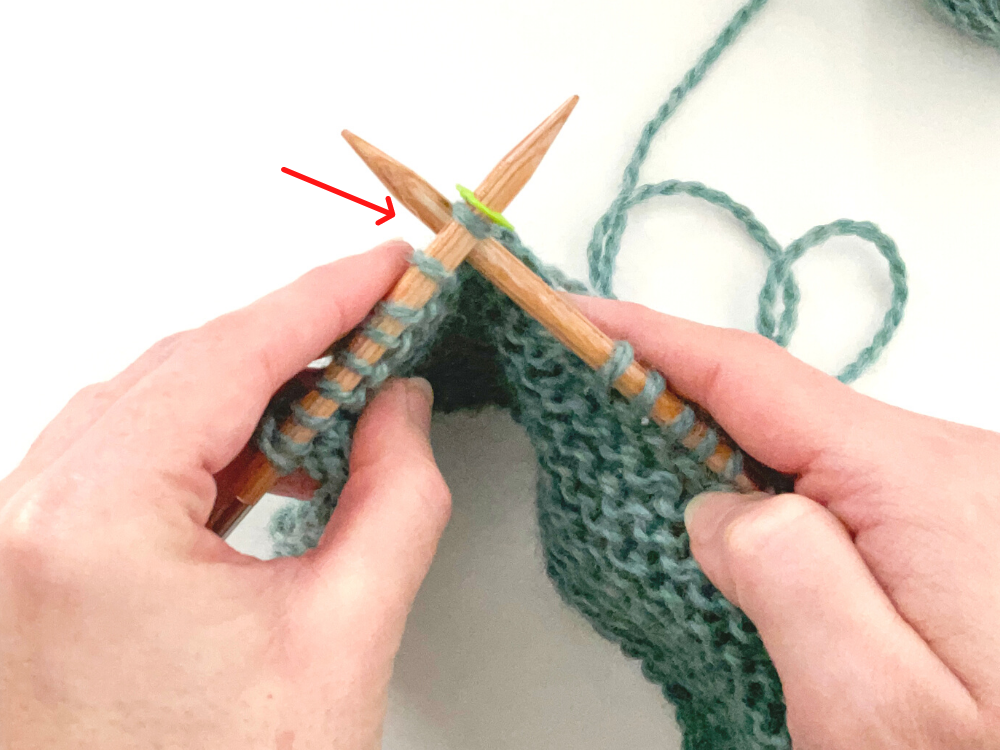
3. Work the cable cast-on as follows: insert right needle in-between the first 2 stitches on the left needle.
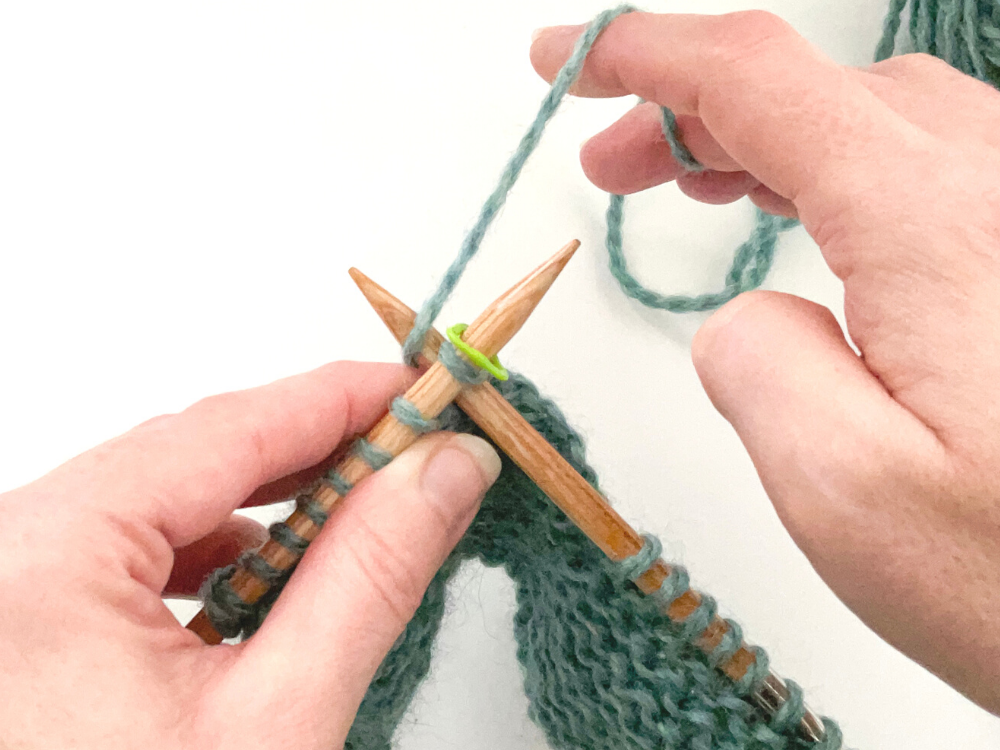
4. Wrap yarn around right needle as if to knit…
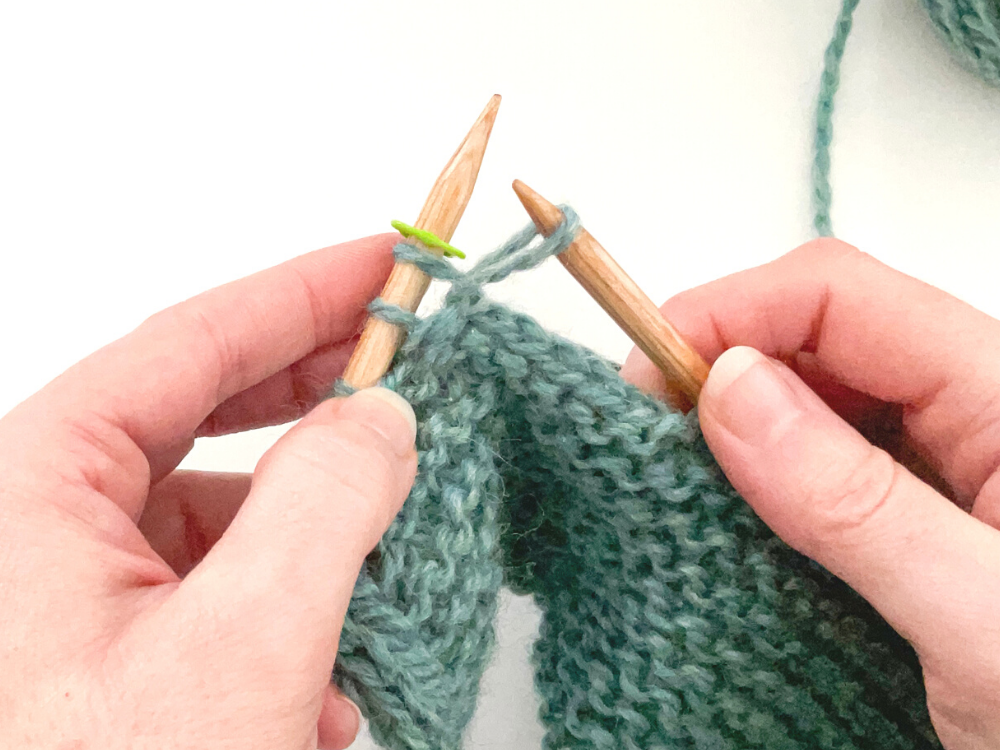
5. …Bringing loop through…
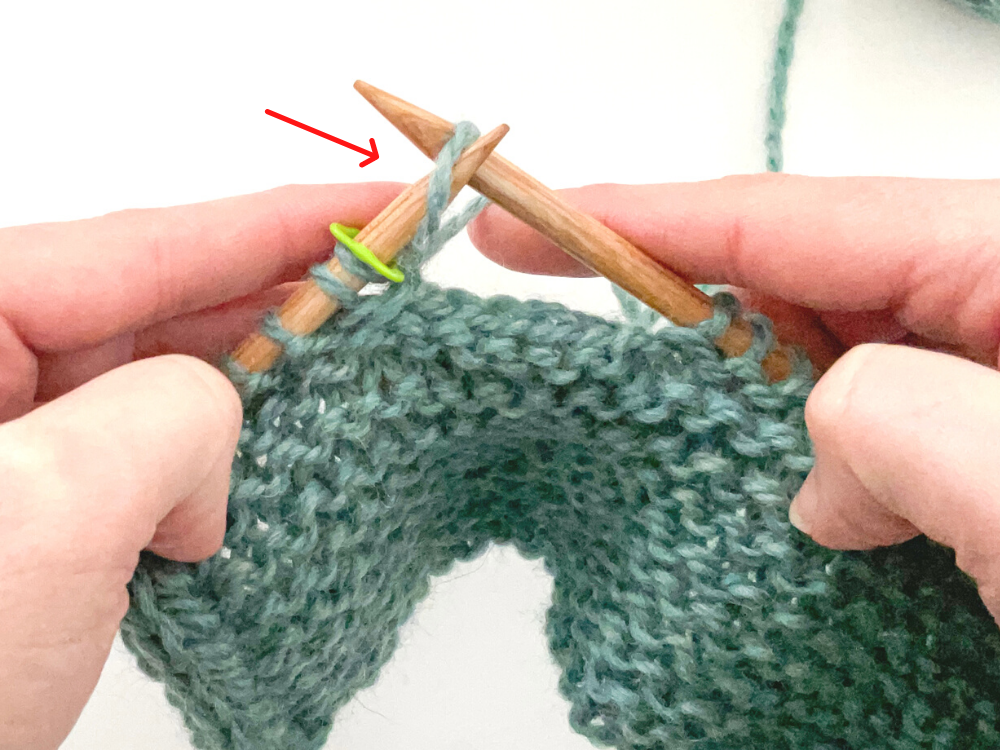
6. …and then place loop back on the left needle.
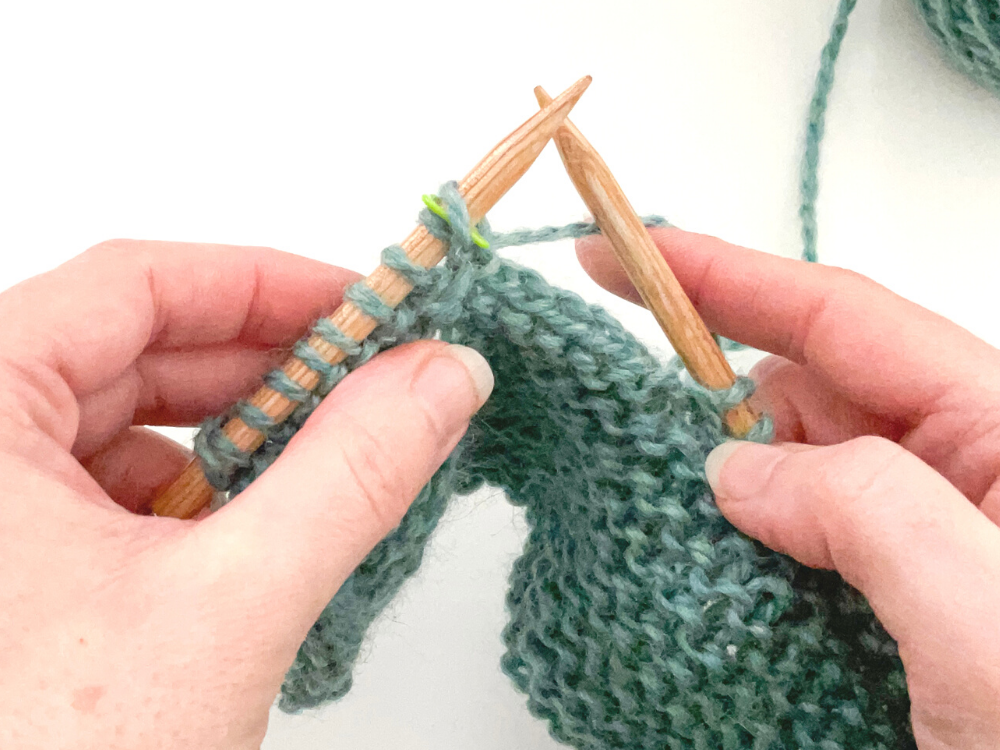
7. Give the yarn a little tug (but don’t be too tight) – 1 stitch has now been cable cast-on.
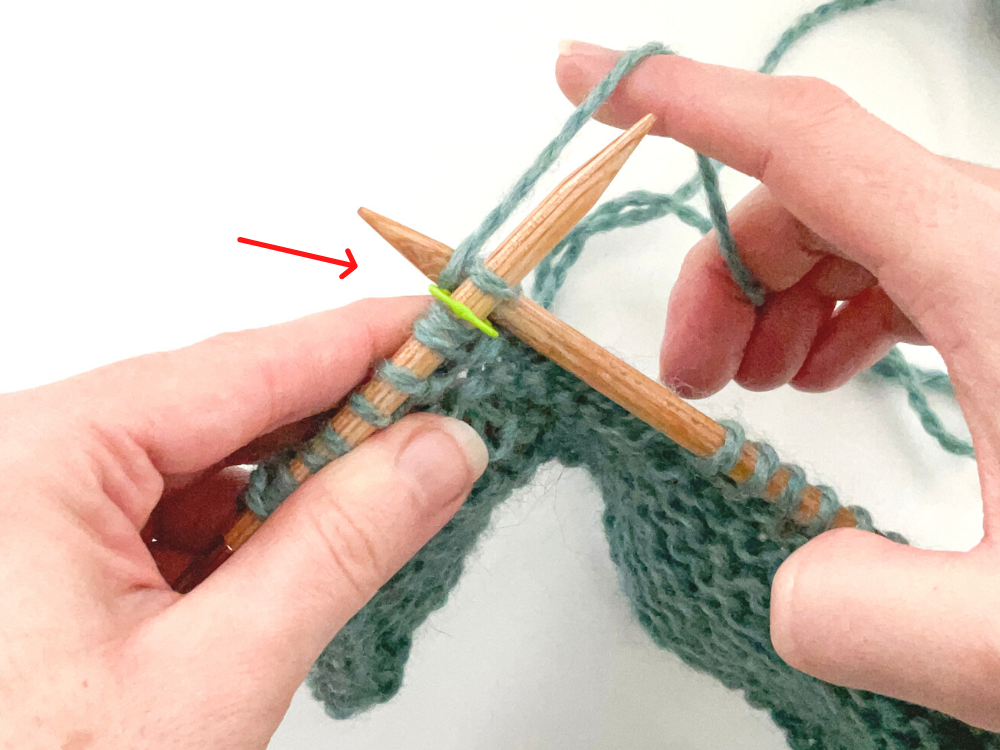
8. To cable cast-on next stitch, insert right needle in-between 2 stitches on left needle, and then repeat steps 4-7.
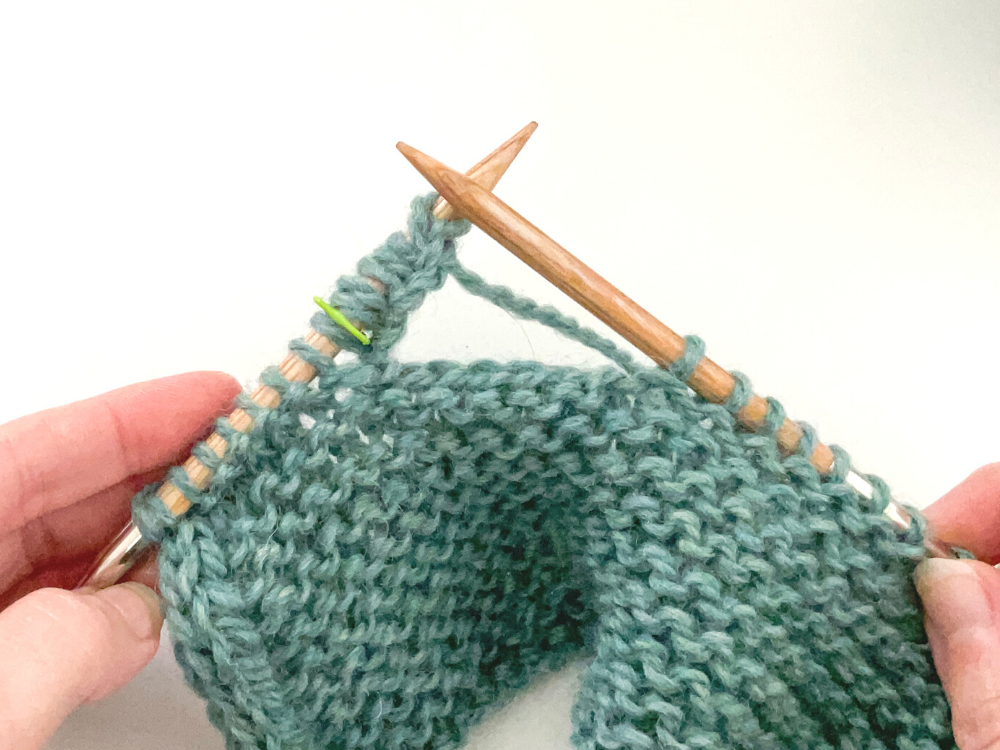
9. Repeat until 7 (9) stitches have been cable cast-on (you can count from marker).
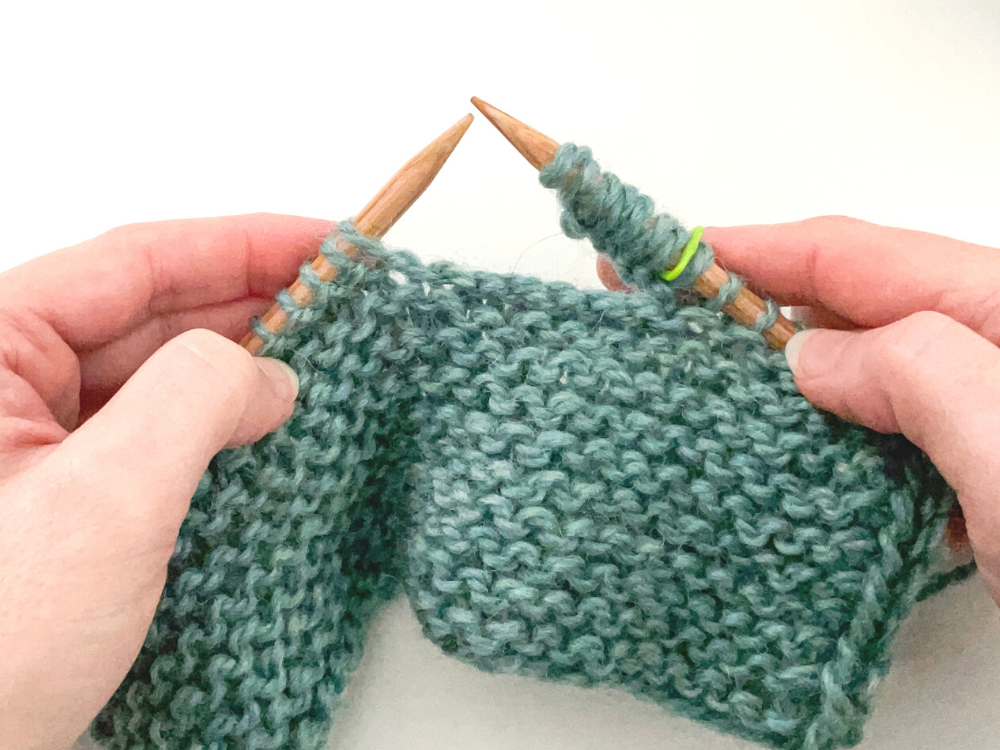
10. Turn work so WS is facing you again.
Step 4:
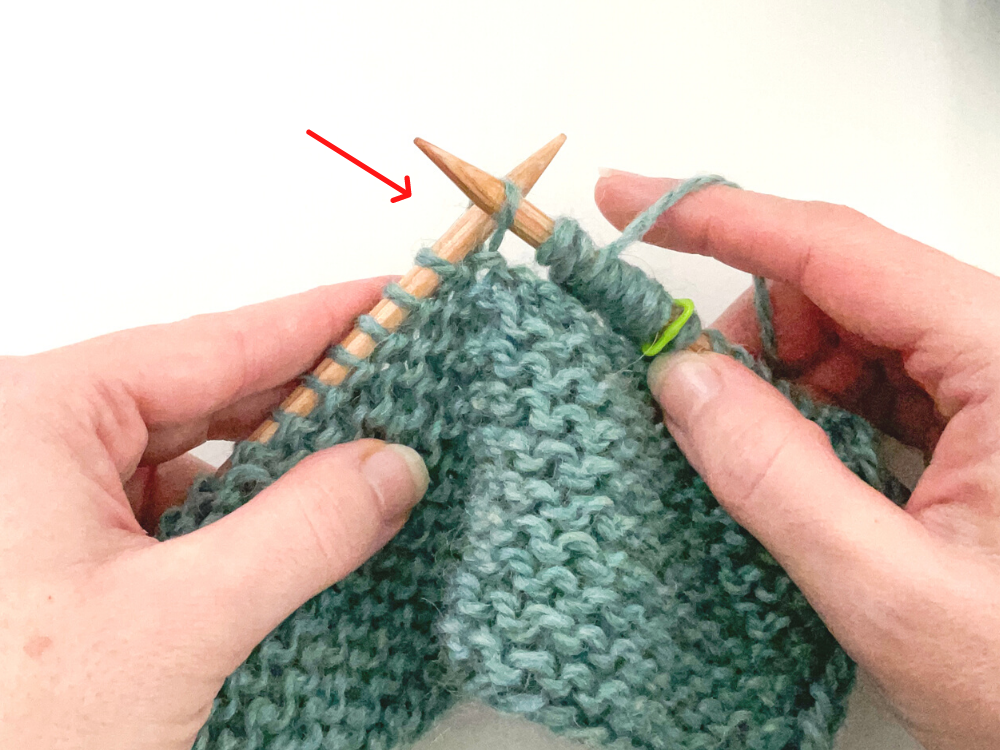
1. Work “sl1 pwise wyif” as follows: insert right needle into next stitch on left needle as if to purl and slide it onto the right needle.
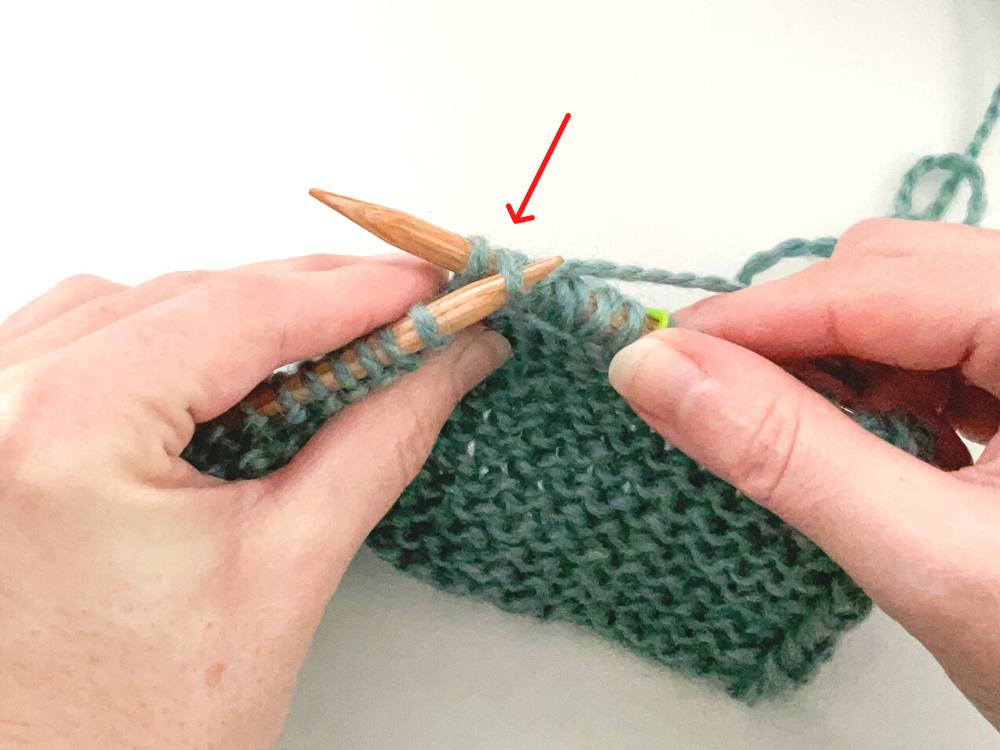
2. Insert left needle into 2nd-stitch-in on the right needle…
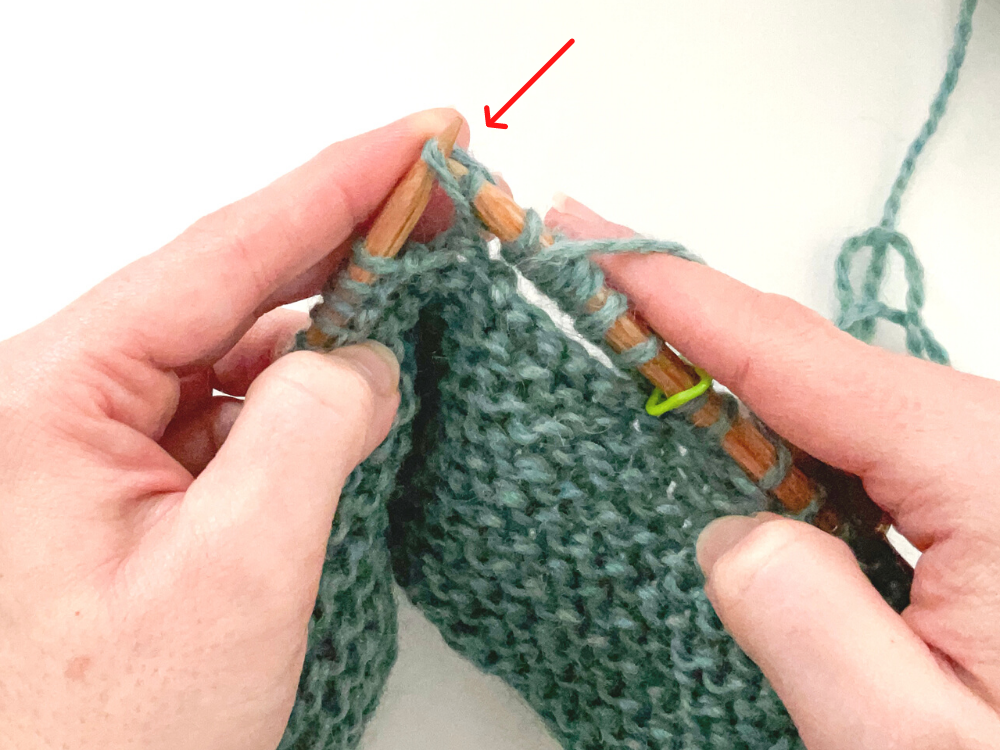
3. …And lift it up and over the last stitch and off the right needle.
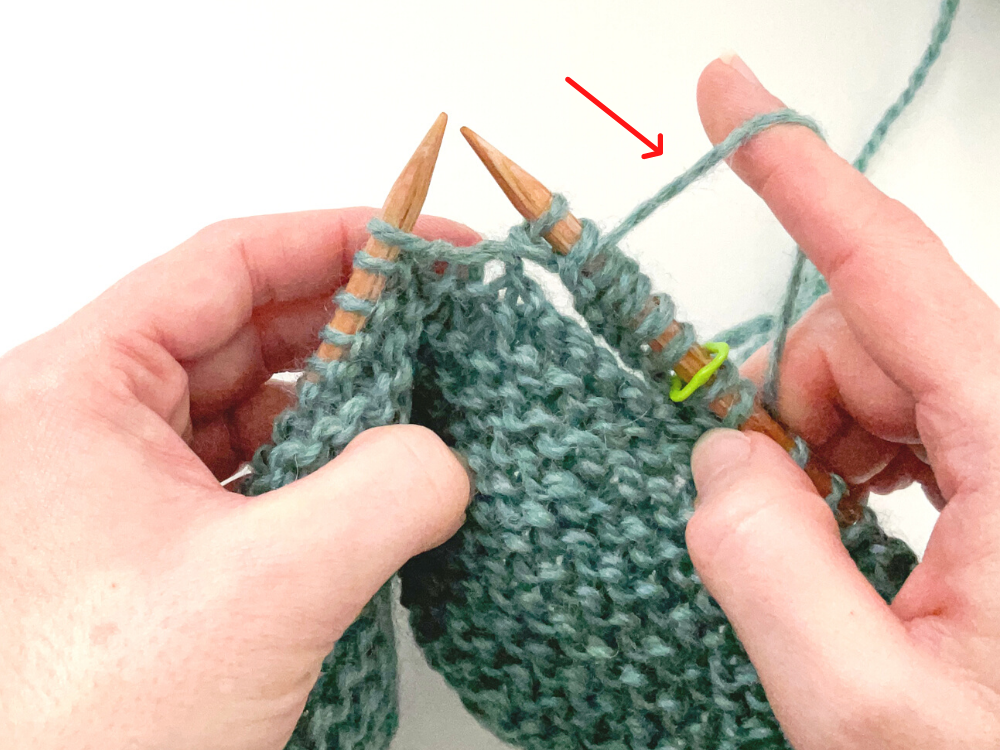
4. Give yarn a little tug to tighten up stitch.
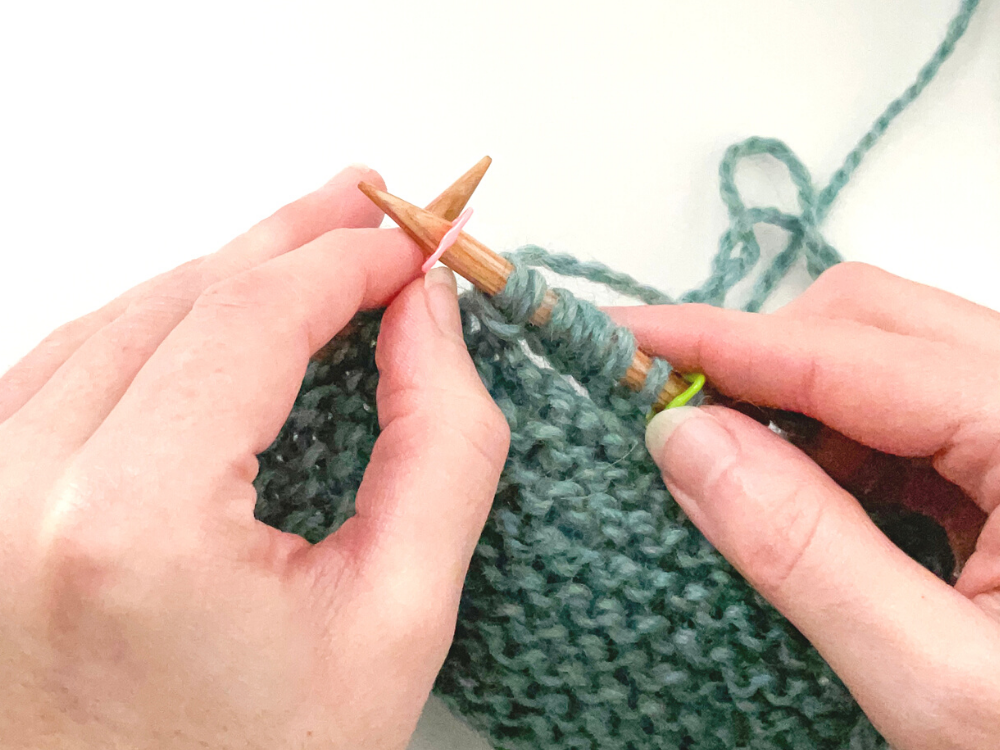
5. Bring yarn to back of work and place marker on right needle.

