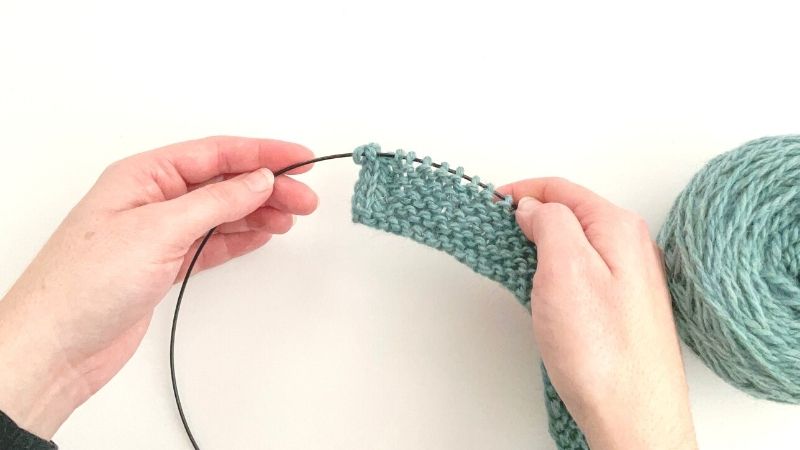
Study Buddy Mitts Icord Edge
Below are my photo tutorials that walk you through how I worked the icord slip stitch edge in my Study Buddy Mitts pattern (which is created by working “sl2 pwise wyif” at the beginning of every WS row). You can also view my video tutorial of this technique here (note: I used icord edge version 1 in Study Buddy Mitts, but just on 1 side). At the bottom of this page I also show you how to know how to put these edge stitches back on the needle should you ever need to rip your work out.
How to sl2 pwise wyif (slip 2 purlwise with yarn in front)
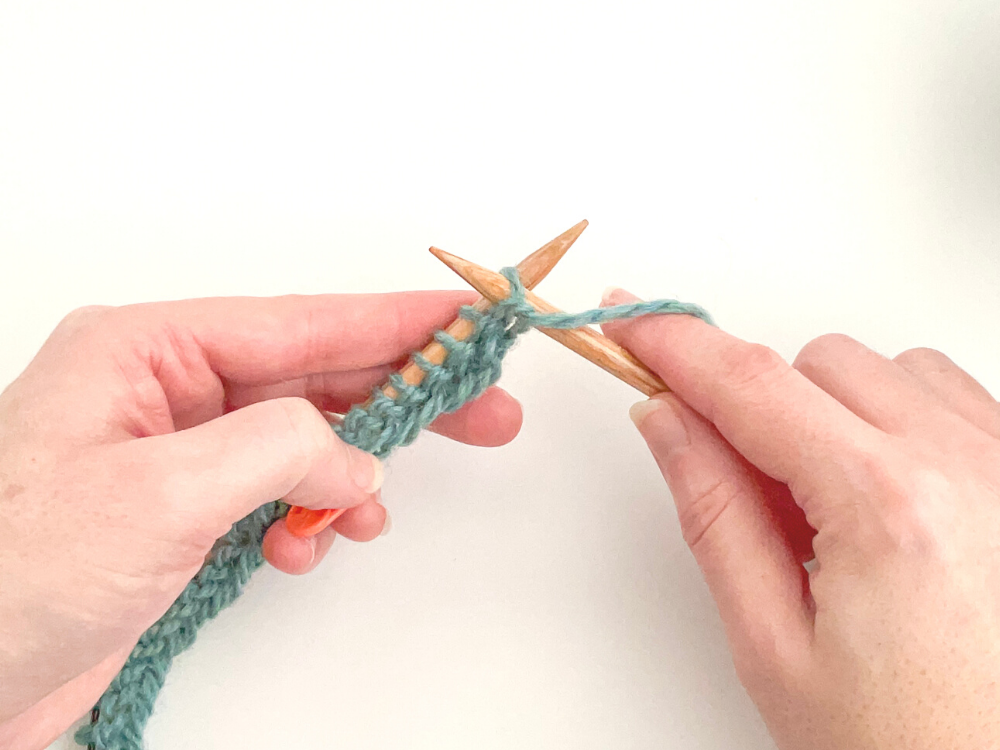
- Holding yarn in front, insert right needle into first stitch as if to purl and slide it onto the right needle without working it.
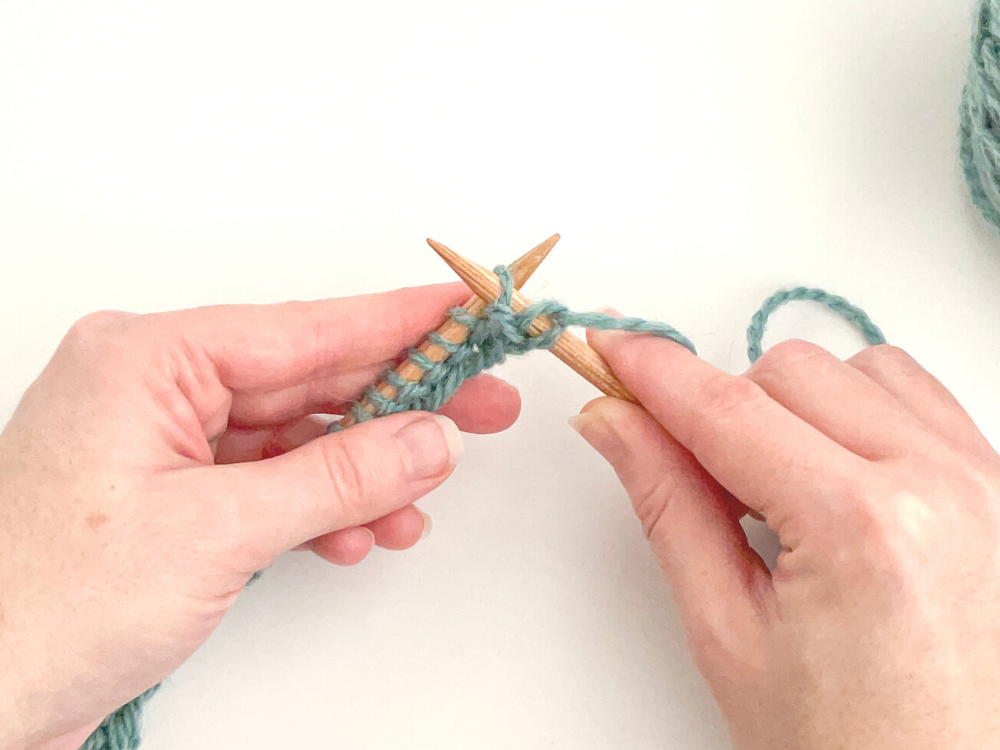
2. Repeat step 1 for the second stitch.
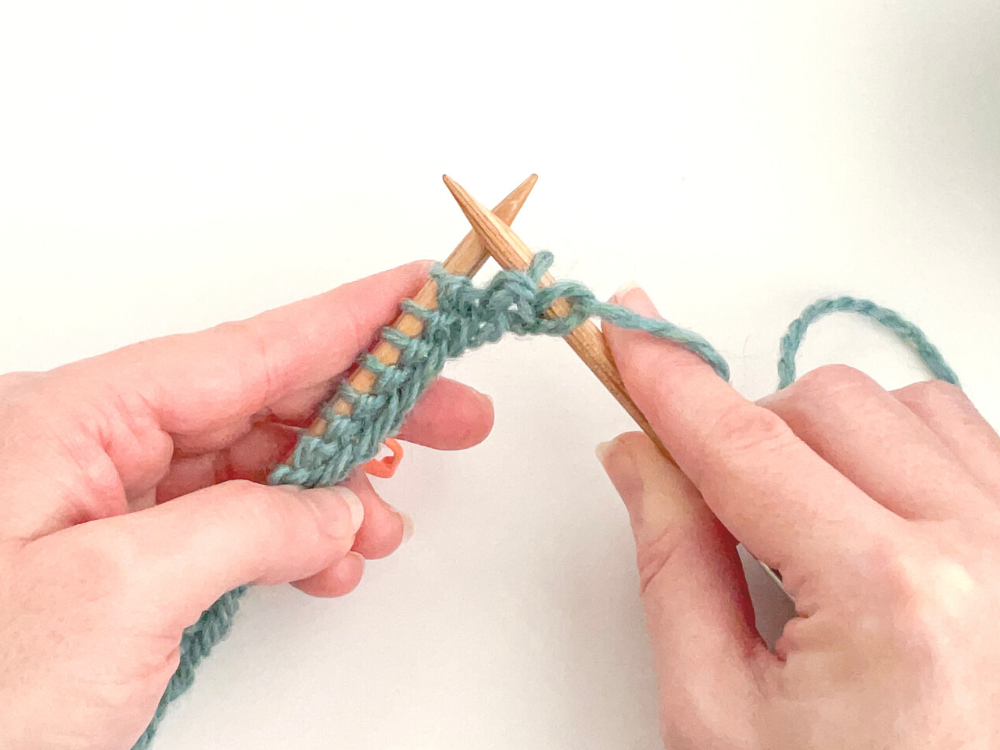
3. You’ll have 2 slipped stitches on the right needle.
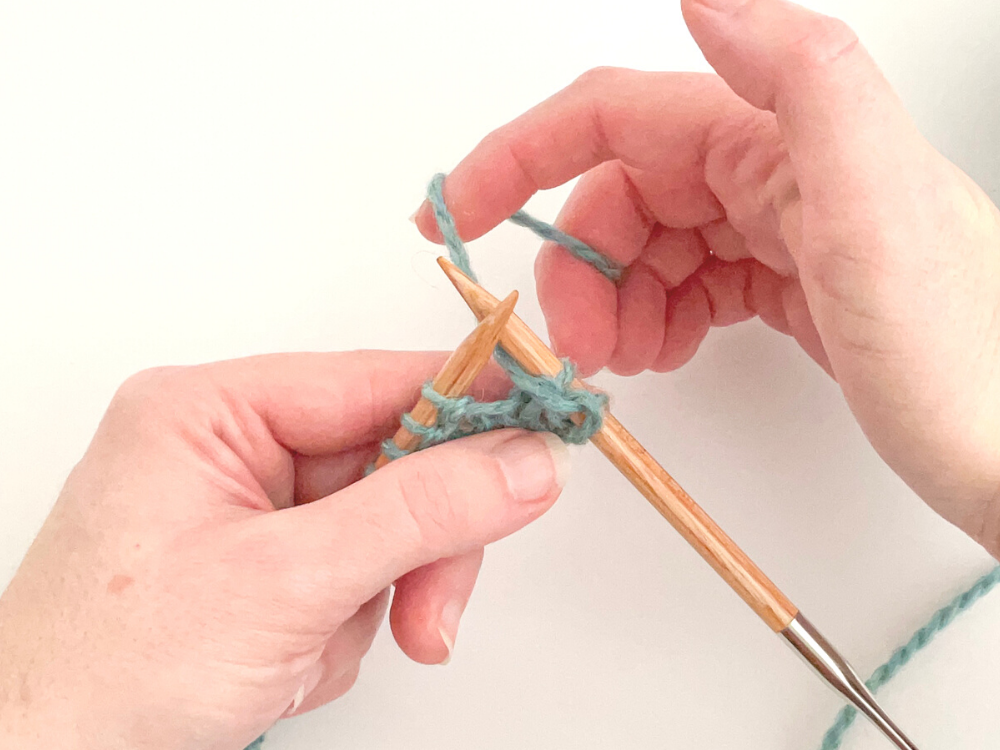
4. Bring yarn to the back of work. Note: when you knit the next stitch, give stitch/yarn a little tug to help tighten up the edge.
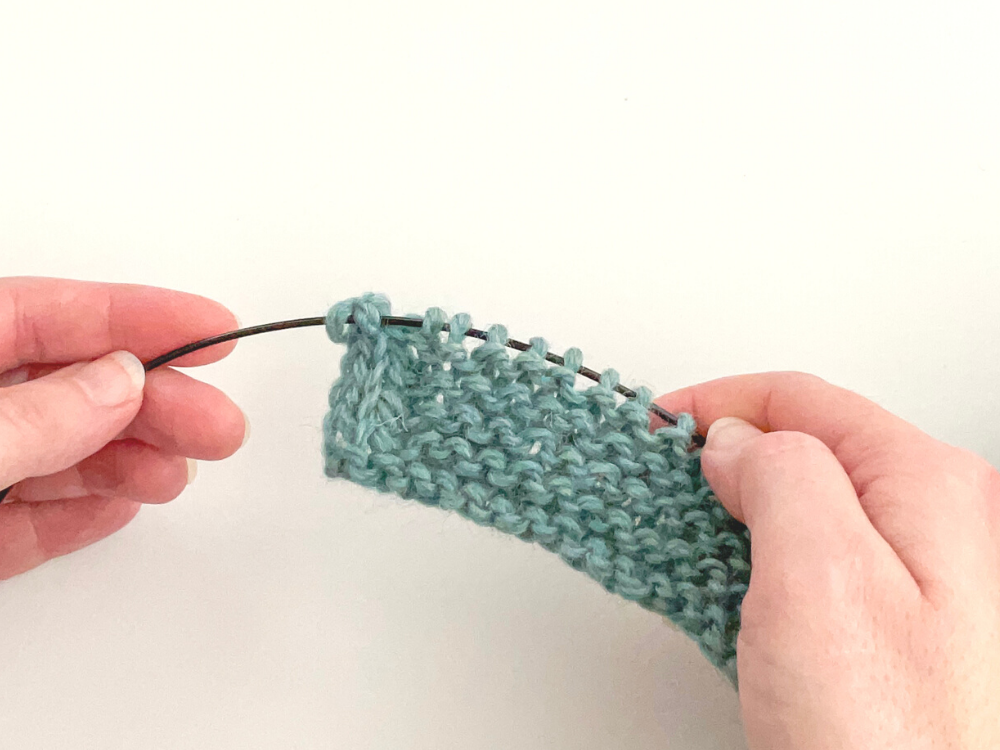
5. Over time, the RS of the edge will look like this
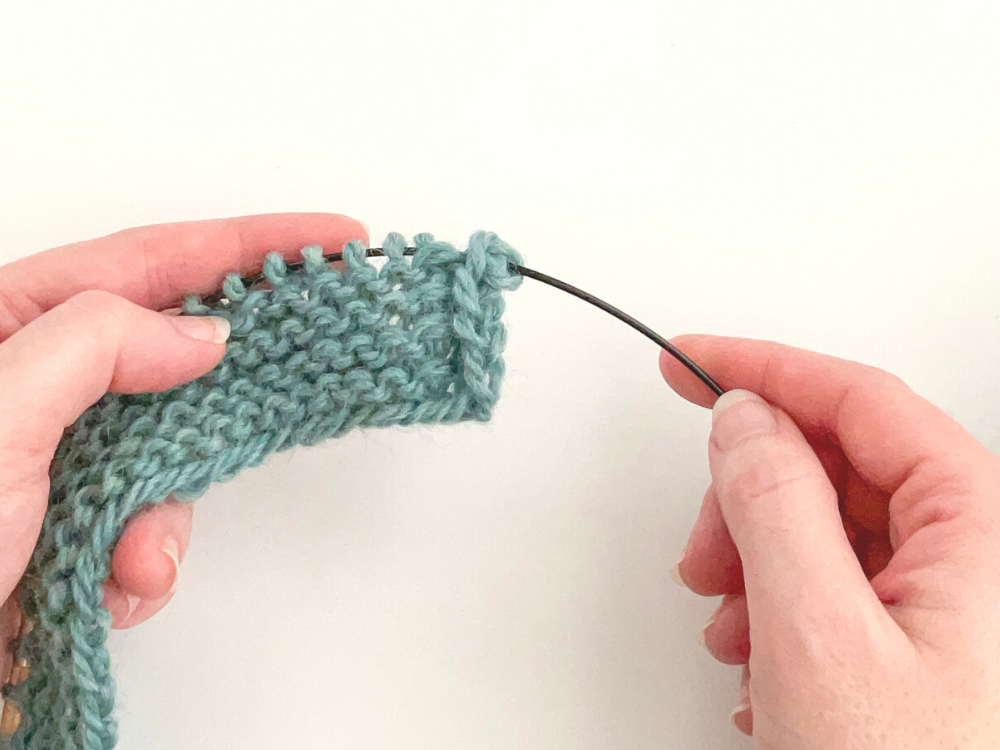
6. …And the WS will look like this.
Note: It takes at least 1/2″ or so for the icord edge to look “right” – it often looks a little loose at first. If you find it continues to look too loose, tighten up how you knit the first stitch after the edge (or try knitting into the back of this stitch).
How to treat icord edge if you have to rip out
Should you have to rip out at any point, figuring out how to put your icord slip stitch edge stitches back on the needle can be tricky. The below photos show you the right orientation to use.
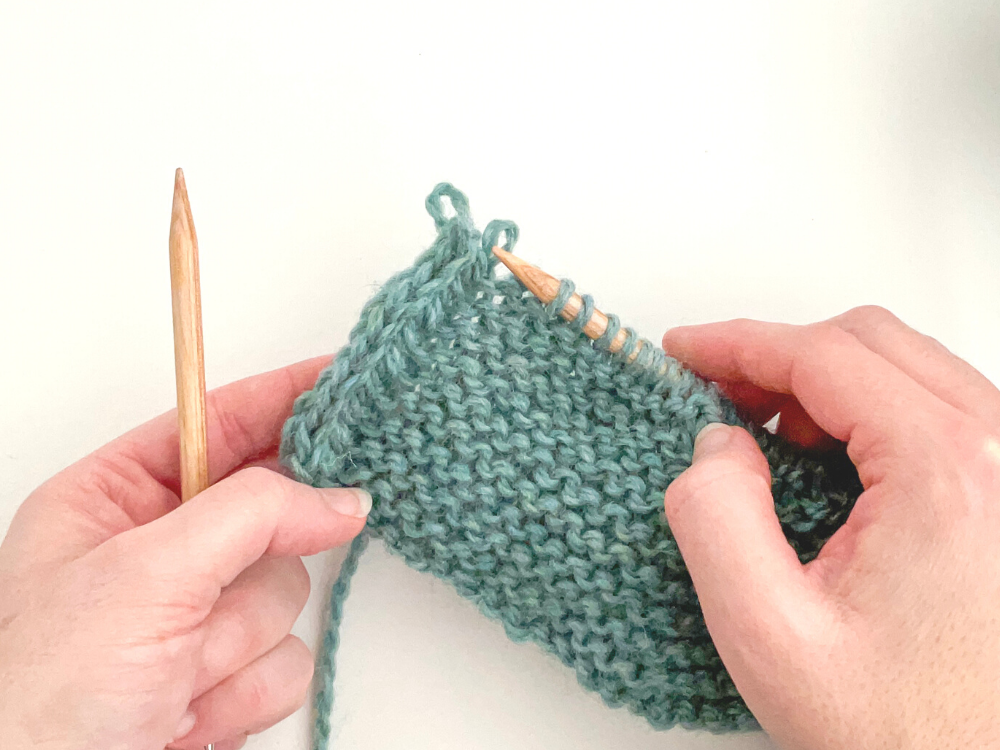
- Here is how your icord edge stitches look off the needle – this is the correct position they should be in before you put them back on the needle.
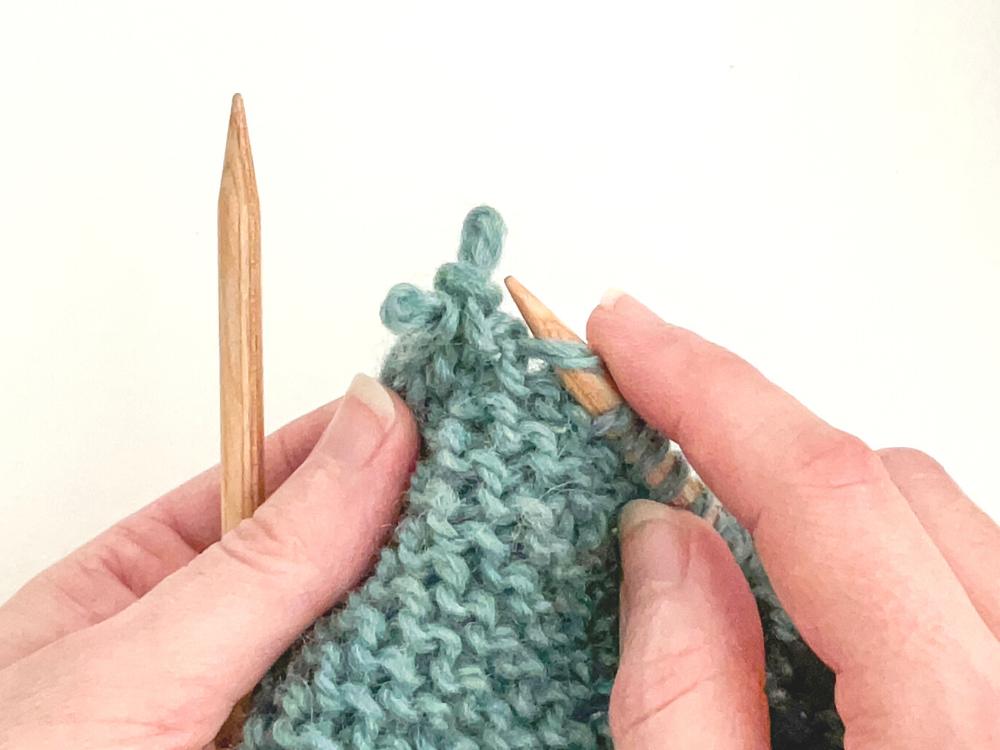
2. This is the incorrect position (as you can see, I’ve turned the orientation a bit with my left hand).
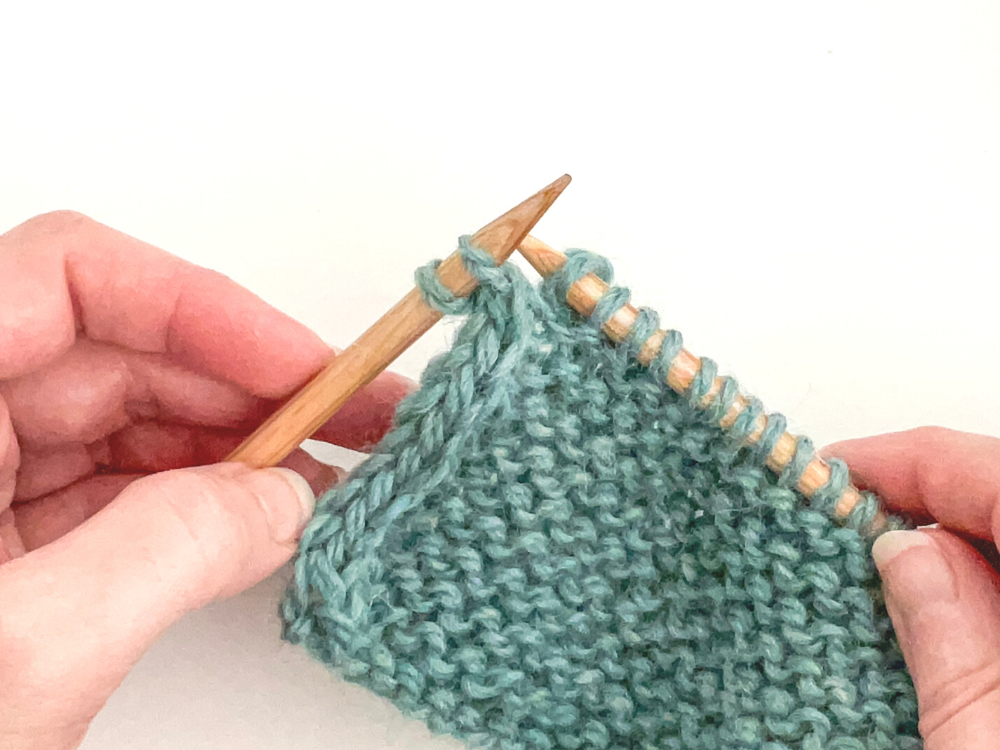
Here is how the stitches look when they are on the needle in the incorrect position (as show in #1.

