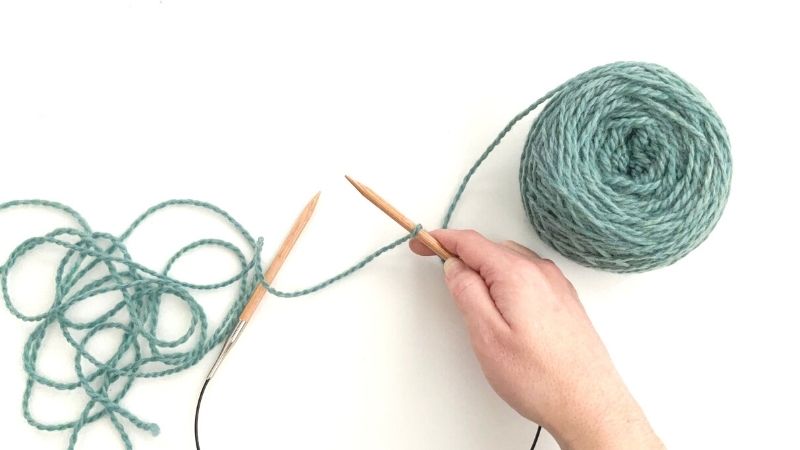
Study Buddy Mitts Cast-On
Below are my photo tutorials that walk you through how I worked the long-tail cast-on in my Study Buddy Mitts pattern. I used the thumb method of this cast-on – you can also view my video tutorial of this cast-on here.
Estimating the long tail
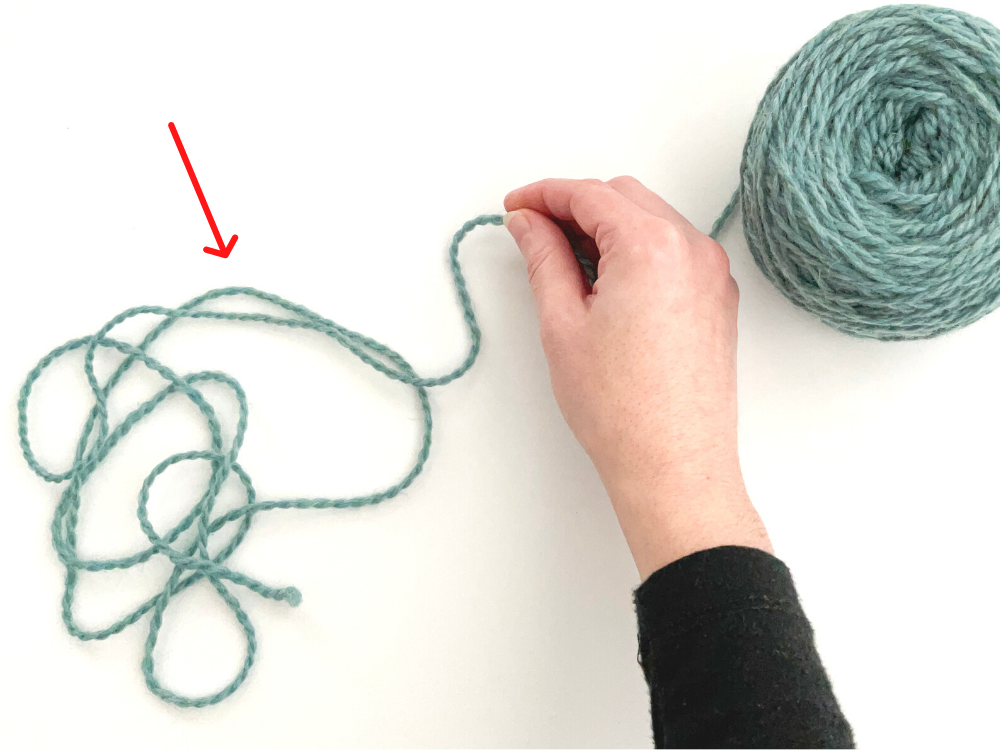
- First create a tail that is approx. 30″ long. This tail is used later, during the Finishing section.
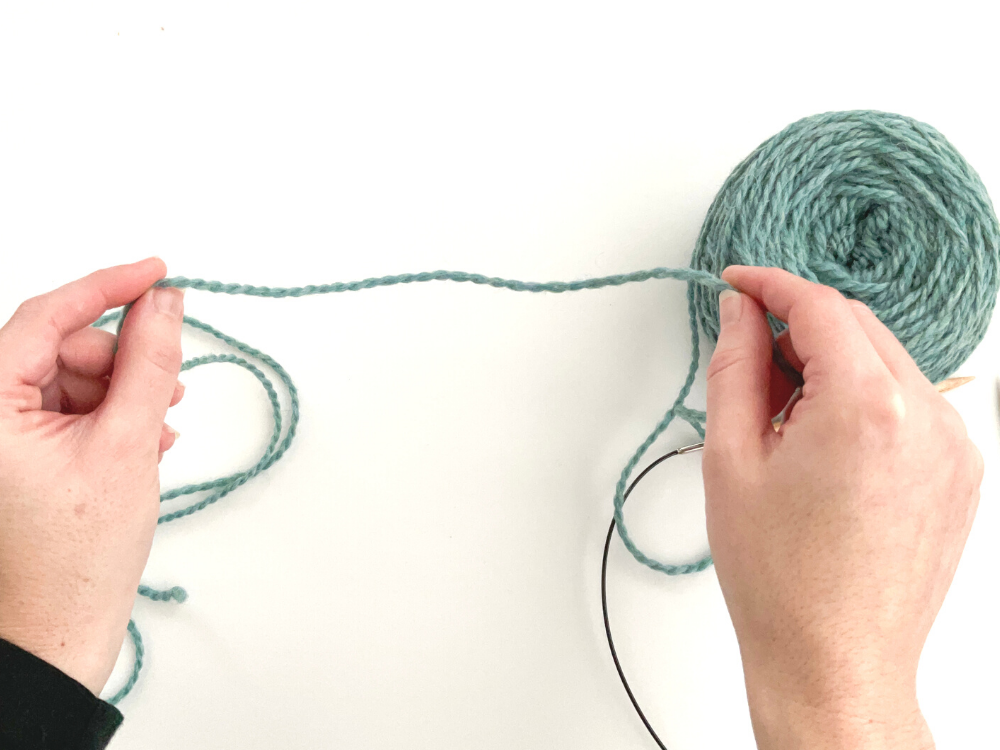
2. Now you want ‘extra’ tail to use for the actual casting-on. I estimate how much I would need to cast-on 10 stitches…
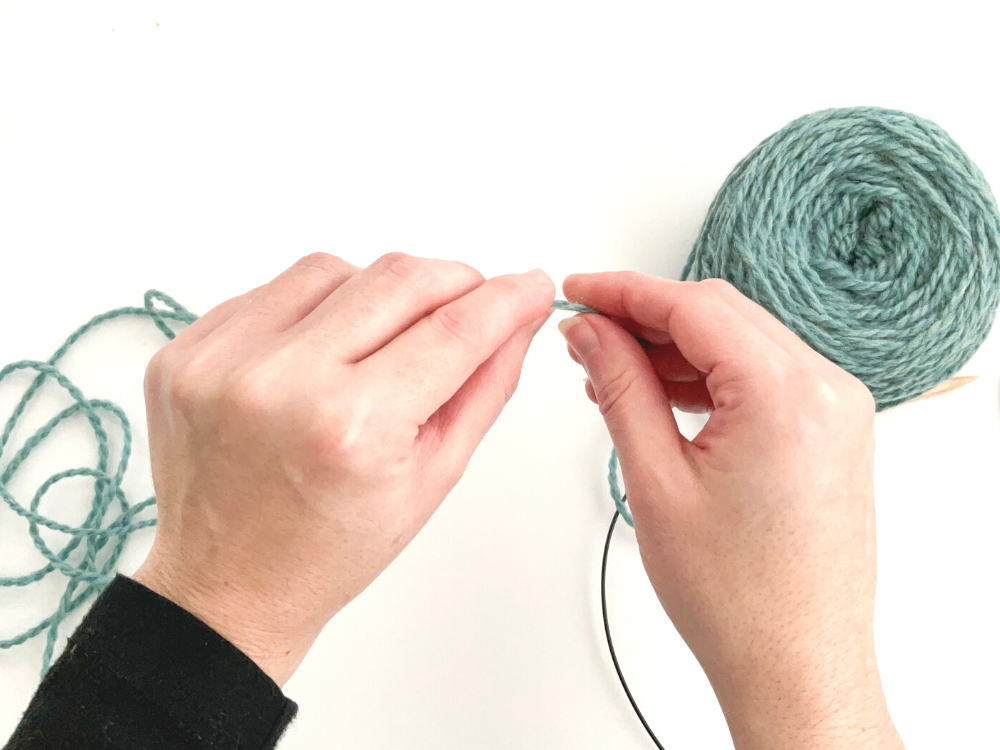
3. Then I pinch at that point…
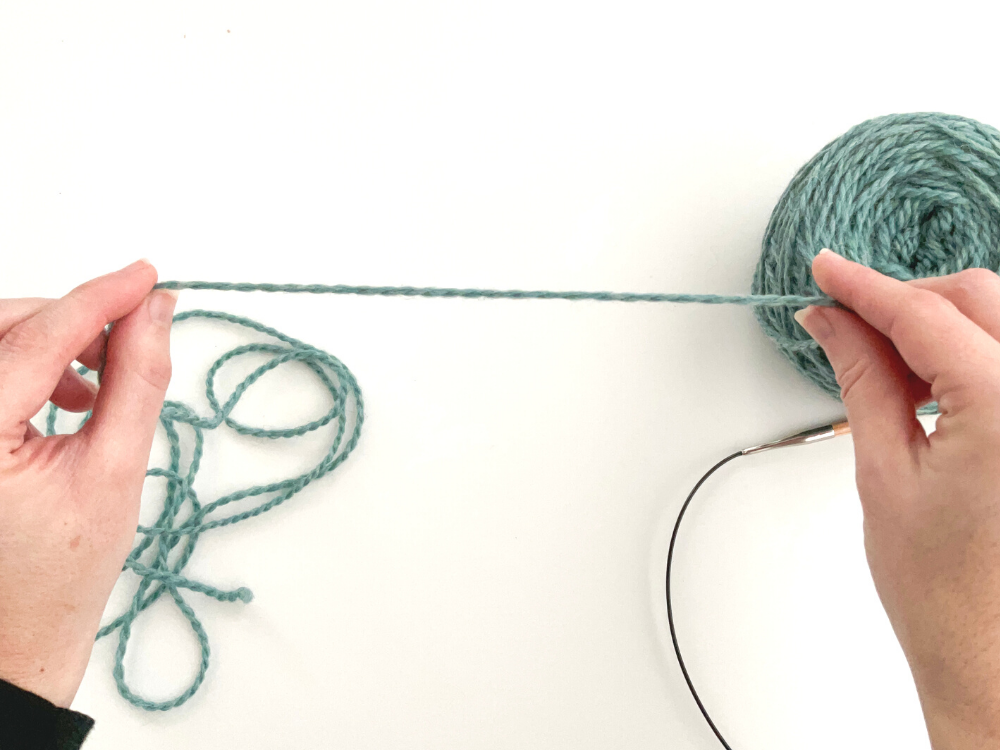
4. …and then estimate another 10 stitches worth. I continue like this until I’ve estimated the total cast-on amount.
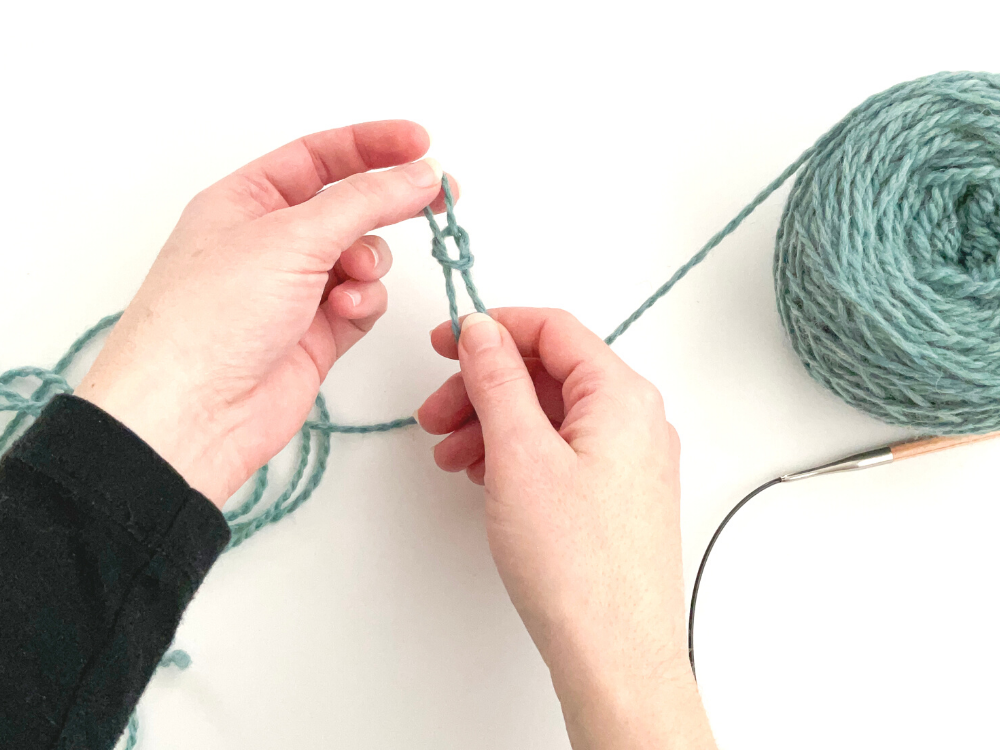
5. Then I make a slip knot.
Working the long-tail cast-on (thumb method):
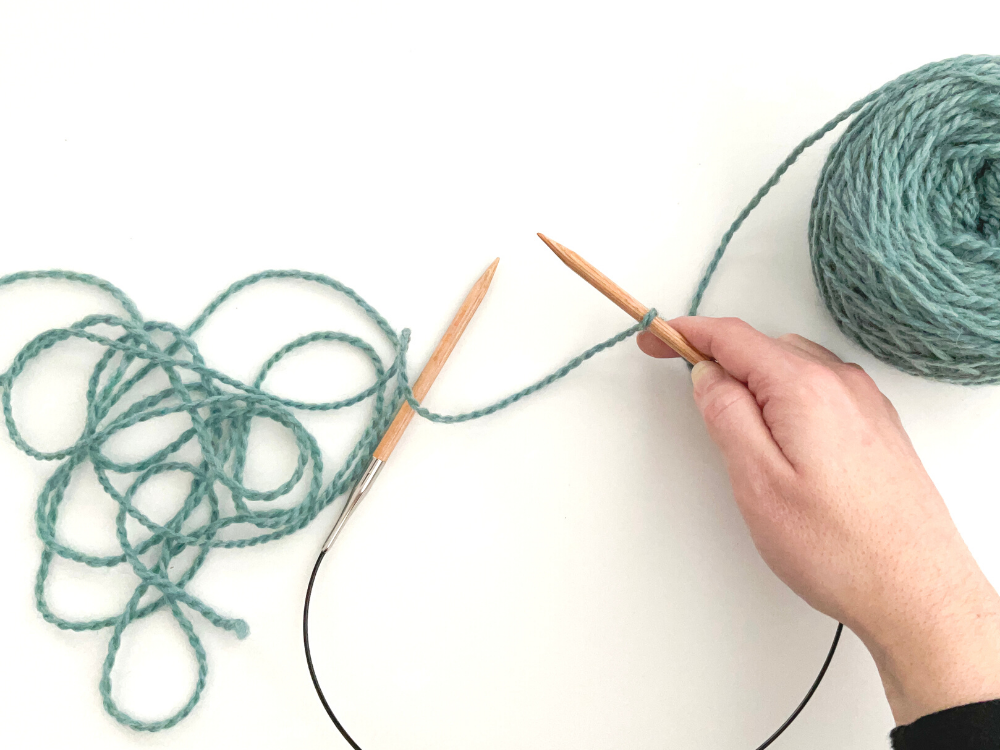
- Put slip knot on needle – this counts as first cast-on stitch. Long tail should be on your left and working yarn on your right.
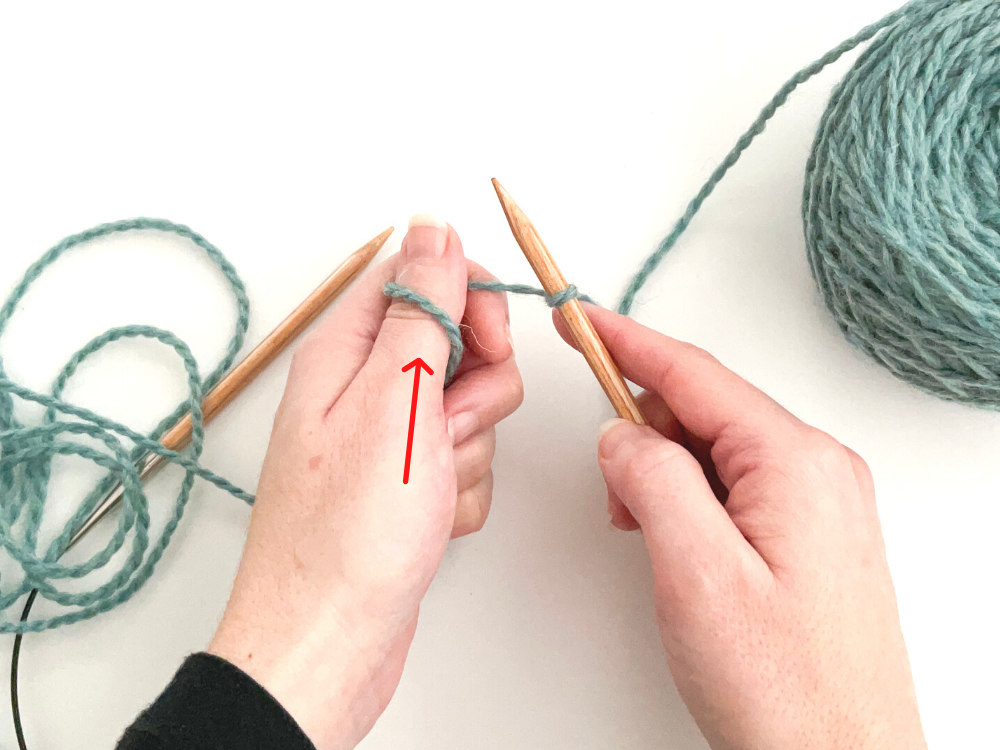
2. Create loop on left thumb by wrapping tail yarn around thumb, from front to back.
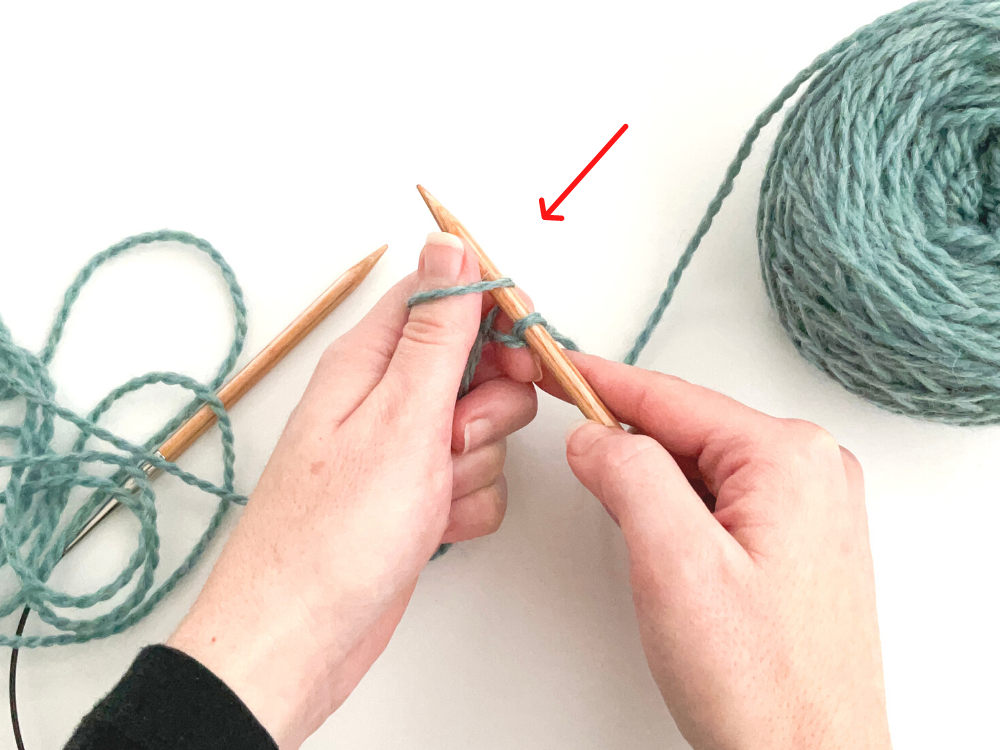
3. Insert needle tip into this thumb loop.
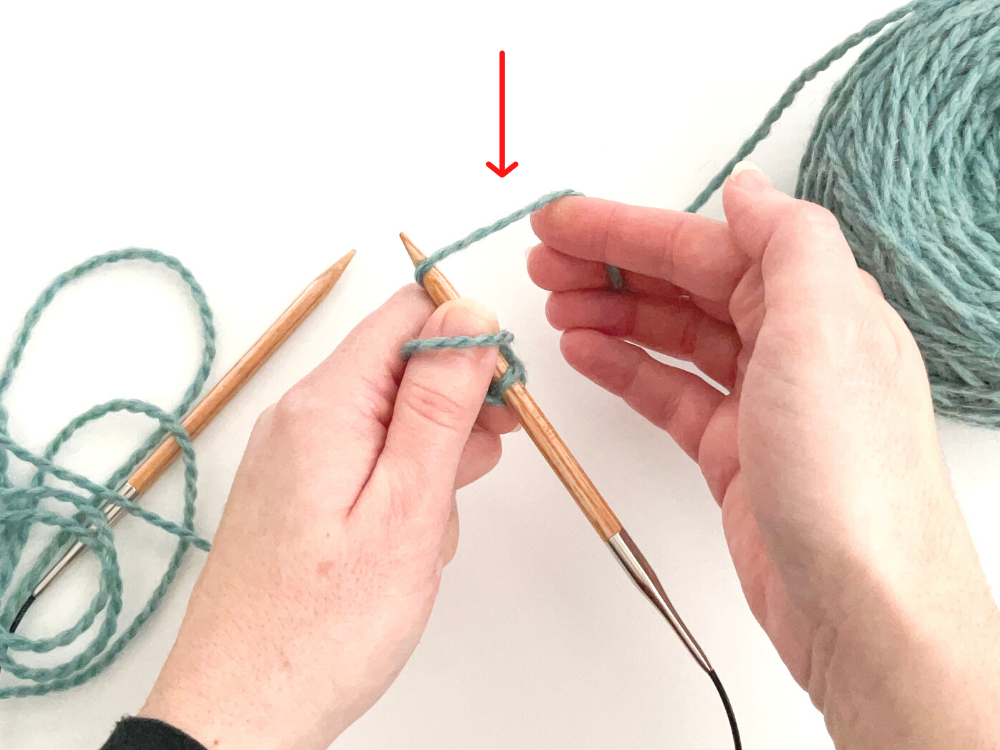
4. Holding needle with left hand, wrap working yarn around needle, from back to front.
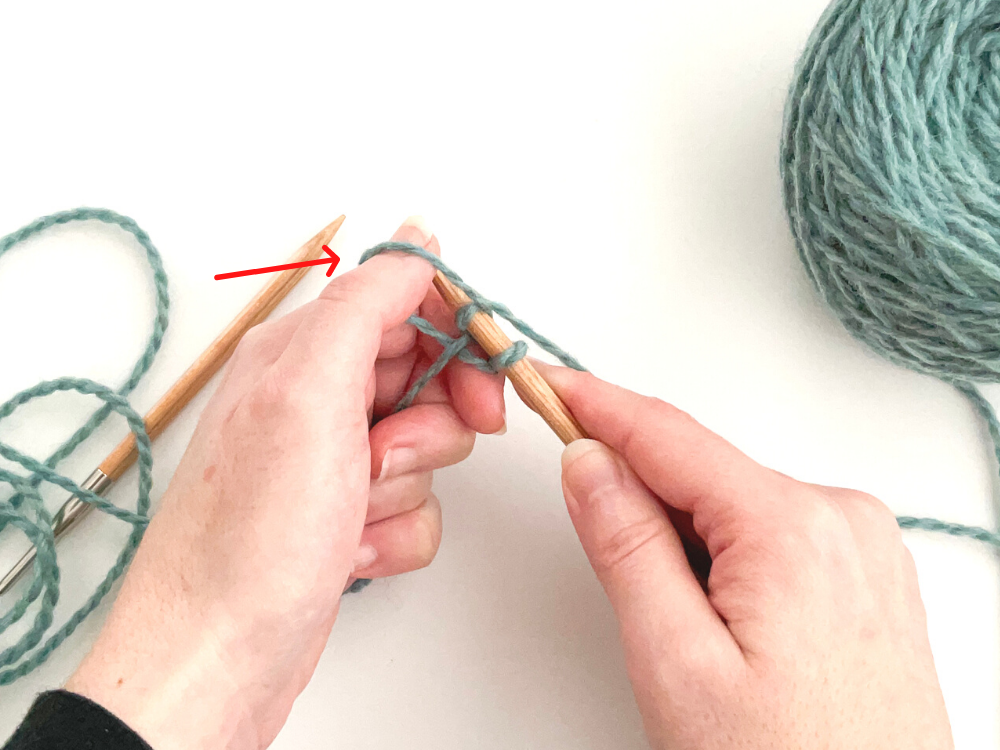
5. Lift the thumb loop up and over the needle tip.
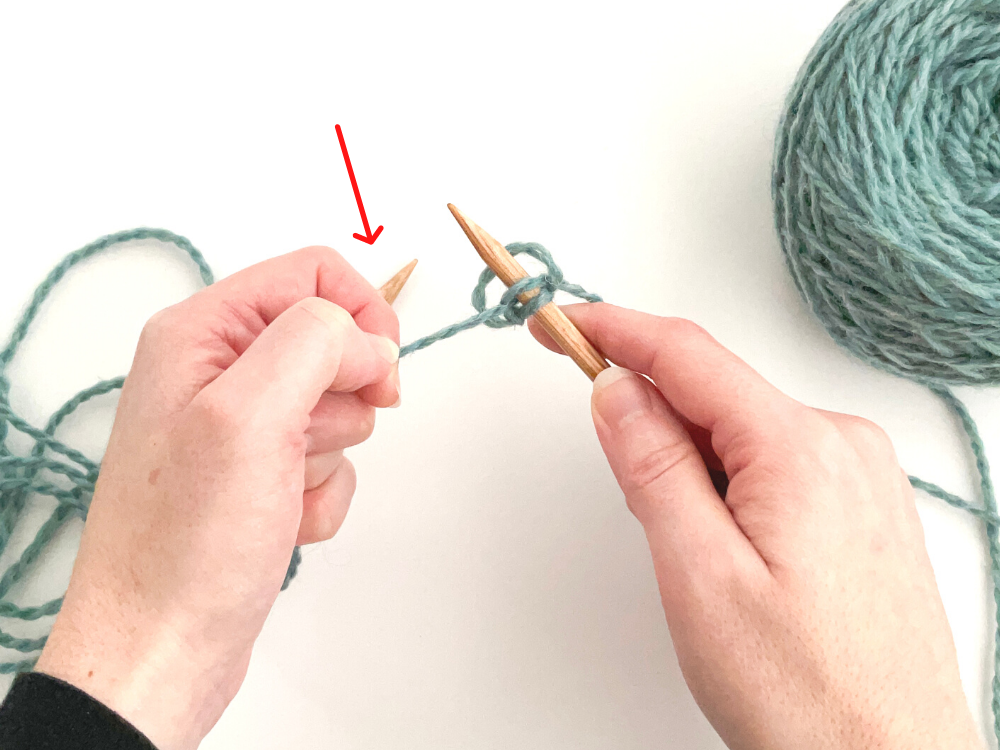
6. And then gently tug the tail to secure stitch on needle.
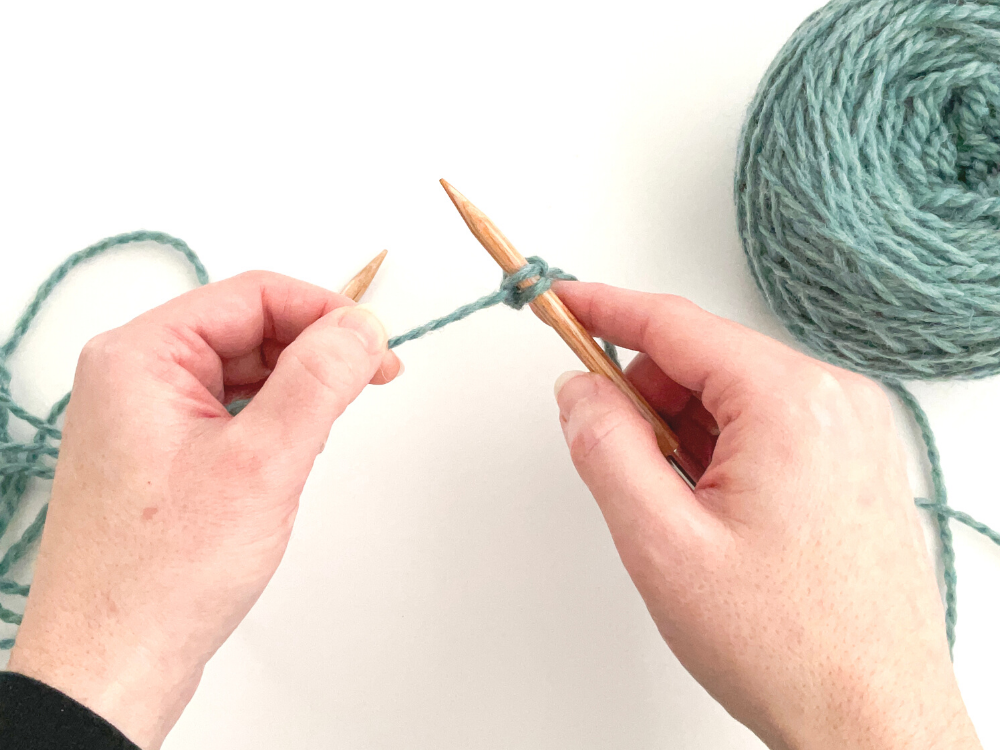
7. Try not to tug too tightly – you don’t want the stitches cast-on too tightly in this pattern.
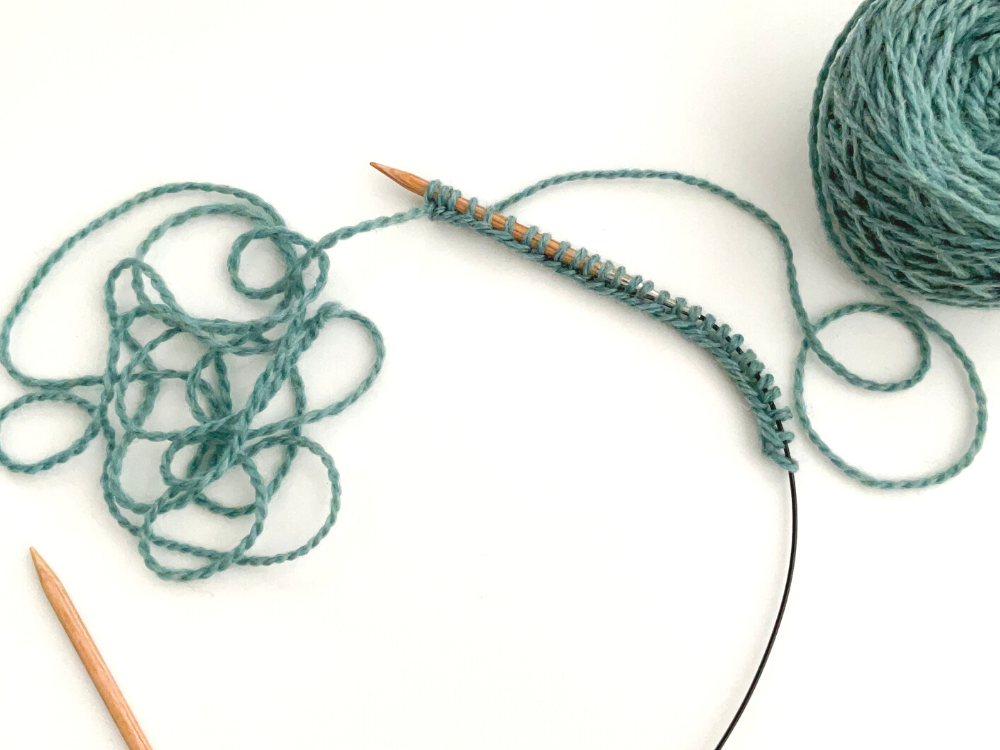
8. Continue in this manner until all your stitches have been cast-on.

