Joining Shoulders in Brookdale Vest
There are 3 sections to finishing the Brookdale vest: 1) Join Shoulders, 2) Join Front Panel Ends and 3) Join Back Neck (where panels are attached to the back neck). For this part of the instruction, you may find it’s best to be working at a table so that you can spread your work out (especially for the first 2 sections). The Finishing may seem a bit cumbersome, but just take it one instruction at a time 🙂 Below I have provided both video as well as photo tutorials of these steps. You can refer to either (or both!).
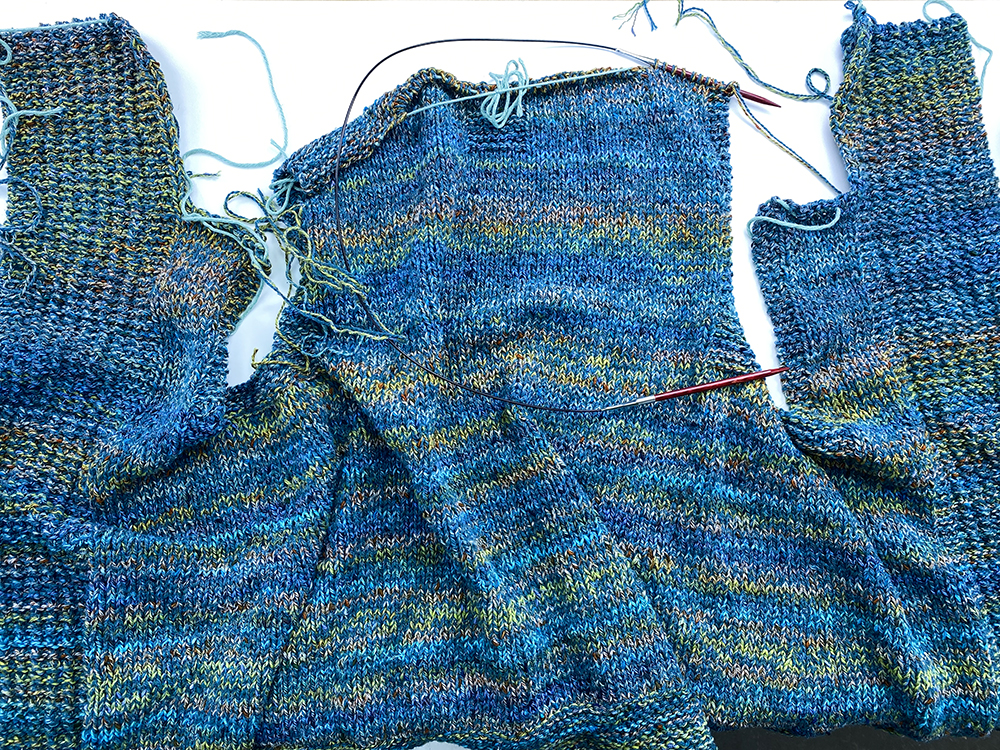
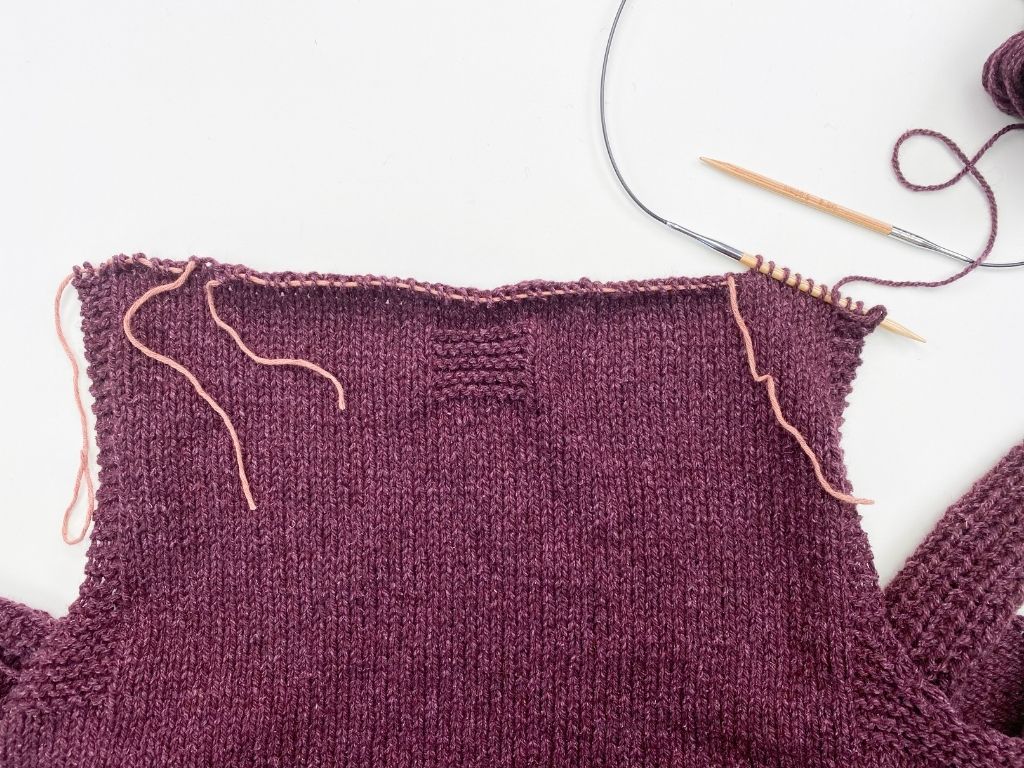
First, here is a visual of what your piece will look like before any finishing is started. The only stitches on the needle at this point are your Right Back Shoulder stitches.
Join Shoulders Section:
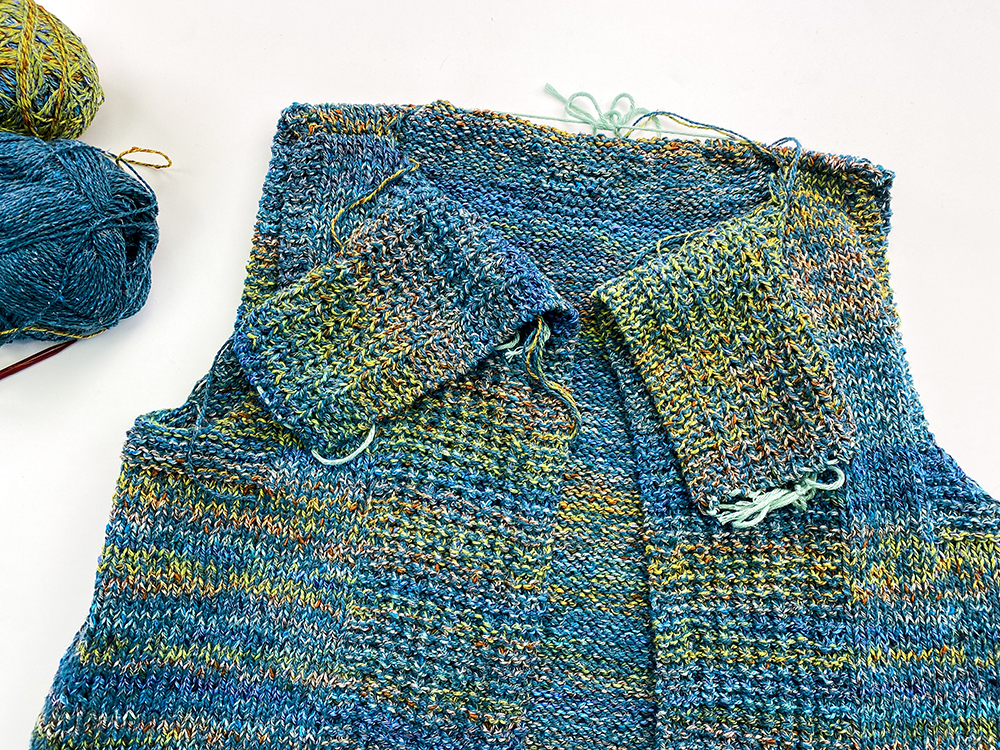
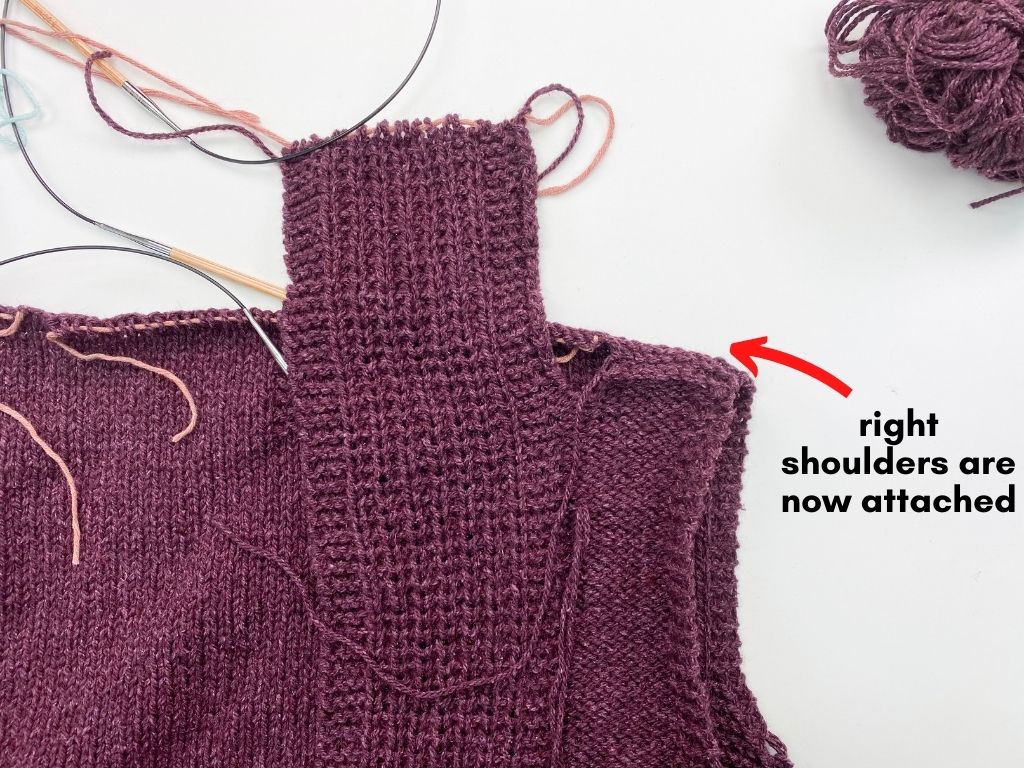
This first section is all about attaching the shoulders together. Once you’ve completed this particular section, your work will look like this:
So let me walk you through the Join Shoulders section. To watch the video lesson, click below! I highly recommend reviewing the video lesson especially if you are new to the Three Needle Bind-Off technique. And if after watching this lesson you still need a bit more help with the Three Needle Bind-Off, you can watch my beginners video here.
Video Lesson
Below is also a step-by-step photo tutorial of this section (in case you prefer looking at photos vs the video lesson).
Photo Tutorial
RIGHT SHOULDERS:
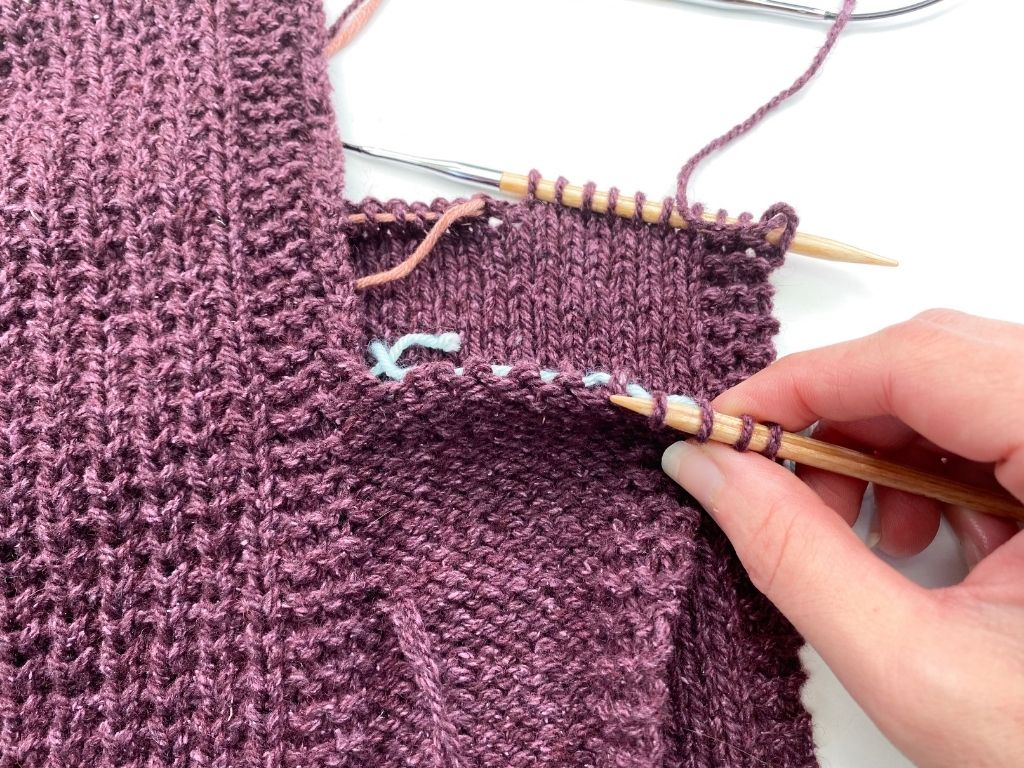
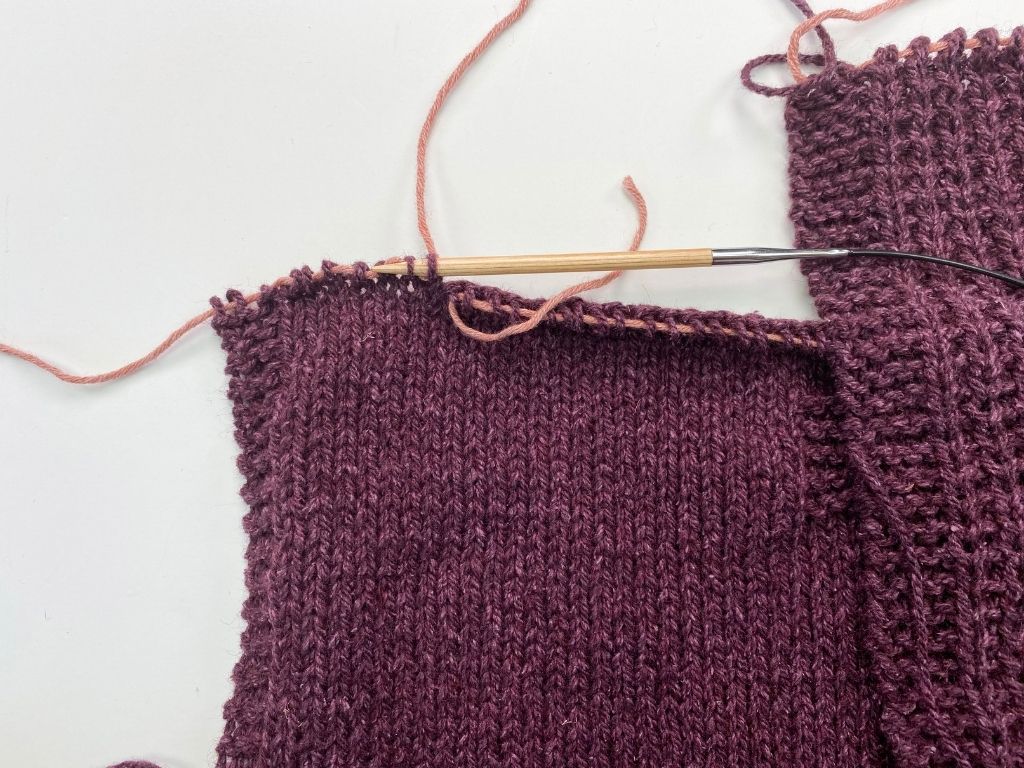
Step 1: Lay work out so that RS of Back is facing you and circ still containing the Right Back shoulder sts is on the right side (with needle pointing towards outer shoulder).
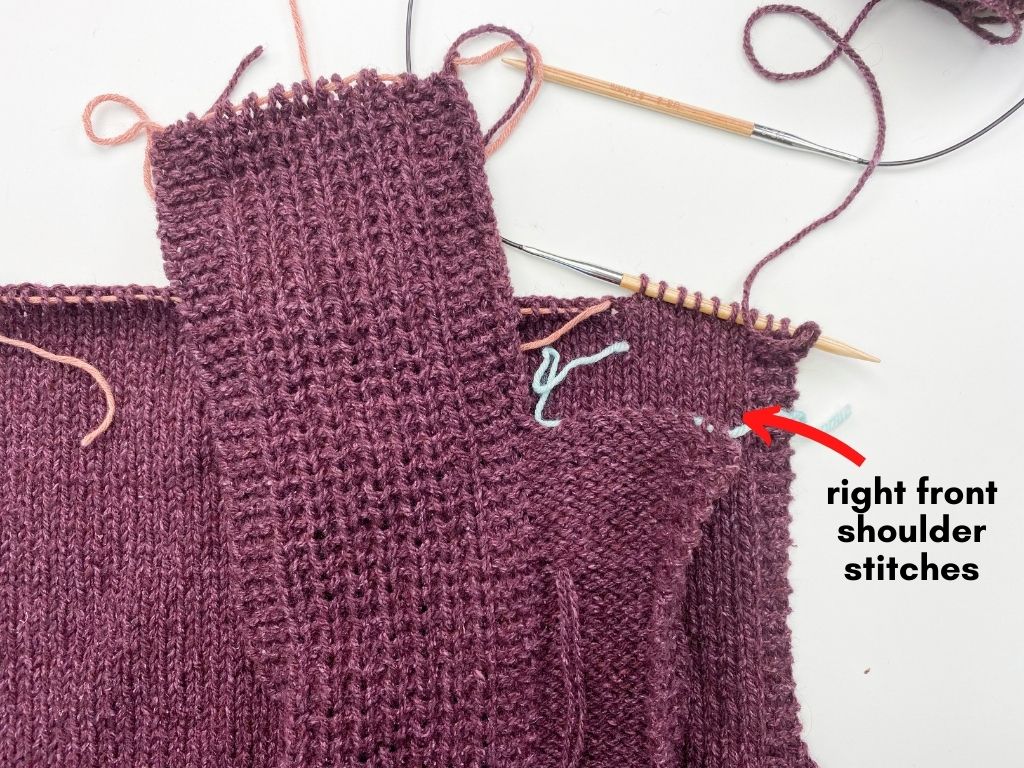
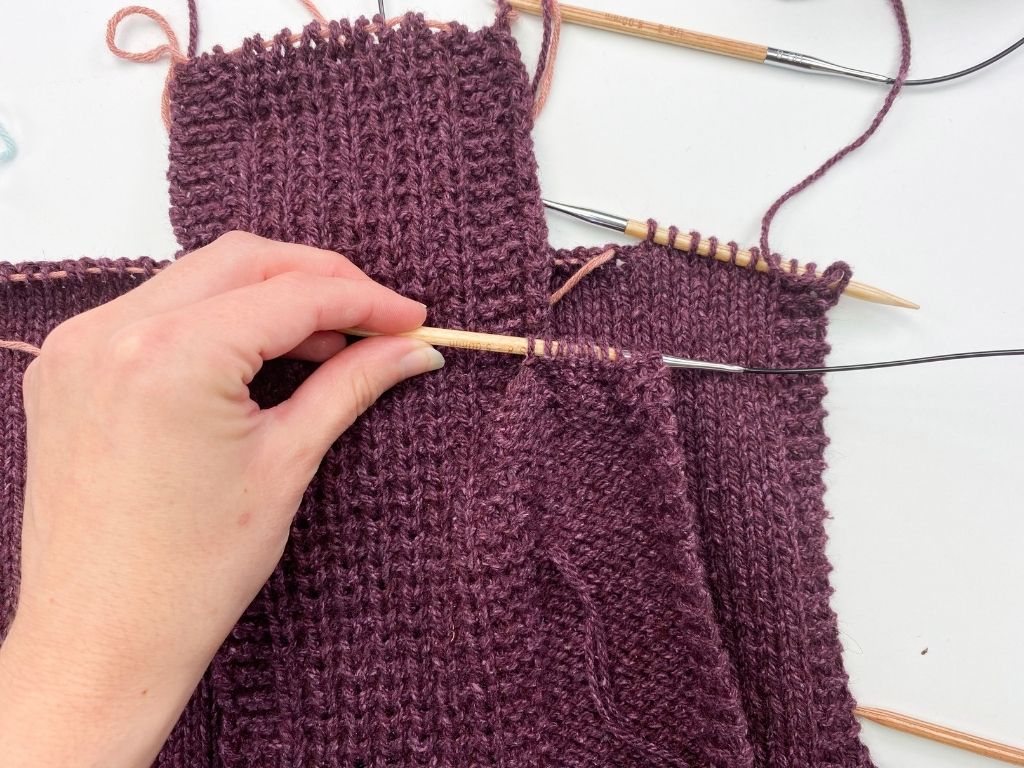
Step 2: Lay Right Front on top of the Back (WS of Right Front will be facing you).
Step 3: Transfer sts held for Right Front Shoulder onto extra US 8/5mm circ.
Step 4: Pull circ through so sts are resting on other end of circ with needle tip pointing toward outer shoulder edge.
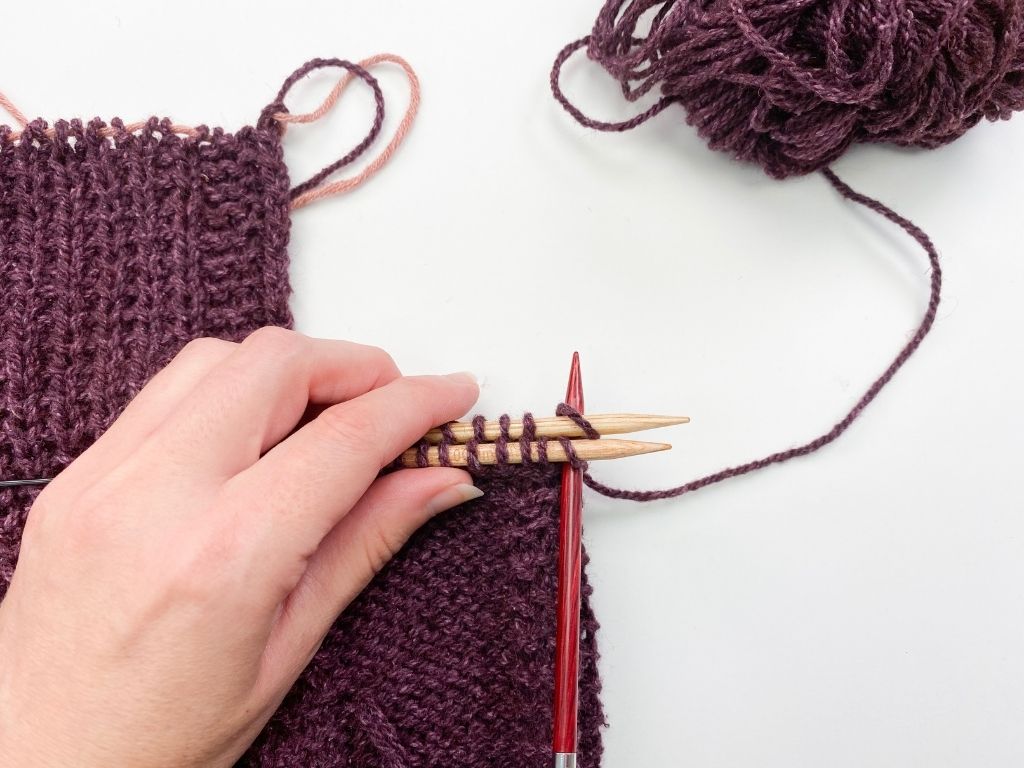
Step 5: Using yarn still attached to Right Back Shoulder, work the Three Needle Bind-Off technique to attach right shoulders together. Click here for video and photo tutorials of this technique.
LEFT SHOULDERS:
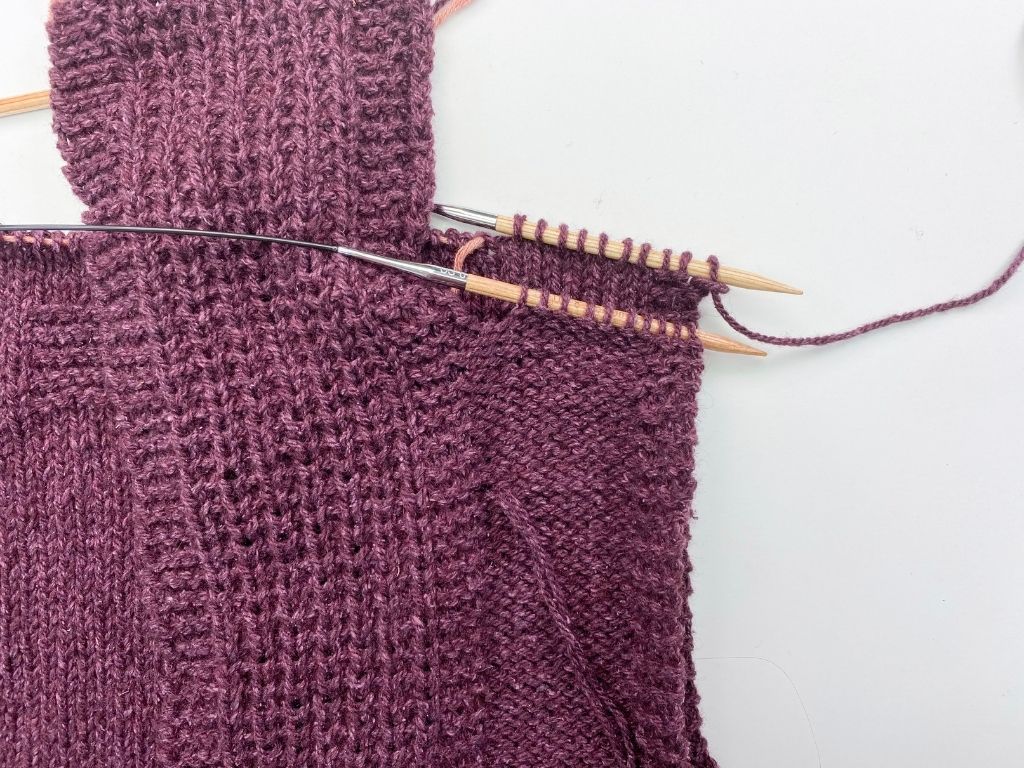
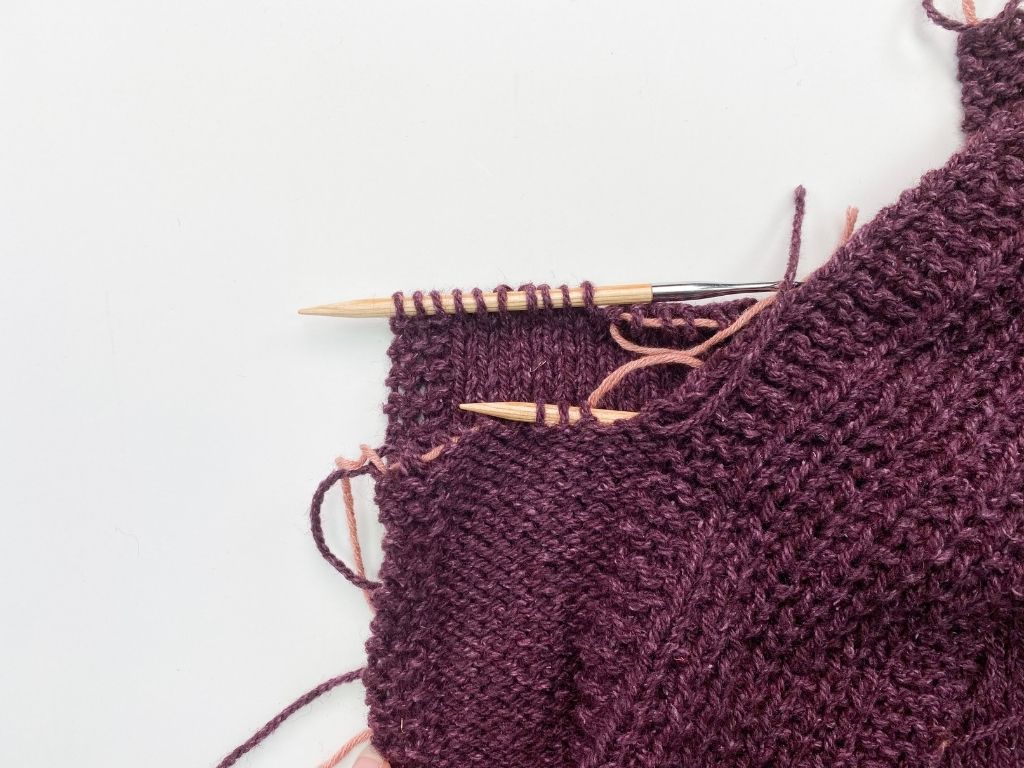
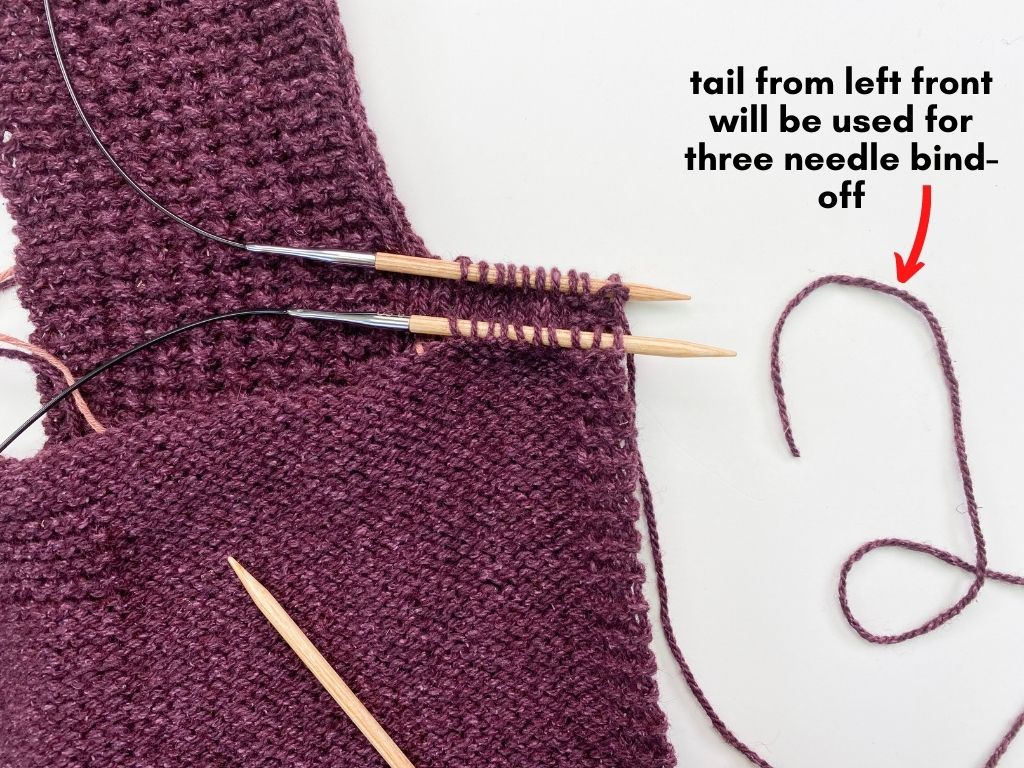
Step 1: Transfer sts held for Left Back shoulder onto one of US 8/5 mm circs (needle tip pointing toward outer shoulder).
Step 2: Then transfer sts held for Left Front shoulder onto other US 8/5 mm circ (with tip also pointing toward outer shoulder).
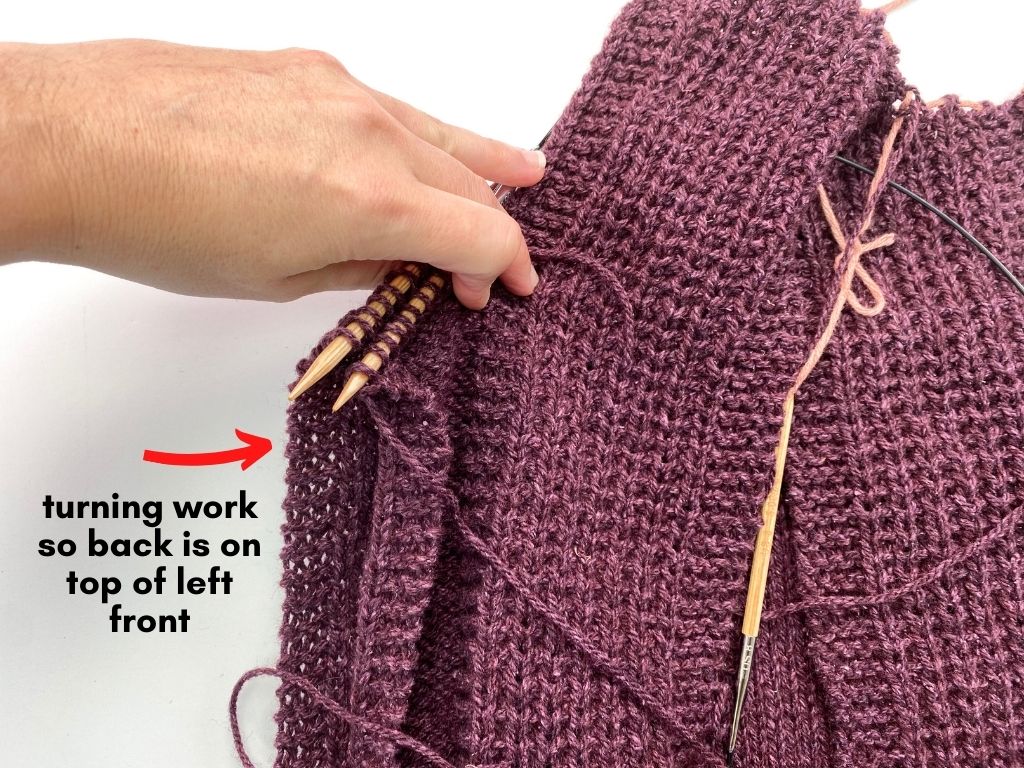
Step 3: Position work so RS’s are together (WS facing you), with Back on top of Front (you may need to flip work over in order to position it).
Step 4: Using long tail from Right Front, work the Three Needle Bind-Off technique to attach left shoulders together.
Now that your shoulders are attached you can move on to attaching the panel ends together!

