First Crocus Tips
On this page you’ll find tips & tutorials to help you make your own First Crocus! You’ll find information about:
- Picking a Size
- Yardage Info
- Swatching in the round
- Alternating skeins
- Hem icord edge (sl2 pwise wyif & wyib)
- Joining Hems
- Working eyelet stitch
- Armhole depth tips
- Other technique tutorials:
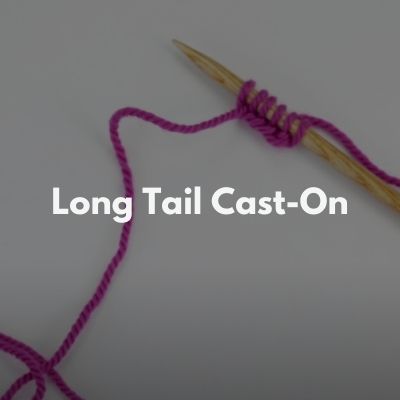
- Long tail cast-on
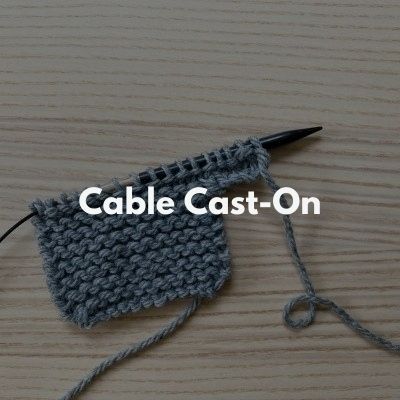
- Cable cast-on
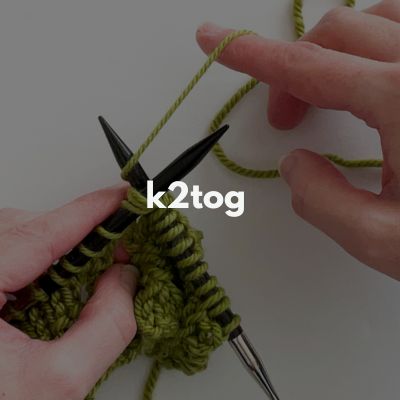
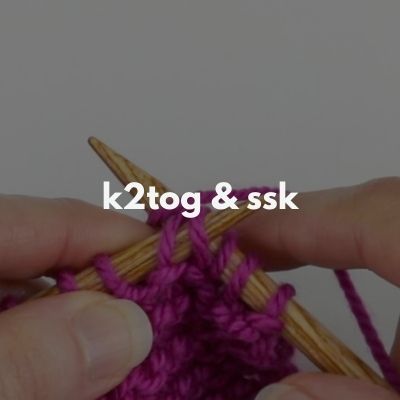
- k2tog & ssk
- German short rows
- Three needle bind-off
- Pick-up and knit neckline stitches
- Blocking tips
Picking a Size
First Crocus has 11 sizes to choose from, and the suggested ease is 6-10″. What this means is that I suggest picking a size that has a finished measurement 6-10″ larger than your actual bust measurement (or, upper torso/high bust measurement), depending on your desired fit. If you prefer a more tailored and less oversized fit, then choose a size on the lower end of that range and if you want a more layered/oversized look, then choose on the higher end.
For some people, using the actual bust measurement is a good starting point. But for others, the upper torso (measured above the bust, closer to the underarms) is a better starting point because it can be a better indicator of overall frame size. To learn more about positive ease and fit, visit my blog post here. And for more reading about why drop-shoulder pieces like First Crocus typically call for more positive ease, visit my blog post here.
Yardage Information
If you would like yardage information (since the pattern only provides number of skeins), below is that information (note: it includes yardage for the top and cowl)
Color A: 350 (370, 390, 410, 440) (460, 480, 500) (520, 550, 590) yds
Color B: 625 (690, 770, 850, 915) (980, 1050, 1115) (1185, 1255, 1385) yds
Swatching in the round
Although First Crocus starts with you working back and forth (to create the front/back split hem), the body is worked in the round and so in order to have the most accurate gauge, you should do your gauge swatch in the round. If you are new to this, click here for my tutorial page.
Alternating Skeins
When working with Manos del Uruguay Milo, it’s recommended that you alternate skeins because there may be subtle color differences skein to skein. You can either work 2 skeins at a time throughout the body of First Crocus (once you switch to the main color), alternating every round or two, or you can choose to just fade a new skein in. In the sample photographed, I had chosen the latter (fading in) – this means that when I had just a small ball left of a skein I would incorporate the new skein and alternate between the 2 for about an inch or two, and then I would drop the old skein and only work with the new one. This way the new skein was gradually incorporated in. You can learn more about both of these techniques here.
Hem icord edge (sl2 pwise wyif & wyib)
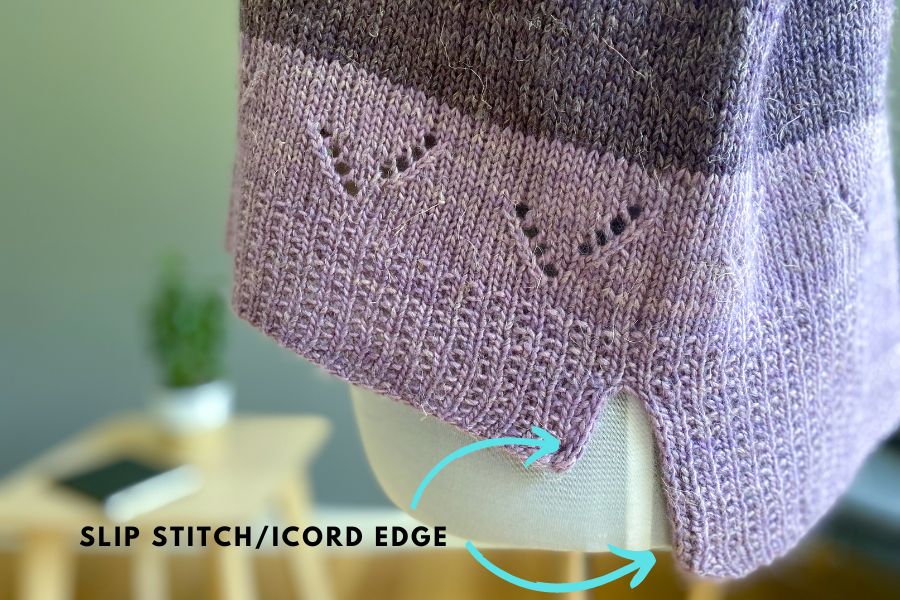
When working the hem, the first 2 stitches are always slipped (on RS & WS rows). If you’re working a WS row, you slip them wyif (with yarn in front) and on a RS row, you slip them wyib (with yarn in back). I had done a video lesson about different styles of icord edges, and in it I walk through this particular style (slipping 2 sts at the beginning of every row) – click here to watch that section of this video. Please note: in the video I am working garter stitch in-between the edges but in Crocus you are working broken rib.
Joining Hems
After working the Back & Front Hem sections, the next step is to join the front and back hem together. I walk you through every step of this process in the below video lesson (including some tips on how to make sure your work isn’t twisted when you join):
Working eyelet stitch
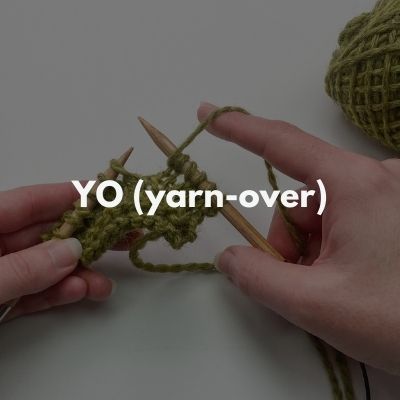
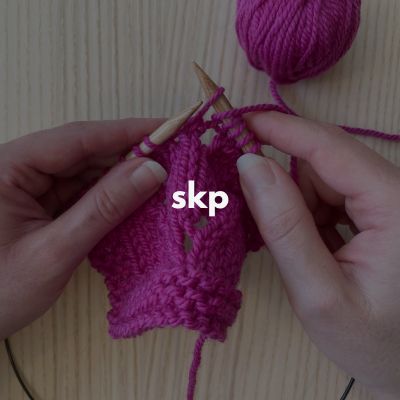
The eyelet motif featured in First Crocus includes the following increase/decrease stitches: YO, skp, k2tog. Below are tutorials for each of these techniques if you are not already familiar with them:
Armhole Depth Tips
In the Upper Front section of the pattern, you’re instructed to work in St st until the armholes measures a certain length depending on the size you are working on (ending after working a WS row), To make things easier when working on your Back, I highly recommend keeping track of the number of rows you work on the upper Front. This way, when working the Upper Back later in the pattern, you’ll know exactly the number of rows to work so that your Front & Back armholes are the exact same length.
Other Technique Tutorials
Below are the tutorials for all of the other techniques used in First Crocus:
Blocking Tips
Here are some tips to help you with the blocking process of First Crocus:
- Although the blocking step is mentioned in the pattern before working the neck trim, you can choose to work the neck trim before you block as well. Some people prefer blocking before and some after – either option is totally ok!
- If you have never wet-blocked before, you can check out my step-by-step video lesson about it here. It’s of a different design but the steps I take to block are the same for all projects.
- I also provide additional blocking tips in this blog post.

