Fetching Fern Tips
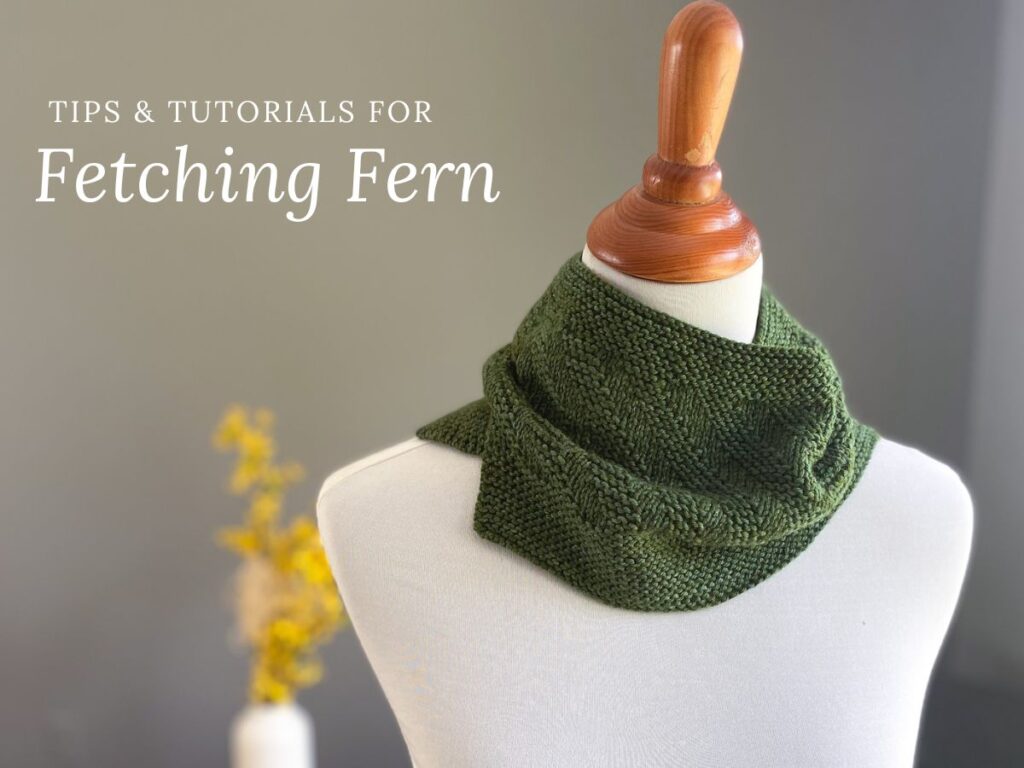
On this page you’ll find tips and tutorials for making your own Fetching Fern cowl/neckwarmer. Here are the topics covered:
Yarn & Needles
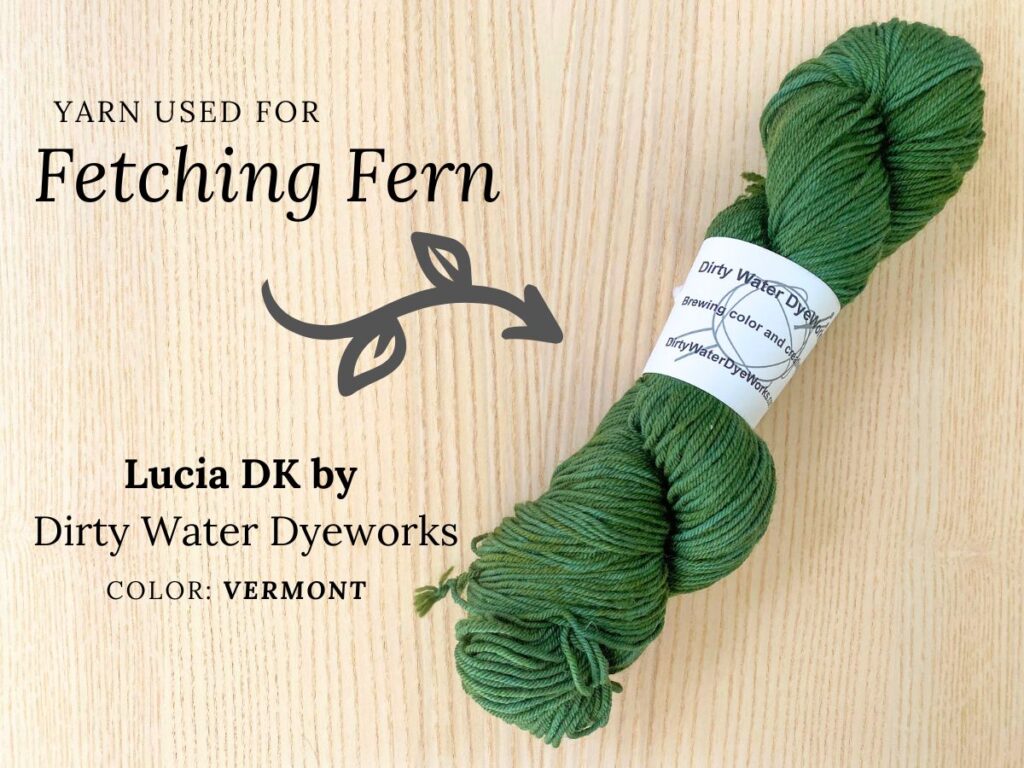
I used the beautiful Lucia DK from Dirty Water Dyeworks. You only need 1 skein to make this cowl (and there was still 15-20% left of the skein at the end, so there is enough even if you want to make it a little bit taller). Click here to view all of the beautiful color options!
Due to the textured stitch pattern, I recommend using a solid, light or medium color yarn (dark colors will not allow the stitch pattern to be very visible).
For needles, I used a US 6 24″ for the body of the cowl. Note that the finished circumference of Fetching Fern is less than 24″ (it’s approx. 22.5″), however, the 24″ circular length does indeed still work without feeling like it’s too tight. However, you can choose to use a 16″ length circular if you prefer.
Long Tail Cast-On
I use to long tail cast-on as my preferred cast-on for this piece (I especially like how it looks when working in Garter stitch). However, you can feel free to use a different cast-on if you prefer. For a tutorial on how to work the long tail cast-on, click here.
Joining Front/Back:
After you have worked the Front and Back Hems, you’ll begin the “Joining Front/Back” section. This section is broken out into 8 steps which I have outlined below in my photo tutorial. If you prefer a video demonstration, I worked a similar technique in my Low-Key Cowl and the video for that is here. Just note that some of the specific details may be slightly different but the overall visual and techniques used are the same.
Joining Front/Back Photo Tutorial:
Step 1:
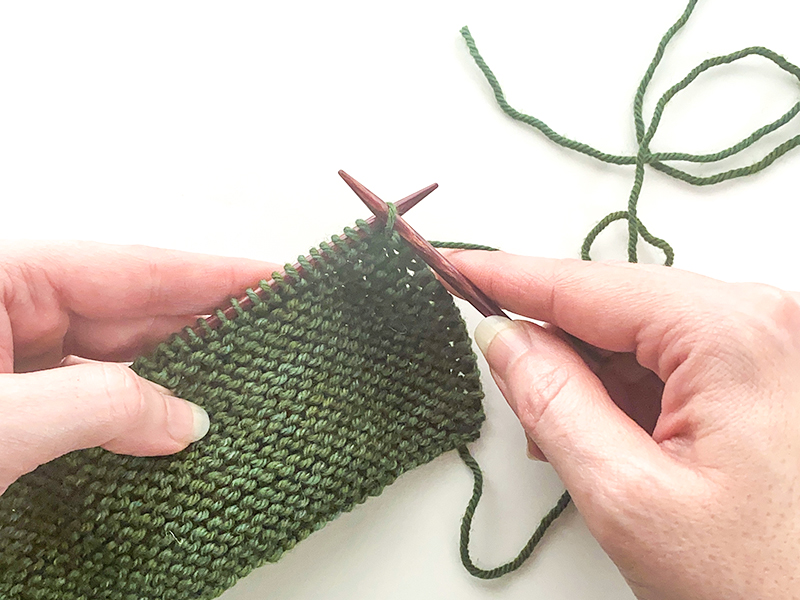
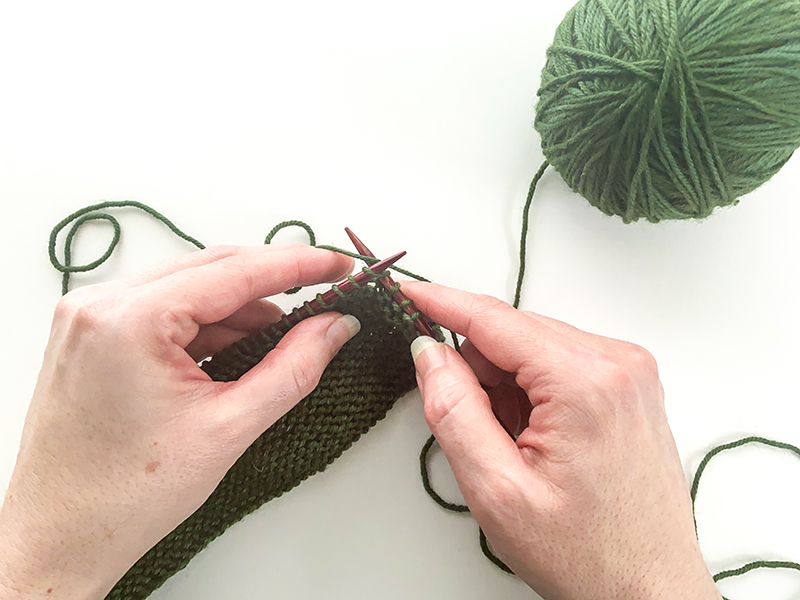
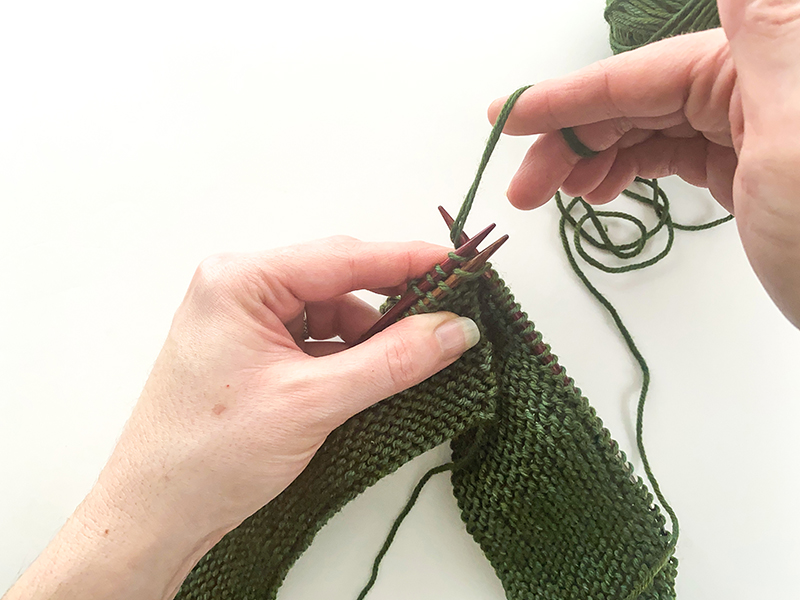
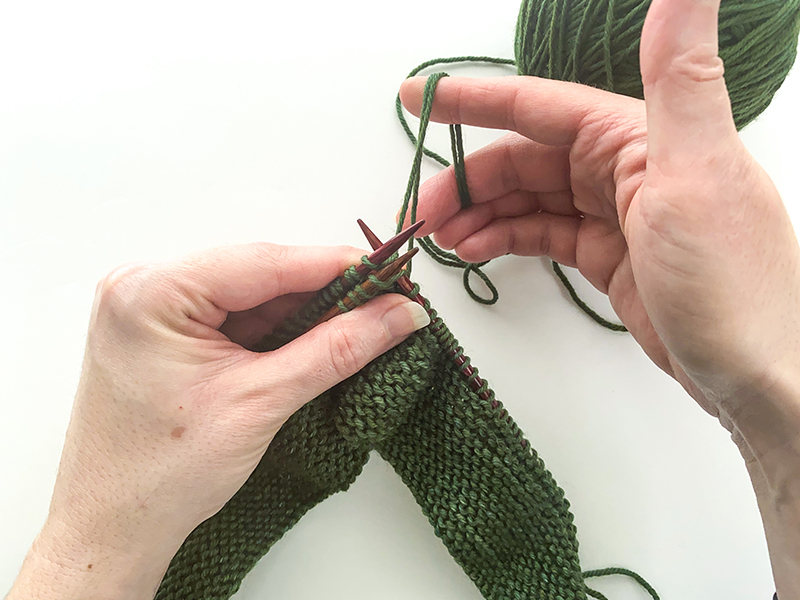
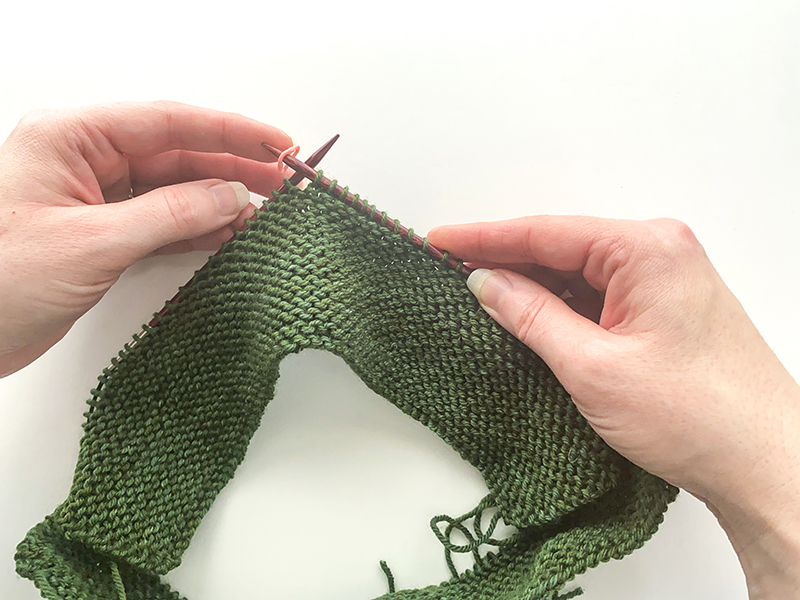
In this step, you’re instructed to slip the first 4 sts on the Back hem (with the RS facing). Here are some photos to illustrate this part:
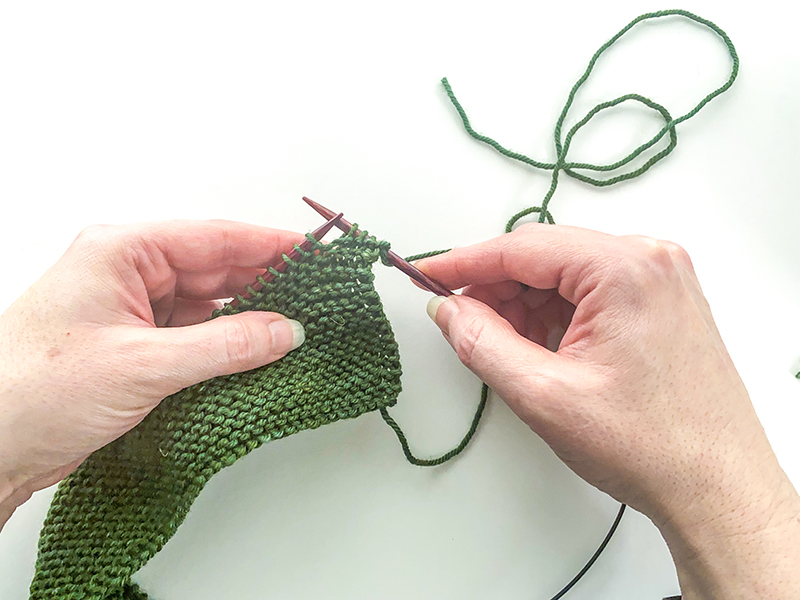
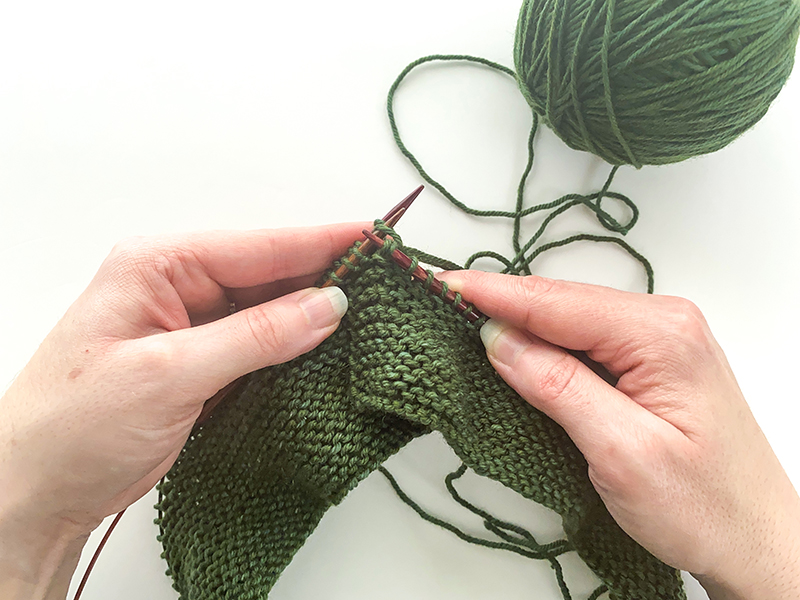
Then the instructions say to rejoin the yarn and then knit to 4 sts before the end. Here are photos to illustrate this:
Step 2:
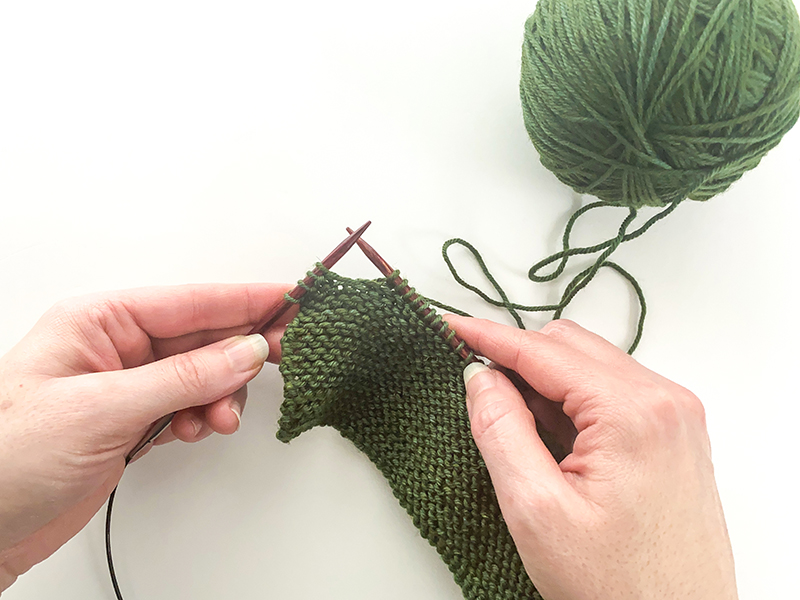
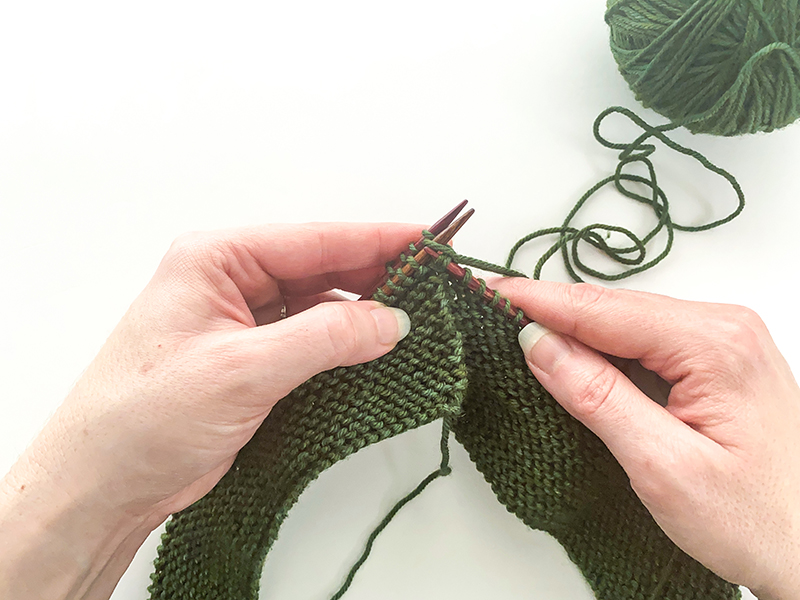
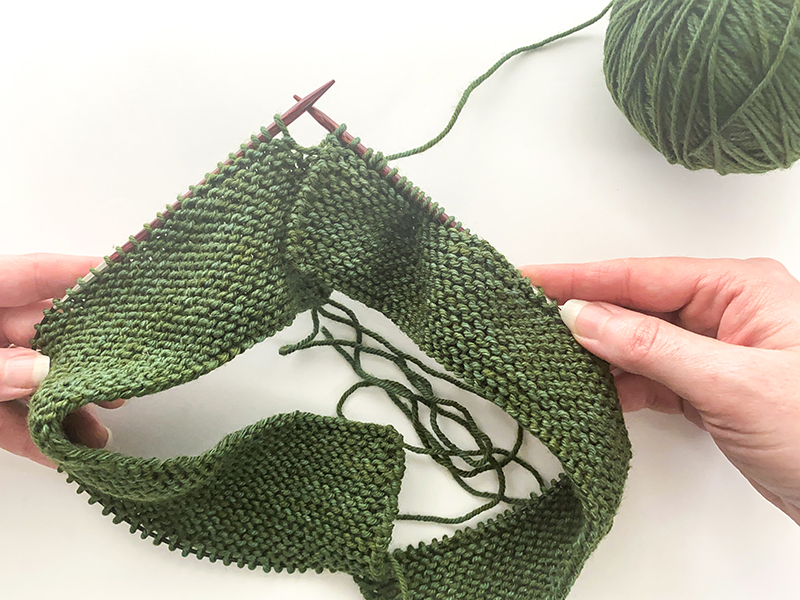
In this step you’ll be aligning things so that in step 3 you can connect the front and back together on one side. Here are photos to illustrate this:
Step 3:
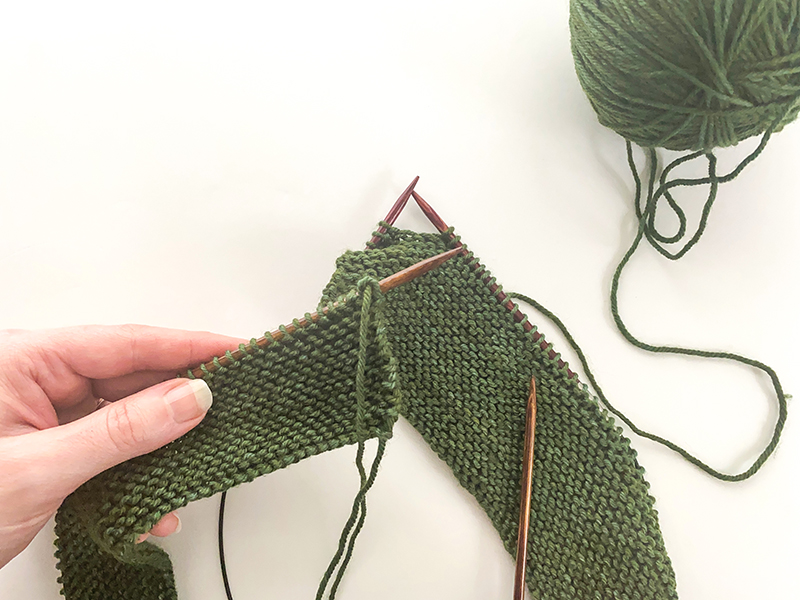
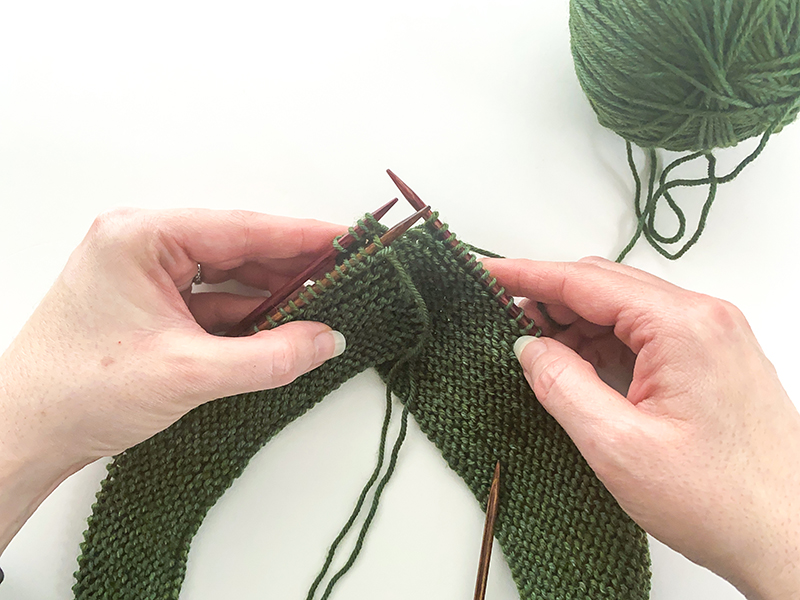
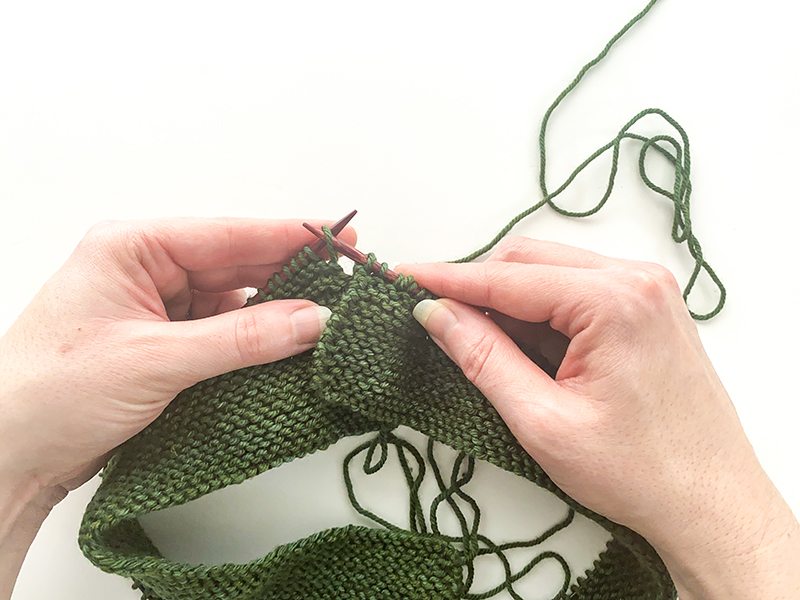
Now that you have things lined up, in this step you’ll also be connecting the Front and Back together on one side. Here are photos to illustrate this:
Steps 4 and 5:
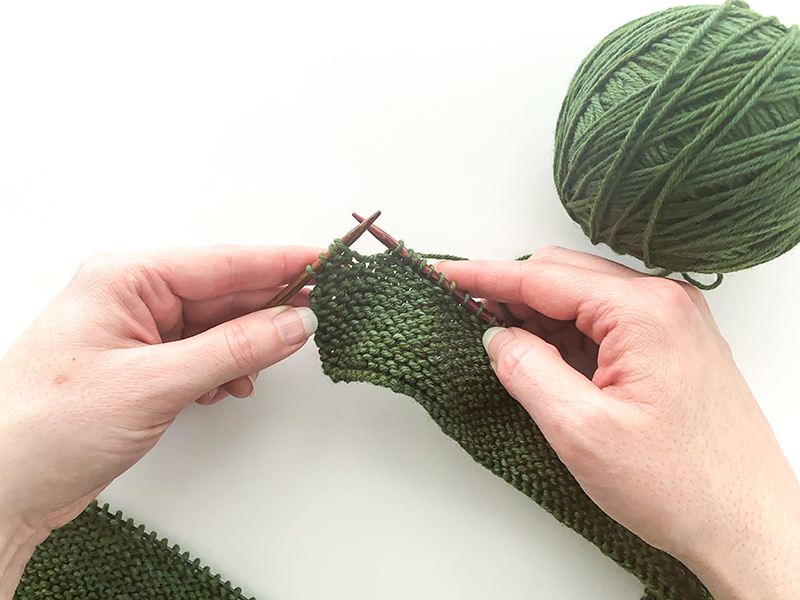
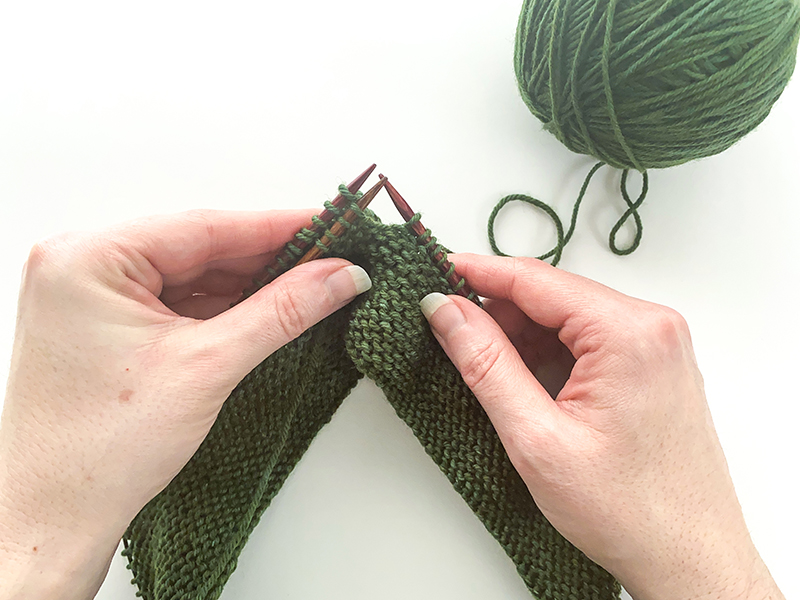
In these steps, you’ll first simply knit across the Front sts to the last 4 sts, and then, similar to step 2 you will align things so that in step 6 you can join the other side together. Here are photos to illustrate this:
Step 6:
This step is worked the same as the previous Step 3, as illustrated below:
Step 7:
Now all the sts are on one circ and your Front and Back Hems have been connected. In this step you’ll now slip the next 26 sts from left needle to right needle. The purpose of this is to align things so that your beginning of round marker is near the center Back – this helps to avoid the jog line (that will appear later when working the stitch pattern) from being visible in a noticeable spot.
Step 8 and beginning of “Final Hem Rounds”:
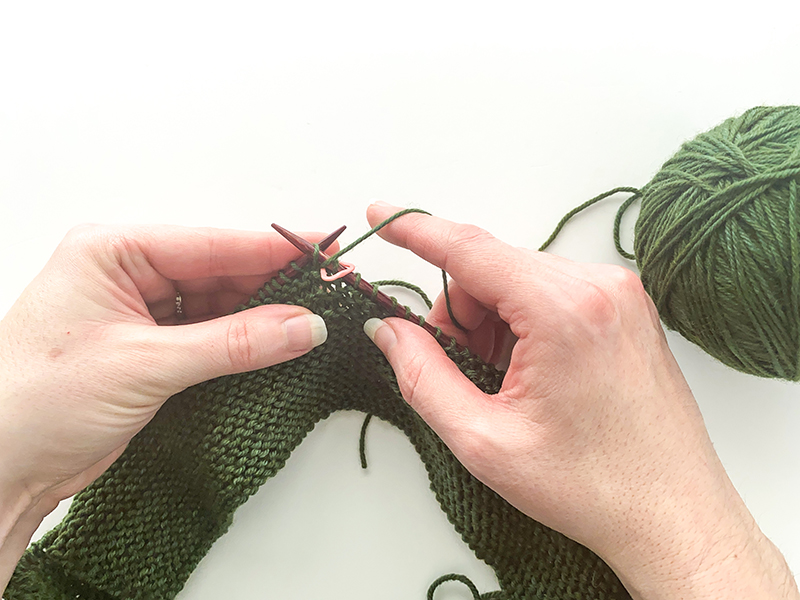
In this final step, you’ll place a marker for BOR (beginning of rnd) and then rejoin the yarn. Here are photos to illustrate this:
Working the diagonal texture stitch pattern
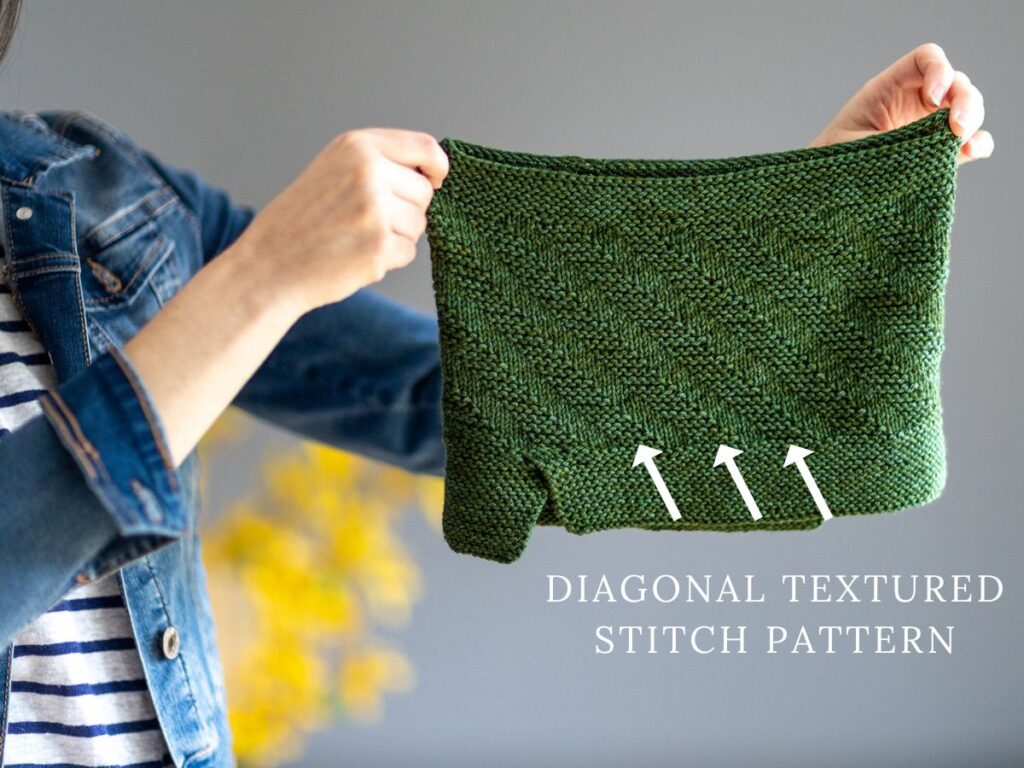
This stitch pattern consists of just knits and purls and is worked over 16 rounds. Here are some tips for working this stitch pattern:
- Every-other-round (all odd numbered rounds) you work a combination of knits and purls and the repeated sequence is always either “p5, k3” (for rnds 1-5) or “k3, p5” (for rnds 7-15). The only thing that changes on each of these rounds is the number (and type) of stitches worked at the very beginning and at the very end.
- Every-other-round (all even numbered rounds) you are simply knitting all the stitches to the end of the round.

