East Coast Swing Tips
On this page you’ll find tips & tutorials to help you make your own East Coast Swing vest! I cover the following topics:
- Sizing tips
- Yarn information
- Gauge tips
- Different length options
- Technique tutorials:
- long tail cast-on
- sl1 (slip 1)
- ssk & k2tog decreases
- three needle bind-off
Sizing Tips
There are 10 sizes to pick from in this vest. I suggest picking a size whose finished bust circumference is approximately 1-4″ larger than your actual bust circumference, depending on the type of fit you want. In the photos, I am wearing the size Small (35.5″) with 2″ of positive ease (so the vest circumference is 2″ larger than my actual bust circumference).
Because this is an open-style vest, there can be a lot of variability to the amount of ease you may want to wear it with. It’s also A-line, with a hem circumference that is approxmiately 11-12″ wider (which is what creates the A-line, swingy shape). If you are unsure which size to knit, it can be helpful to measure the widths (at the chest area) of existing vests or sweaters you have in your closet and compare it with the “Back Width at Bust” measurement of various sizes on the schematic (which is on page 8 of the pattern).
Yarn Information
East Coast Swing calls for DK-weight yarn. With this type of pattern, any type of fiber can really work well. In my samples, used 2 different yarns for each of the different length options. Below are details about the yarns in case you are interested in trying them out as well:
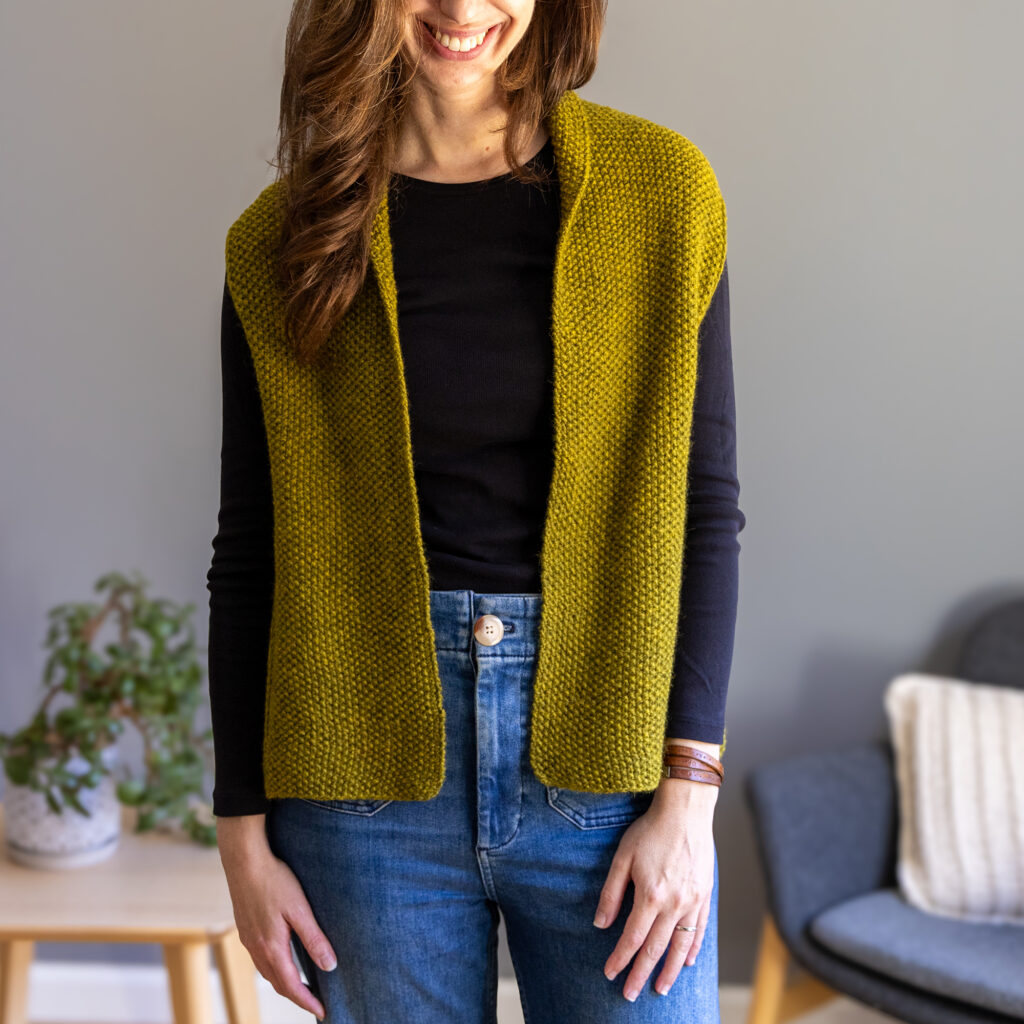
Above is Fleece Bluefaced Leicester DK by West Yorkshire Spinners. This is a 100% wool yarn that is soft and provides a nice amount of drape at the pattern gauge. Here are 2 shops online that I know carry this yarn: Mother of Purl Yarn Shop and Wool & Co.
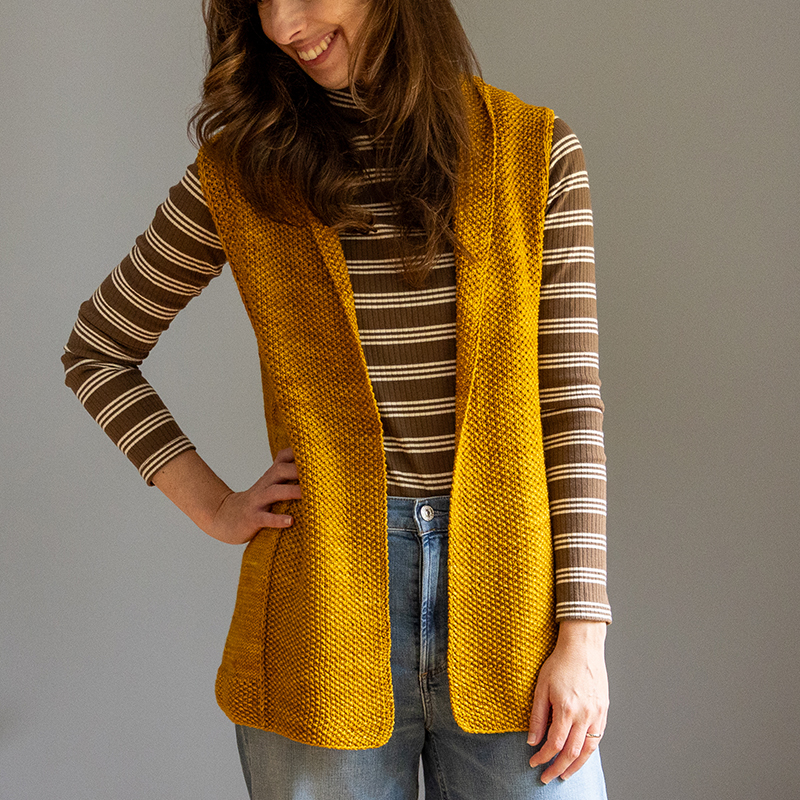
Above is Lucia DK by Dirty Water Dyeworks. This is a blend of superwash merino and nylon. It feels light and has great stitch definition. You can find this yarn on the hand-dyers website directly: Dirty Water Dyeworks
Gauge Tips
Tip #1: Although both “Body Gauge” and “Front Panels Gauge” are listed in the pattern, when swatching, focus on the “Body Gauge”
In this pattern, it’s more important to focus on the stockinette stitch gauge (the “Body Gauge”) then the seed stitch gauge (the “Front Panels Gauge).
Tip #2: Stitch gauge is more important than row gauge
The pattern’s stitch gauge is 20 sts = 4″ (so 5 sts per inch), in stockinette stitch flat (so knit on RS rows, purl on WS rows). Attaining this stitch gauge is more important than the row gauge, so don’t worry if you can’t get the exact row gauge. The pattern provides lengths in the areas of the body, armhole and panels, and so if your row gauge is off you can just refer to what the actual lengths should be at this points.
If you are new to gauge swatching, you can refer to my tutorial page here. It’s for a different pattern but the concepts are the same regardless.
Tip #3: Your row gauge in seed stitch will likely be tighter
The only difference between the “Body gauge” and the “Front Panels gauge” is that the front panel gauge (which is worked in Seed stitch) has a slightly tighter row gauge. You’ll likely encounter the same thing but if not, don’t worry. This only really impacts the Front armhole depths and panel depths but the actual lengths (in inches and cm) are also provided so that you can measure your own fabric in those areas in case your row gauge might be different.
Different Length Options
This pattern provides 2 different length options – a standard 13″ length and a longer 16″ length. Here are a couple of tips regarding this:
- If you want to make your vest shorter than 13″, still follow the 13″ size instructions but consider these adjustment options:
- In the body shaping, repeat the dec row every 6th row 8 times (instead of as written). This will eliminate just over 1″ worth of length.
- If you want to eliminate more than 1″, then work your decreases closer together (so perhaps every 6th row 4 times, then every 4th row 4 times).
- If you want to make your vest in-between 13″ & 16″, follow the 13″ size instructions but consider these adjustment options:
- In the body shaping, repeat the dec row every 8th row 8 times (instead of as written). This will increase the length by 1″.
- In “Body Section 4”, work more rows – work until you reach your desired length.
Technique Tutorials
Front panel details and tips
Stitch patterns of front panels:
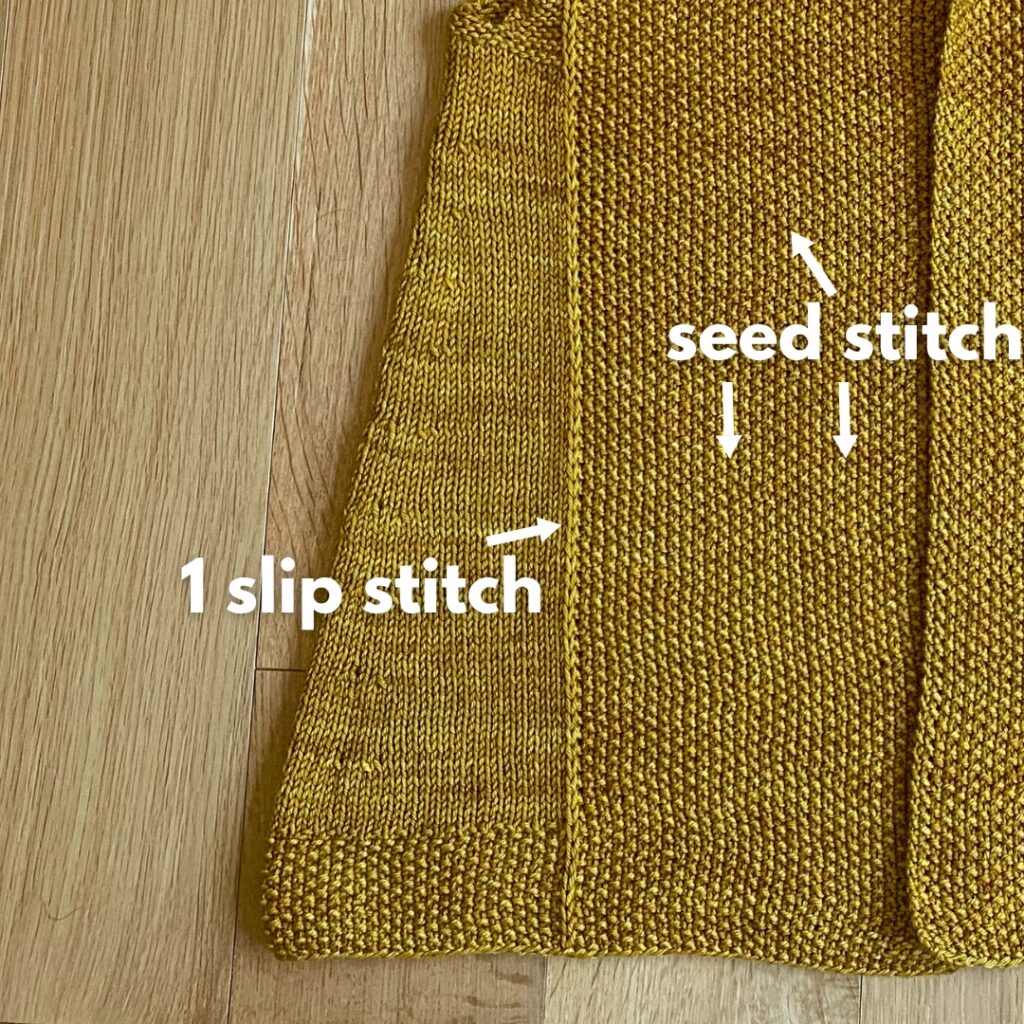
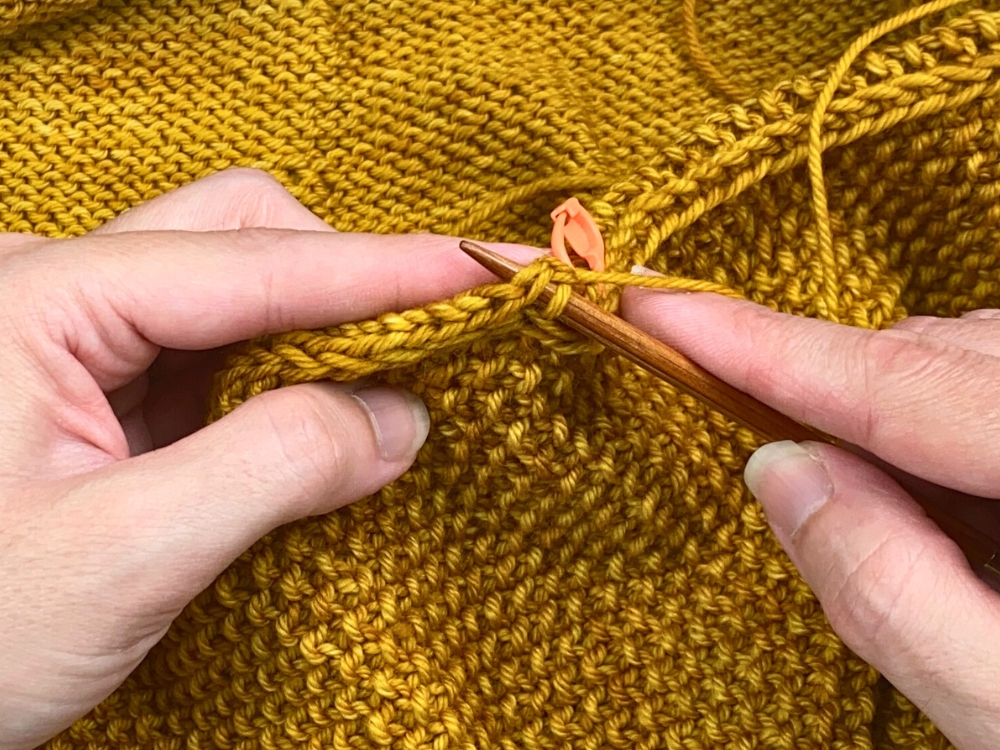
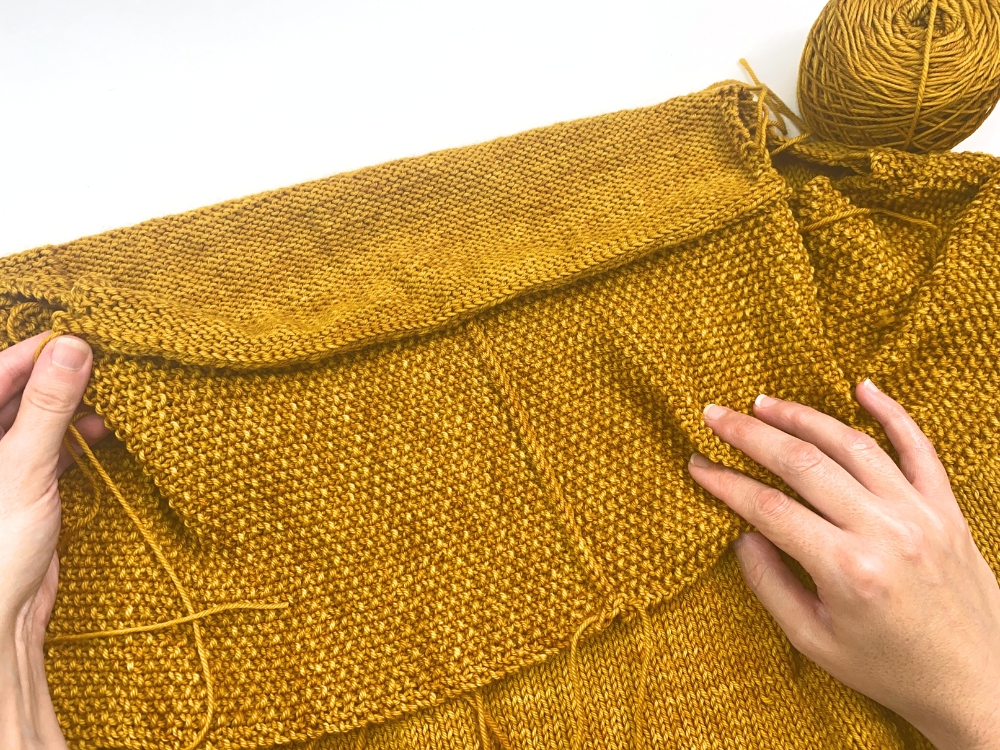
Each front features a panel that is worked in the textured seed stitch pattern. All stitches in the panel are worked in this stitch pattern except for 1 – the 1 stitch next to the panel marker is a slip stitch. And so this 1 stitch is always worked as a “sl 1” on RS rows and a “purl 1” on WS rows. This creates a column of slip stitches that separates the seed stitch from the stockinette stitch of the rest of the garment. Here is a visual to show this:
Measuring armhole depth:
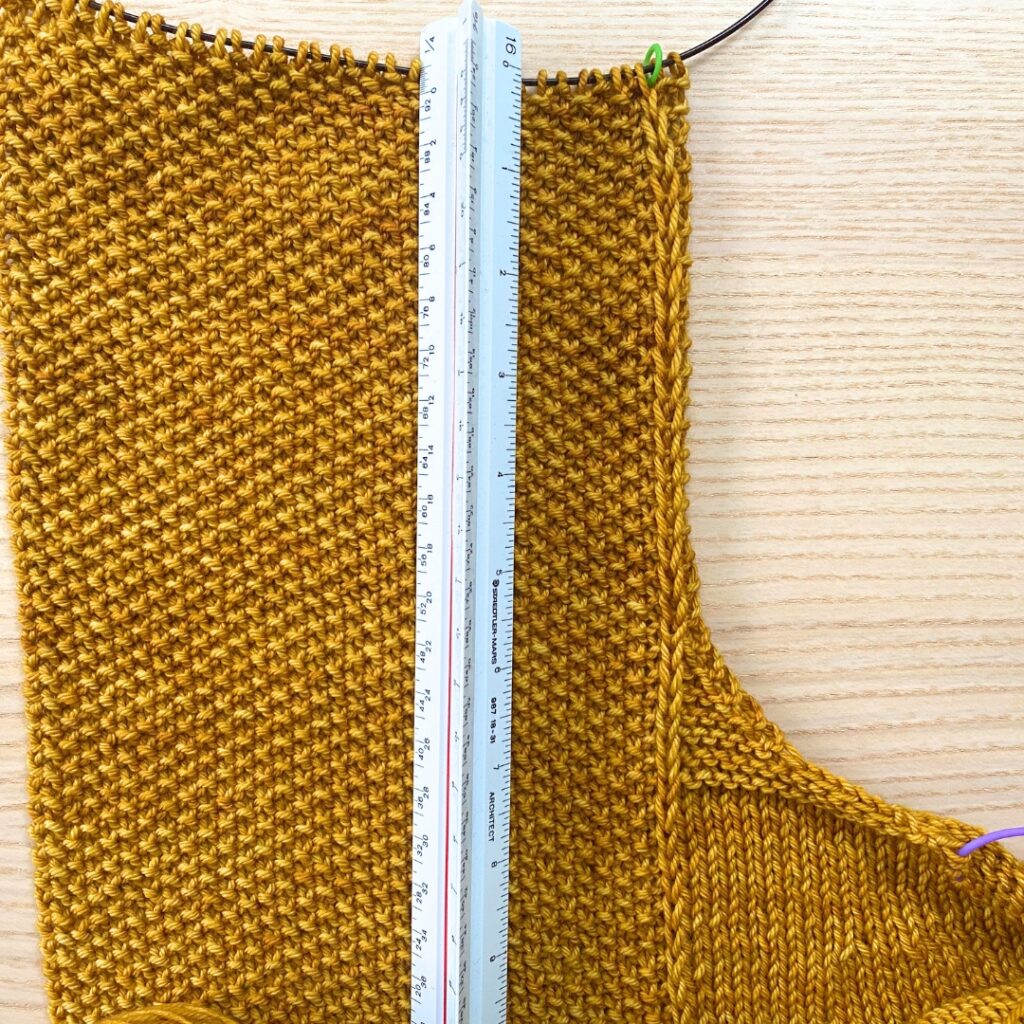
In the “Continuing Left Front” section, the pattern instructs you to work a certain number of rows or until the armhole measures a certain number of inches from Underarm (your underarm bind-off). Here is an example of how this area is measured:
Placing marker at beginning of Left Front Panel & Right Front Panel sections:
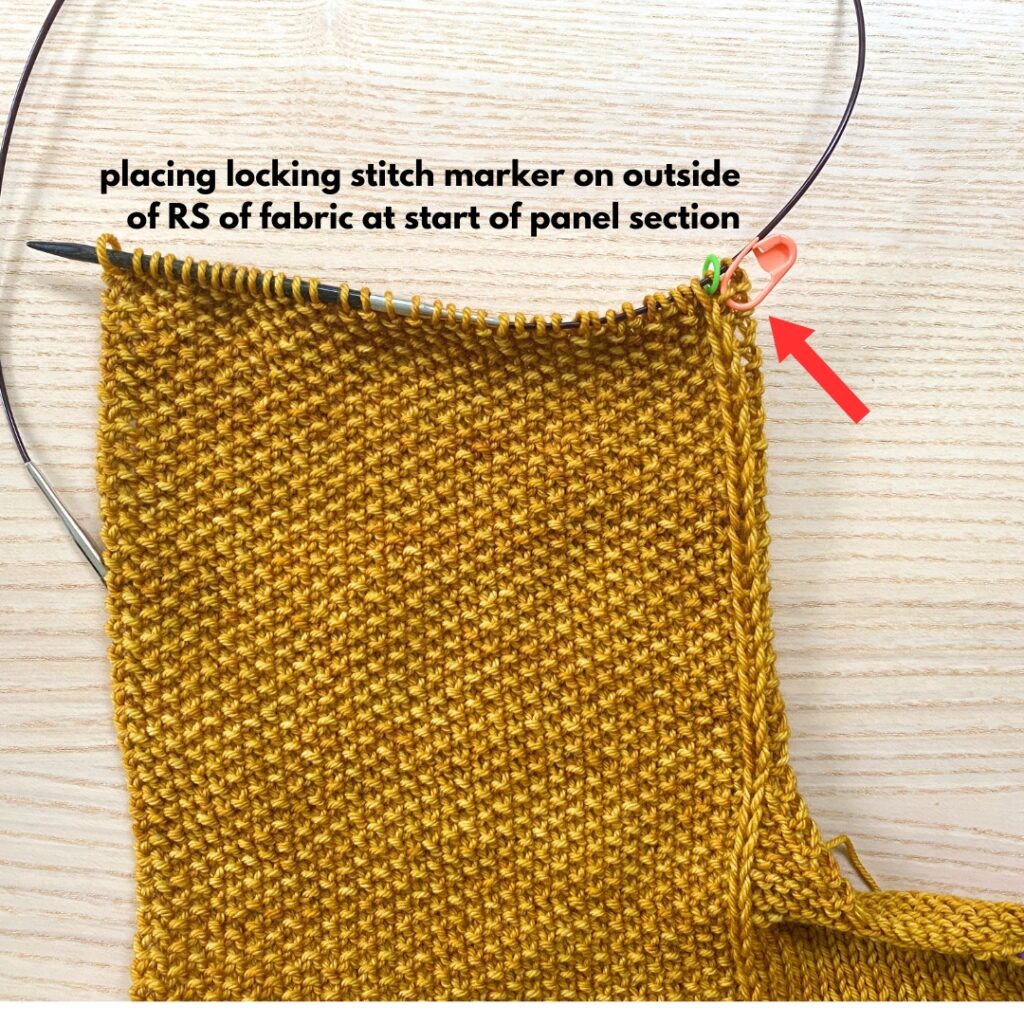
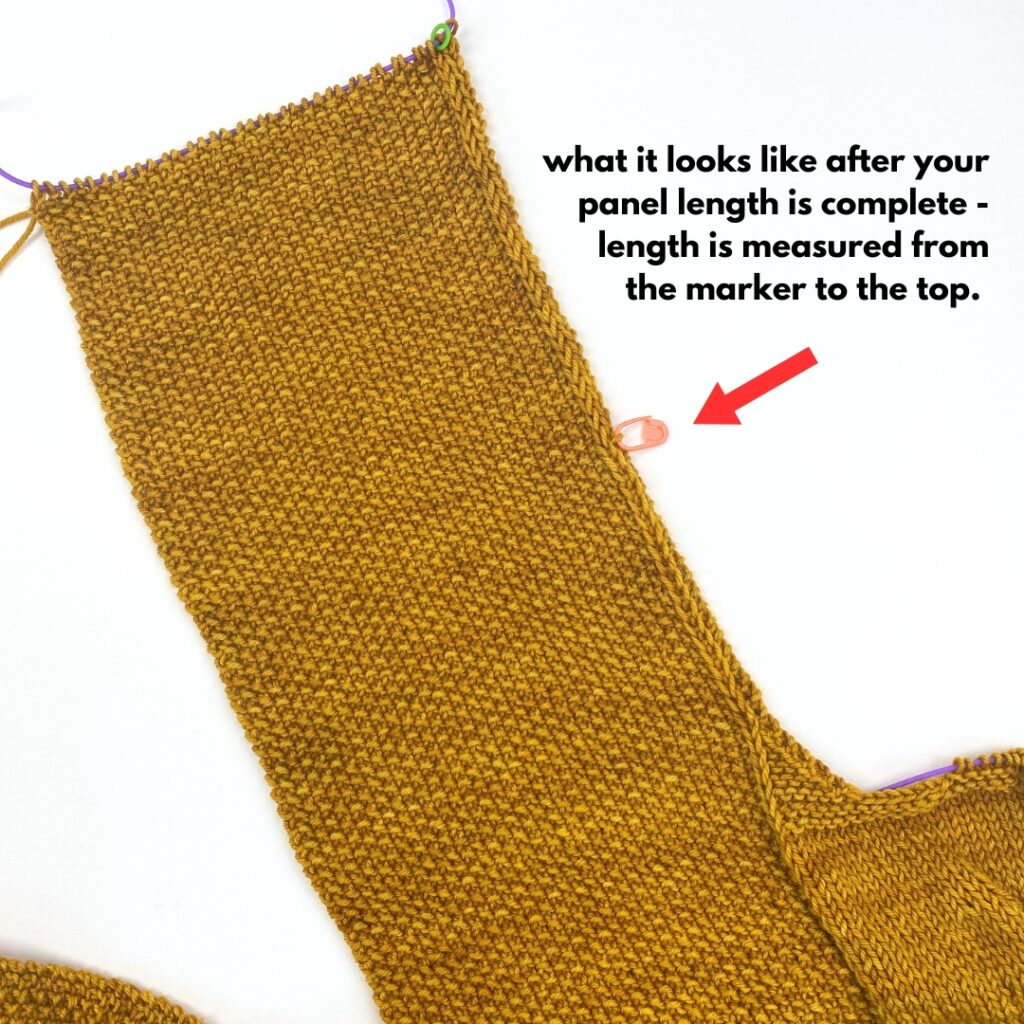
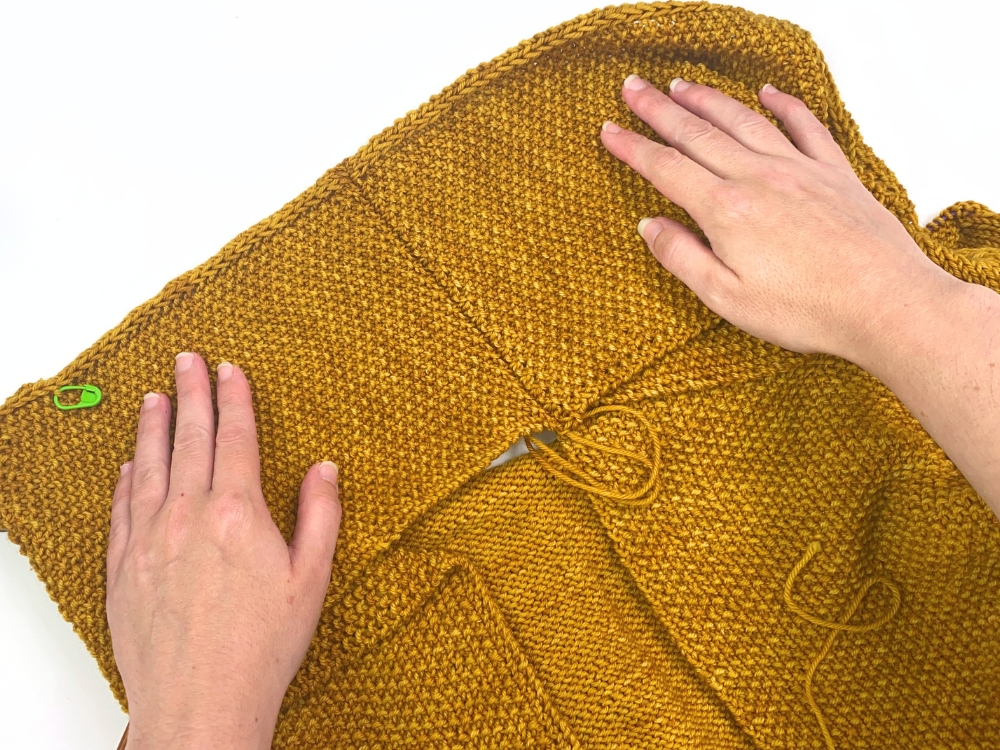
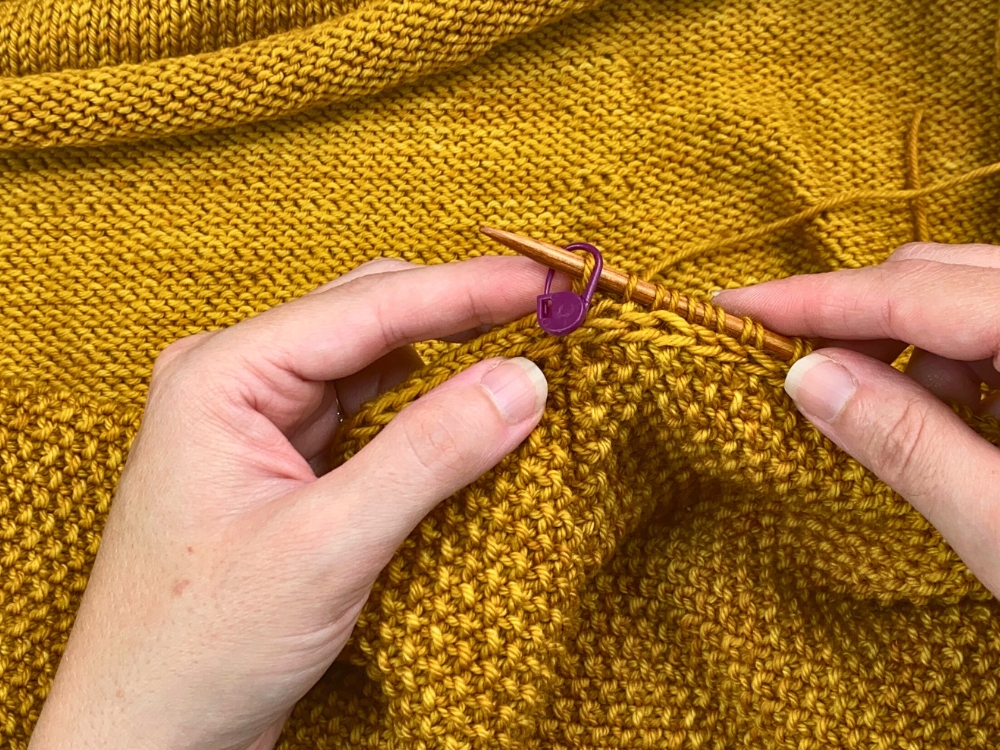
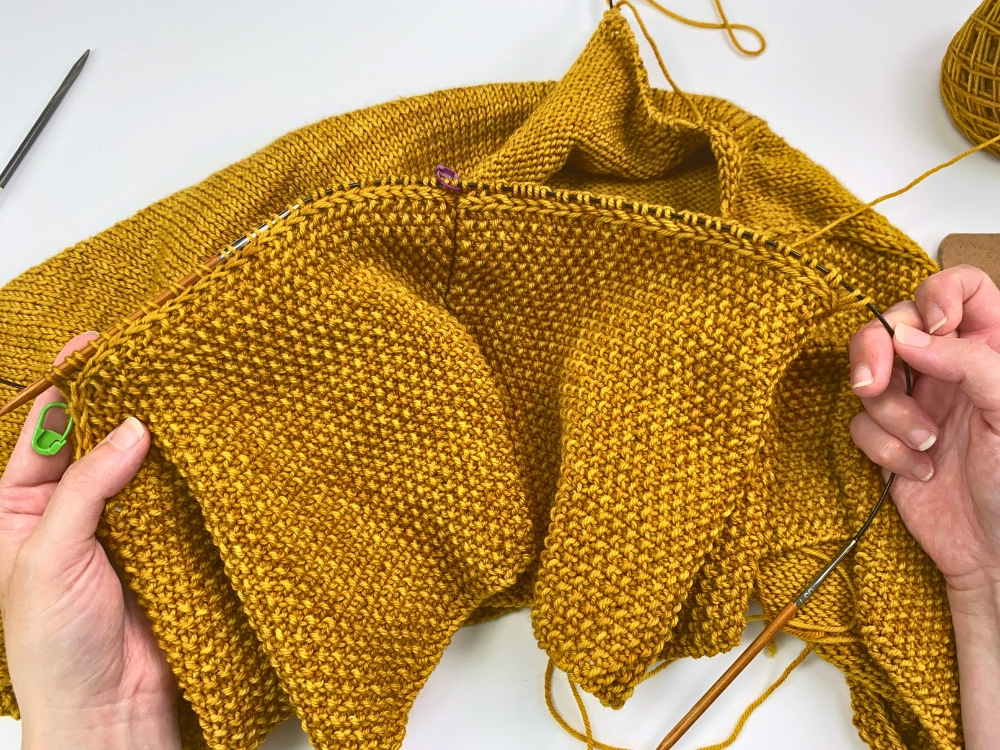
At the very beginning of both the “Left Front Panel” and “Right Front Panel” sections, you’re instructed to “place a locking st marker on the RS of the fabric before beginning row 1 below to mark where this section begins.” Unlike when placing other markers, the key here is that you don’t want to place it on the needle like you typically would. You want to attach is to the outside of the fabric (on the RS), right under where the needle currently is. The below picture provides a visual of this:
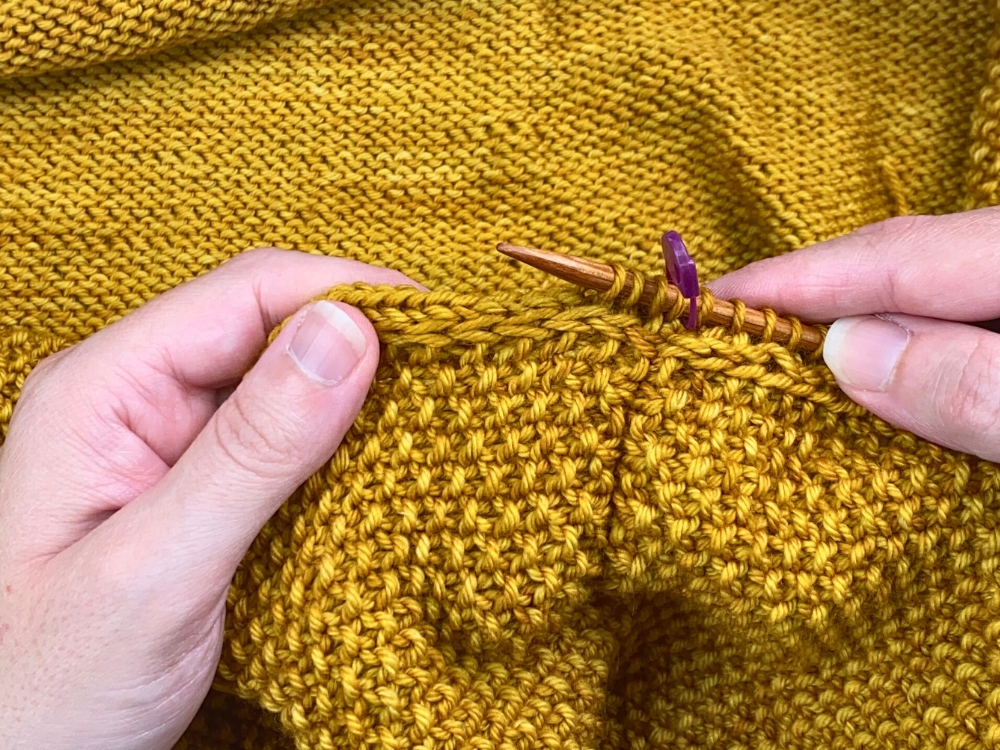
And here is what it looks like after the panel length has been completed:
You’ll want to keep these markers in place until the very end because you’ll use them to not only measure your panel lengths in those sections but you’ll also use them as guides when picking-up stitches along your panel sides at the very end.
Joining Panel Ends Together
After finishing your Right Front Panel you proceed to the “Join Panel Ends Together” section. Below are visuals that go along with each of the steps outlined in the pattern.
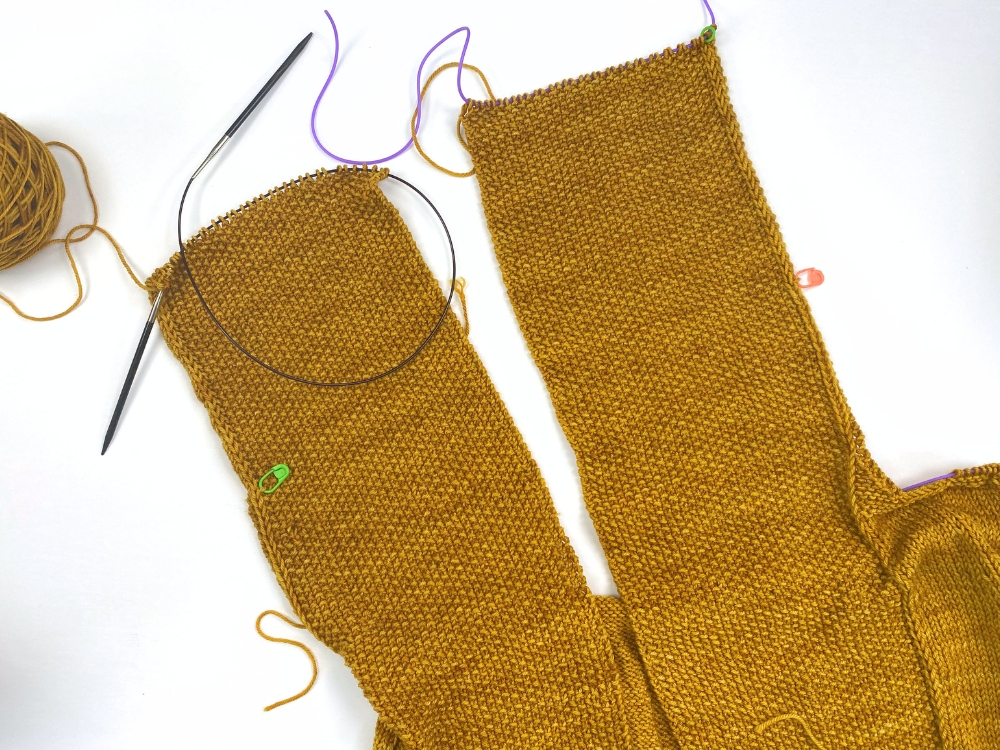
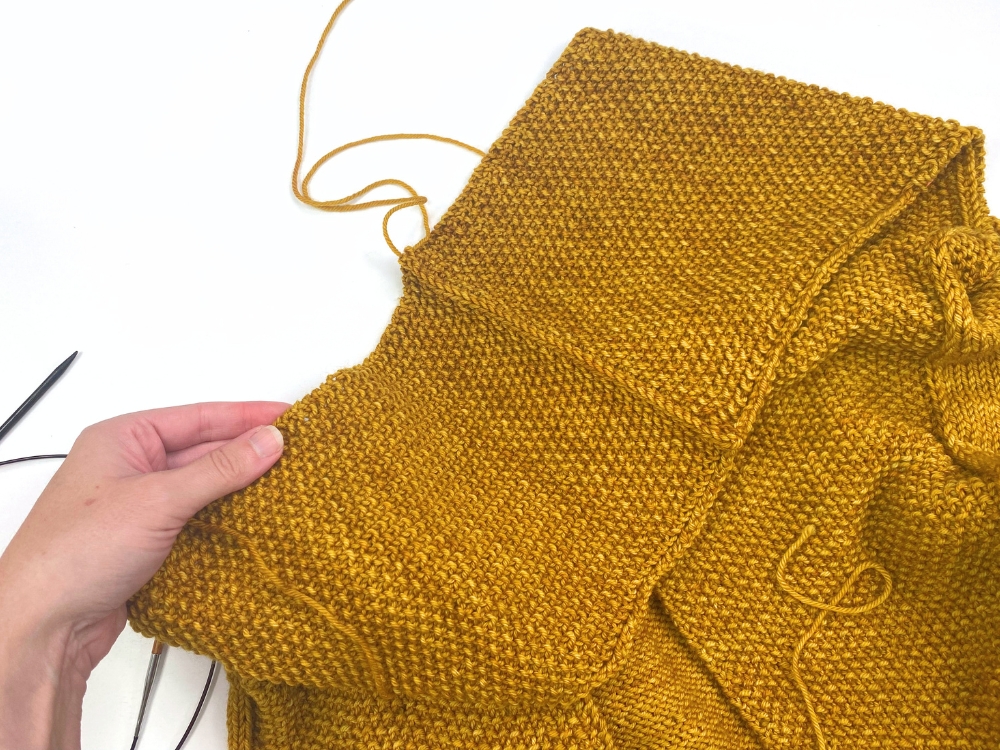
Before you start, this is what it will look like – your Right Front Panel sts are still on the needles and your Left Front Panel sts are on a holder:
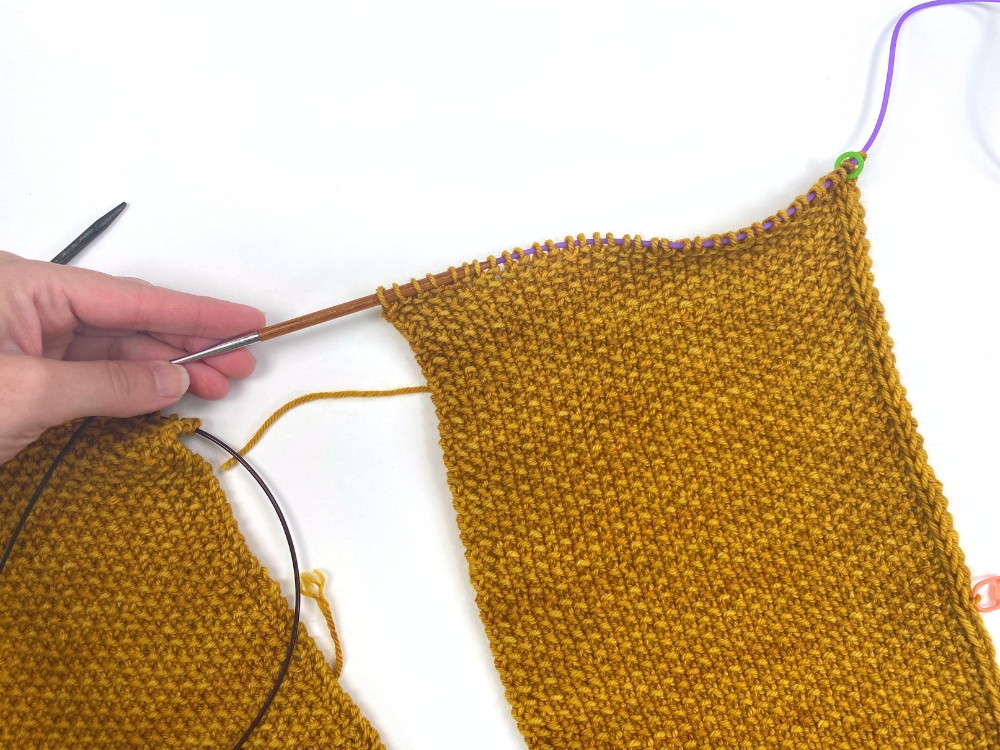
In Step 1, it says to transfer Left Front panel sts from holder to extra US 7 circ. So in the photo below I am transferring my stitches from the stitch holder cord onto the needle:
Then in Step 2, it says to hold Left and Right panel end stitches together with RS’s facing each other (WS facing you). So in the photo below you can see that I have put the RS’s of the panels together:
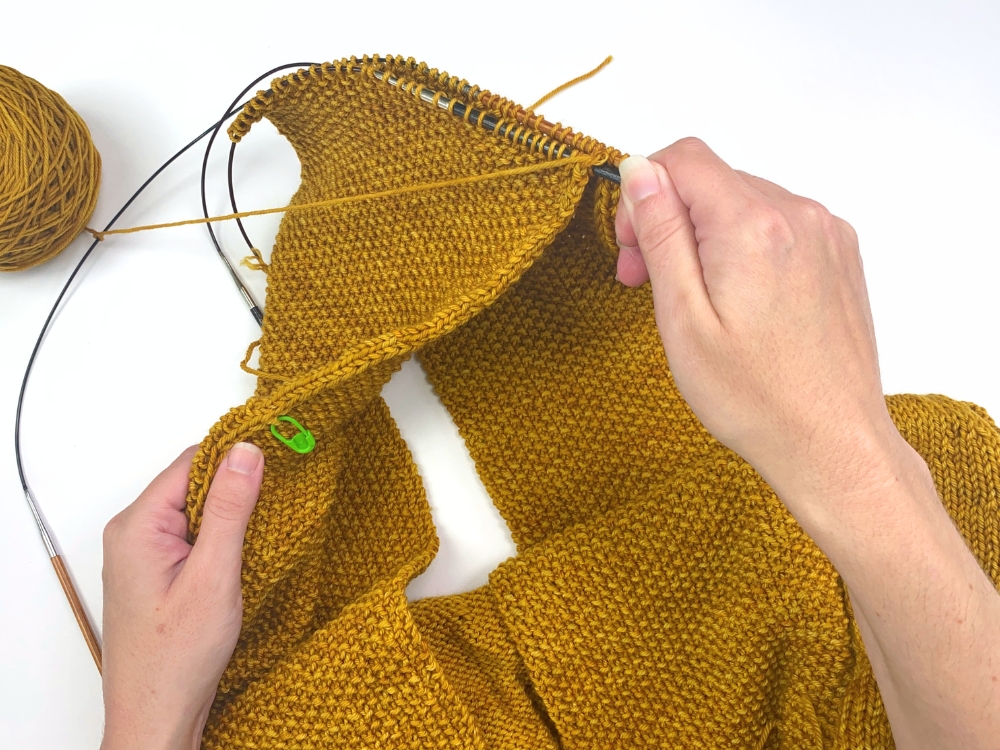
Then in Step 3 it says you will use the working yarn still attached to the Right Front Panel and work the Three Needle Bind-Off. So in the photo below you can see that I have the needles running parallel to each other and I’m ready to start the Three Needle Bind-Off:
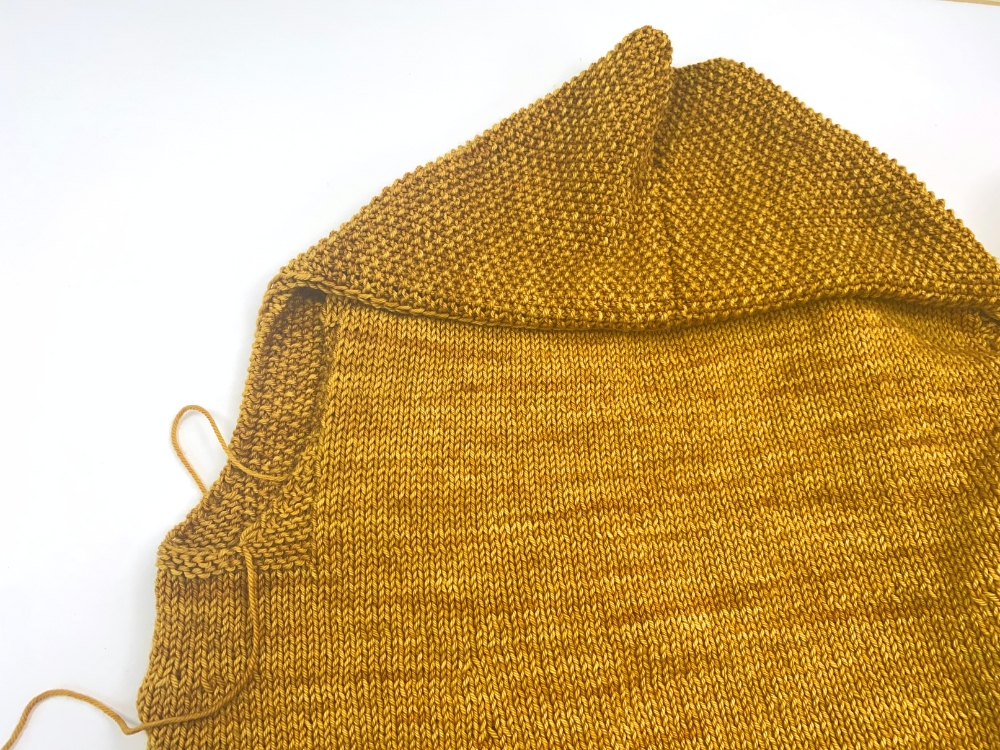
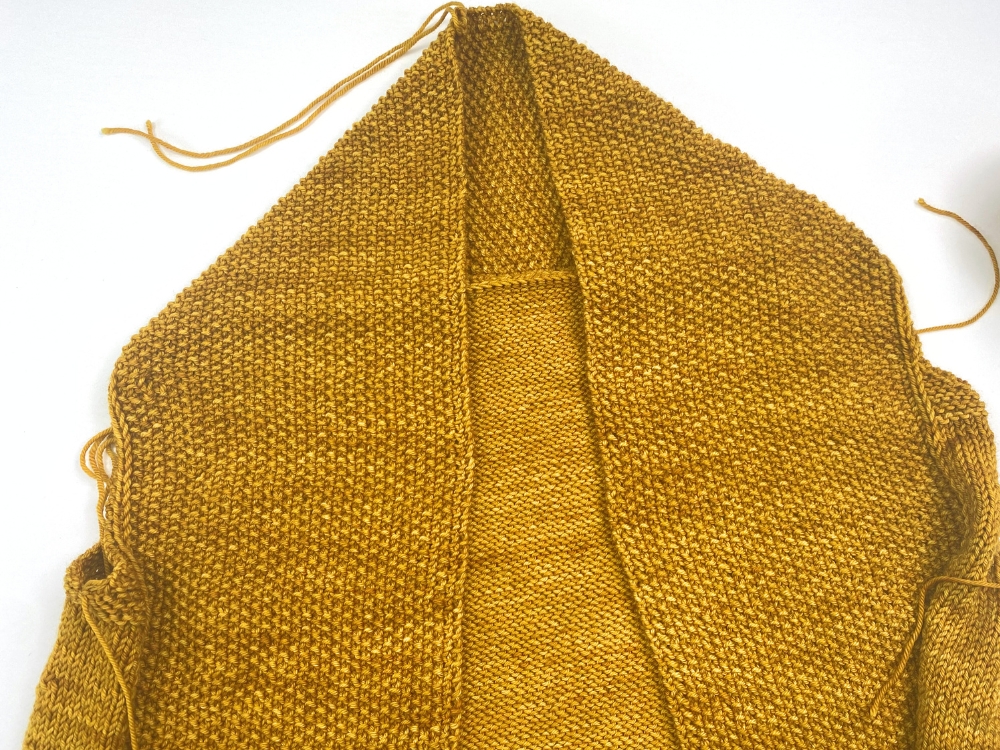
If you are new to the Three Needle Bind-Off technique, you can check out my tutorial page here which includes a video lesson. After you’ve completed the Three Needle Bind-Off, this is what your attached panels look like on the WS of the work as well as the RS:
Seaming Front Panels to Back
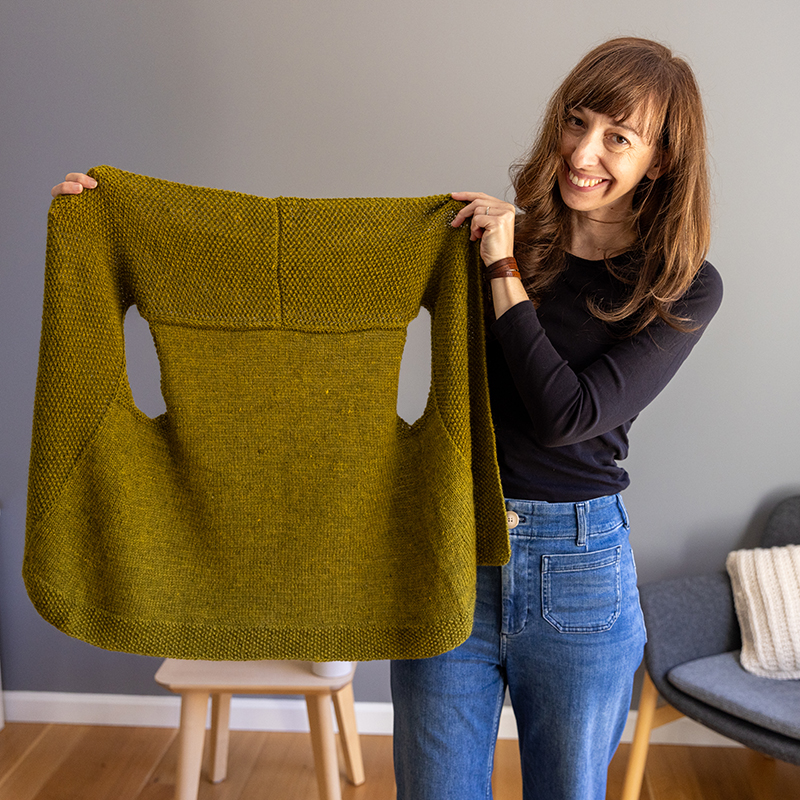
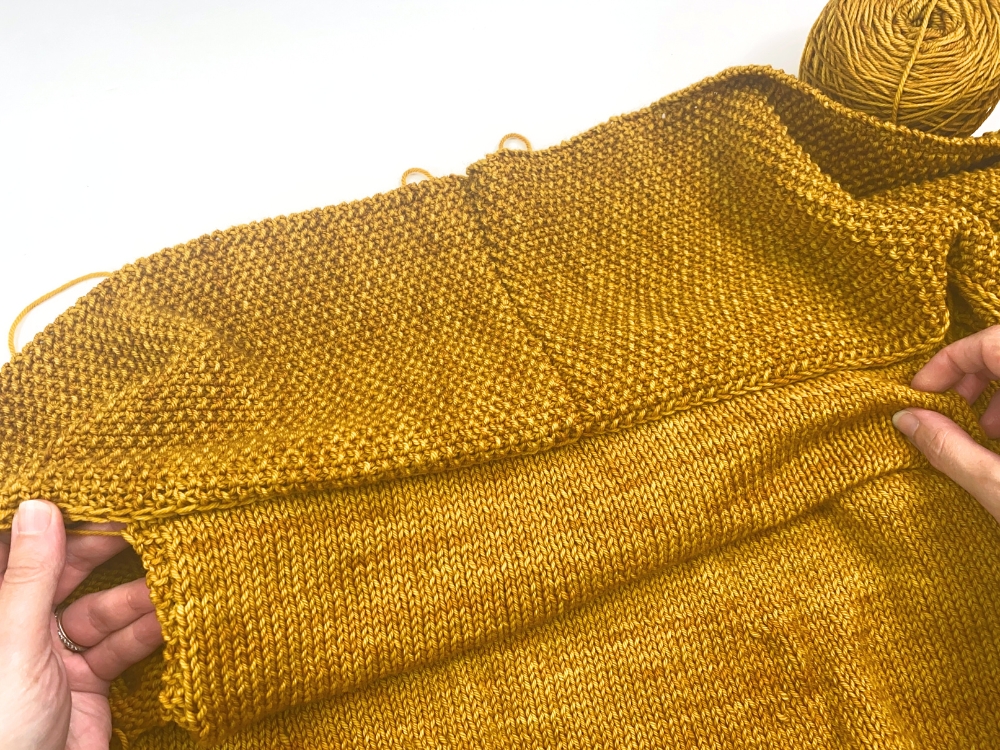
The last section of the pattern is where you will seam the front panels down to the top of the Back. But there is no hand-seaming involved – instead you will pick-up and knit stitches along your front panel sides and then work the Three Needle Bind-Off technique to attach them to your Back. Here is what it looks like when it’s all done:
The below visuals will guide you through the process and go along with the step by step instructions in the pattern. If you have never picked-up and knit before, I suggest you first watch my general tutorial video about picking-up and knitting stitches. In it, I provide different methods you can use – in the photos below I am utilizing method #2 so I have fast-forwarded the video tutorial here to that particular method.
Step 1:
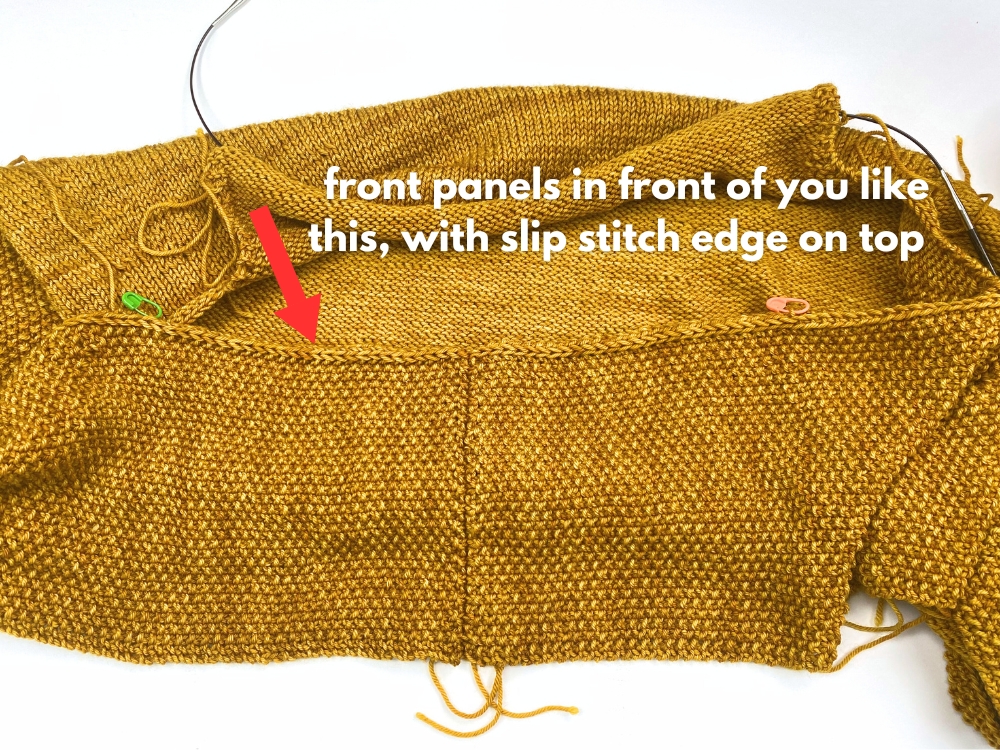
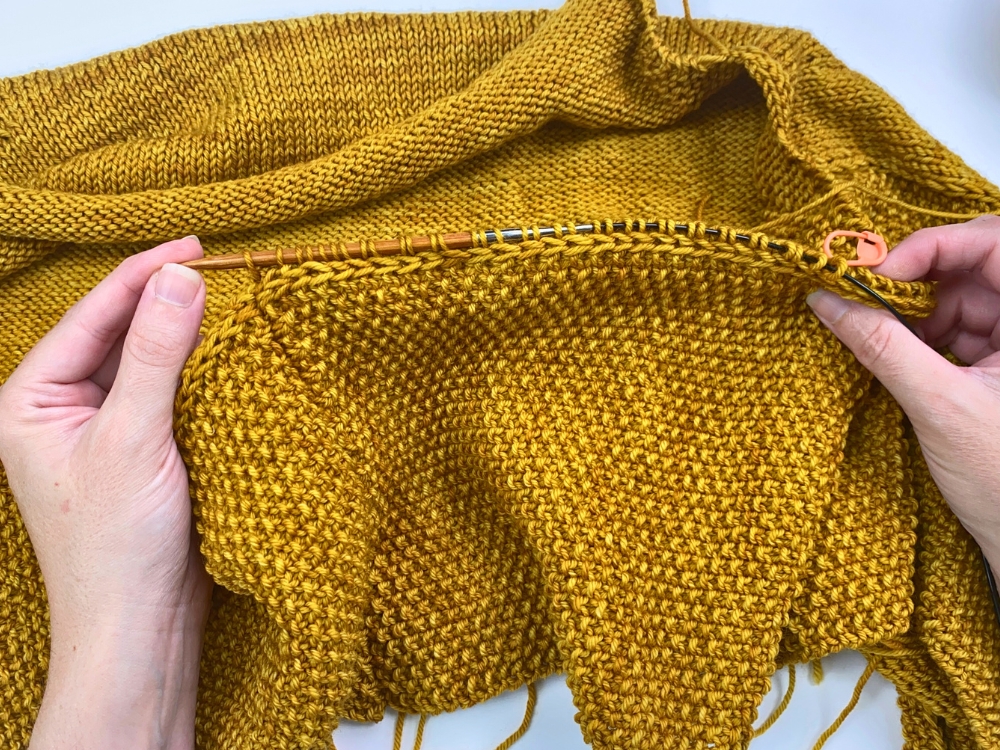
The first step is that you need to align the garment properly in front of you. The pattern says to position work so RS of Front Panels is in front of you, with the slip stitch/St st edge at the top. Here’s a visual of this:
Step 2:
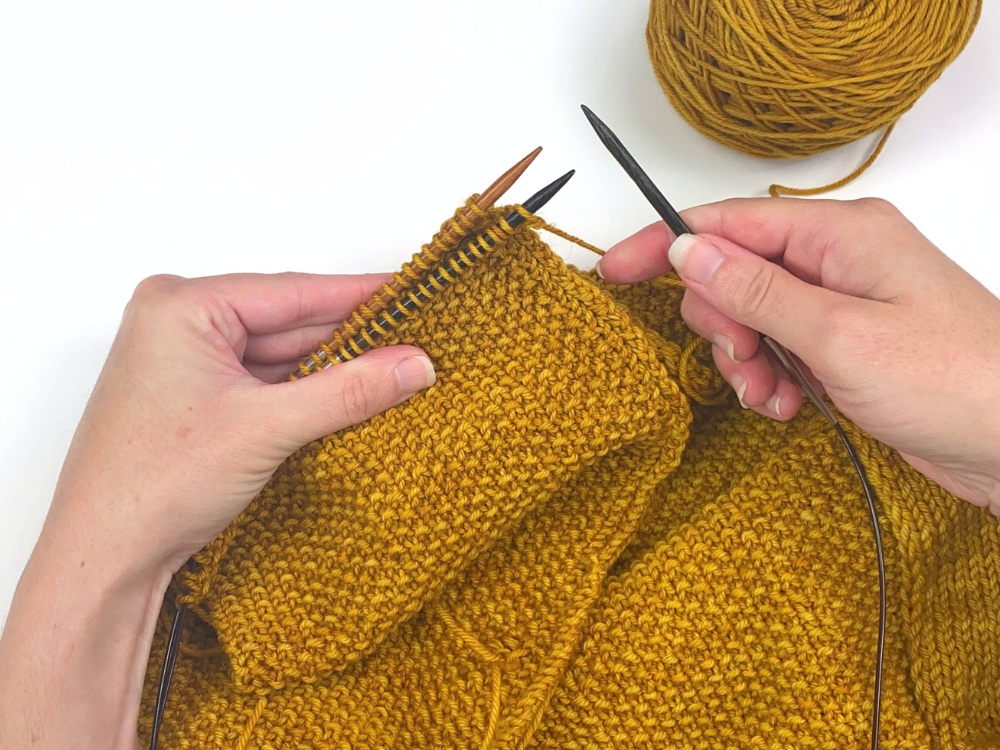
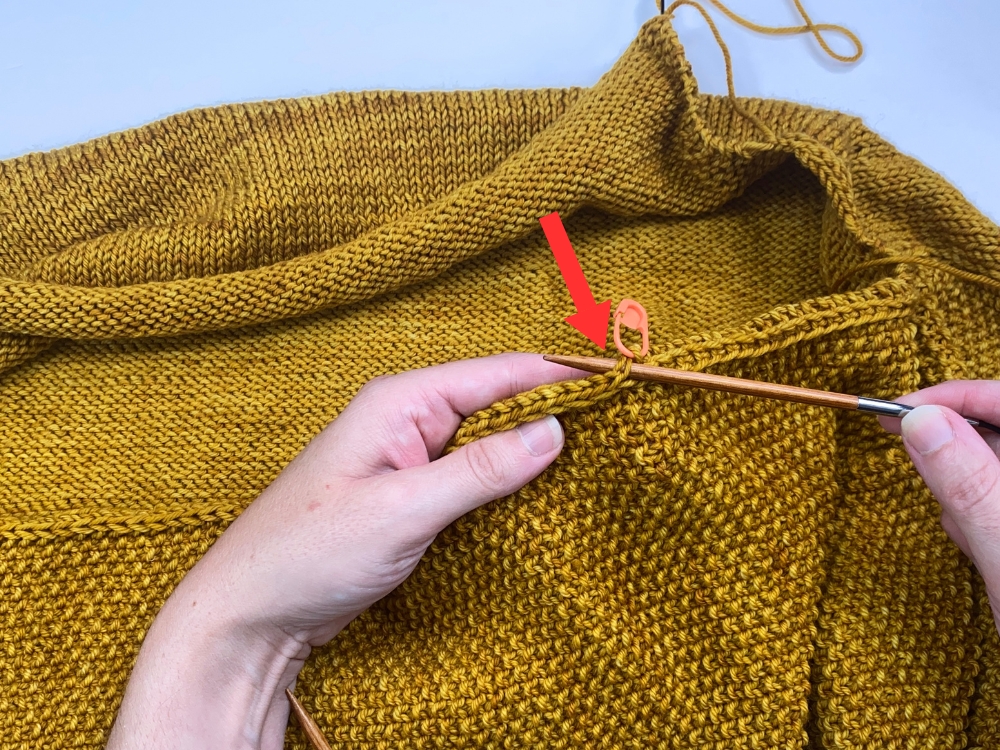
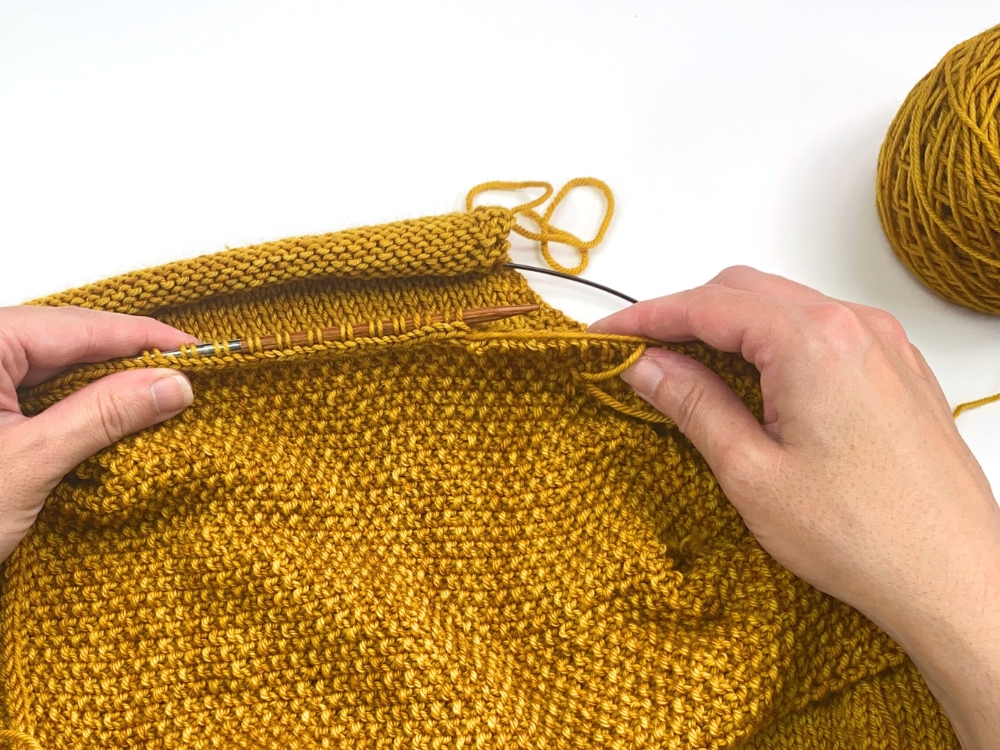
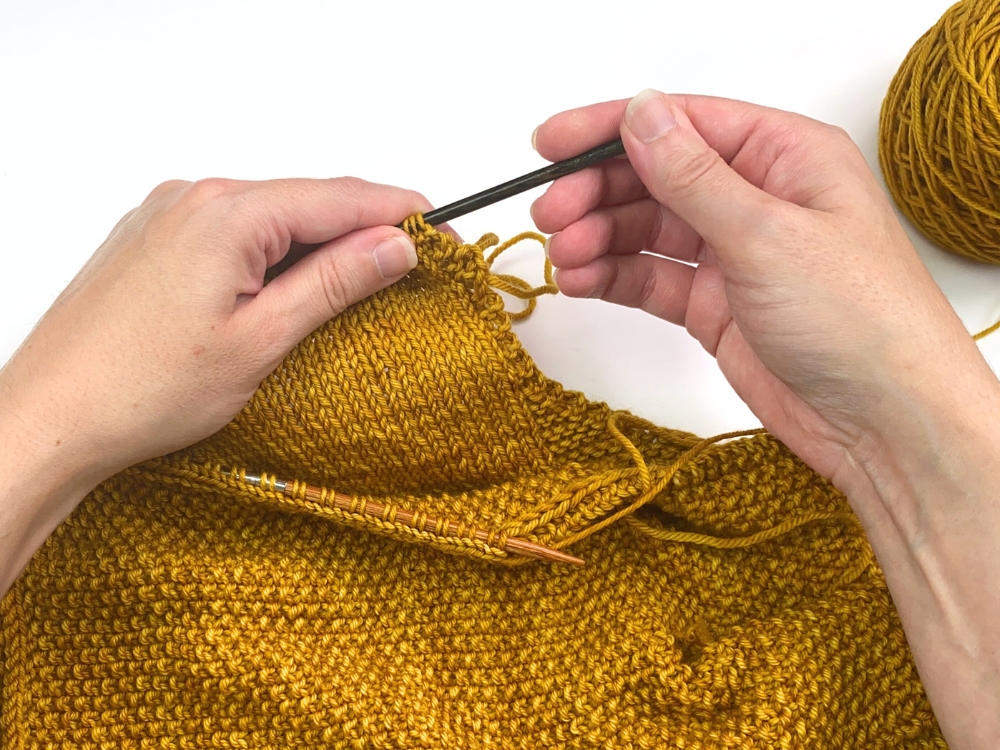
Then you’re instructed to pick-up and knit sts along your Left Front Panel, starting with where your locking stitch marker is on that side. As you can see in the photo below, I am starting right next to where my locking stitch marker is on my Left Front Panel. And, I’m inserting my needle into the “v” stitch that is 1 st in from the edge.
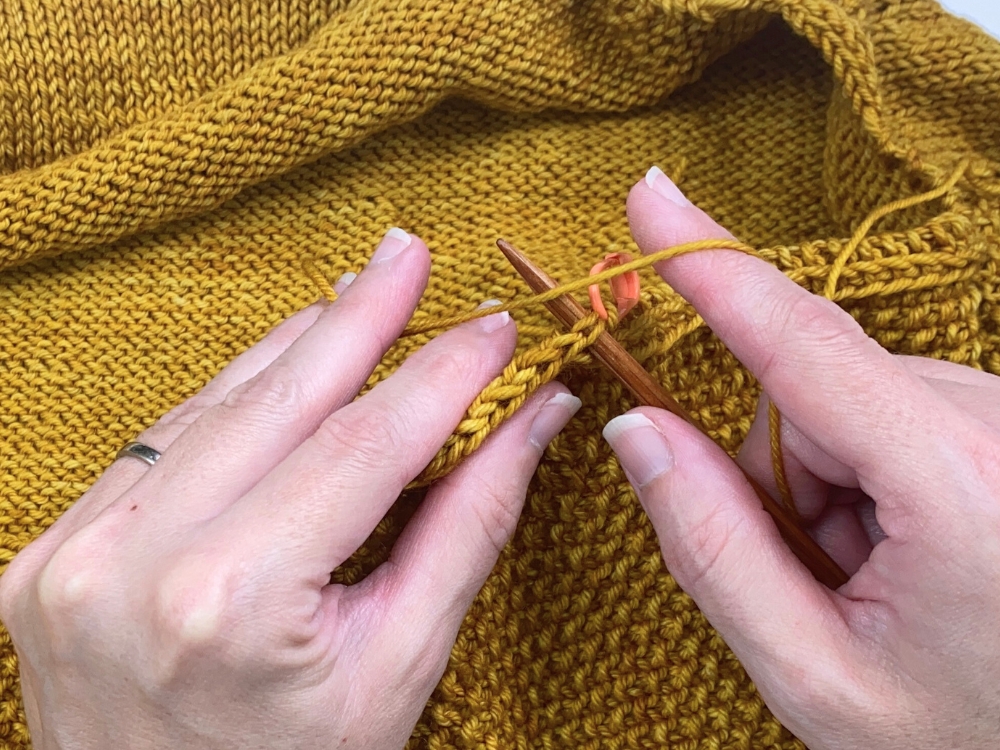
Then to join the yarn, I drape it over the top of the right needle like this…
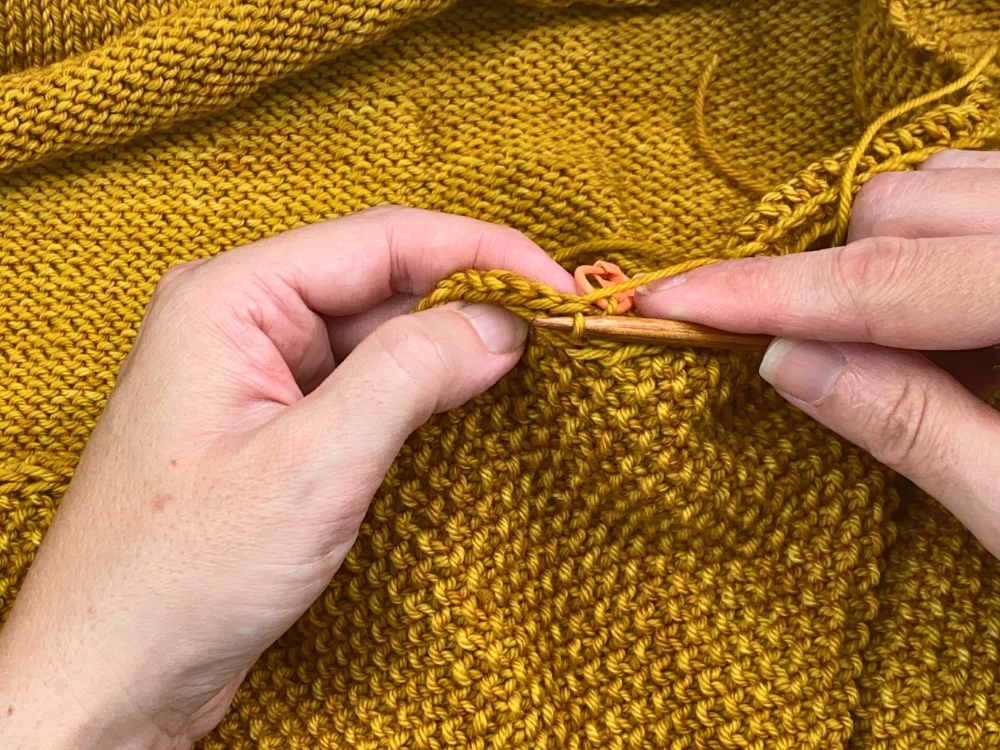
And then knit that first stitch.
Then I’ll continue picking-up and knitting along this edge, 2 sts for every 3 rows approximately.
You’ll do this until you get to the point where your panel ends were joined together, and you need to make sure to have the exact number as listed in the pattern. This may mean that you have to stray from the “2 sts for every 3 rows” at some point (that is ok) – the most important thing is to have the right stitch count.
Step 3:
Once you reach this middle area, you’re now ready to do the same thing along the Right Front Panel. But before you start, I recommend placing a removable marker at this point to make counting your stitches on this side easier.
So once I’ve placed the marker, I’m ready to pick-up the same number of stitches along the Right Front Panel (at the same rate of 2 sts for every 3 rows).
But this time, you’ll know you’re at the end when you reach that locking stitch marker that’s on the Right Front Panel.
Step 4:
Once all of your stitches have been picked-up and you have the correct stitch counts on each side, you can remove all of the markers (so both locking stitch markers on either side plus the marker you placed at the center). Then you’re ready to go on to Step 4 of the instructions.
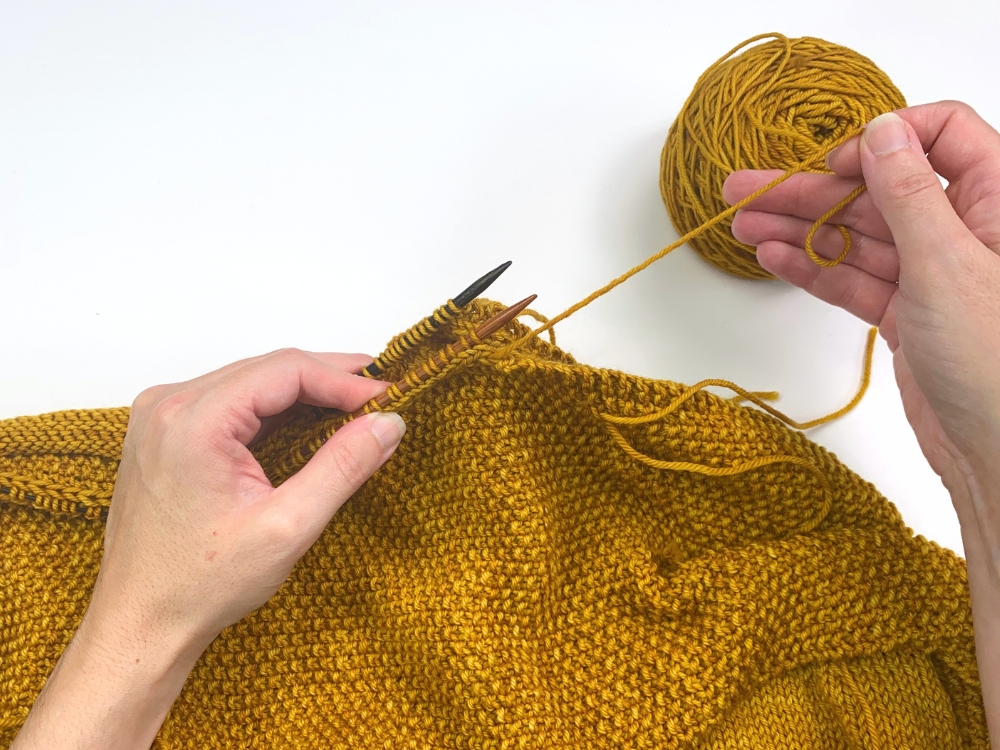
In Step 3 you first need to put RS’s of Front panel sts and Back sts (that are still on the 32”/80 cm circ) together (so the WS will be facing you). Here’s a visual of what it should look like and how you should have everything aligned. You want to have your needles running parallel to each other with your Front Panel sts as your front needle and the Back sts as your back needle.
Since we’ll be using the working yarn that is attached at the Back and it’s hanging from the right-end (when the piece is positioned like the below photo), you’ll want to slide the stitches on both the back and front needles towards the needle tips:
Once you are all aligned, find the working yarn that attached to the Back…
…And then start the Three Needle Bind-Off technique.
Once you’re done, it will look like the pictures below:
And then you are all done! Your vest is now all put together. The last step is just weaving in ends and blocking.

