How to Work 2-Row Stripes
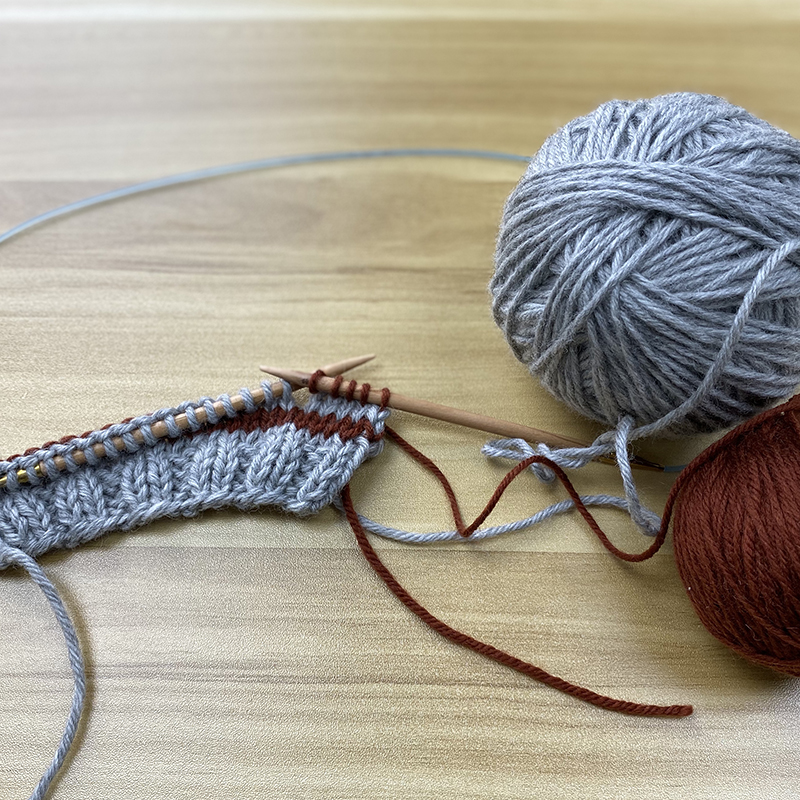
In both my Little Coffee Bean pattern as well as my adult version, Coffee Bean, you work 2-row 2-color stripes throughout the piece. If you have never worked stripes before, don’t worry – I will walk you through the steps in this tutorial!
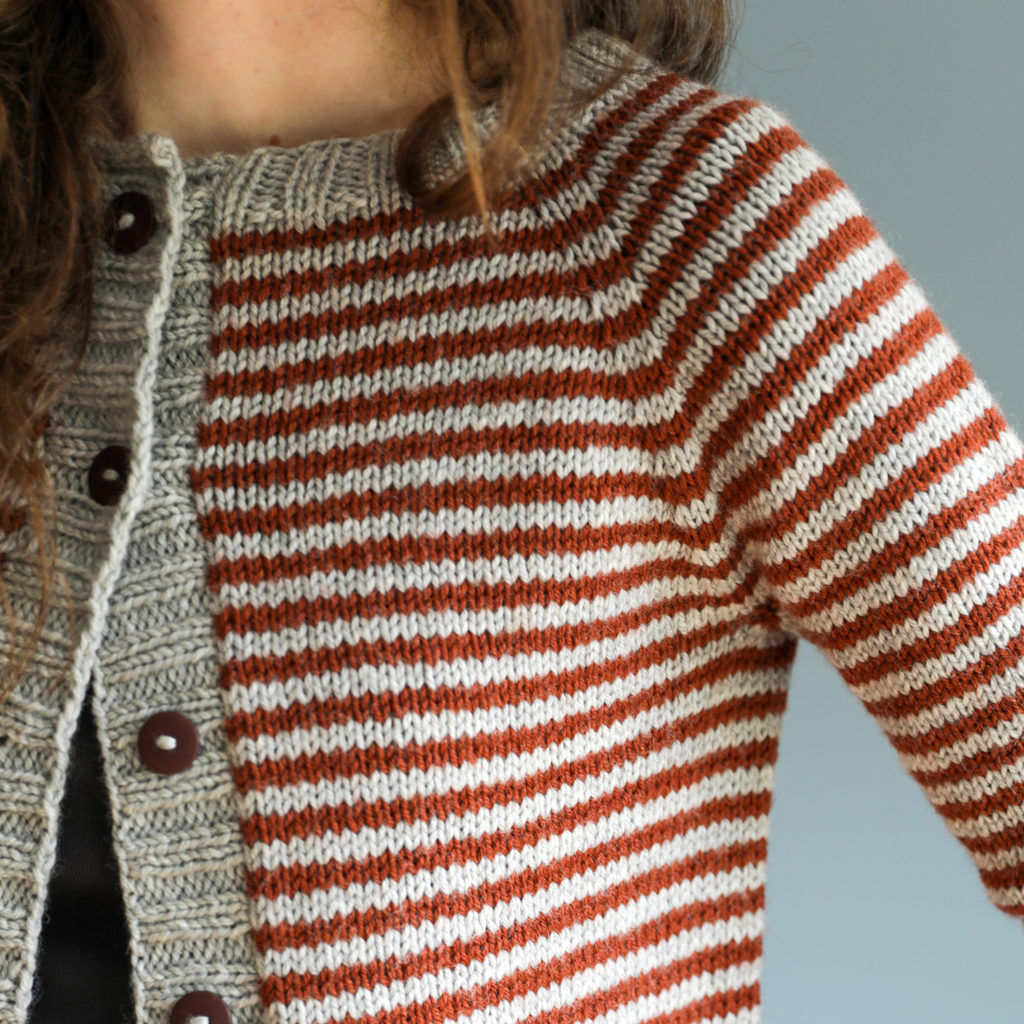
One of the best parts about working 2-row, 2-color stripes is that you don’t have to cut the yarn each time – you just carry the colors up the side as you go. Follow along with the steps below. For this tutorial, let’s call the gray yarn “Color A” and the brown yarn “Color B.”
Step 1: Join new color by knitting it together with old color in first stitch.
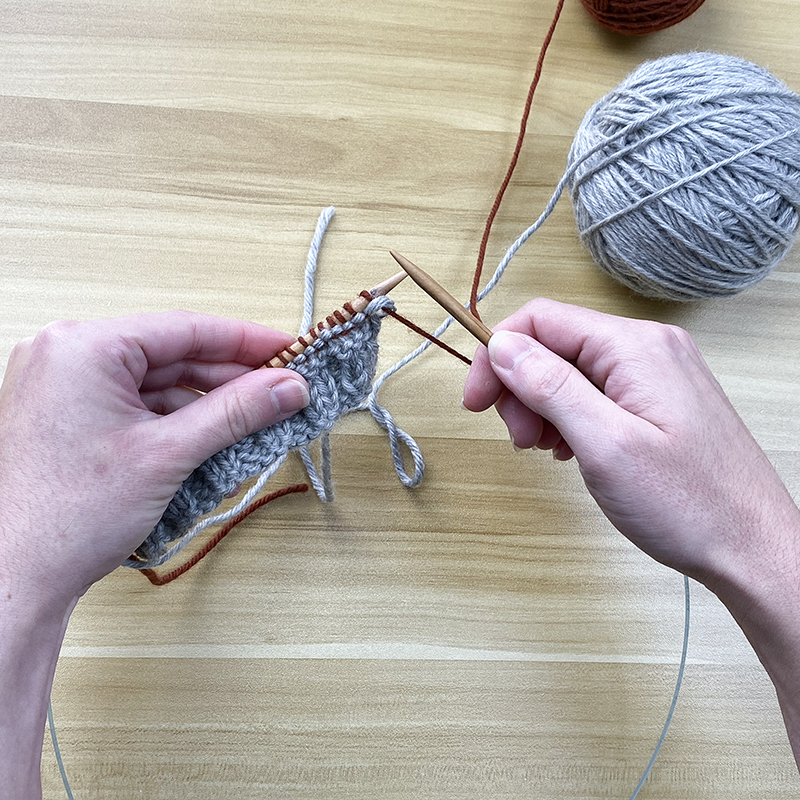
When you are ready to join a new color for the first time (on a right-side row), insert your needle tip into the first stitch on the left needle…
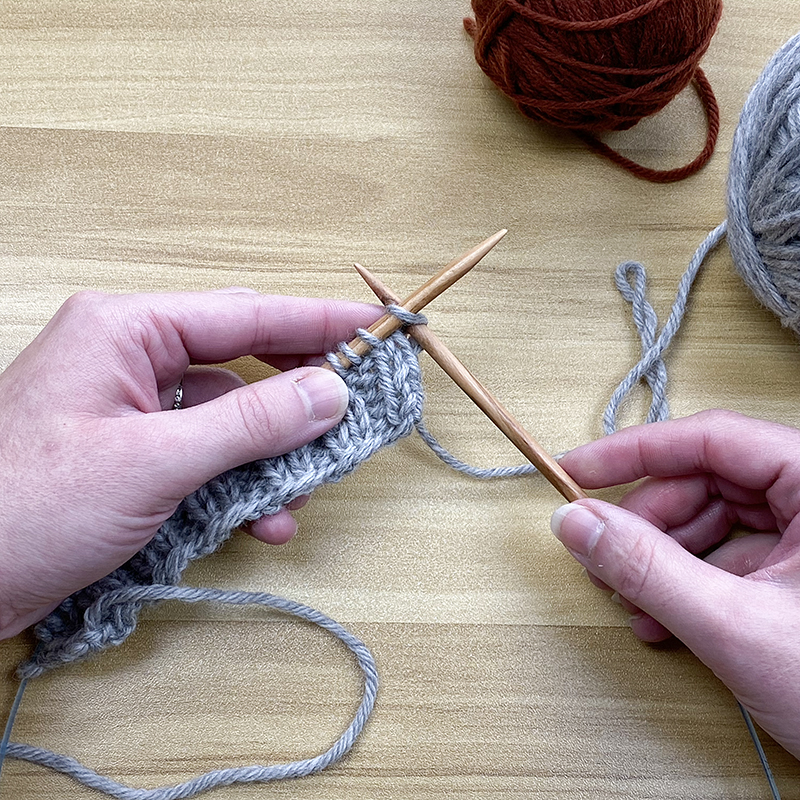
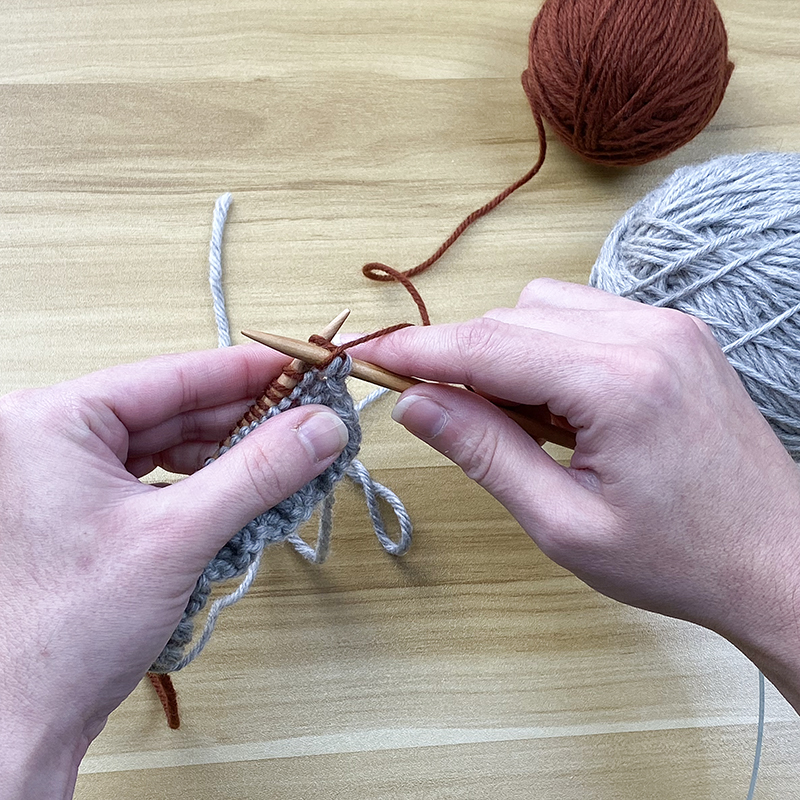
Just as you typically would do when about to knit a stitch, wrap color A yarn around the right needle. But in addition, also drape the color B yarn around the right needle as well. You will be knitting that first stitch with both color A and color B.
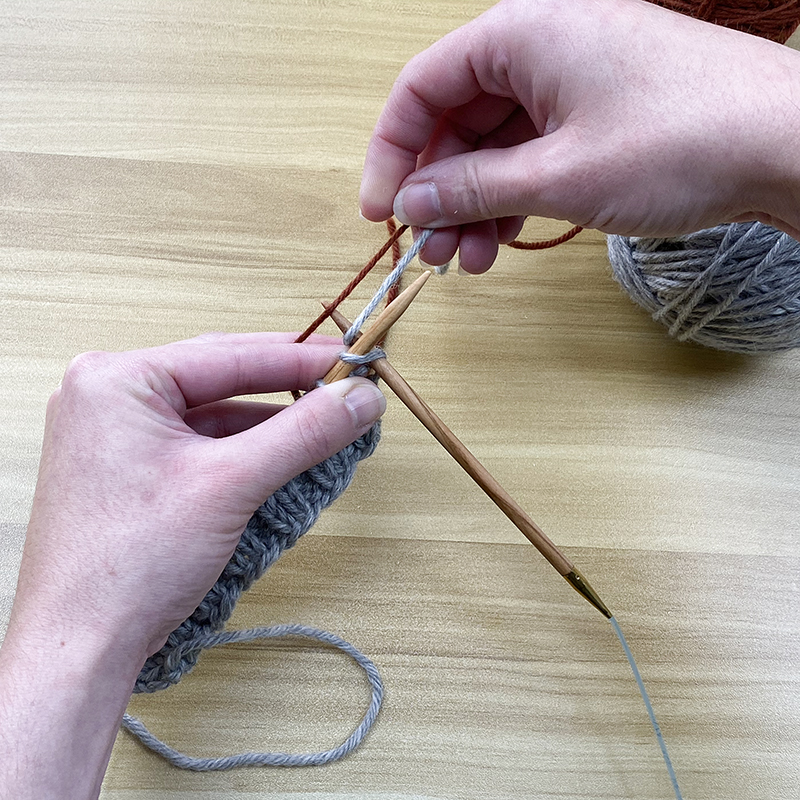
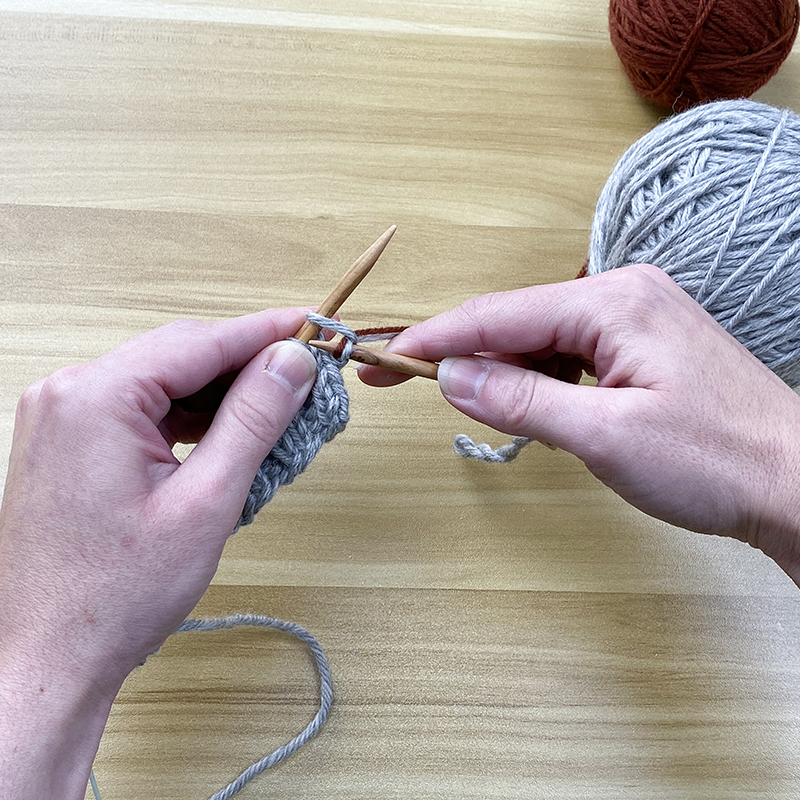
You’ve now knit the first stitch with both color A and color B and have officially joined color B to your work. The stitch that you just worked (now on your right needle) has 2 loops – it may look weird right now, but on the next row we’ll purl these loops together (see Step 4 below).
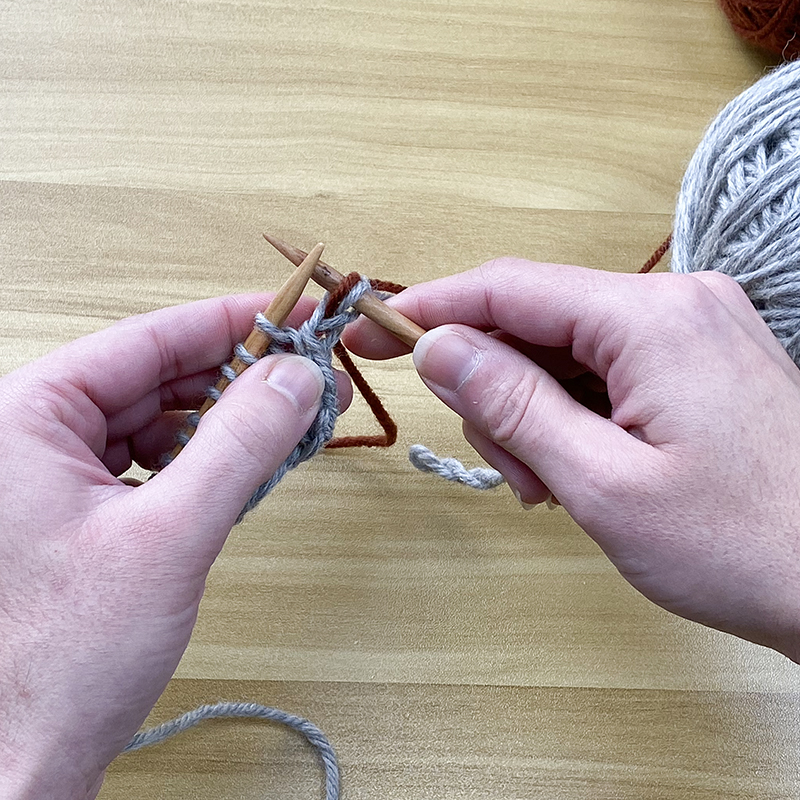
Step 2: Continue knitting across the row with JUST color B.
Now that color B is joined to your work, you’ll drop color A (just let it hang where it is) and you’ll use color B to knit across the row…
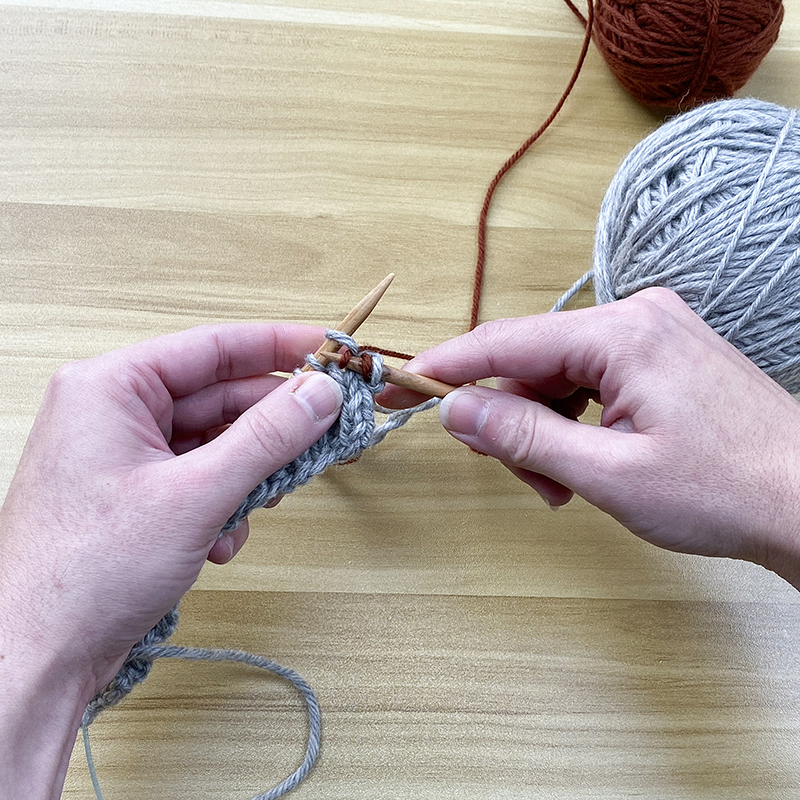
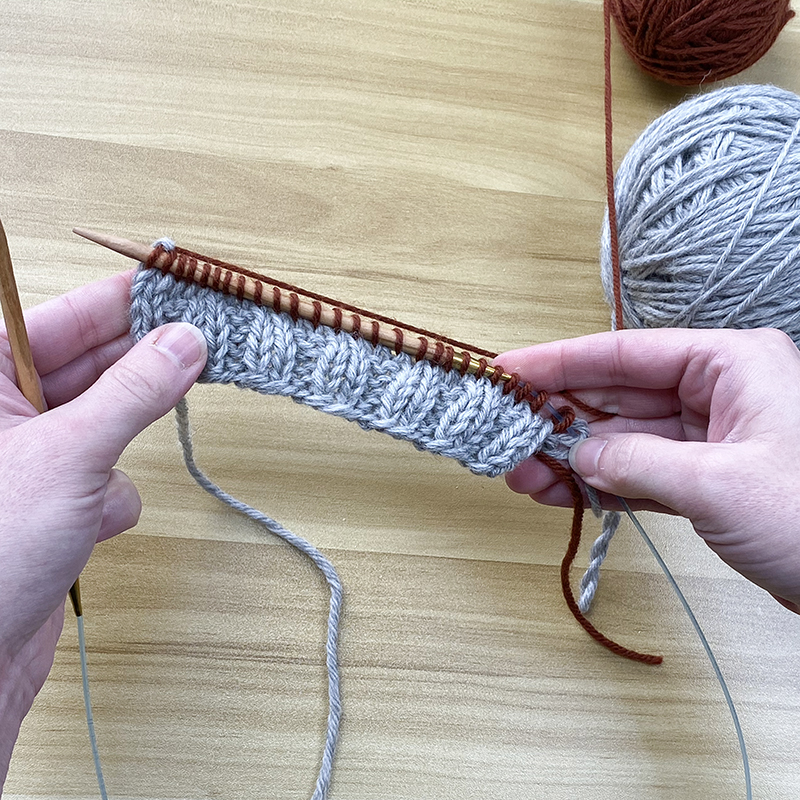
Step 3: Purl the next row with color B.
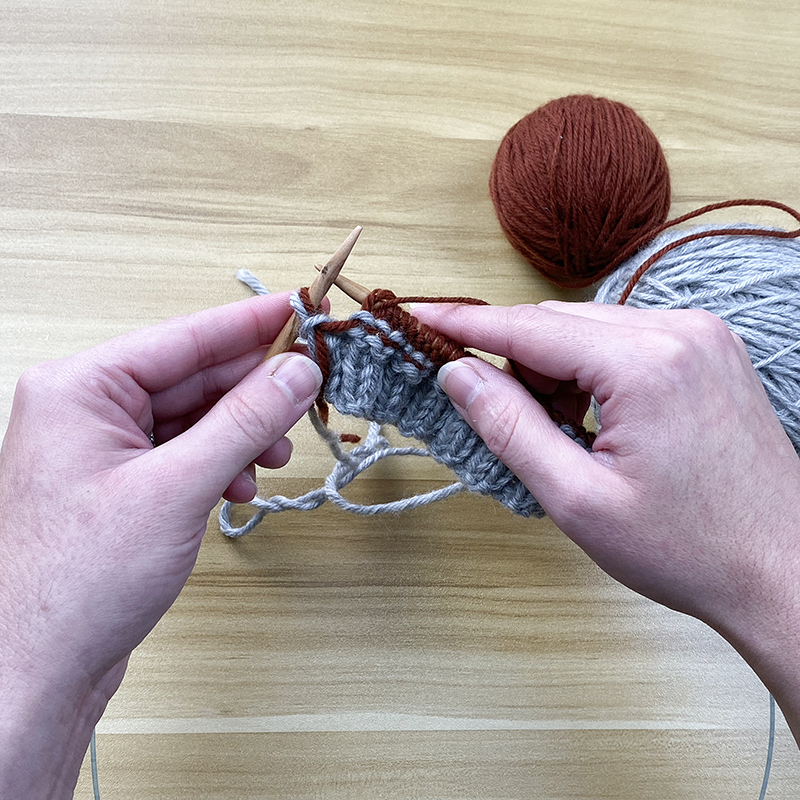
When you finish knitting across the row, you’ll turn the work and purl all of the stitches until you get to the very last stitch (this last stitch was the first stitch you had worked the row before where you knit with both color A and color B)…
Step 4: Purl the last stitch, making sure to purl the color A and color B loops together.
When you reach the last stitch on that purl row, you’ll encounter the stitch that has both the color A and color B loops coming out of it. Simply purl these loops together…
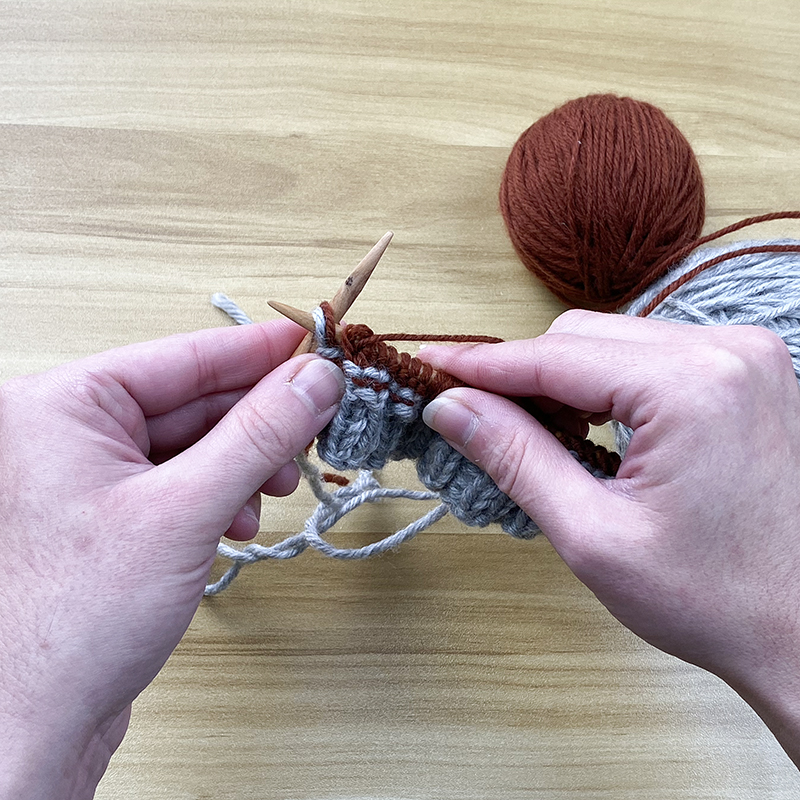
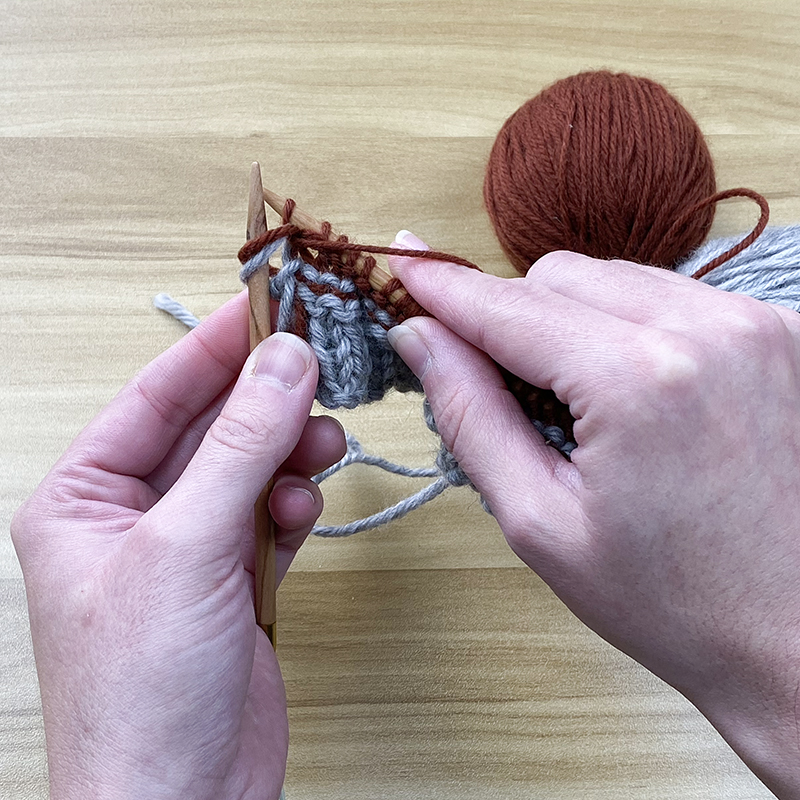
After you do this, the last stitch may seem a little loose. Simply give the tails from color A and color B a little tug…
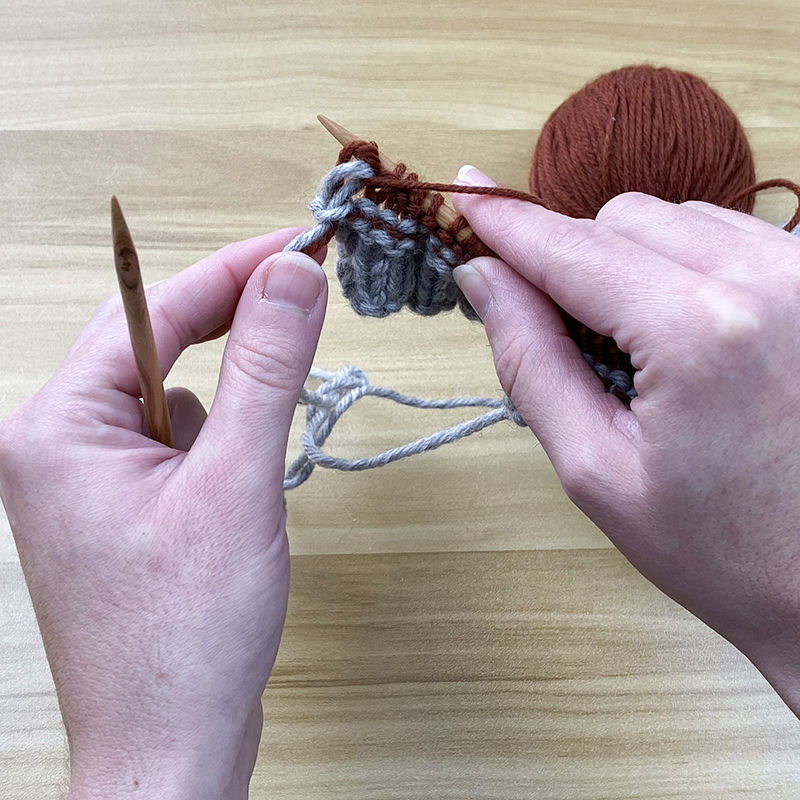
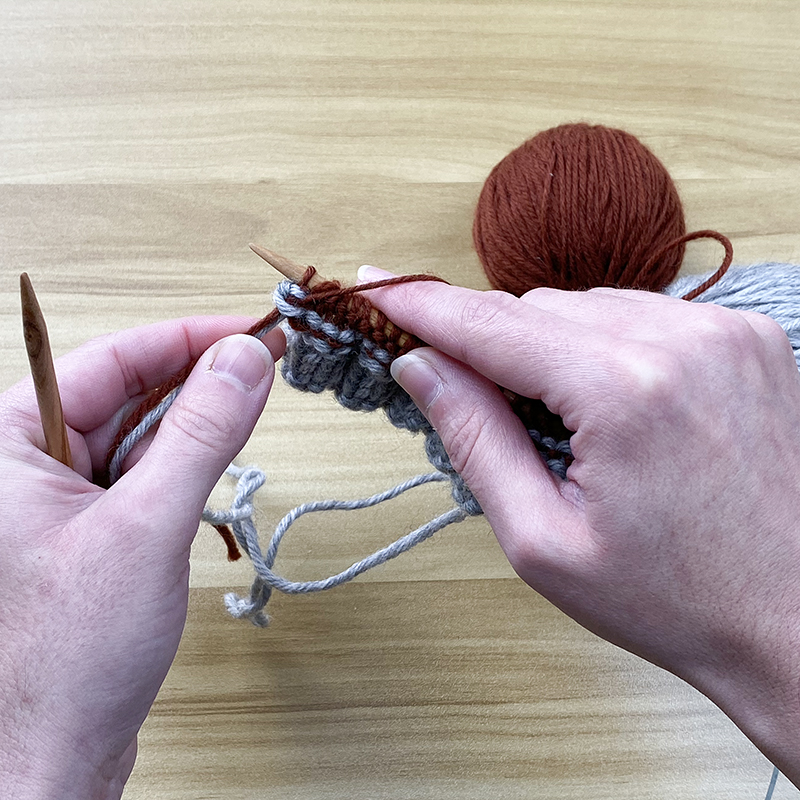
You have now completed your first 2 rows with color B! In the next step I’ll be showing you how you carry your yarn up as you continue to work your stripes…
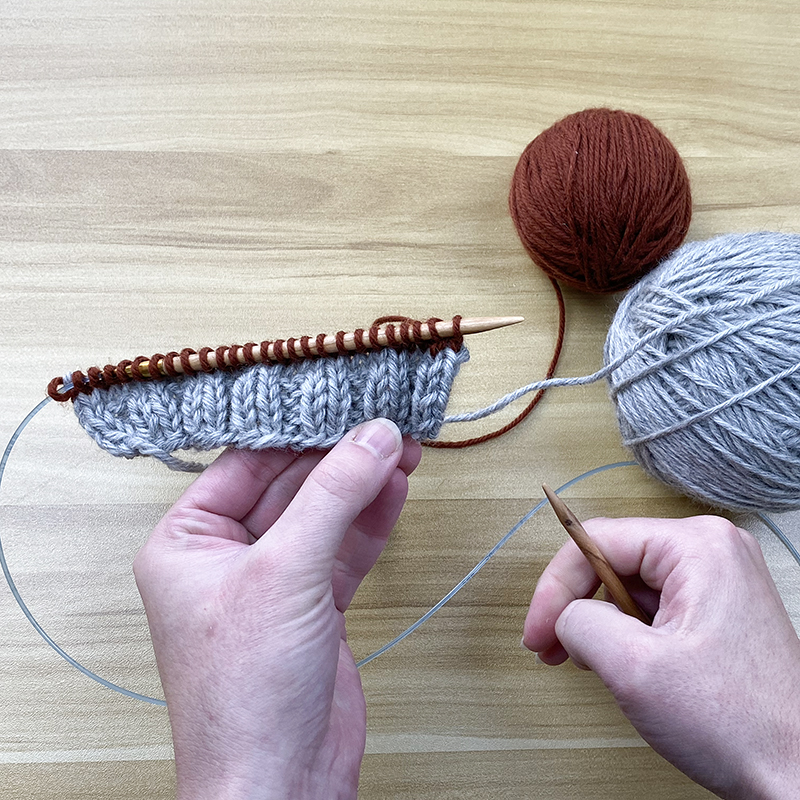
Step 5: Carrying your yarn along the edge as you switch between colors every 2 rows.
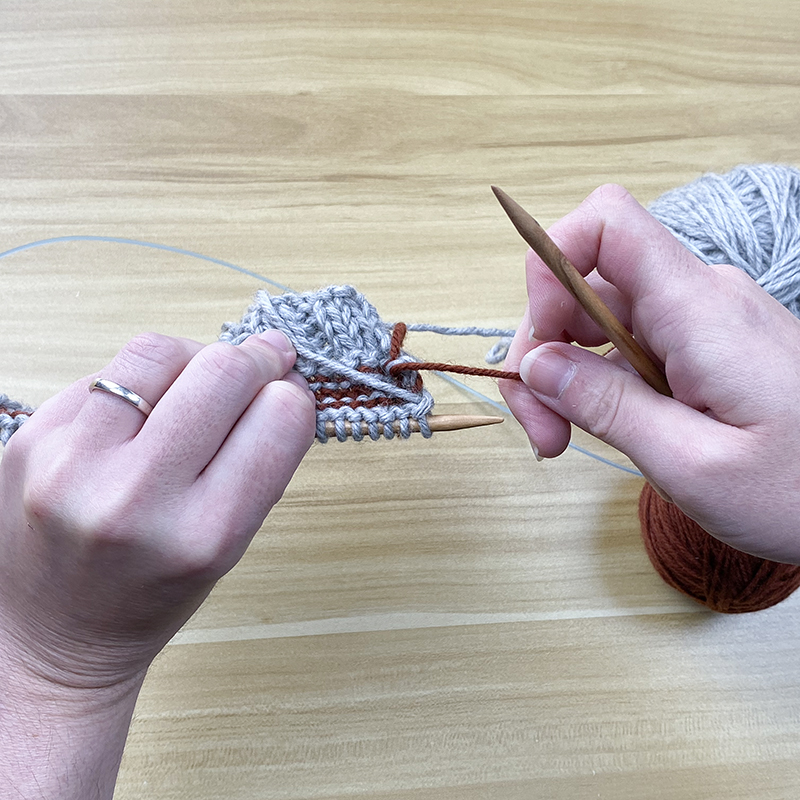
In this example, the next step would be to work 2 rows with color A (since we just completed 2 rows with color B). Remember that when we switched to color B, we left color A just hanging at the edge. So all we have to do is pull color A up, but here’s the key – make sure that when you pull it up, that the previous color (in this case, color B) is located on the interior of the work, not the edge. In the following pictures I have tilted the work forward so you can see what’s happening on the backside. I find it helpful to hold the previous color with my left hand (to ensure it stays on the interior of the work) as I grab the current color with my right hand and pull it up…
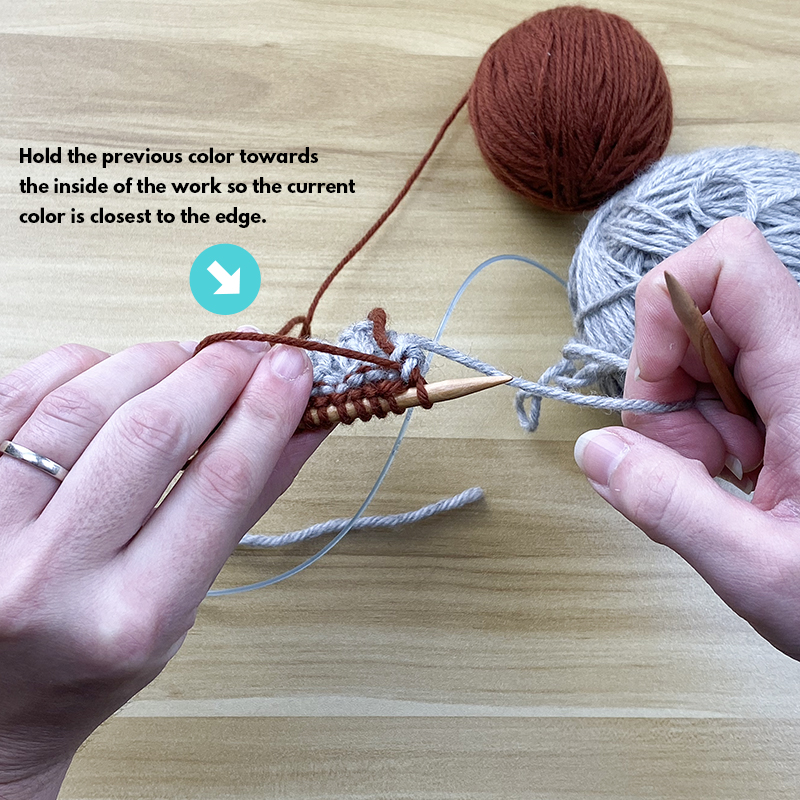
Then start knitting with color A, letting color B just hang at the edge…
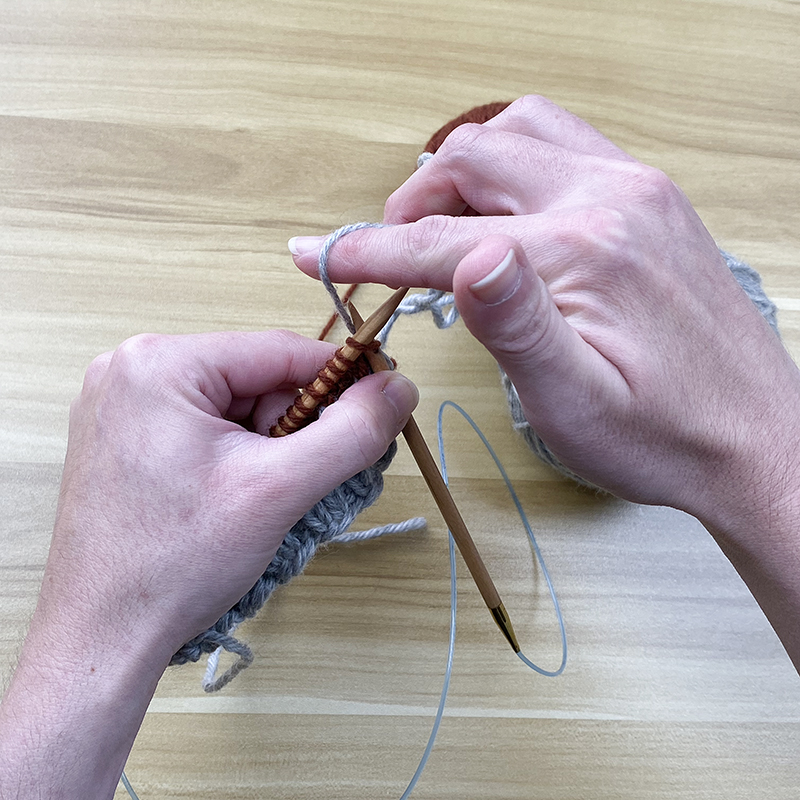
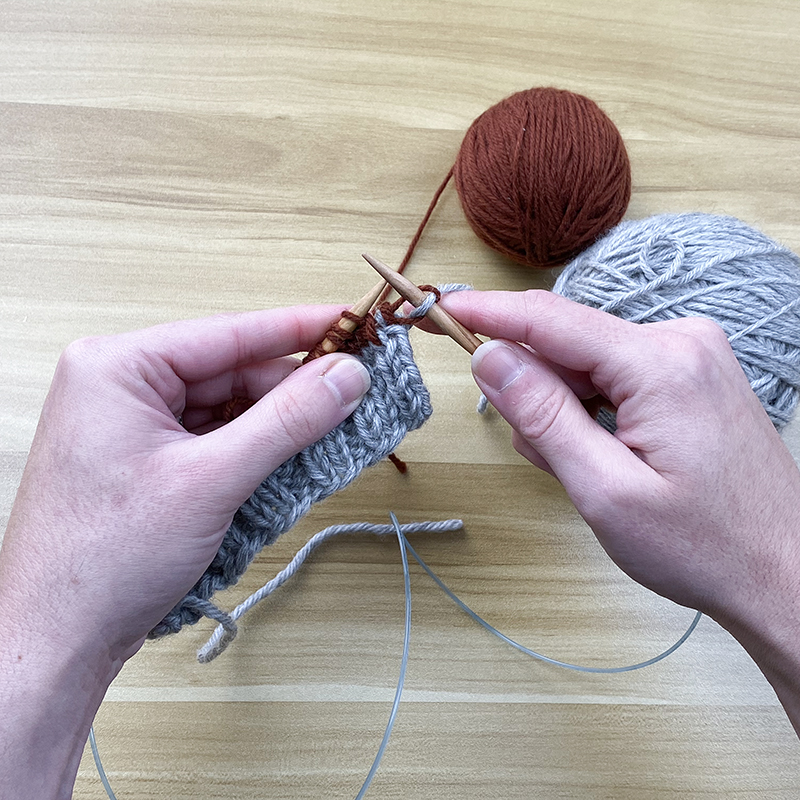
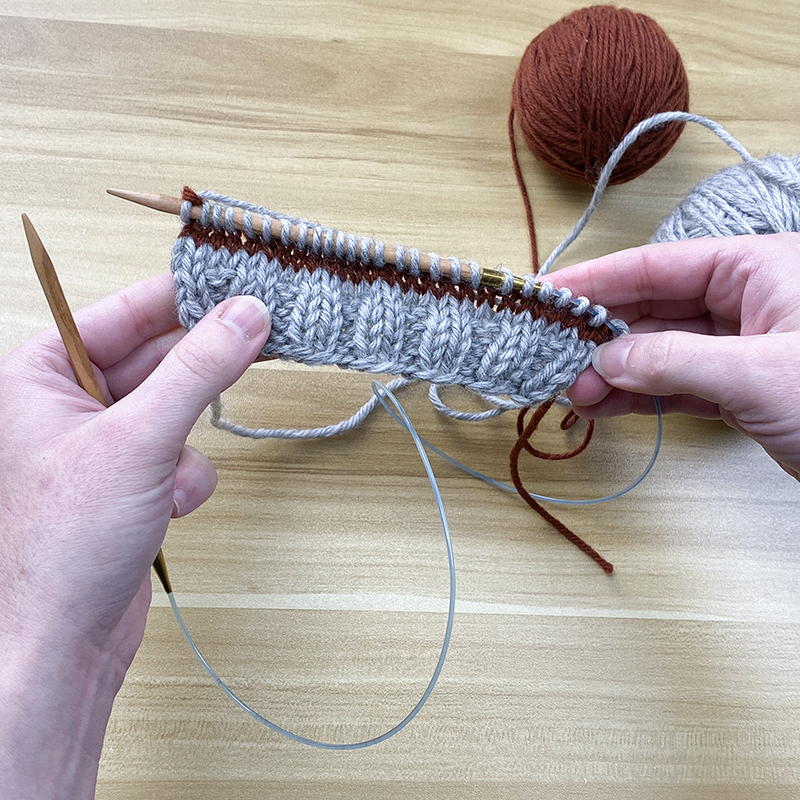
And then you’ll turn work and purl back with color A (just as you had done previously)…
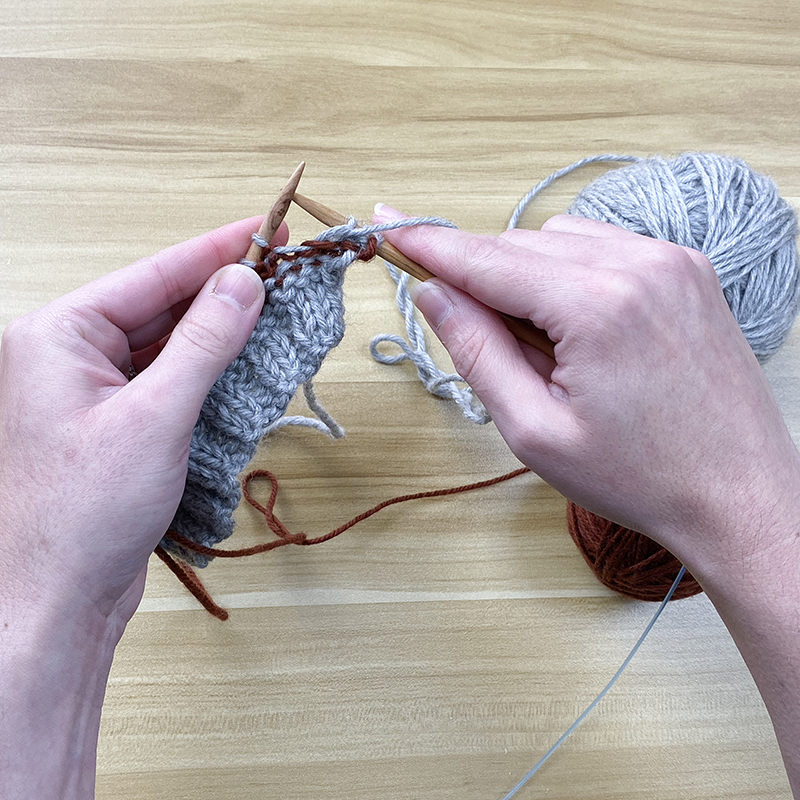
After you have purled that row, you will now be ready to switch colors again and work 2 rows with color B…
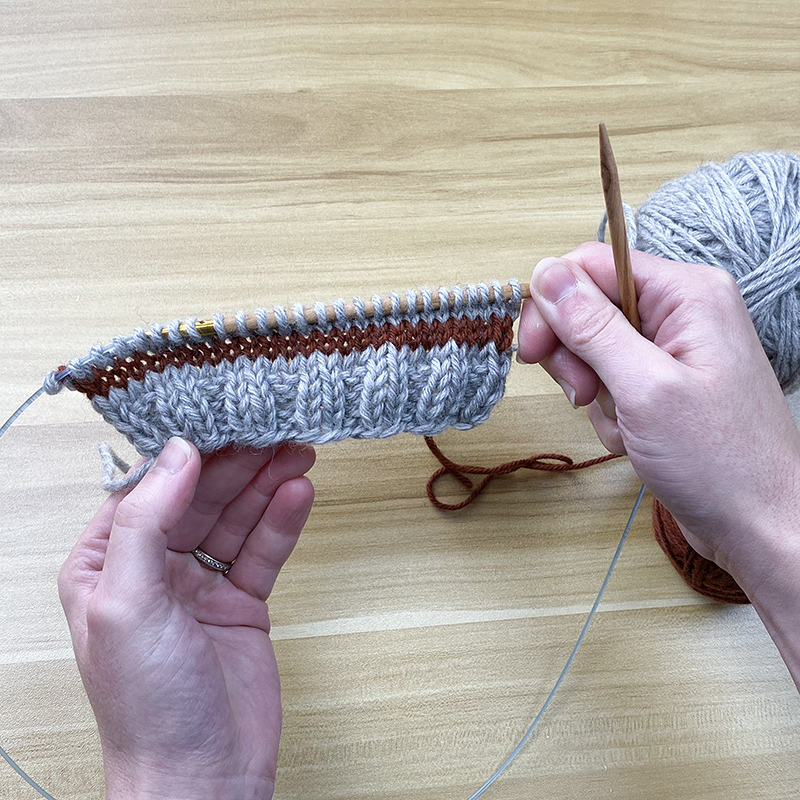
Just as you had done at the beginning of Step 5, you will want to hold color A to the interior of the work as you pull up color B along the edge, ready to knit the next row…
Conclusion
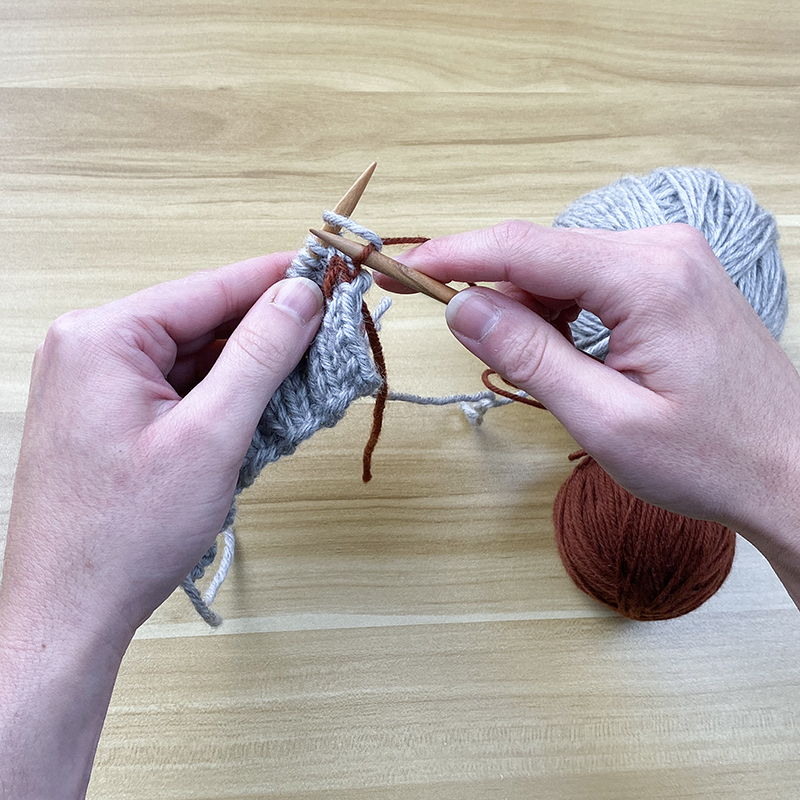
You’ll repeat step 5 over and over again as you work your garment. And if you run out of yarn and need to join in a new skein, simply work the same technique as shown in steps 1-3.
