Coastland Tips
Welcome to the Coastland top & cowl tips page! On this page you will find lots of tips and tutorials to help you make your very own Coastland, whether it’s the top or the cowl (or both). I cover the following topics on this page:
- Tips on picking your 2 colors (top & cowl)
- Picking a size (top)
- Tips on gauge
- Getting started on the hem (top & cowl)
- Working the stitch pattern (top & cowl)
- Adjusting the armhole depth (top)
- Working the sleeves (top)
- Other technique tutorials:
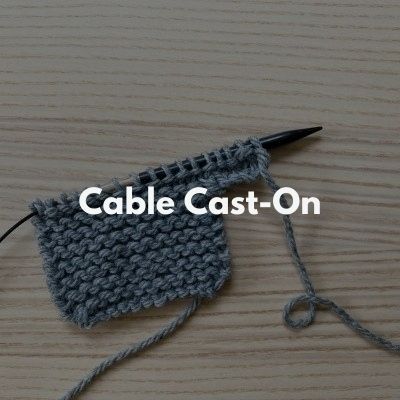
- Cable cast-on
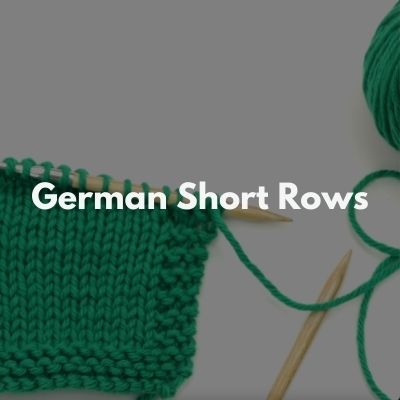
- German short rows
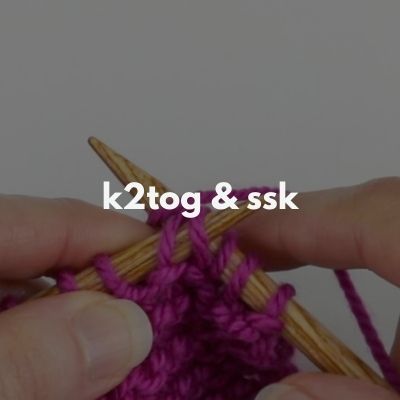
- k2tog & ssk decreases
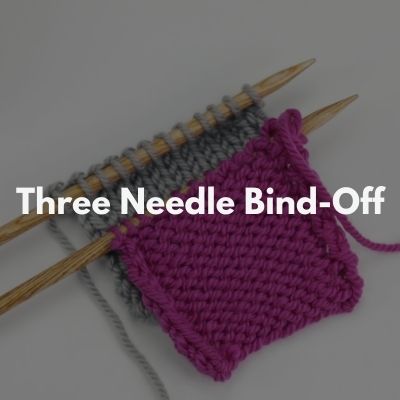
- Three needle bind-off
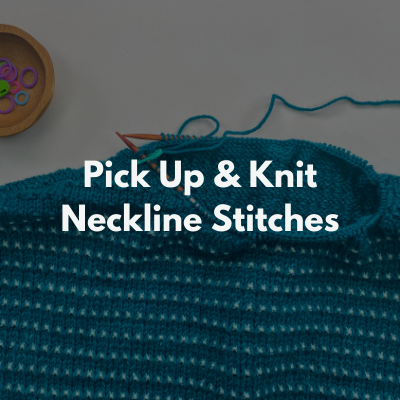
- Pick-up and knit around neckline
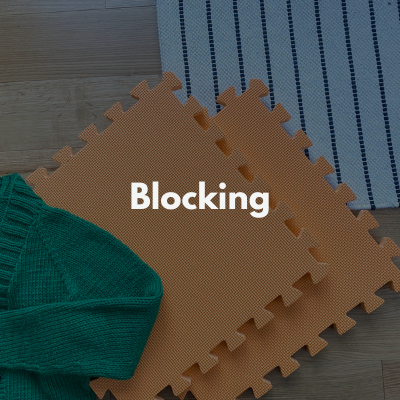
- Blocking
Tips on picking your 2 colors
Whether it’s the top or the cowl, you will need 2 colors of Berroco Pima Soft – a main color (MC) and a contrasting color (CC). In the slip stitch mesh stitch pattern, the contrasting color is very subtle and acts as a bit of a ‘shadow’ in the stitch pattern. So it’s important that your CC really pops against your MC if you want it to be more visible. I chose Sand Dollar as my MC and Pear as my CC:
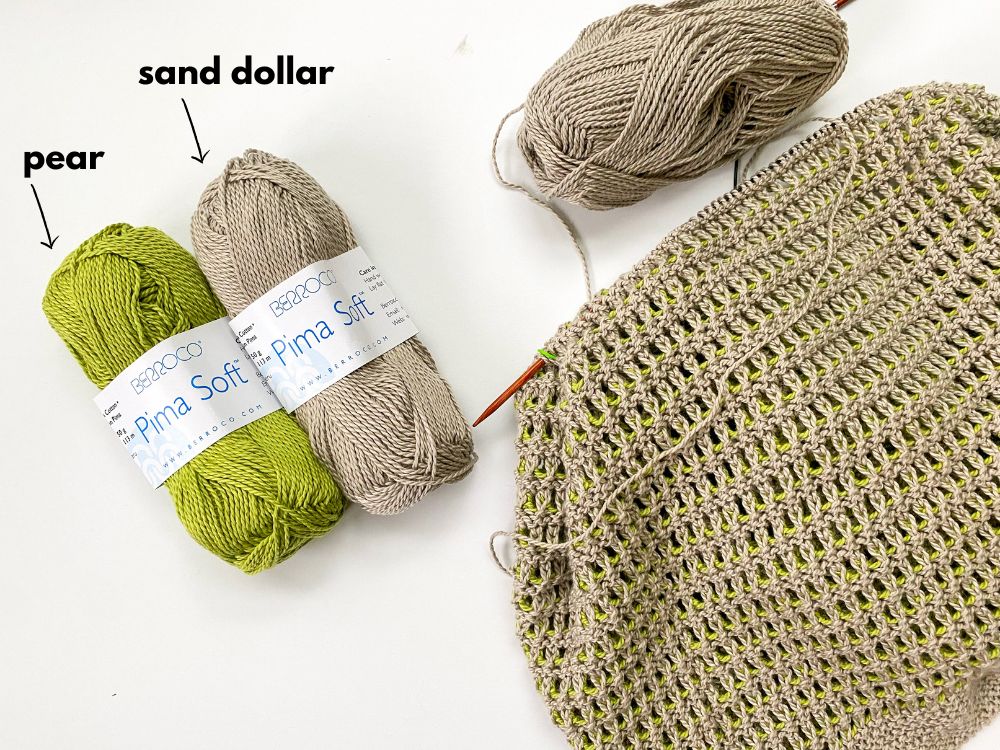
In my swatching, I found that the CC popped the best when it was the brighter shade between the two. For example, if I swapped these 2 and made Pear my MC and Sand Dollar my CC, even though the 2 colors pop next to each other, Sand Dollar wouldn’t pop as much as the “shadow” color because Pear is so much more eye catching.
A note about yardage: if you think you may lengthen your Coastland top, it’s a good idea to get an extra skein of the MC.
Find a Berroco Pima Soft stockist near you by clicking here.
Picking a Size
For the Coastland top, there are 9 sizes to pick from. I suggest picking a size whose finished circumference is 5-10″ larger than your actual bust or upper torso circumference, depending on your desired fit. If you want a more drapey, oversized look, then I would recommend picking a size on the upper end of that range and if you want a more regular fit, to pick a size on the lower end of that range. You can also choose a size with less positive ease (so less than 5″) if you want a more fitted look, but you will likely to need to make your armhole depth a little longer. Below are some tips about this.
And if you are new to the concept of “positive ease”, check out my blog post here.
Tips on Gauge (for the top)
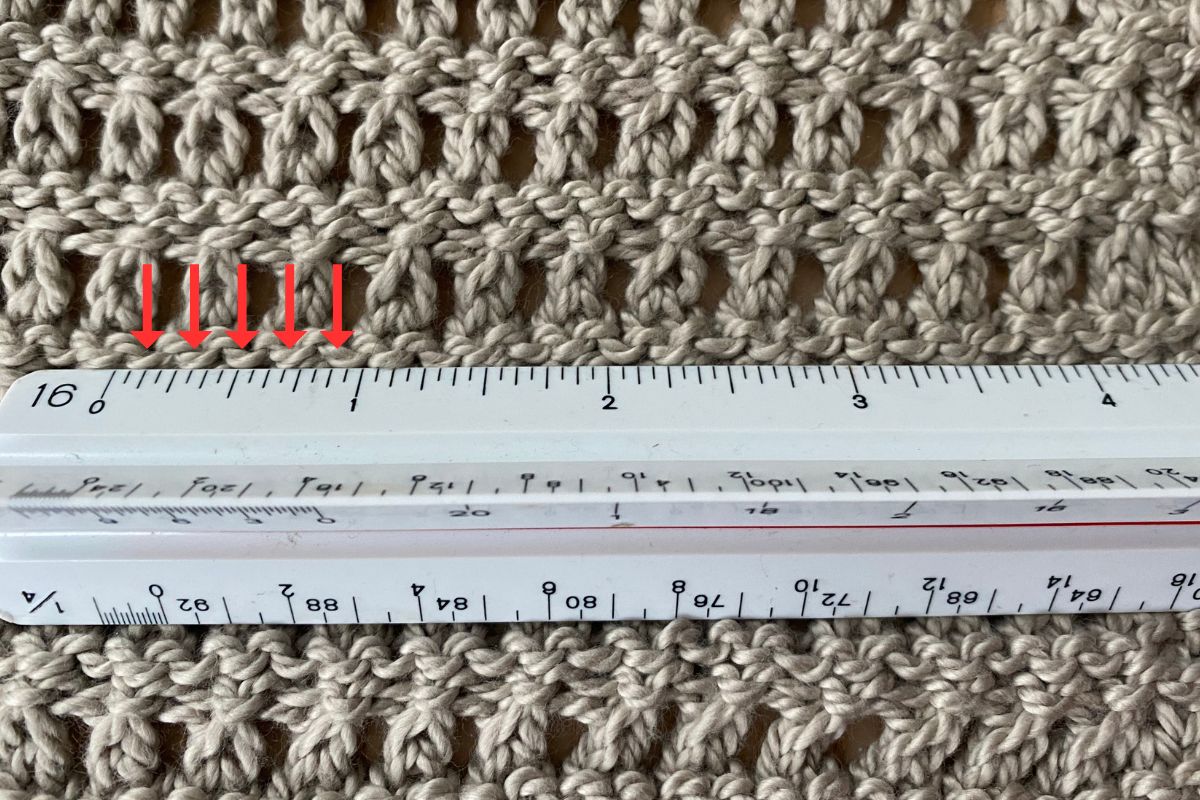
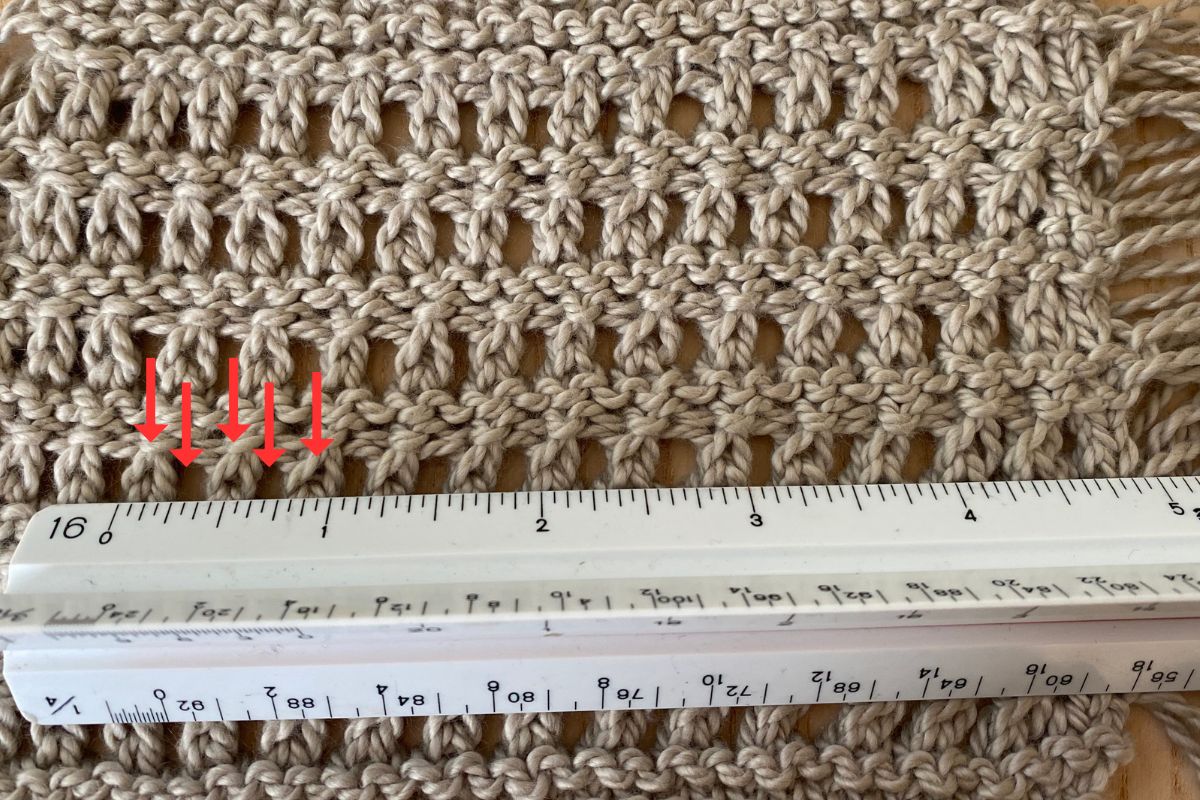
For the top, multiple gauges are listed in the pattern because of how the top is constructed and the various stitch patterns used. However, when doing your gauge swatch, the most important gauge to match is the “Mesh St Pattern in the round” as this is the stitch pattern & gauge that dictates the body of the garment (so your overall circumference). And with this, the most important thing is to match the stitch gauge – if you don’t get the exact row gauge that is ok! Row gauge dictates garment length and armhole depth and both of those areas you can work more or less rows to accommodate a different row gauge.
In terms of measuring the gauge – here are some additional tips. Below are 2 pictures where I show 2 different ways to count your stitches in the gauge swatch. In both I’m getting 5 stitches per inch so I think either method works well.
Getting started on the hem
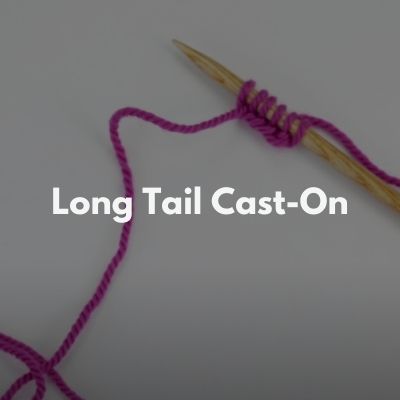
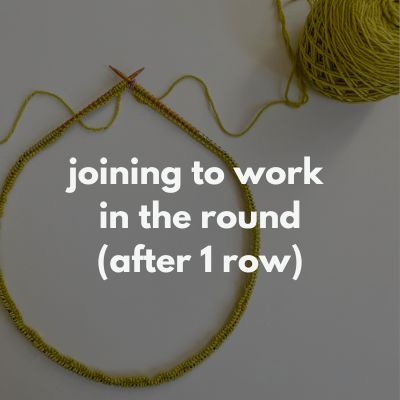
For both the top & the cowl, although both pieces are worked in the round you won’t join to work the in the round until 1 row after cast-on. The reason for this is because the hems are worked in garter stitch and with the long tail cast-on border, I just prefer the look of this cast-on edge (on the right side) after 1 row has been worked. The additional bonus is that often it can be easier to notice potential twists in your work after 1 row has been worked (making the process of joining to work in the round easier).
Below are 2 video lessons you might find helpful. The first is just a basic “how to long tail cast-on” and the second is how to join to work in the round when working a hem similar to Coastland:
Working the stitch pattern
I’ve created a video lesson that demonstrates how to work each row in the slip stitch mesh stitch pattern that’s featured in Coastland (including how and where to carry-up yarn so you don’t have to cut it). I demo how to work it in the round as well as flat (since in the top you work it flat when working the upper part of the tee).
Adjust the armhole depth
Because this is a drop-shoulder piece, the amount of armhole depth as written in the pattern is based upon wearing the garment with 5-10″ of positive ease (i.e, with more ease, the armhole sits further down on the arm). However, you may want to lengthen your armhole depth – either because you prefer a deeper armhole or because you chose a size with less positive ease. Here are tips on how to adjust the armhole depth in Coastland:
- As written, in “Front – Section 2″, you are instructed to repeat rows 1-12 3 more times. If instead you repeated it 4 more times (and then proceeded as written to then repeating rows 1-5 1 more time), you will add approx. 1.25” in depth.
- If you want to add less depth than this, you can instead work more garter stitch rows in “Front – Section 3”. Because you’re no longer working in the slip stitch mesh stitch pattern, you have more flexibility here in terms of number of rows to add to what is written. Or, if you had added the additional repeat in section 2 but still want to add just a little bit more, you can then also add more garter stitch rows in section 3.
- No matter which area you choose to add rows to, make sure you note where and how many so you can replicate exactly on the Back.
Working the sleeves
In the Coastland top, you’re instructed to pick-up and knit stitches around the armhole (to create the short sleeves) using DPNs or you can use a longer circular and work the magic loop method. Below is a video lesson that walks you through how this is worked using magic loop – it’s for a different design (my Azalea top) but the concept is the same for Coastland:
In addition, if you want to make your sleeves longer, it’s an easy adjustment to make. I would just suggest you work more rounds between your 2 decreases. If you want to make them significantly longer, you may want to add in an additional decrease round or two (but that will just depend on how long and your preference). The good thing with working sleeves from the top-down is that you can try it on as you go and this can help you determine what additional adjustments you may want to make.
Other technique tutorials
Below are photo or video tutorials on all of the other techniques used in Coastland (the top, cowl or both):