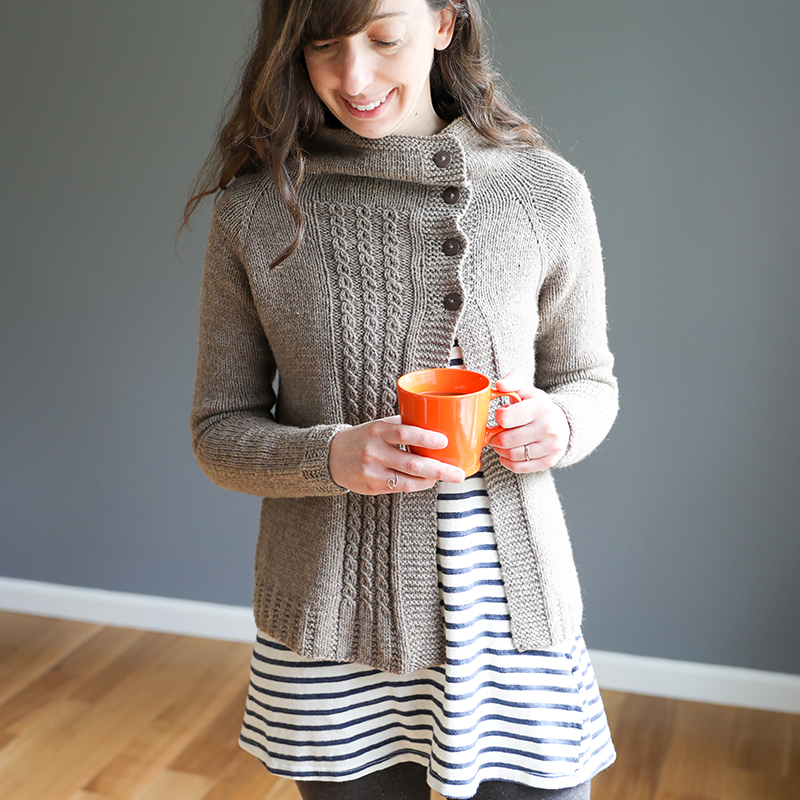
Clouds in my Coffee Tips

On this page you’ll find tips and tutorials for all the techniques used in my Clouds in my Coffee cardigan! I review the following topics on this page:
- Picking a size
- Yarn Options
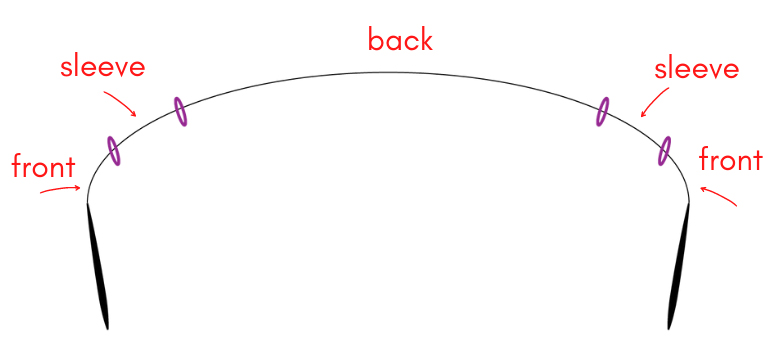
- Top-down raglan construction
- Long-tail cast-on
- m1-R and m1-L increases
- “Faux Cable” Eyelet Rib Stitch Pattern
- Underarm Divide
- Working sleeves (either with DPNs or the magic loop method)
- Blocking
- Attaching Buttons
Picking a Size:
In the pattern I suggest picking a size whose finished bust measurement is approx. 2-4″ larger than your actual bust measurement (note: new to the concept of positive ease? Read this blog post!) The finished bust measurement of the garment is what the measurement is when buttoned (so front bands overlapping). If you are in-between sizes, I suggest measuring the width of sweaters in your closet to see what types of widths you tend to prefer on your body – this can help you decide whether or not you want to go up or down a size. Feel free to reach out to me if you need additional help or tips on picking a size just right for you!
Yarn Options:
Clouds in my Coffee calls for worsted-weight yarn so you have lots of potential options! Due to the stitch patterns featured as well as the asymmetrical construction, I think yarns that have a bit of structure to them work really nicely. Wool or wool blends are great options to consider! I used Quince & Co Lark in my original sample (back in 2015) but there are lots of other options to consider as well – here are some ideas (but make sure to check with your local yarn shop to see what they may suggest too!):
- Berroco Ultra Alpaca
- Brooklyn Tweed Shelter
- Blue Sky Fibers Woolstok Worsted
- Cascade 220
- Berroco Lanas
- Kelbourne Woolens Germantown
- Manos del Uruguay Alegria Grande
- Stolen Stitches Nua Worsted
Top-Down Raglan Construction:
If you are new to top-down raglan sweaters, I recommend checking out this page. It provides an overview of top-down construction, including links to videos of every step of making a top-down raglan sweater (using my Audrey’s Cardigan as the example, but the techniques are the same regardless of design). Included on that page is a tutorial to the underarm divide which can be very helpful if this is your first top-down raglan sweater.
Long Tail Cast-On:
I recommend using the long tail cast-on for this pattern (although it’s not critical, if you prefer a different technique). I like the thumb method of this cast-on – click here to watch my video tutorial of this cast-on!
m1 Increases:
In the raglan shaping, you work m1 (“make one”) increases at each raglan marker (this is how you grow the yoke of the sweater). You will either make an “m1-R” or a “m1-L”. Click here for tutorials about working this type of increase.
Eyelet Rib Stitch:
Along the Right Front an eyelet rib stitch pattern is worked (which kind of looks like a cable stitch, but it’s not!). I created a video tutorial that walks you through exactly how to work this stitch pattern:
The Underarm Divide:
If you have never worked a top-down, seamless sweater before, then working the “Underarm Divide” section can seem a bit confusing. As part of my Audrey’s Cardigan knitalong, I created this video tutorial that walks you through the whole process. Although it’s a different pattern, the technique is the same so it will be very helpful as you work Clouds in my Coffee as well. In addition, I had created this blog post many, many years ago that still remains quite popular and will also walk you though the Underarm Divide process using photos.
Working Sleeves:
New to raglan sweaters? Then you may want a little help with figuring out how to work your sleeves. I have video tutorials for 2 different methods of working raglan sleeves – either with DPNs or using the magic loop method. You can check them out below!
Blocking:
Are you new to blocking? I know it can be intimidating at first! I created this video tutorial that walks you though the whole process. It was for my Audrey’s Cardigan knitalong, but the process is the same for any sweater I block.
Attaching Buttons:
For tips on how I attach buttons, check out my blog post here!


