Brookdale Tips
On this page you’ll find tips and tutorials to help you as you make your own Brookdale Vest! Here are the topics I cover:
- Tips on picking a size
- How to work the Rice Stitch
- Where to join a new ball of yarn
- Adjusting the length of Brookdale
- Working the Body Underarm & Underarm Divide
- Attaching shoulders & panels
- Blocking
- Technique Tutorials:
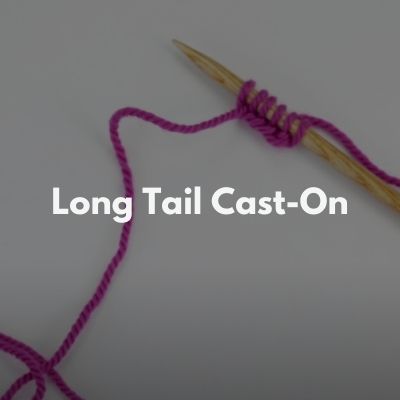
- Long Tail Cast-On
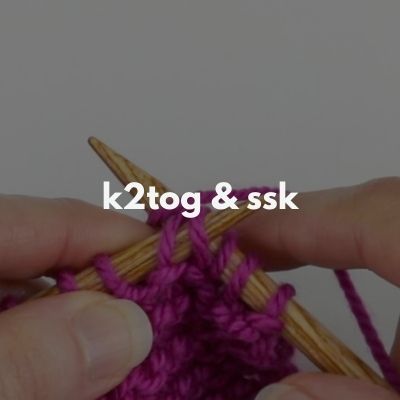
- k2tog & ssk
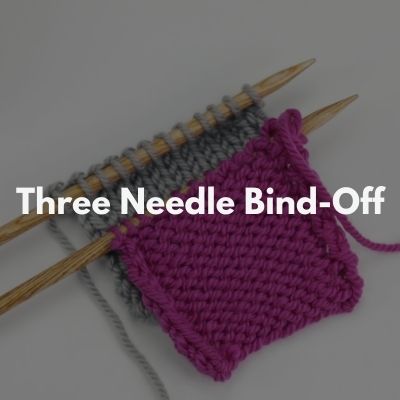
- Three Needle bind-off
Tips on Picking a Size
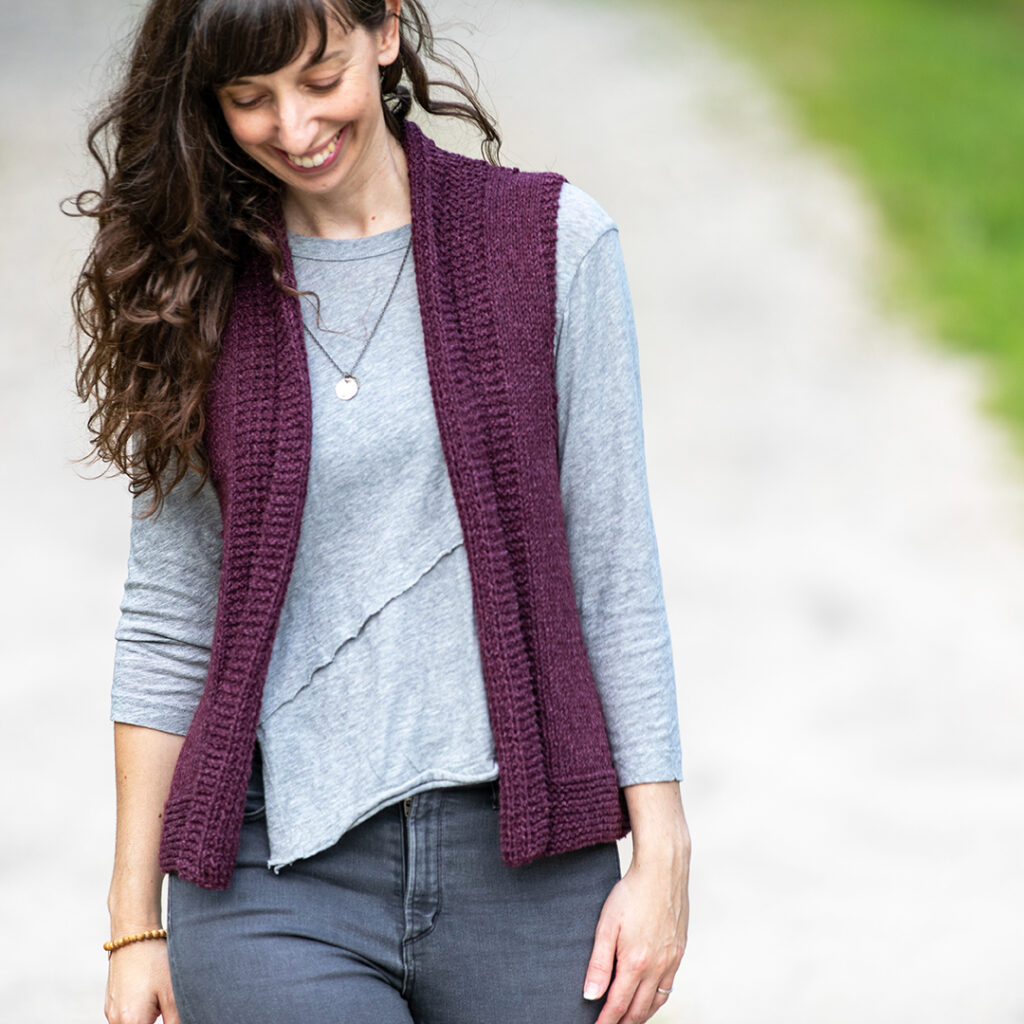
Picking a size can be very subjective because it really depends on your own personal style and how you like to wear your garments (some people like things more fitted and others like them more oversized!). In Brookdale I provide a recommended range of 2-5″ of positive ease in the chest. As an example, My bust is approx. 33″ and I’m wearing size 3 whose finished chest circumference is 37.75″, so I’m wearing it with approx. 4.75″ of positive ease at the chest. Note that the finished chest is from Front edge, across the back, to the next Front edge and it’s how it measures when laid flat. When you wear Brookdale, because of how the front panels drape along your neck, the front edges will not meet or overlap (and if you fold over your fronts like I have done in many of the pictures, the gap then becomes even larger).
Working the Rice Stitch
The “Rice Stitch” is used for both of the front panels. For a video tutorial on how to work this stitch, watch my lesson below:
Where to Join a New Ball of Yarn
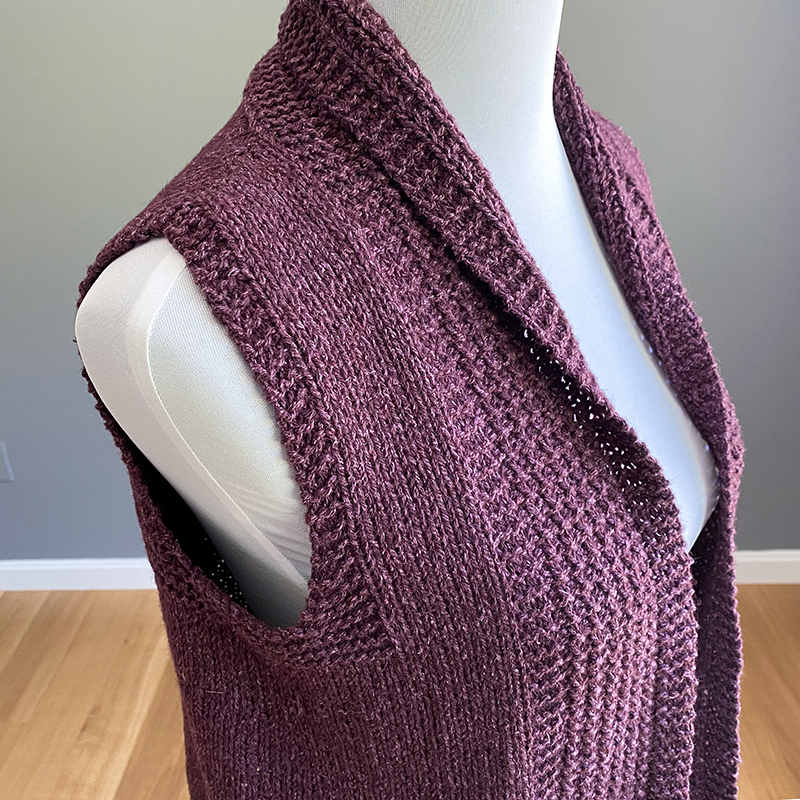
In any open-style vest like this, recommend not joining a new ball of yarn at the beginning or end of row. This is because the wrong-side of the Fronts will likely show a little (since you may folder them a bit, or they may curl in a little, as you can see in the above photo), and you don’t want your ends showing. So I recommend joining a new ball around the sides – I usually joined mine on the back towards one of the sides. Just a little helpful tip for this pattern, as well as any open-style cardigan or vest!
Adjusting the Length of Brookdale
A popular question I get is how to adjust the length of Brookdale. Because it’s A-line shaped, how you adjust will depend on how much length you want to add. Click here to read my tutorial about this.
Body Underarm & Underarm Divide
Need some help with the Body Underarm & Underarm Divide sections of Brookdale? Check out my video lessons below that will walk you through both sections:
Attaching Shoulders & Panels
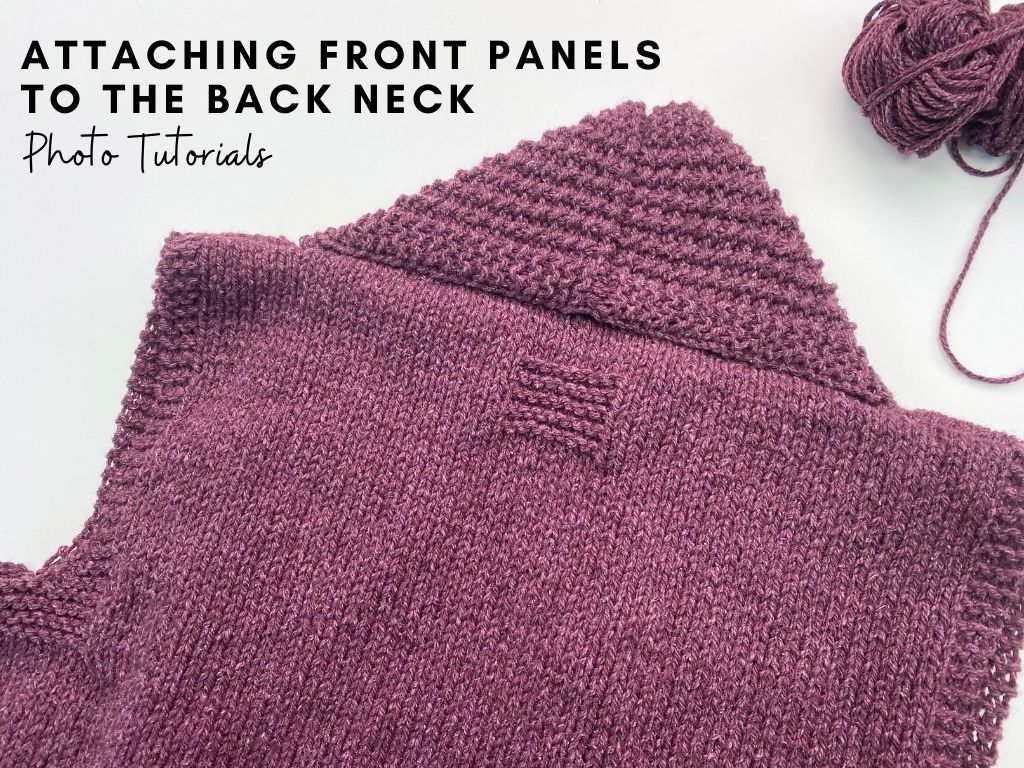
At the end of the pattern you’ll be instructed to attach the shoulders, attach the panel ends and then attach the panel sides to the back of the neck. For a photo and video tutorials of all of these steps, click here.
Blocking
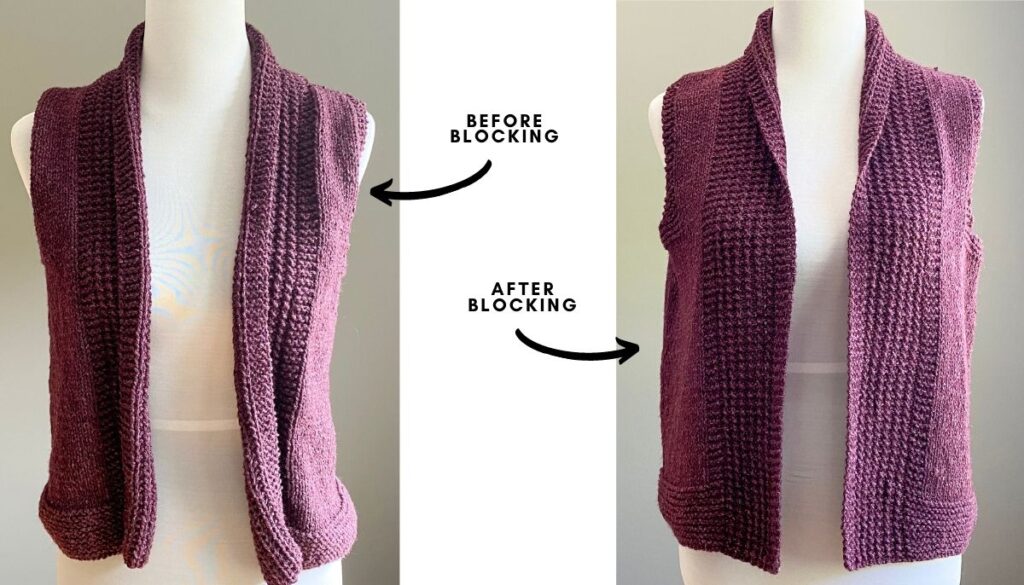
Blocking is always important, but you’ll find that in Brookdale it’s super important! Check out my before and after blocking pictures below:
The front panels will curl inwards before blocking. In some yarns it may be more dramatic than others but I guarantee it will curl – it’s just the nature of the stitch pattern. But after you block, it relaxes the stitches and although a little flipping will still happen (it’s just the style of the piece), as you can see above, it’s much less dramatic! Here is a blocking video tutorial I created – it was for a different design but the steps and techniques I use are the same regardless of the project.
Basic Techniques Used:
Here are the basic techniques used (things like casting-on, decrease stitches, etc):

