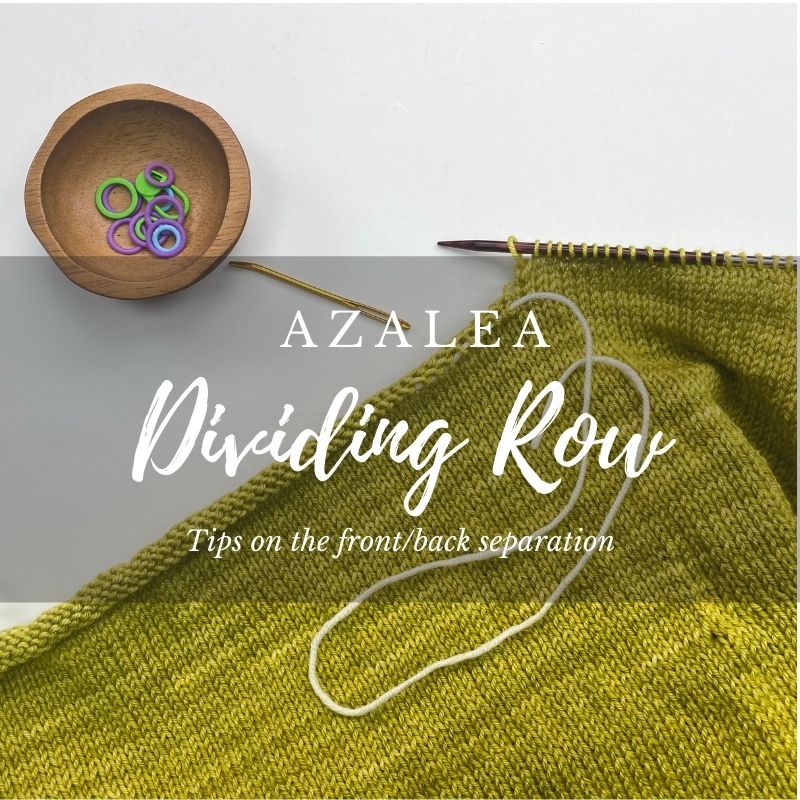
Dividing Row in Azalea
Once you’ve finished the body of Azalea it’s time to move on to the “Dividing Row” in the pattern. This is where you will separate the Front and Back and you’ll transition from working in the round to working flat. You’ll also create the Front underarm stitches.
The actual “Dividing Row”:
First you are instructed to knit half of the stitches on your needles – an exact stitch count to knit is provided in the pattern based on the size you are knitting (note: if you had decided to make body decreases or increases, per my body tutorial, remember that you are now following the instructions for a different size). Then you are instructed to place these stitches that you just worked (which are considered your Back stitches) onto a holder (I recommend using a long piece of scrap yarn). And then you will finish the round by knitting the rest of the stitches to the beginning of round marker. In my video below I show you exactly how to do all of these steps in this process.
Front Underarm Stitch Cast-On:
After the dividing row you are now officially working on the “Front” section of the pattern while your Back stitches rest on the scrap yarn. The first row of this section is the first time you will work a wrong side (WS) row in this pattern. And that first “next row” starts with saying to cast-on 4 stitches using the cable method. Then you will purl all the stitches on the needles to the end. Then on the next row you are instructed to cable cast-on 4 stitches on that side as well (and then knit to end). Check out my video below to see exactly how I work this cable cast-on method in Azalea!
Once you’ve completed these two main steps, it’s time to move on to working the rest of the Front Armhole – check out my page here for tips on this section!

