Raincheck Tips
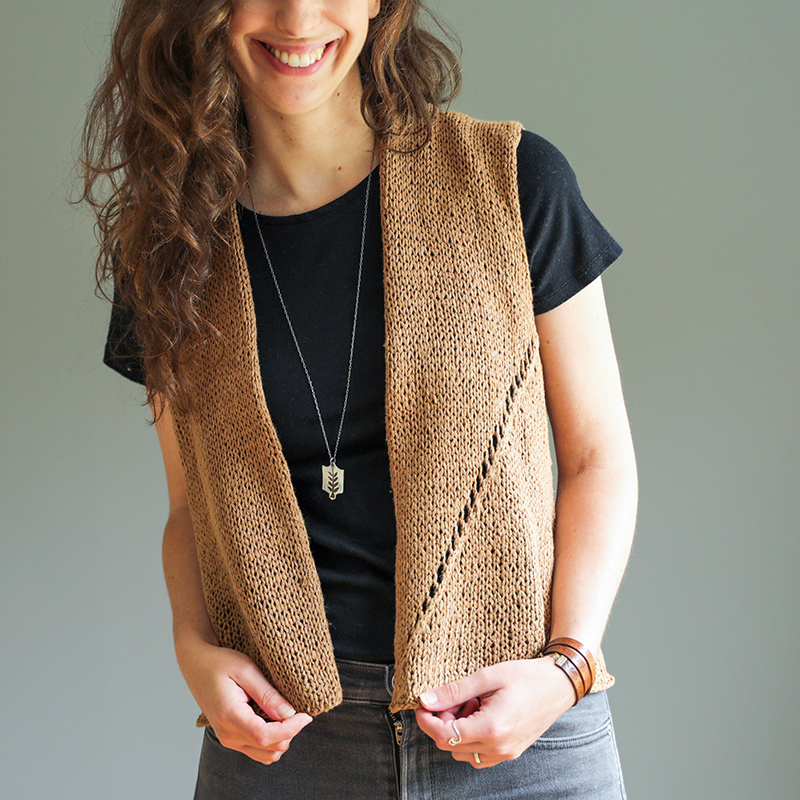
Below are some tips as well as tutorials for the Raincheck Vest! Here are the topics I cover on this page:
- Picking a yarn
- Adapting the pattern for non-curling edges.
- Picking a size
- Working the diagonal eyelet stitch pattern
- Other techniques used in the pattern
- Blocking
Picking a Yarn
This pattern is meant to be knit with linen or cotton yarn, or some kind of blend. The reason for this is because of the raw edges (you can learn more about ‘raw edges’ in this blog post about a similar design). I knit up 3 samples so you could see what it would look like in 2 different yarns. The first is Quince & Co Kestrel, an 100% linen yarn:
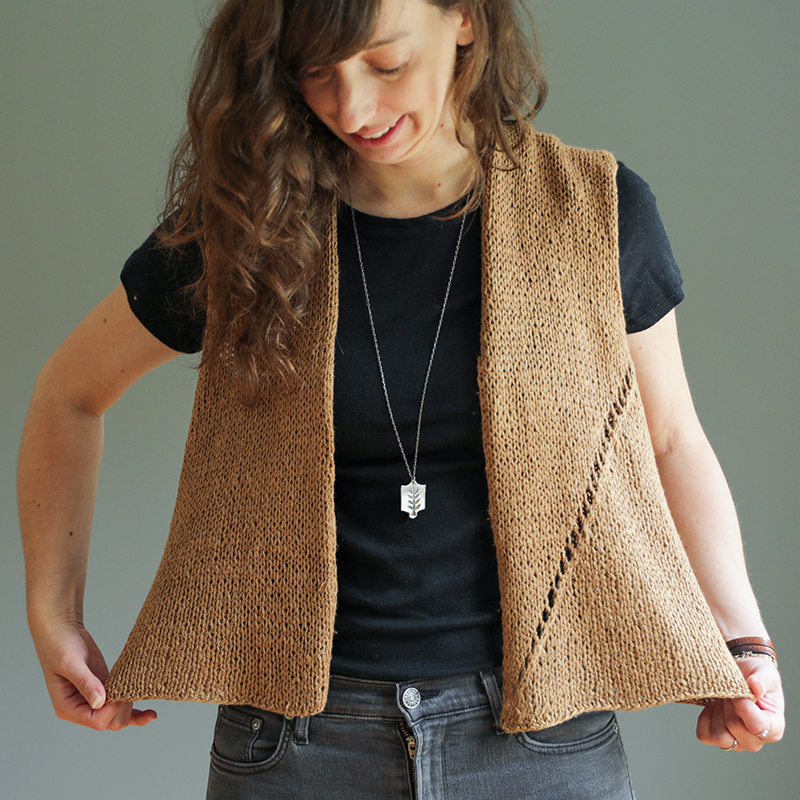
This yarn creates a super drapey garment. And because it’s 100% linen, you can actually iron it – this helps keep the raw edges nice and flat (see my blocking section below for how I did this).
The other yarn I used was Berroco Remix, a nylon/cotton/acrylic/silk/linen blend:
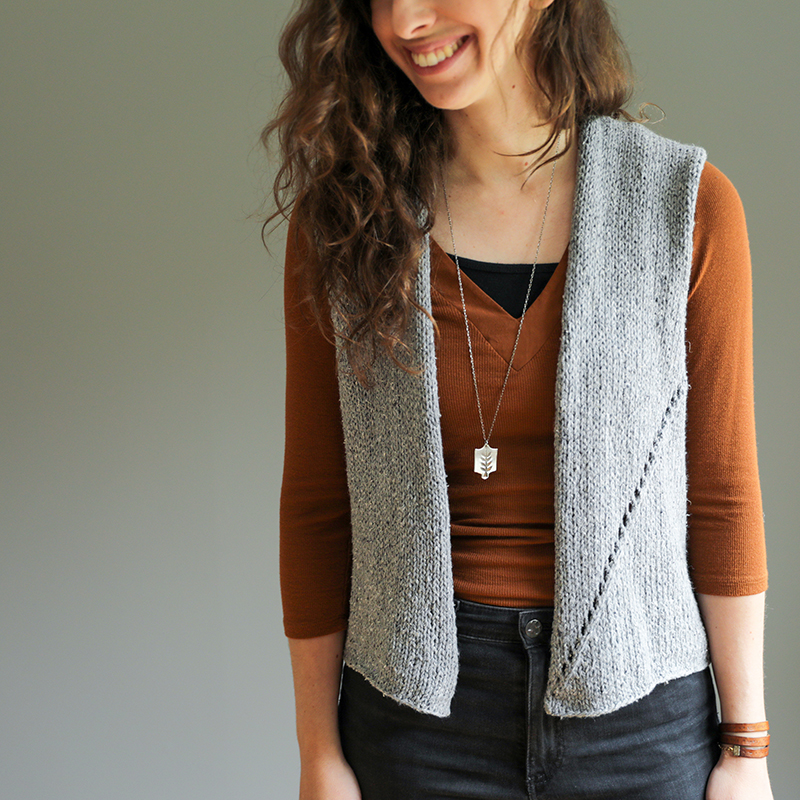
This yarn is so soft and because of the blend of non-wool fibers, it still has nice drape and the raw edges stay relatively flat with just a regular wet block or steam. However, it will likely curl at the edges a bit more. Below is a picture of my Mom Lorraine wearing her Raincheck. As you can see, the Fronts curl in more than with the Kestrel yarn.
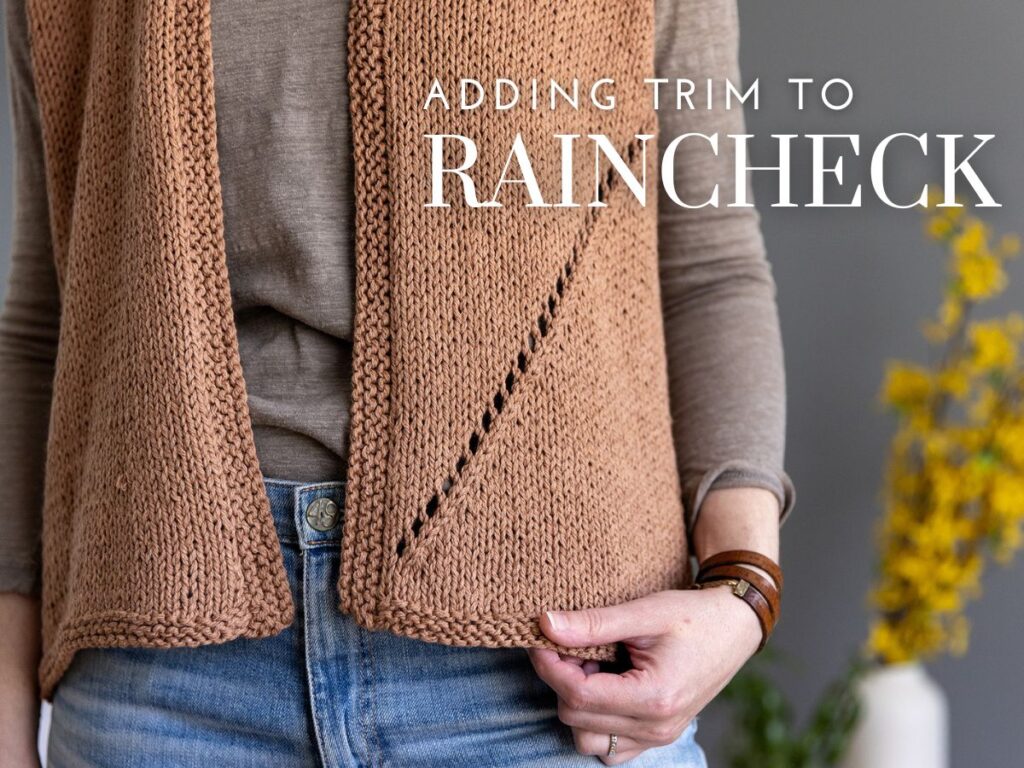
The third version, new as of 2024, is knit in Sandnes Garn Tykk Line, a cotton/linen blend. And in this version, I added trim to all of the edges. Keep reading below for how to add trim if you prefer that type of look.
Don’t want curling edges? Add some trim!
If you are either using a yarn that will curl on the edges or you just prefer the more finished look of having trim, it’s easy to alter the pattern to include trim. I go into all of the details about how to add trim like I did in the below version in this blog post.
Picking a Size
In the pattern I recommend that you pick a size that is approx. 1-4″/2.5-10 cm larger than your actual bust. If you are in-between sizes or unsure, I would recommend that you go with the larger of the 2 if you intend to wear your vest as more of a layering piece. It’s A-line shaped, so it’s also a good idea to look at the schematic at the full hem circumference and keep that in mind when you’re picking a size.
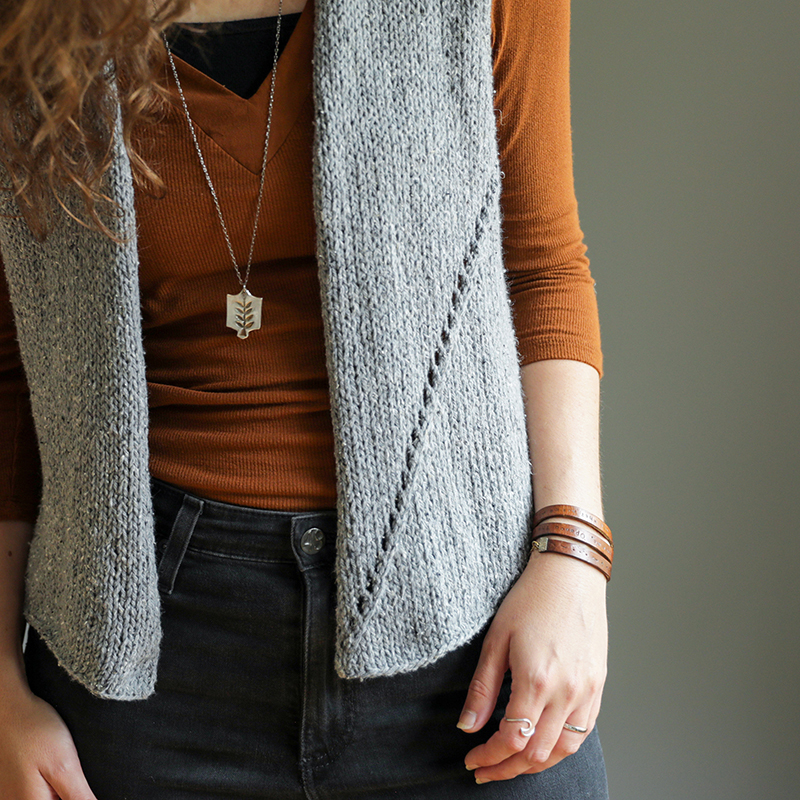
Also worth noting about the size is that the finished bust measurement is the actual dimensions of the piece. However, even after steaming the front edges (after blocking) they will roll a bit since it’s a raw edge (fiber type will impact how much it rolls). So this vest will wear more like an open style garment, despite the fact that the schematic shows the Fronts meeting in the middle. You can see in my photos how the Fronts don’t meet in the middle when I’m wearing it (example below), even though the circumference is 3″ larger than my actual bust – just something to keep in mind! At the bottom of this page I do have some tips if you want your fronts to be more flat.
Diagonal Eyelet Pattern
As you can see from the photos, there is a decorative diagonal of eyelets along the Left Front. You’ll be instructed in the pattern to place a removable marker on the Left Front and the eyelet (“k2tog, yo”) is created right after this marker on every RS row in the body. In order for the eyelets to appear in a diagonal, you’ll have to move the removable marker on every RS row. I created a video tutorial so you can have a visual of this stitch pattern:
Other Techniques Used in the Pattern:
k3tog (knit 3 together):
A k3tog is very similar to a k2tog, except that instead of knitting 2 sts together you’ll be knitting 3 sts together. So you can refer to the video above, but work 3 sts instead of 2.
Blocking
The blocking process will be slightly different depending on the yarn you choose to use. If you knit your Raincheck in Quince & Co Kestrel, you can follow my photo tutorial below (these instructions are specific to 100% linen yarn):
Blocking Kestrel:
- Step 1: Although it may go against all of your instincts, you can put your vest right in your washing machine! I used a cold gentle cycle:
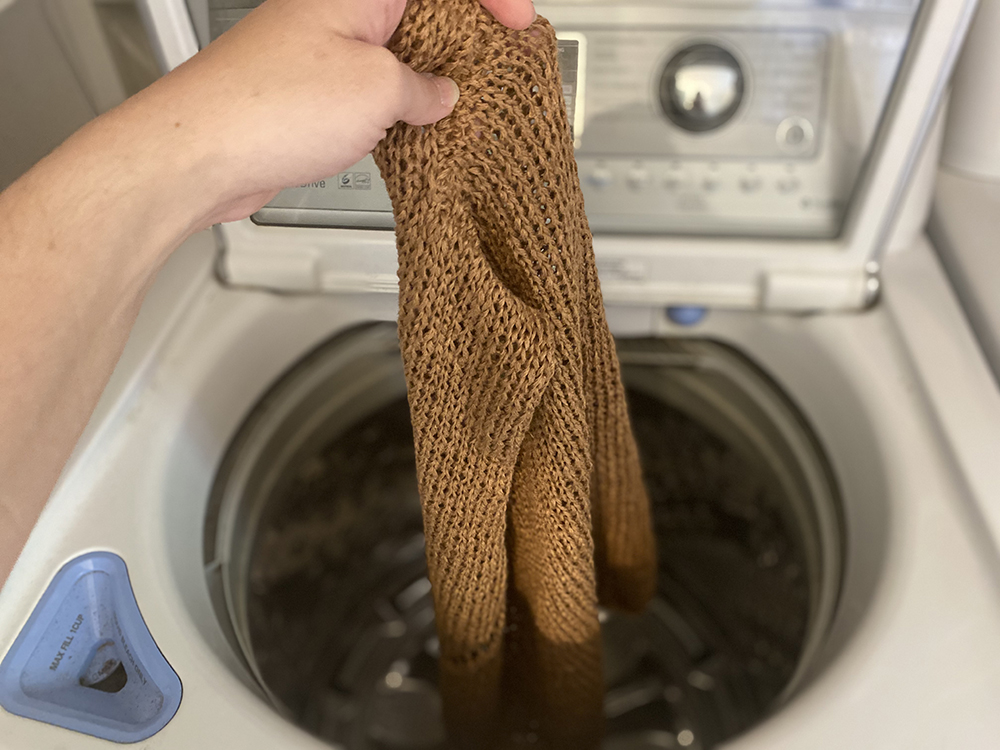
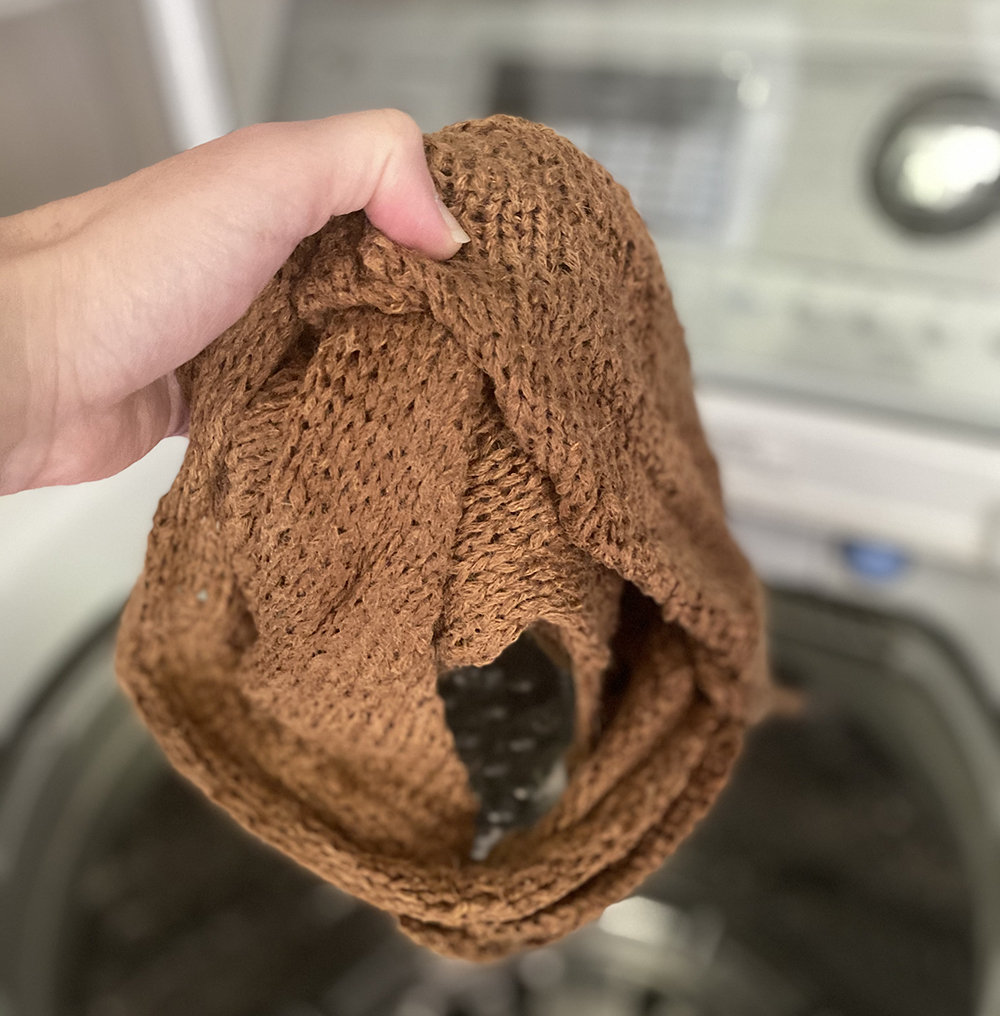
- Step 2: When it’s done and it’s time to take it out, it will look like this – a big clump – don’t worry!
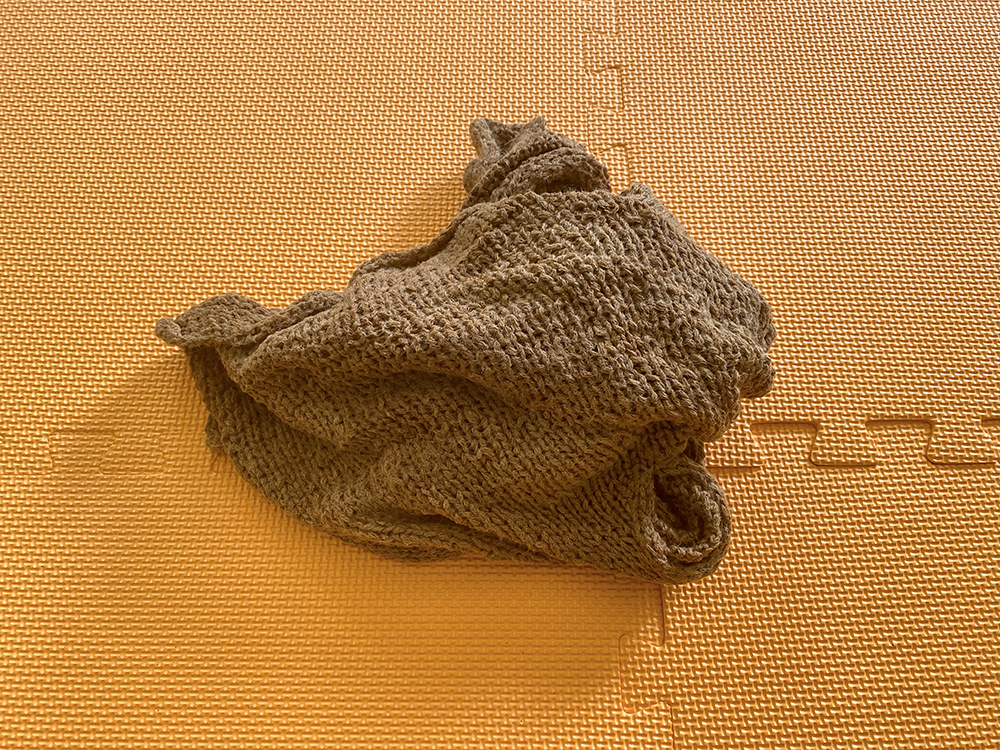
- Step 3: Bring your clump over to your blocking tiles and place it down:
- Step 4: Start to gently shape the piece on your tiles:
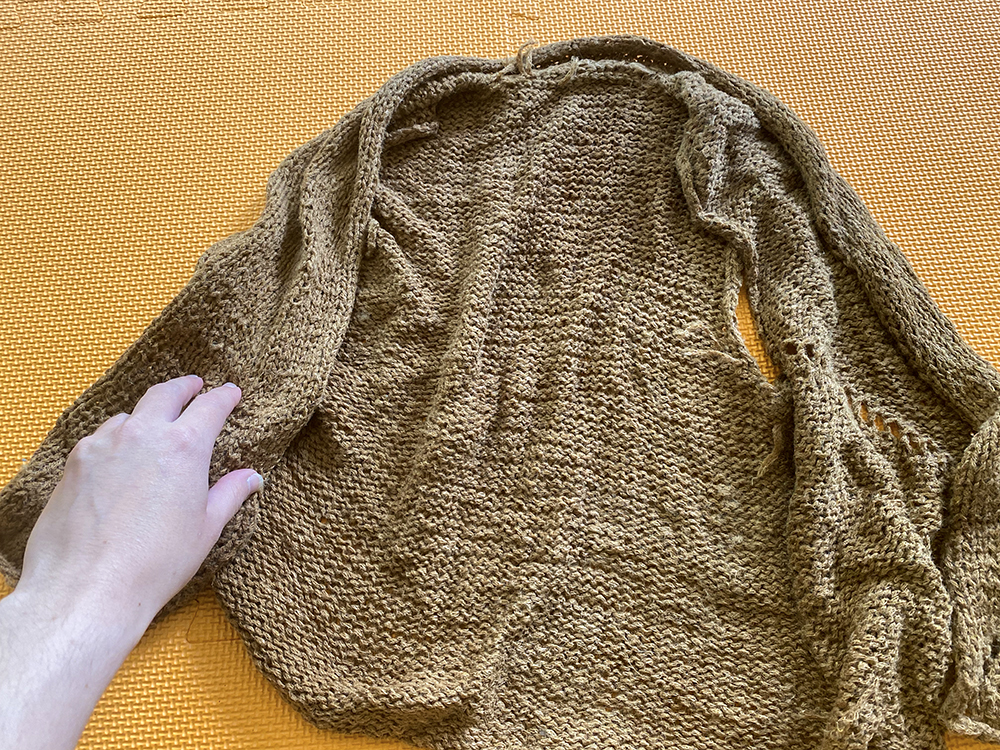
- Step 5: Get your measuring tape out and make sure dimensions such as Hem Width, Bust Width, Crossback and Armhole Depth match up with the schematic. If not, adjust the piece so it does match.
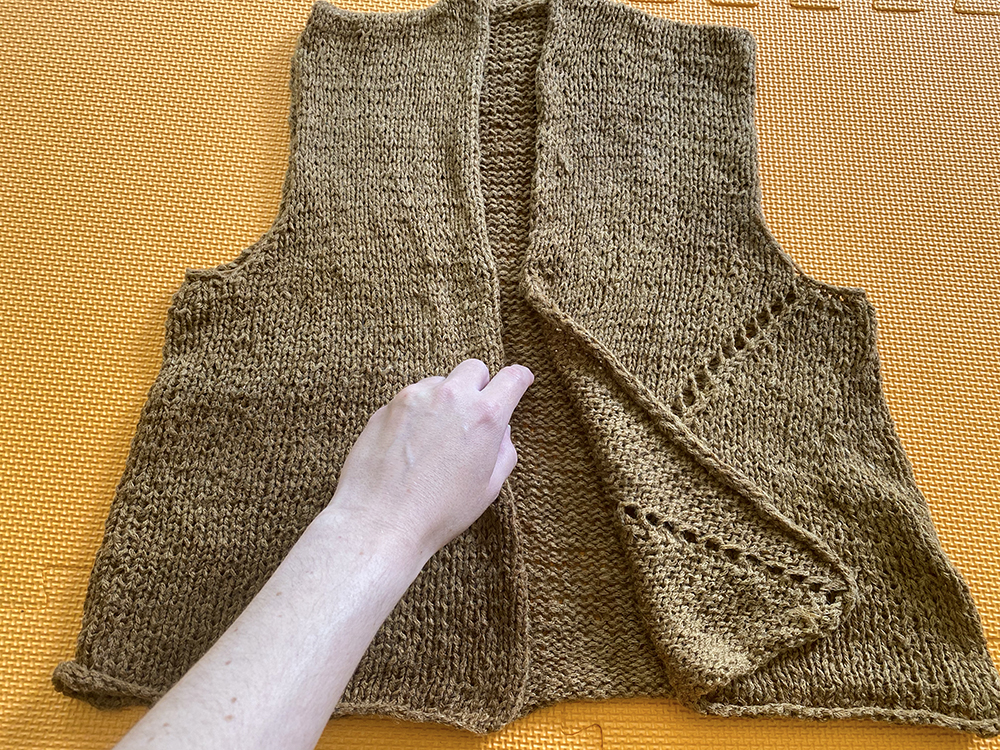
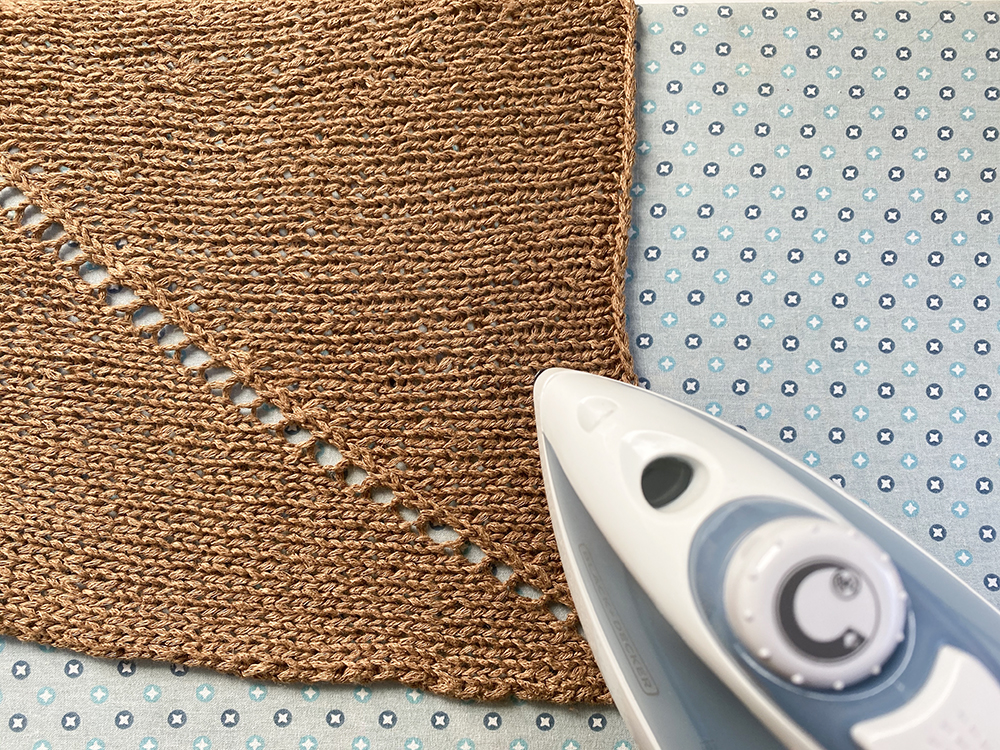
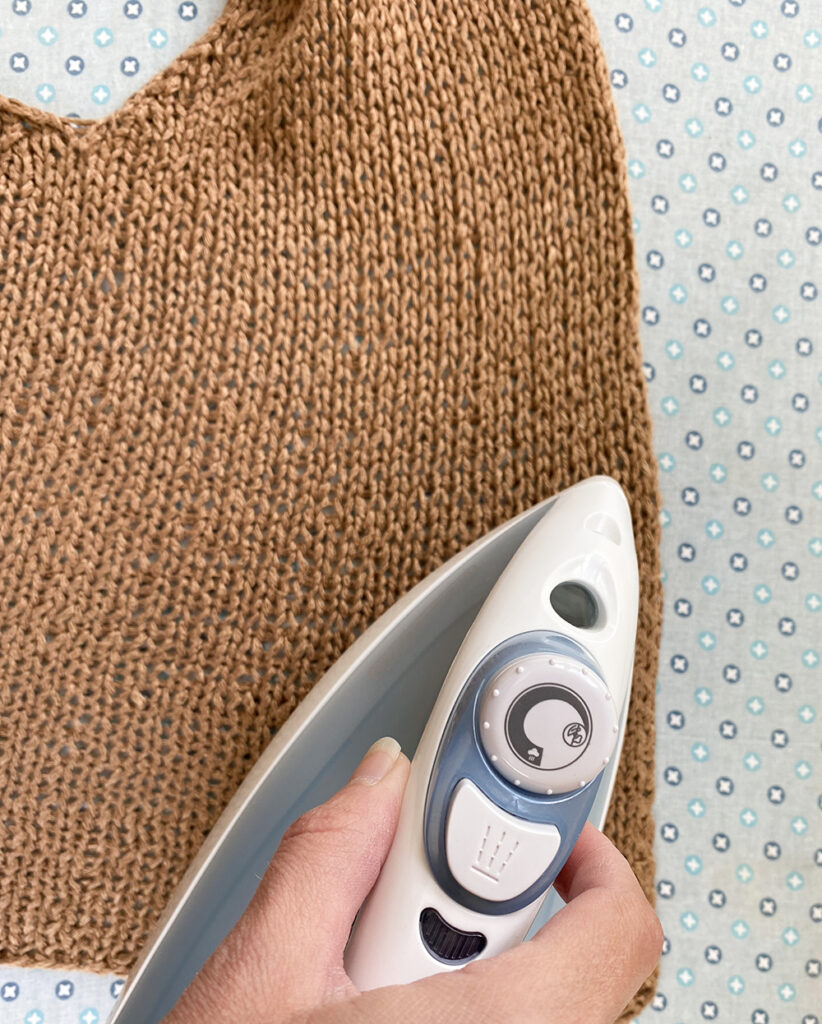
- Step 6: One of the things I love most about working with Kestrel is that you can iron right onto it! This is how you can get the hem and front edges nice and flat (note: if you aren’t happy with how your front edges look though, you can follow the “optional” instructions listed in the pattern for picking up these edges):
Blocking Remix
For Berroco Remix, I hand-soaked my Raincheck just like you would do in regular wet blocking. I laid it flat to dry, just like I did with Kestrel:
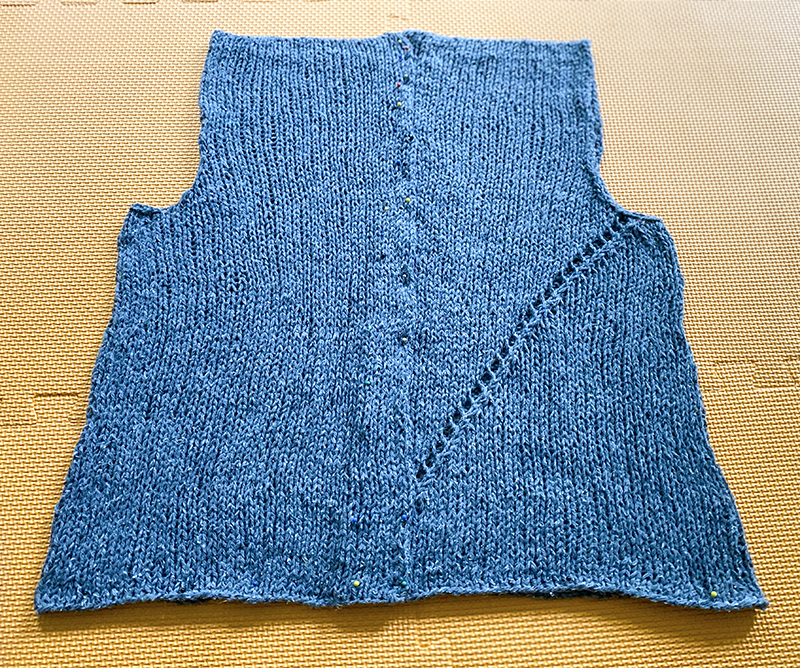
Because you can’t iron directly on Remix fabric (because it has acrylic, you definitely do not want to put an iron directly on the fabric!), to ensure that the front edges stay as flat as possible, I made sure to pin them flat (they overlap by about 1″ as you can see above). After blocking, you can also steam the front edges to help relax them a bit, just make sure you hold the iron above the fabric and not on the fabric.
Conclusion
I hope these tips have been helpful! Feel free to email me if you have any additional questions – I’m always glad to help.


