Stevie Tips
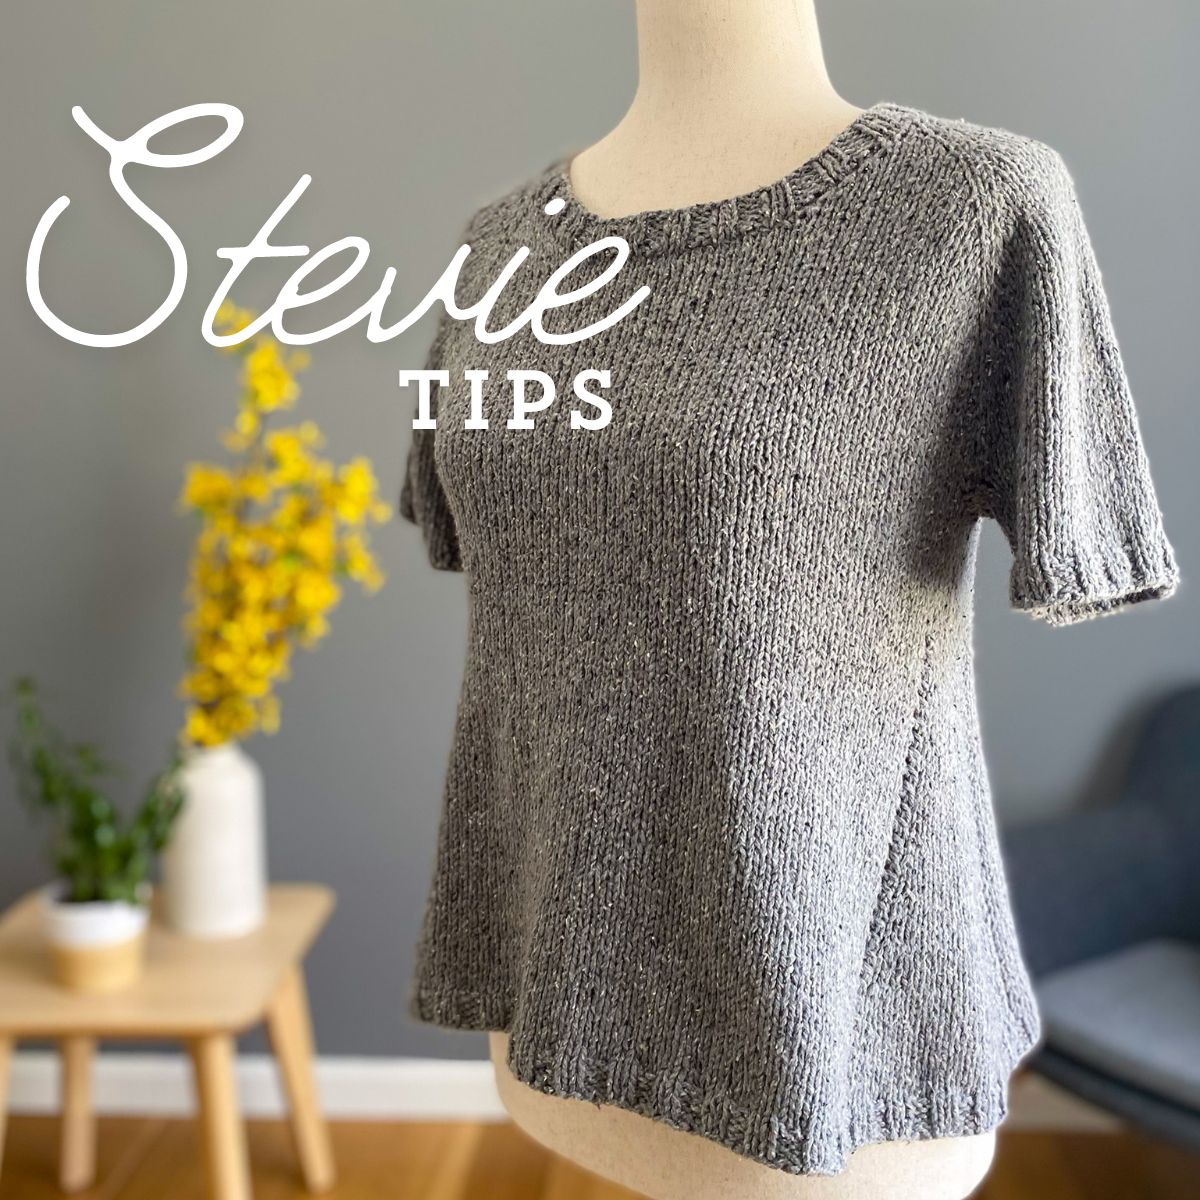
Welcome to my Stevie tips page! This page provides tips and tutorials to help you make your own Stevie top. Please note: a new version of Stevie (3.0) was released in late June 2021 and it included 5 additional sizes as well as some verbiage/layout updates. If you purchased the original Stevie and did not receive the update, please reach out to me!
The following topics are covered on this page:
- Picking a size
- Yarn options
- Gauge swatching in the round
- Joining fronts section
- Underarm Divide
- Body shaping alterations
- Adjusting sleeve length
- Other technique tutorials:
- long tail cast-on
- m1-R & m1-L increases
- cable cast-on
- yarn-over
- k2tog & ssk
- pick-up and knit neckline stitches
- blocking
Picking a Size
In Stevie, I suggest picking a size whose finished bust circumference is approx. 1-3″ larger than your actual bust measurement, depending on your desired fit. For example, if your actual bust measurement is 40″, then I would suggest knitting the 42″ size for a standard fit), or the 45″ if you want a more roomy fit. If you would like more resources about what positive ease is all about and tips on picking a size, check out my blog post here.
Yarn options
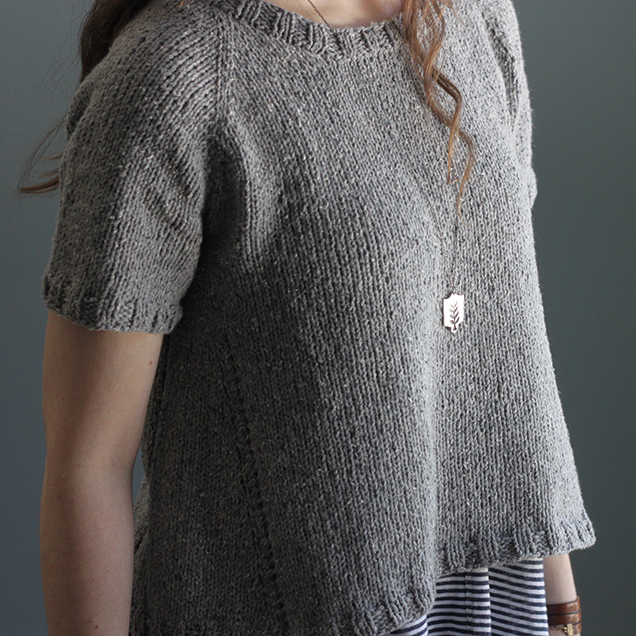
The pattern calls for worsted-weight yarn and I used Berroco Remix, a lovely non-wool yarn made of recycled fibers. It’s a great option for warmer climates and I just love the texture.
However, you can definitely choose a different worsted-weight yarn if you prefer! If you want more drape in your Stevie, you can also consider an alpaca or linen or silk blend. Additionally, you could also consider using a DK-weight which, at the Stevie pattern gauge of 4 stitches per inch, will provide a much looser fabric and that will give you lots of drape. As inspiration, check out this blog post from the indie-dyer Sugar Plum Circus – it’s a great example of knitting Stevie with a lighter-weight yarn (but still at pattern gauge) to create a fabric that is looser. Plus she uses a wool/hemp blend that is great for all-year wear.
Gauge Swatch In the Round
Although Stevie starts by working back-and-forth (as you shape the neckline), it’s joined to work in the round after the neck is shaped (see info below on how this is done) and then the remainder of the piece is all worked in the round. This is why it’s important to swatch in the round as your gauge in the round may be different than it is flat. For more information about this as well as a video lesson about how I swatch in the round, click here.
Joining Fronts Section
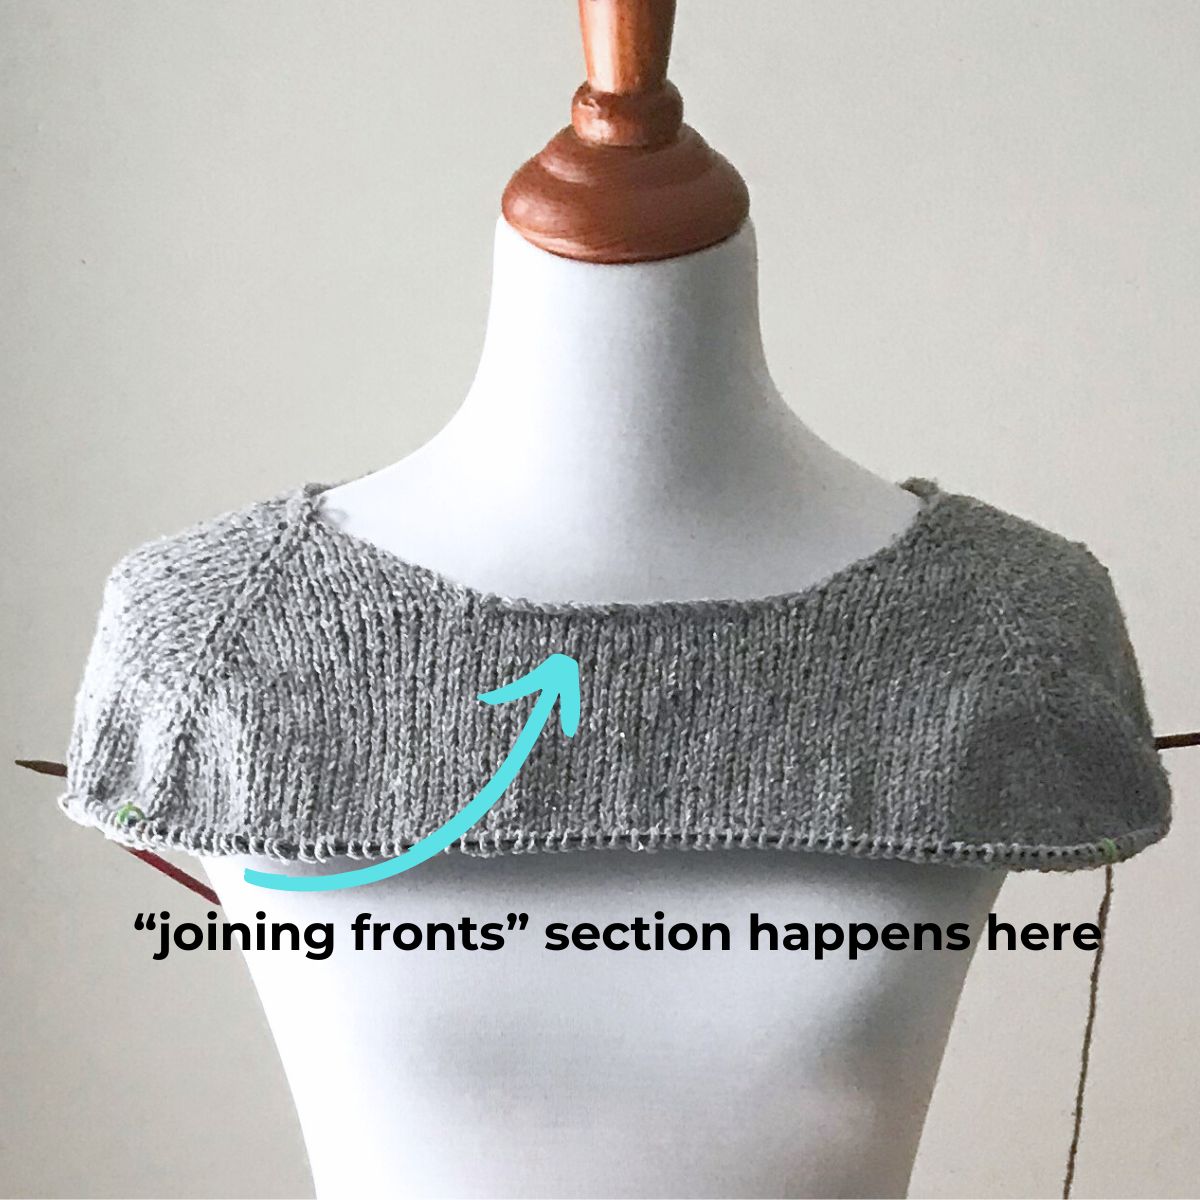
Stevie starts by working flat, but after the neckline is shaped the Fronts are joined together and you begin to work in the round. This all takes place in the “Joining Fronts” section of the pattern. If you would like a visual of this process, check out my video lesson here. It’s for a different design (my Mud Season tee) but the overall steps I use and techniques used are the same as Stevie and so I think it’s a super helpful visualization.
Underarm Divide
If you have never worked a top-down, seamless sweater before, then working the “Underarm Divide” section can seem a bit confusing. As part of my Audrey’s Cardigan knitalong, I created this video tutorial that walks you through the whole process. Although it’s a different pattern, the technique is the same so it will be very helpful as you work Stevie as well. In addition, I had created this blog post many, many years ago that still remains quite popular and will also walk you though the Underarm Divide process using photos.
Body Shaping Alterations:
One of the biggest questions I get is how to adjust the body shape of Stevie. It’s designed to be A-line but if you prefer no shaping, it’s an easy adjustment to make! The A-line increases are made by working the m1-R and m1-L stitches inside the 2 underarm markers on “Rnd 1 – Inc Rnd” in the body shaping section. So to eliminate this shaping, you just have to omit the m1-R and m1-L instructions where you see them on that round. That’s it!
This also works if you want a little bit of shaping, but maybe not as much as the pattern has. You can work, say, a couple of inc rnds, and then just omit the rest of the m1’s for the remainder of the body.
Adjusting Sleeve Length:
Check out my blog post here if you are interested in making your Stevie sleeves 3/4 length instead of short! It is based on the updated version of Stevie, so if you are working off of an older version of the pattern, feel free to reach out if you have any issues figuring out which size corresponds to the older pattern version.
Other Technique Tutorials:
Below are tutorials for all of the techniques used in Stevie: