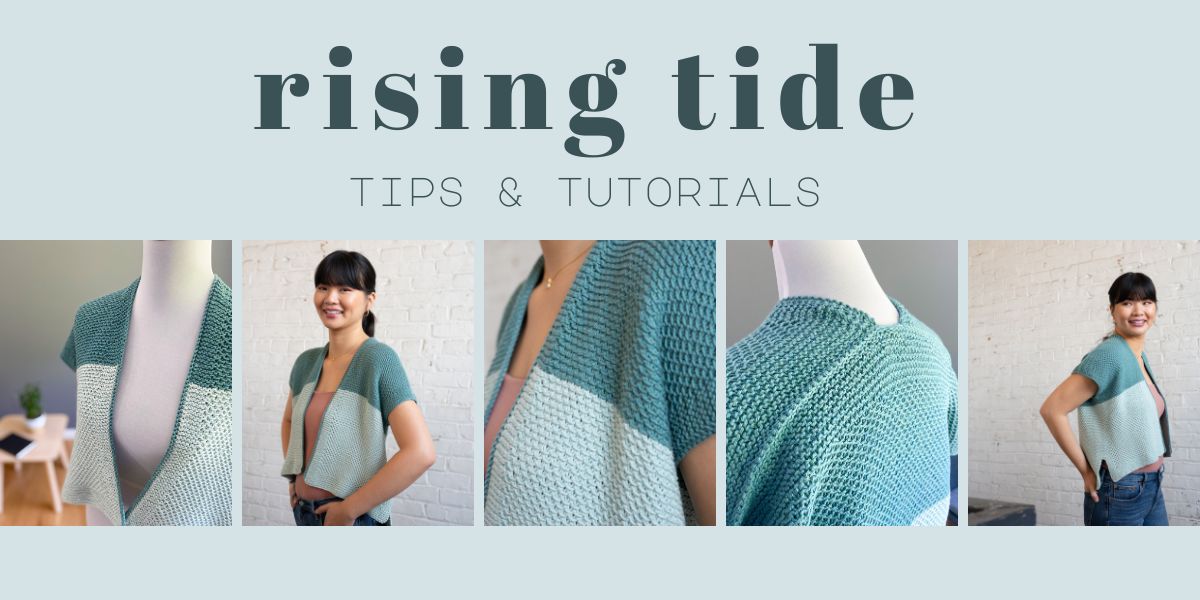
Rising Tide Tips
Welcome to the Rising Tide tips page! On this page you will find lots of tips and tutorials to help you make your very own Rising Tide cardi. I cover the following topics on this page:
- Tips on picking colors
- Picking a size
- Working the stitch pattern
- Joining hems process
- Working front edge trim (before & after pics)
- Blocking Tips
- Other technique tutorials:
- Long Tail Cast-On
- Three Needle Bind-Off
Tips on picking colors
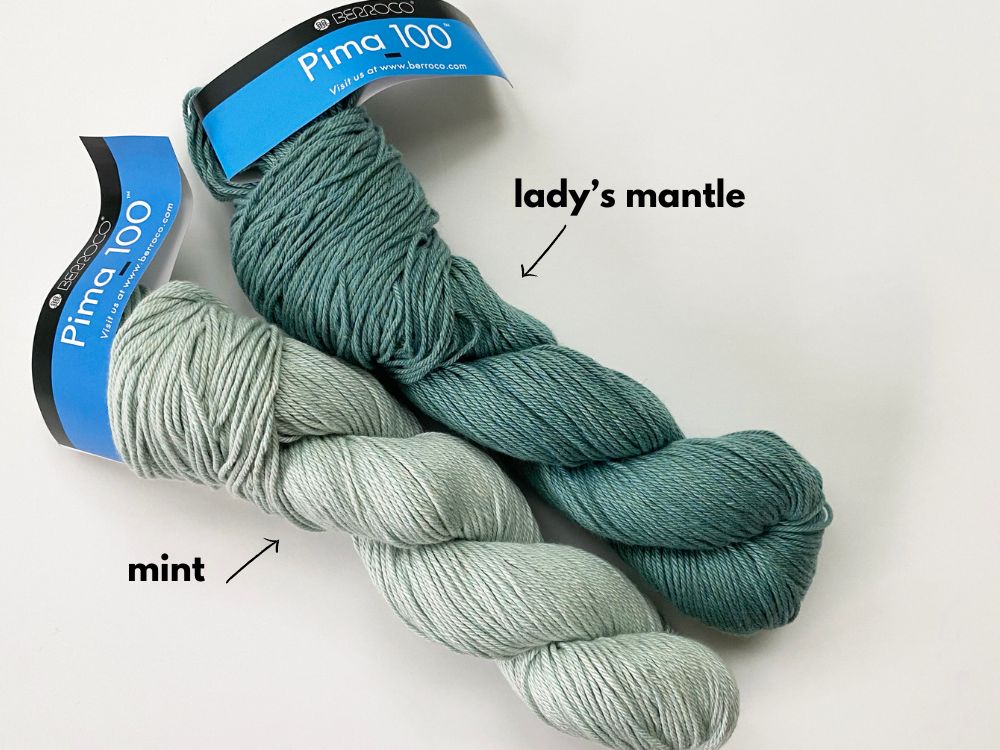
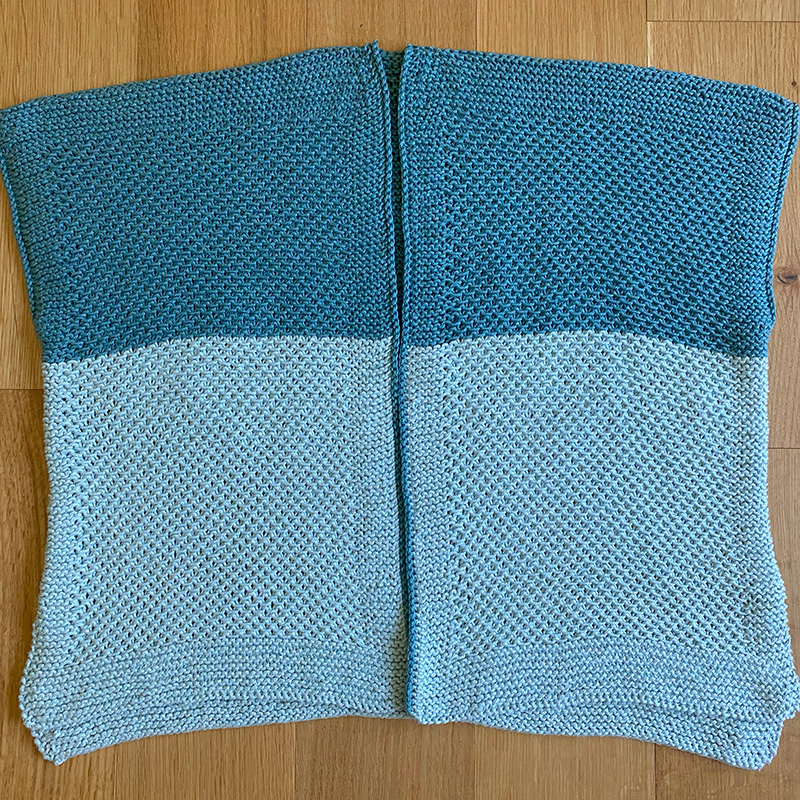
Rising Tide features two colors of Berroco Pima 100, a worsted-weight 100% cotton yarn, with color A being the bottom color and color B being the top color. I went with a monochromatic color pairing with my sample, with an ocean theme. My color A (the light color) is Mint and color B (the dark color) is Lady’s Mantle.
When picking your shades, you can go the monochromatic route as well, or just choose 2 colors that love the look of together. Alternatively, you can also just stick with 1 color if you prefer – it’s totally up to you!
Find a Berroco Pima 100 stockist near you by clicking here.
Picking a size
For the Coastland top, there are 9 sizes to pick from. I suggest picking a size whose finished circumference is 5-10″ larger than your actual bust or upper torso circumference, depending on your desired fit. If you want a more drapey, oversized look, then I would recommend picking a size on the upper end of that range and if you want a more regular fit, to pick a size on the lower end of that range.
And if you are new to the concept of “positive ease”, check out my blog post here.
Working the stitch pattern
I’ve created a video lesson that demonstrates how to work each row in the loop stitch pattern that’s featured in Rising Tide. In addition, I explain how to “read your knitting” with this stitch pattern so that you can easily distinguish between a row 2 and a row 4.
Joining hems
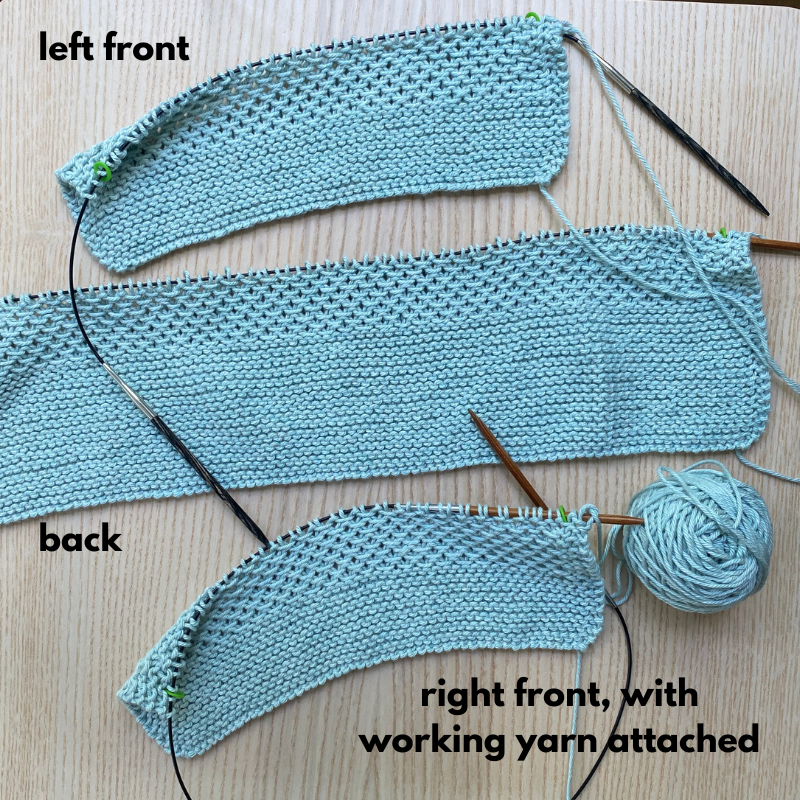
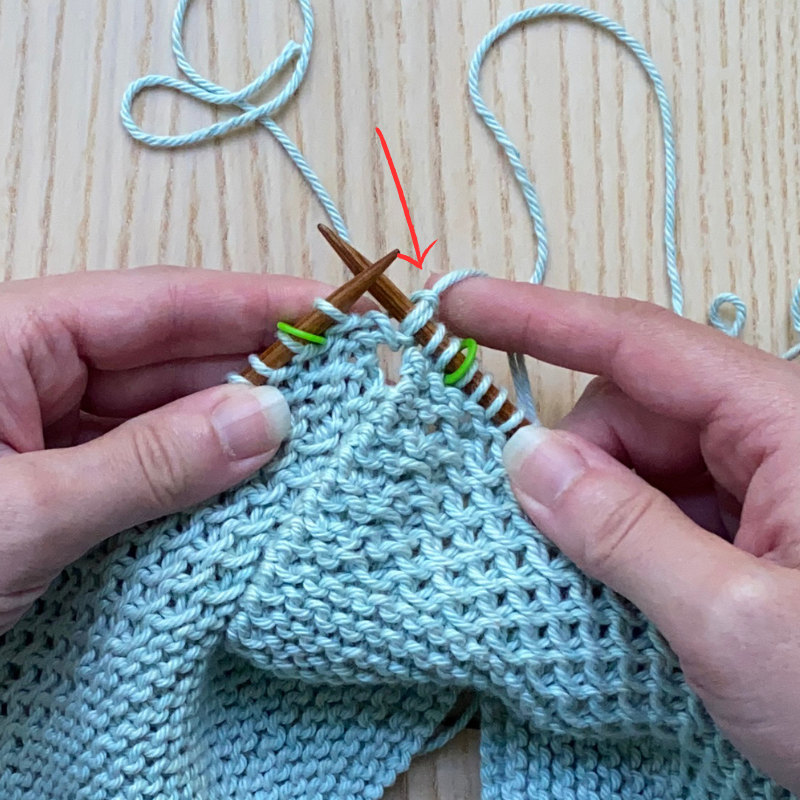
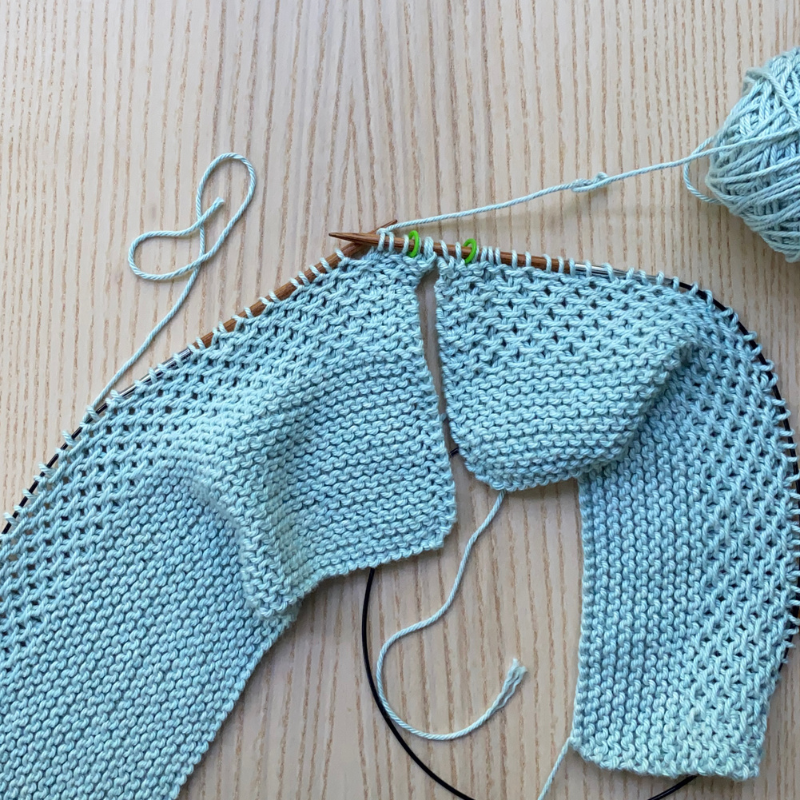
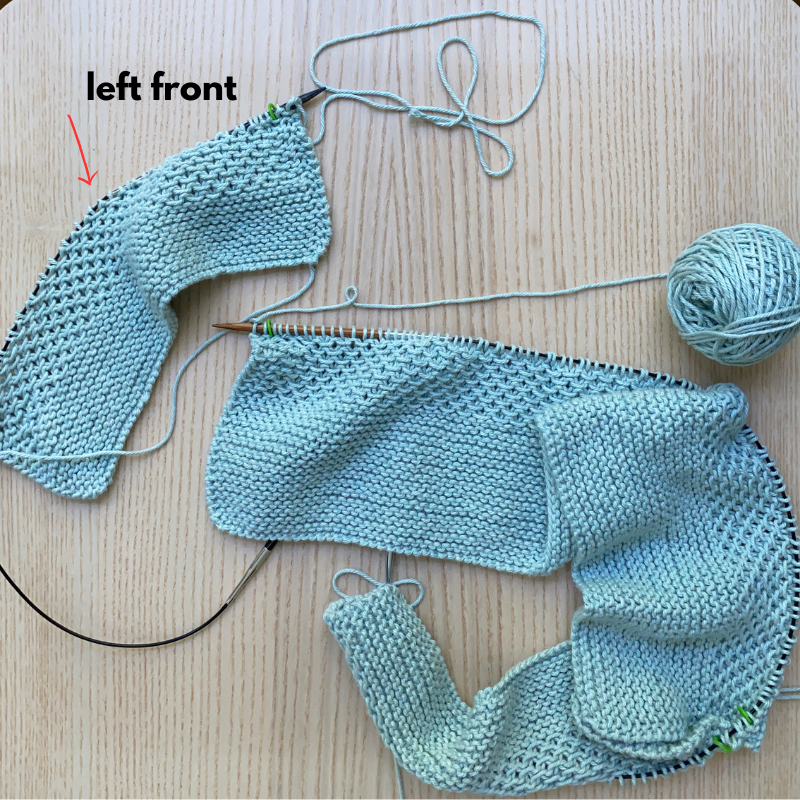
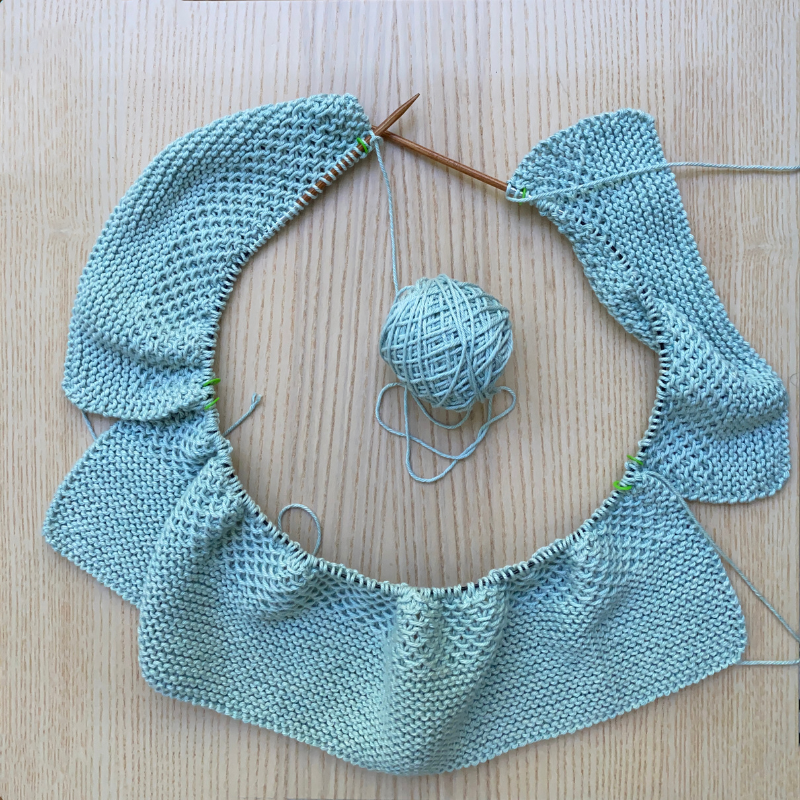
Below are some photos that should help you visualize the joining hems section of the pattern. Before the joining row, you have 3 different pieces:
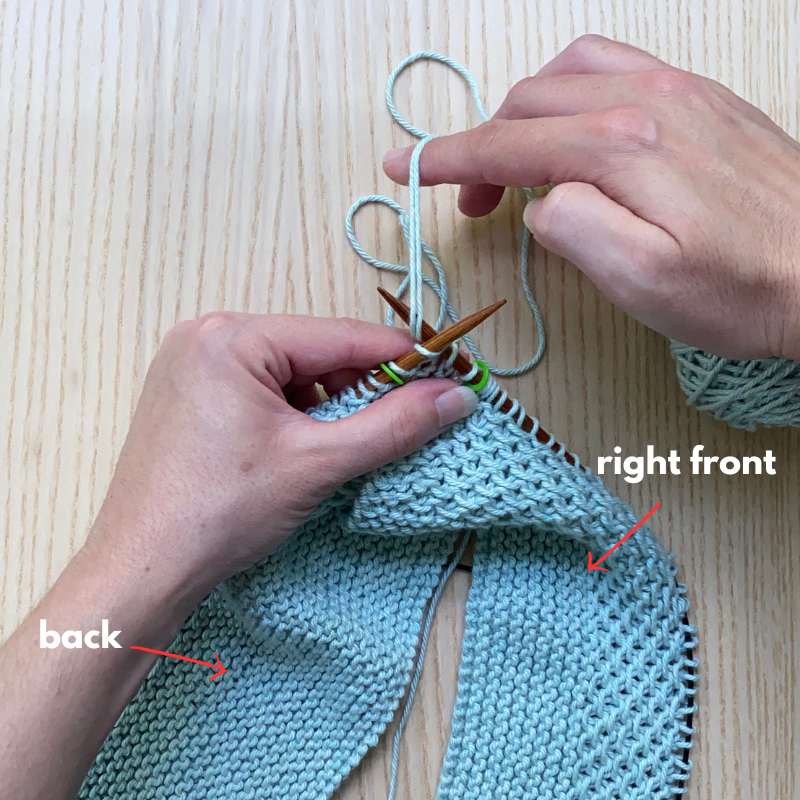
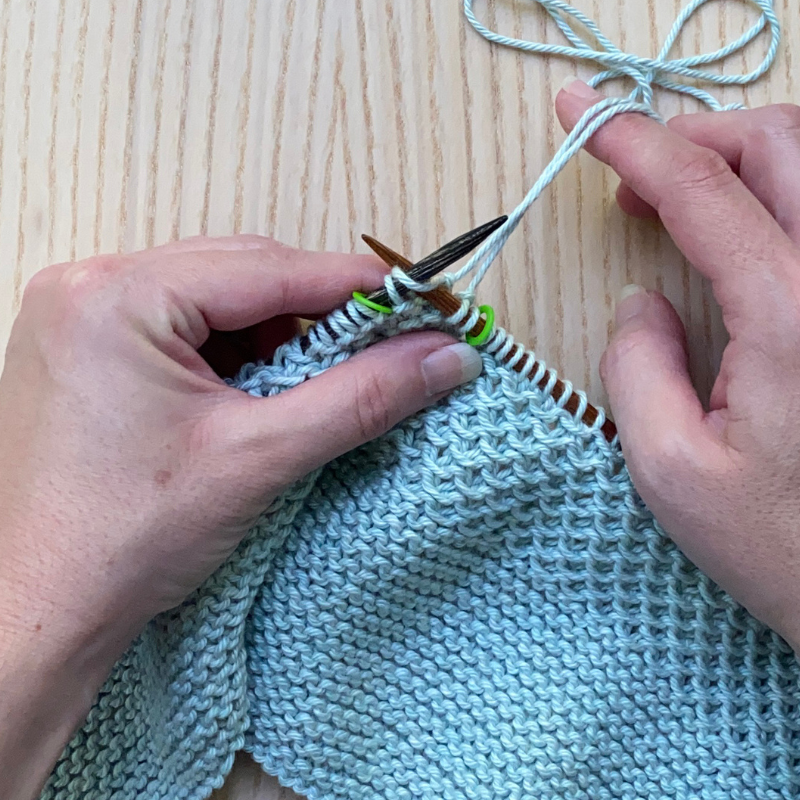
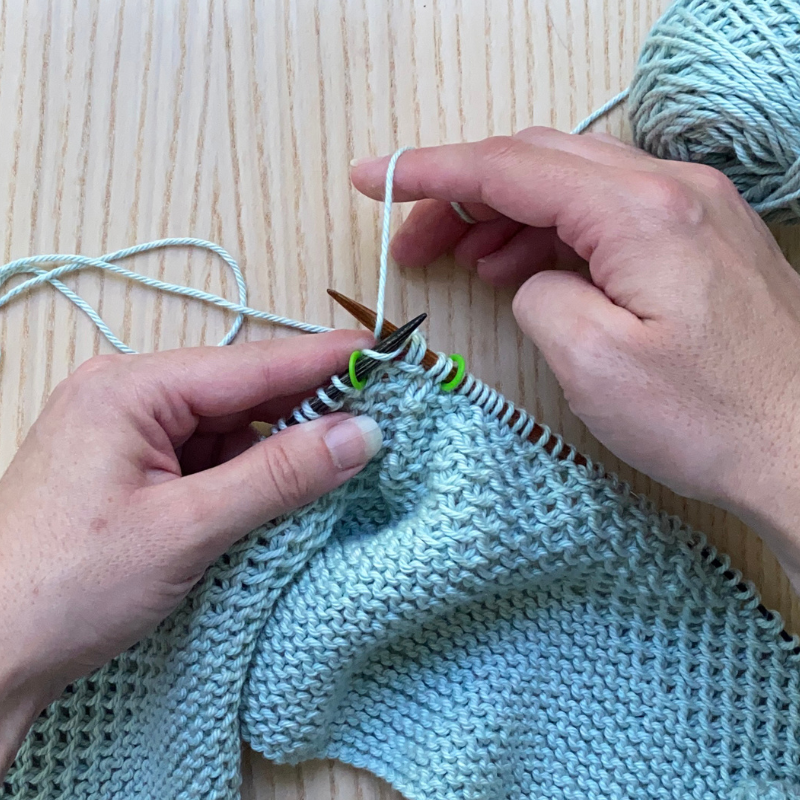
The working yarn is still attached to the Right Front. So at the beginning of the joining row, you are still working on just the Right Front. You will work the pattern as instructed to the end of the Right Front, but at the end you won’t turn the work. You’ll pick up the Back piece and work as instructed…
And then once you work to the end of the Left Front, all 3 pieces are now joined together!
Working front edge trim & armhole trim
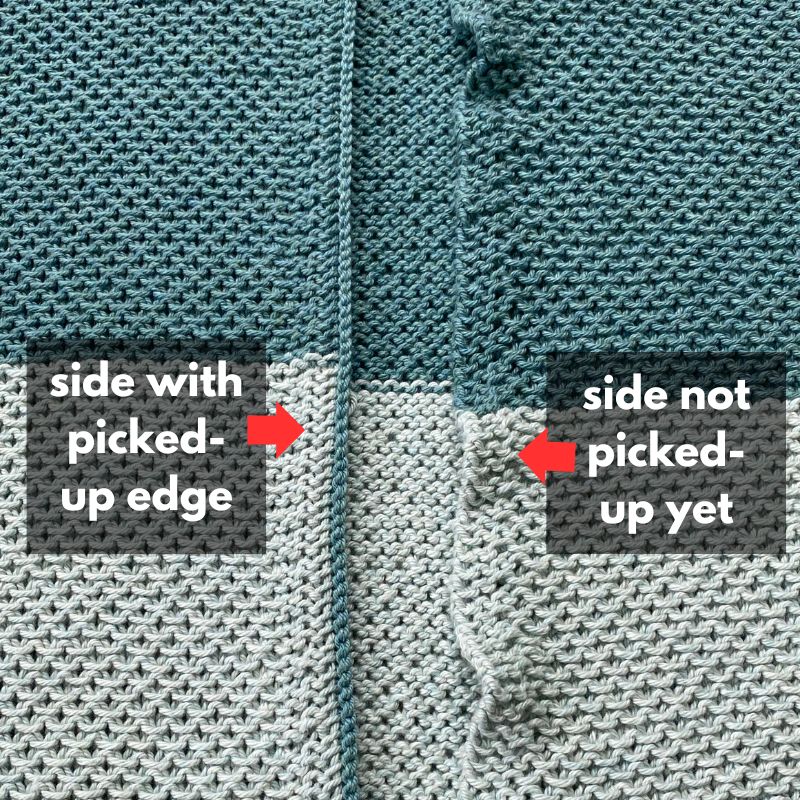
Does it feel like your front bands and armhole openings are flaring a bit? Don’t worry – that’s what the edge trims are all about! After you pick-up and knit the front edges and around the armholes, you’ll notice a big difference. Below is a picture of a prototype I created where you can see the difference (note: the prototype below has less stitches in the garter stitch area but the affect is the same in the actual garment):
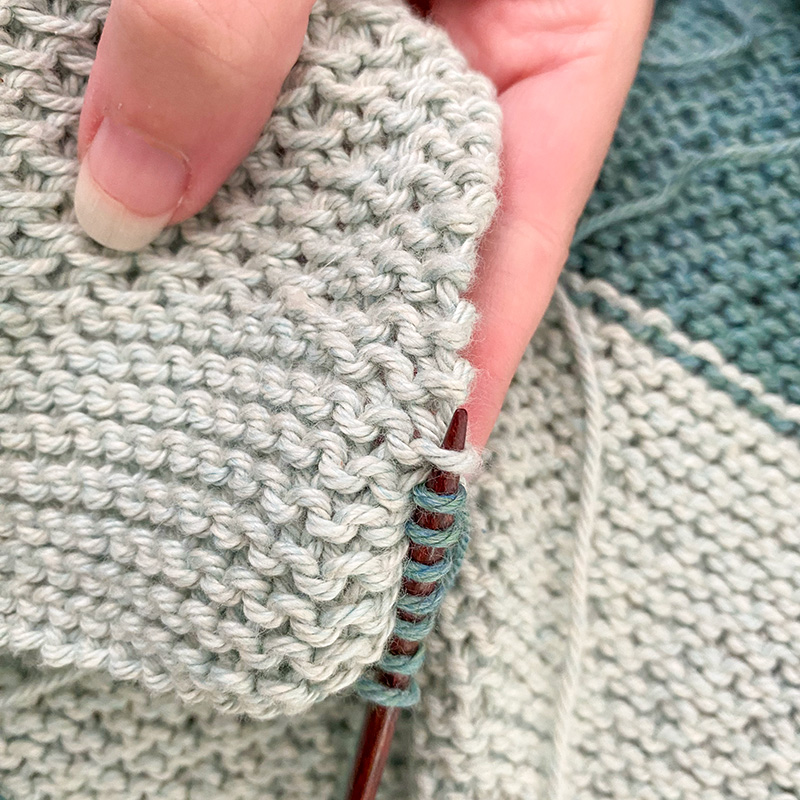
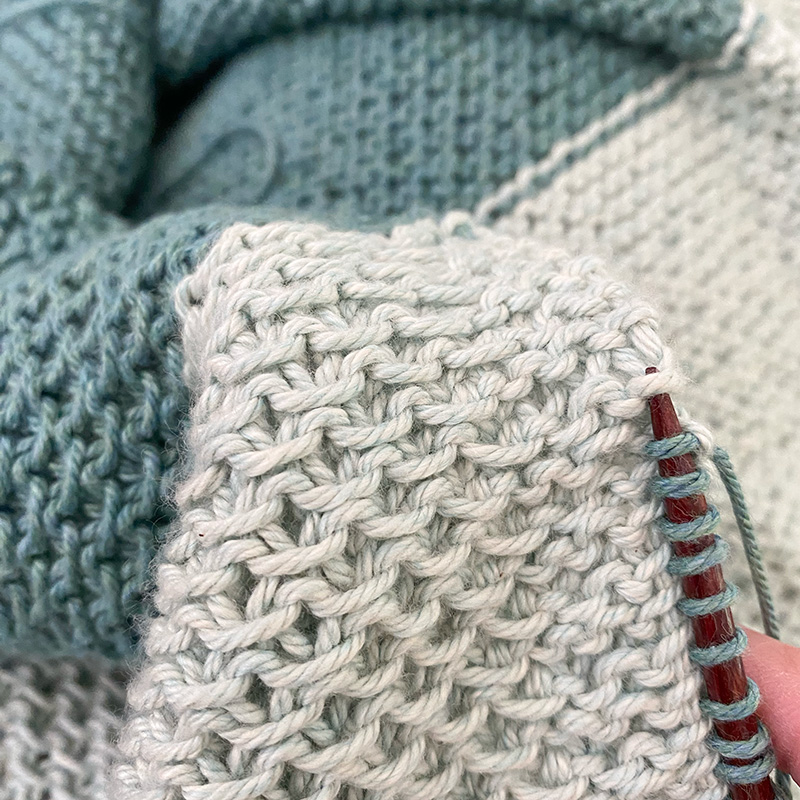
Whether it’s for the front edges or for the armhole, you’re instructed to pick-up and knit into each garter ridge with color B. Below are photos that show how I did this in my prototype. Hopefully this can help you visualize which loops to go into:
When you’re done, this is what your edges will look like:
Blocking tips
I blocked my Rising Tide the same way I block any of my garments (check out this blog post for tips). But one thing to keep in mind is that your garment will likely feel very stiff after soaking and when laying flat to dry. This is due to the Pima cotton as well as the stitch pattern (the loop stitch pattern is dense). Once it dried, I hand-steamed my garment to soften it up (you can learn more about the hand-steamer I like to use in this blog post).
Other technique tutorials:
Below are tutorials on all of the other techniques used in Rising Tide:

