Leafing Out Tips
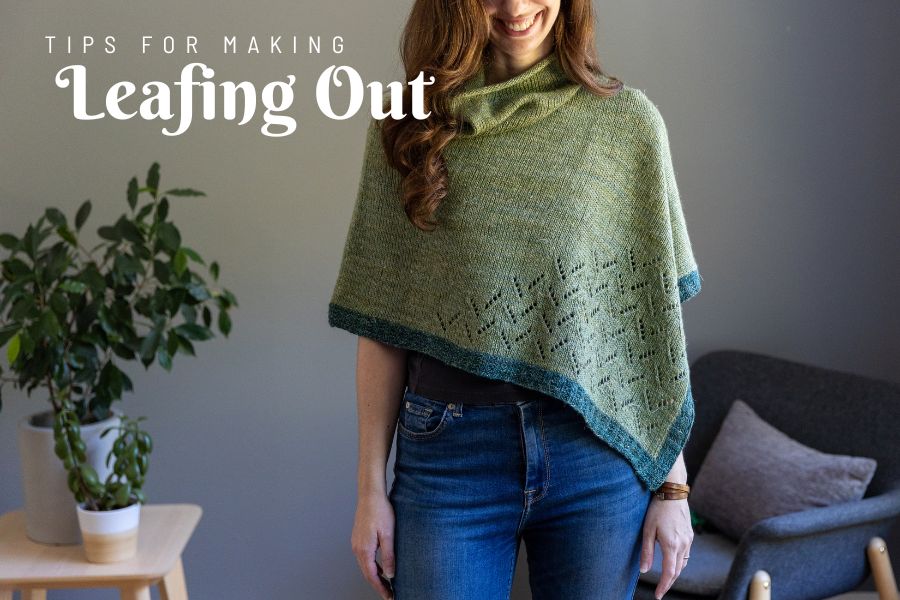
On this page you’ll find tips & tutorials to help you make your own Leafing Out poncho! You’ll find information about:
- Size options
- Long tail cast-on
- Alternating skeins
- Working eyelet stitch
- Process of moving marker on row 12
- Attaching poncho together
- Cinching up hole at side neck
- Side Trim Tips (including how to pick-up and knit)
Size Options
Leafing Out has 4 size options to pick from, each of which will fit a large range of sizes. For each of these 4 sizes, here is the bust range each will typically work well for: 24-30 (32-38, 40-48, 50-60)”. The smallest size would also be appropriate for a kids size 6-12. If you have narrow shoulders, you can consider sizing down. Just make sure that your chosen sizes’ finished width is at least 5-10”/13-25 cm larger than your actual outer shoulder-to-outer shoulder width if you would like to wear it like a poncho. You could always go smaller though and wear it as more of a cowl!
Long tail cast-on
For a tutorial on how to work the long-tail cast-on, click here to watch my tutorial.
Alternating Skeins
When working with Manos del Uruguay Milo, it’s recommended that you alternate skeins because there may be subtle color differences skein to skein. You can either work 2 skeins at a time throughout the body of Leafing Out (once you switch to the main color), alternating every 2 rows, or you can choose to just fade a new skein in. In the sample photographed, I had chosen the latter (fading in) – this means that when I had just a small ball left of a skein I would incorporate the new skein and alternate between the 2 for about an inch or two, and then I would drop the old skein and only work with the new one. This way the new skein was gradually incorporated in. You can learn more about both of these techniques here.
Working eyelet stitch
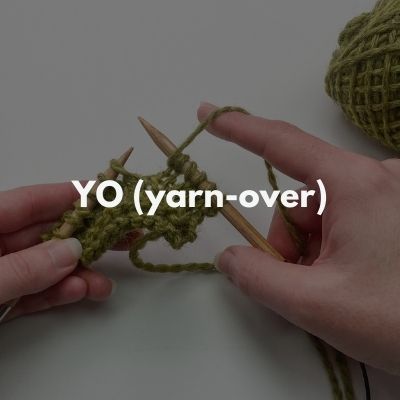
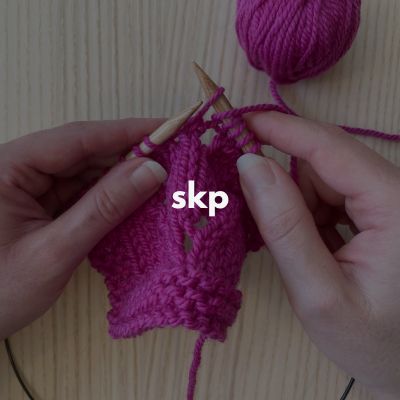
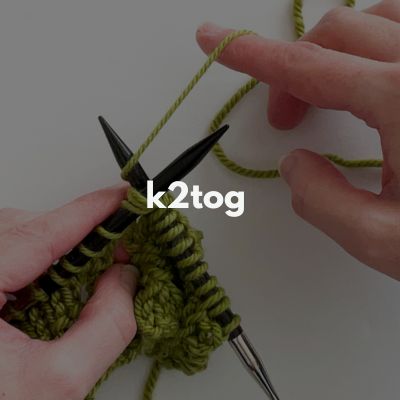
The eyelet motif featured in Leafing Out includes the following increase/decrease stitches: YO, skp, k2tog. Below are tutorials for each of these techniques if you are not already familiar with them:
Process of moving marker on row 12
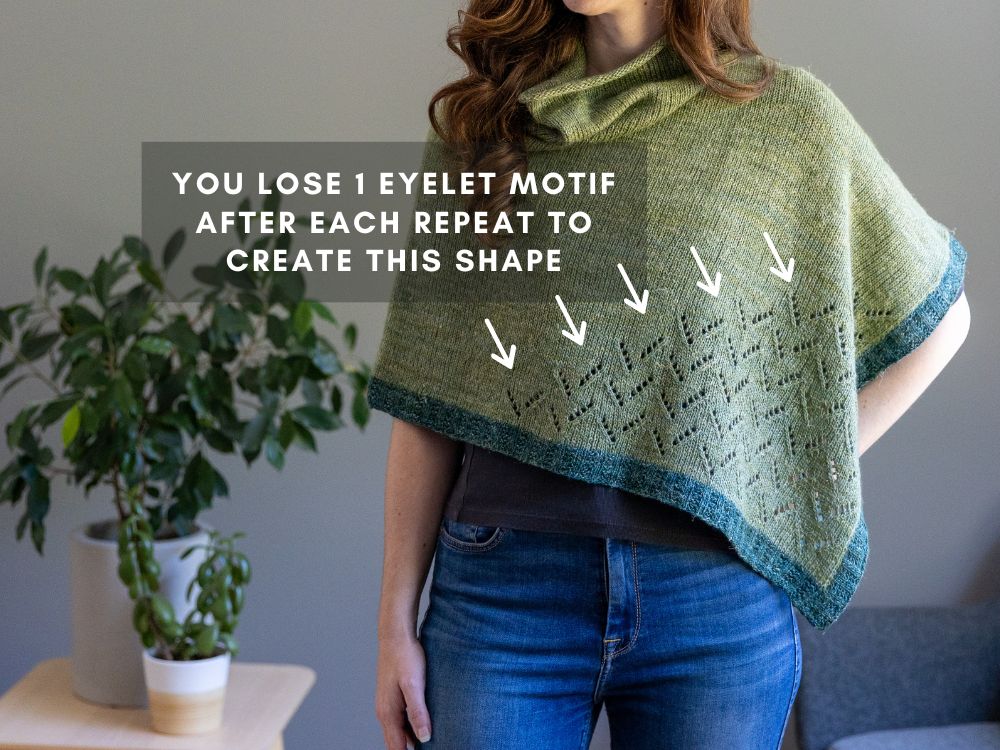
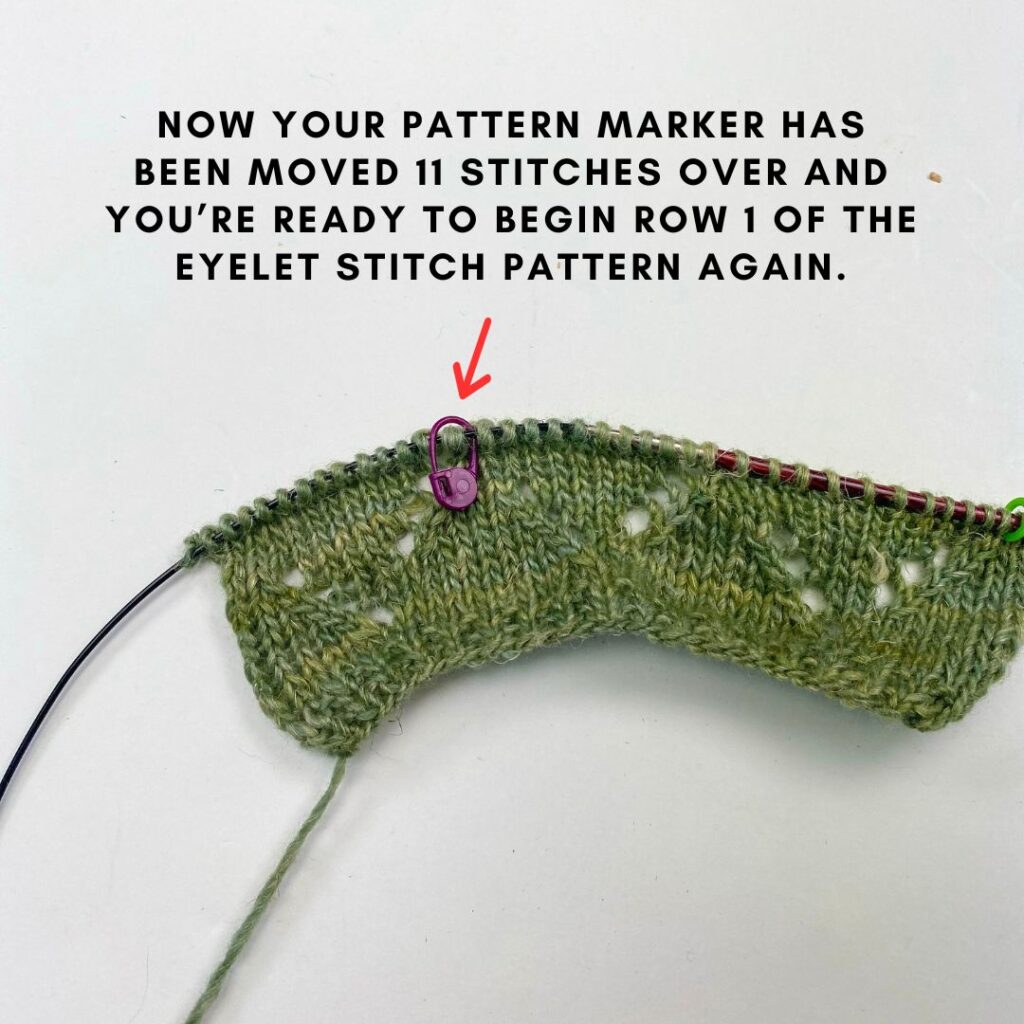
In this poncho, as you work your way from the bottom of the poncho to the top, you adjust the width of the eyelet pattern motif that featured on the Left Front of poncho (note: left & right are from perspective of wearing the garment). After each 12-row repeat, you will eliminate one of the motifs – this is what creates the asymmetrical, triangle-like shape of the motifs as it goes from hem to shoulders. Note: the rest of the poncho is worked in Stockinette stitch – the motifs are only worked in-between the markers.
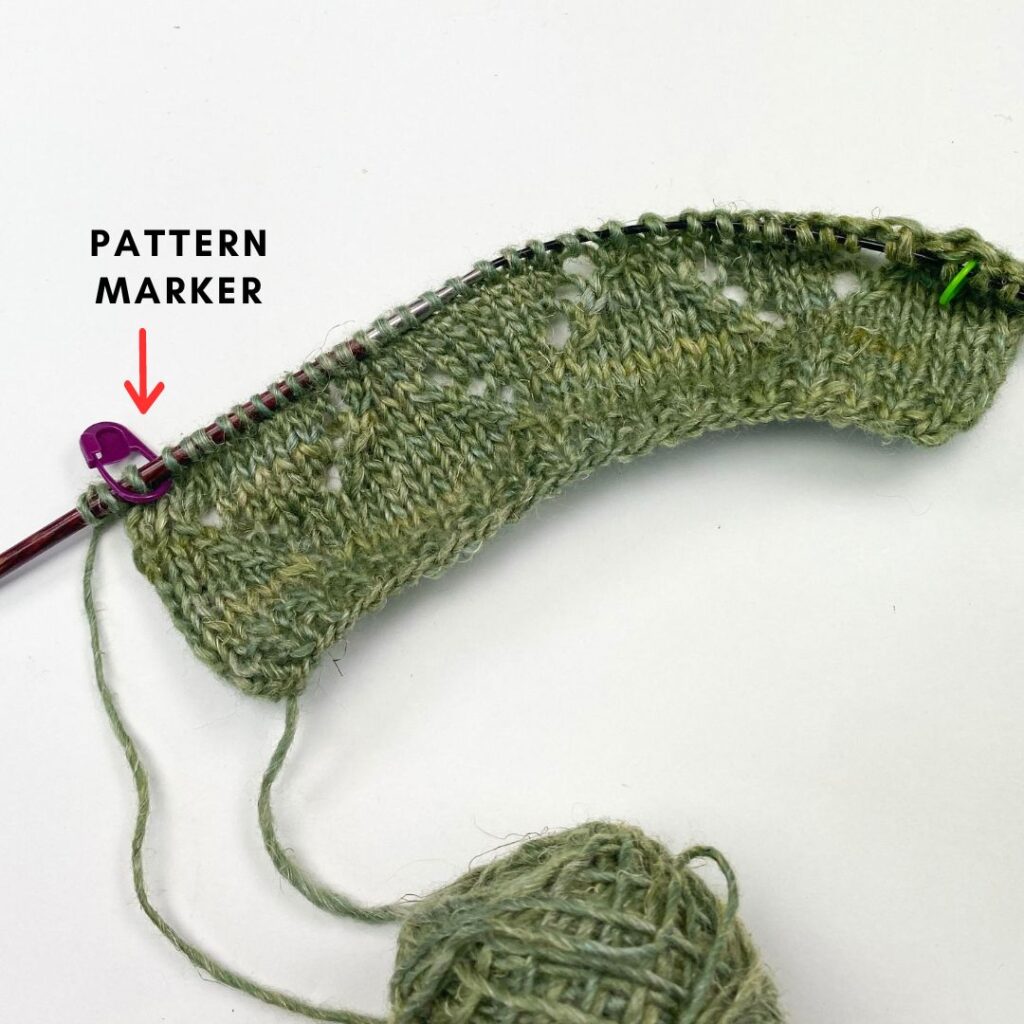
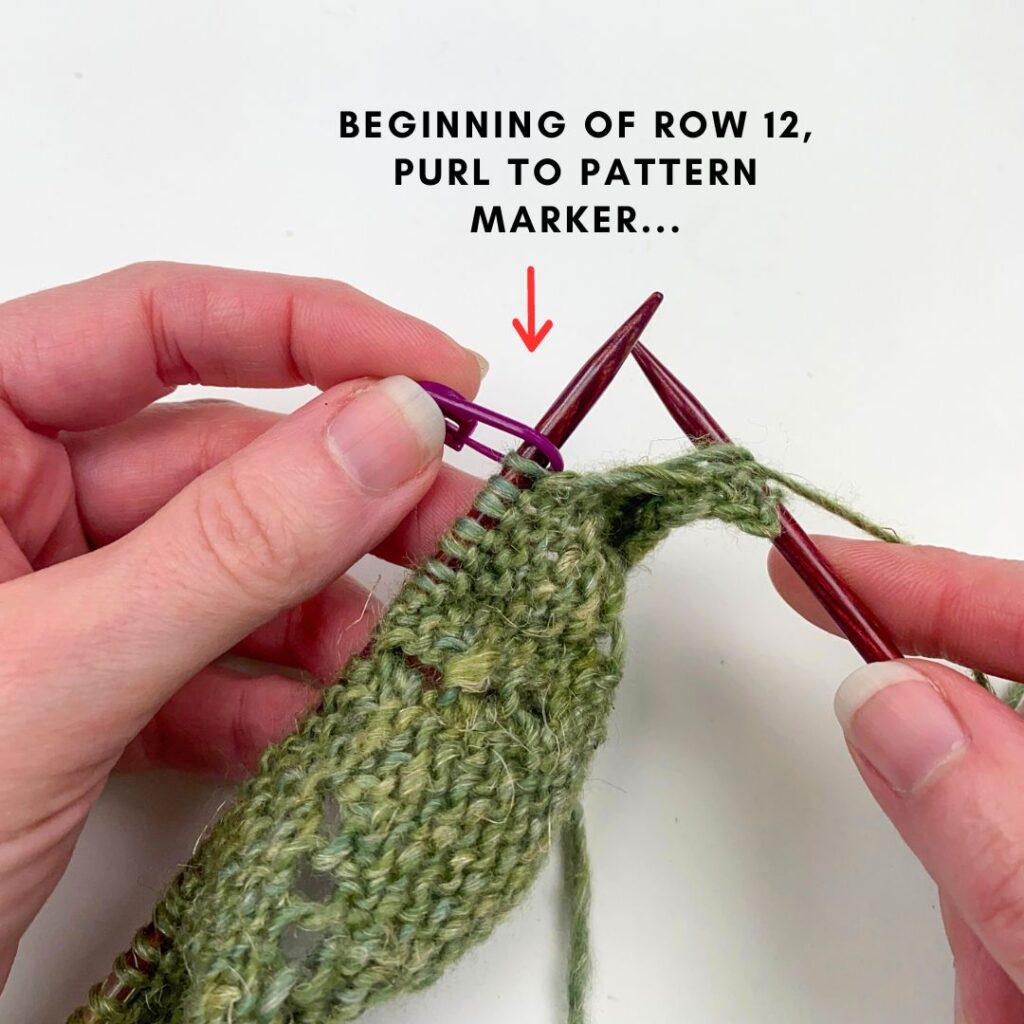
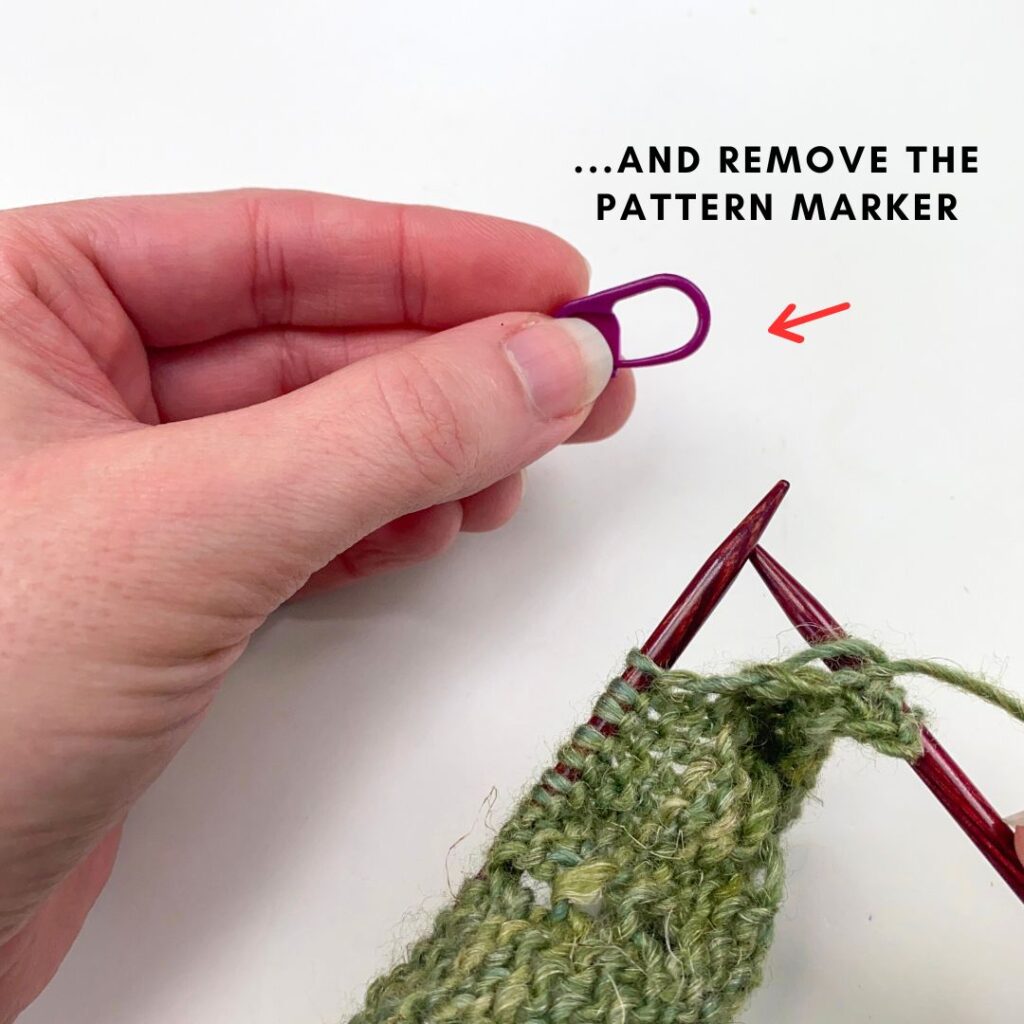
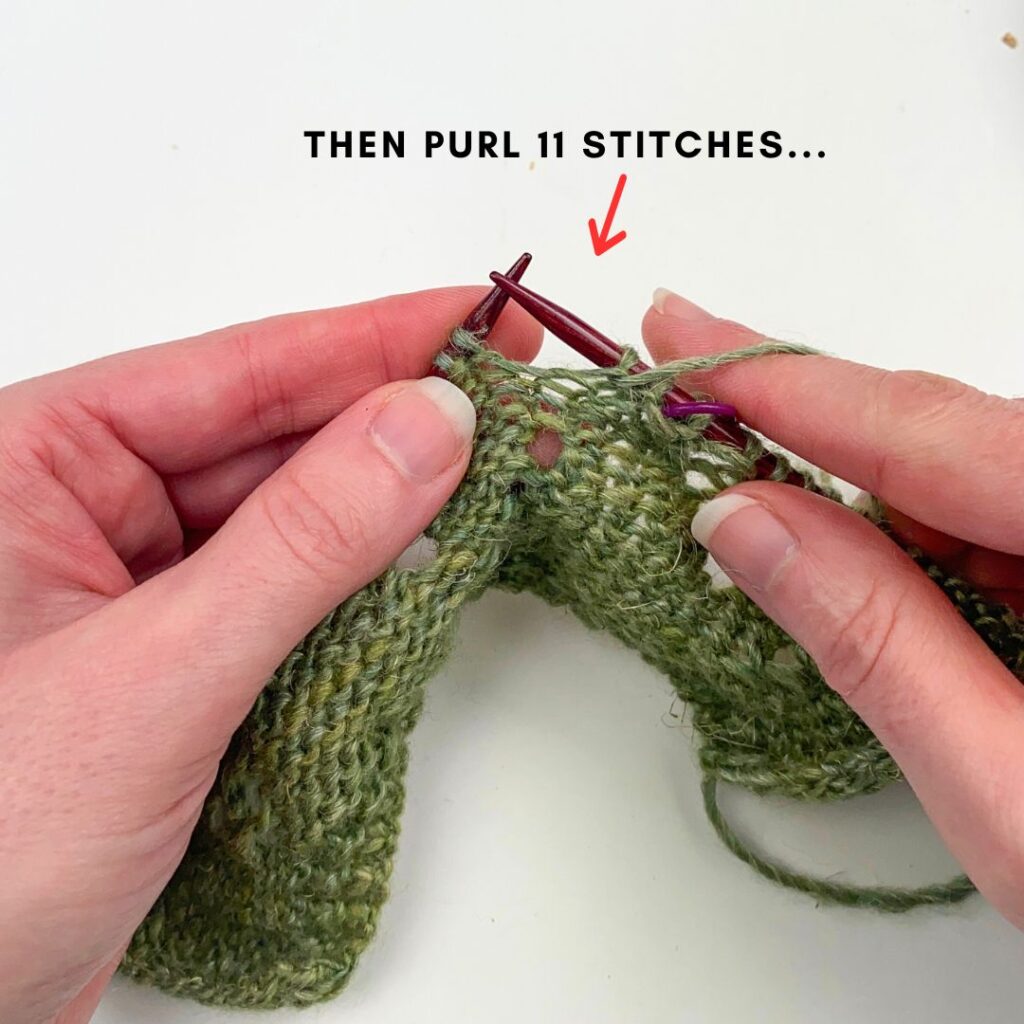
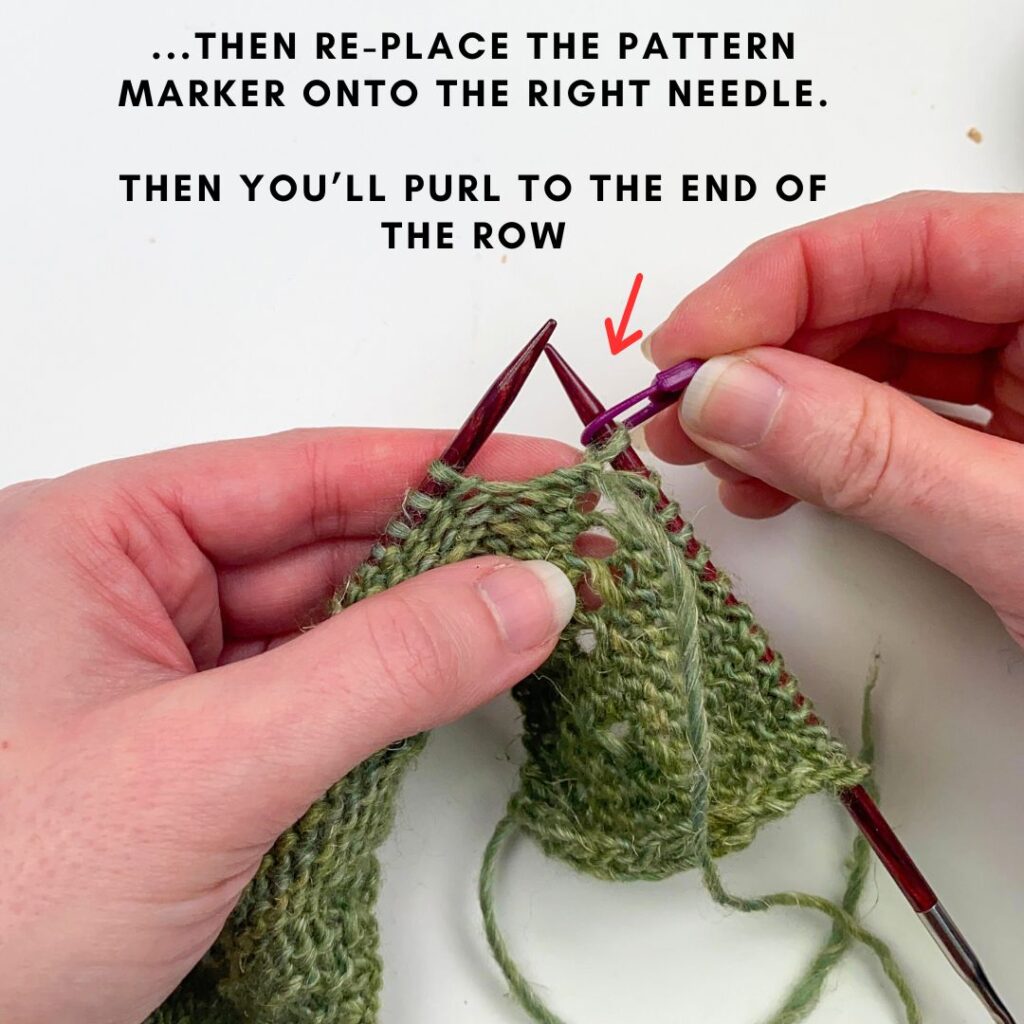
This is why in the eyelet stitch pattern it says on the last row (row 12), that you need to remove the pattern marker, purl 11, and then re-place this pattern marker on the right needle (so you shift the marker over by 11 stitches). Below is a photo tutorial that shows you a visual of this process:
Attaching poncho together
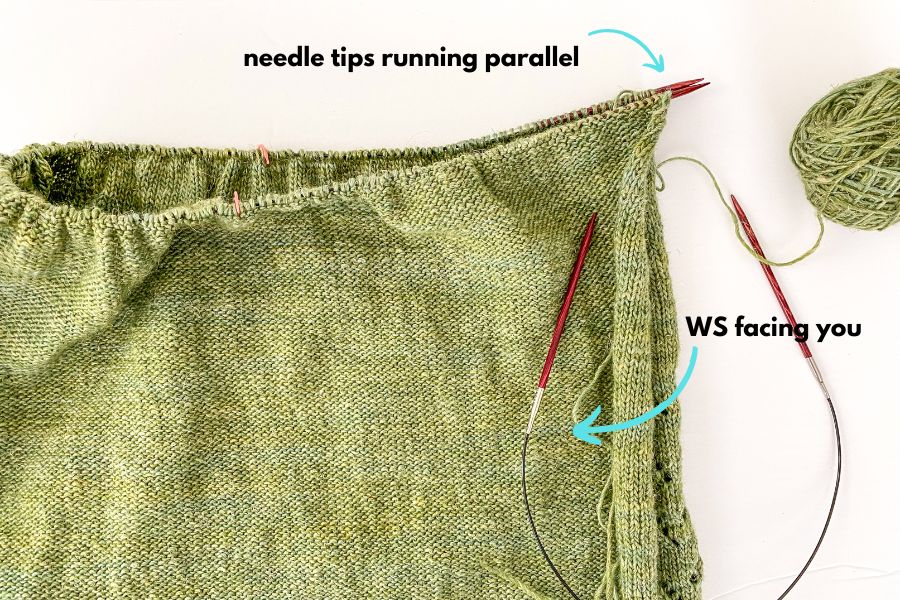
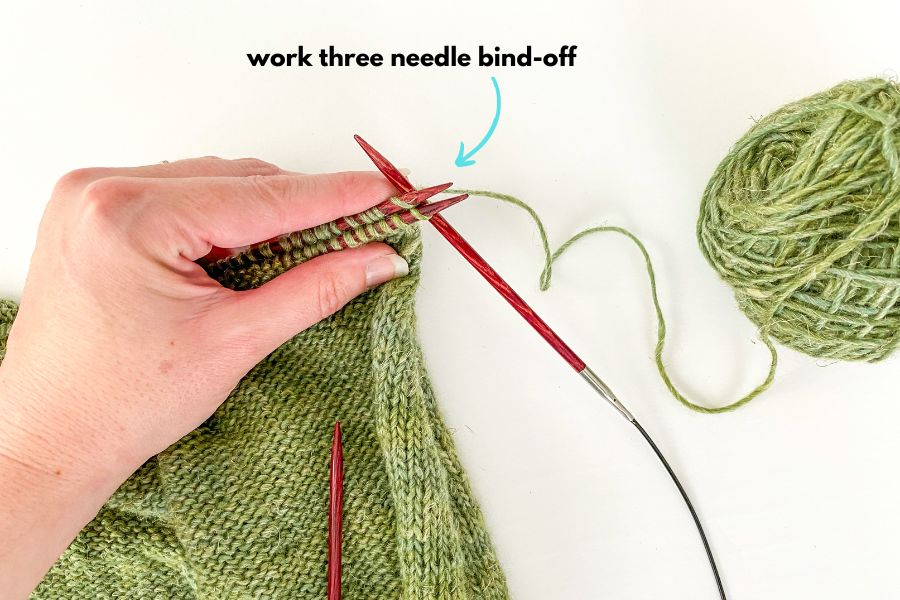
Step 1: Fold poncho in half with RS’s together (WS facing you) and so that needle tips are running parallel to each other. Your poncho back will be on top of your poncho front (the front is where your working yarn is still attached).
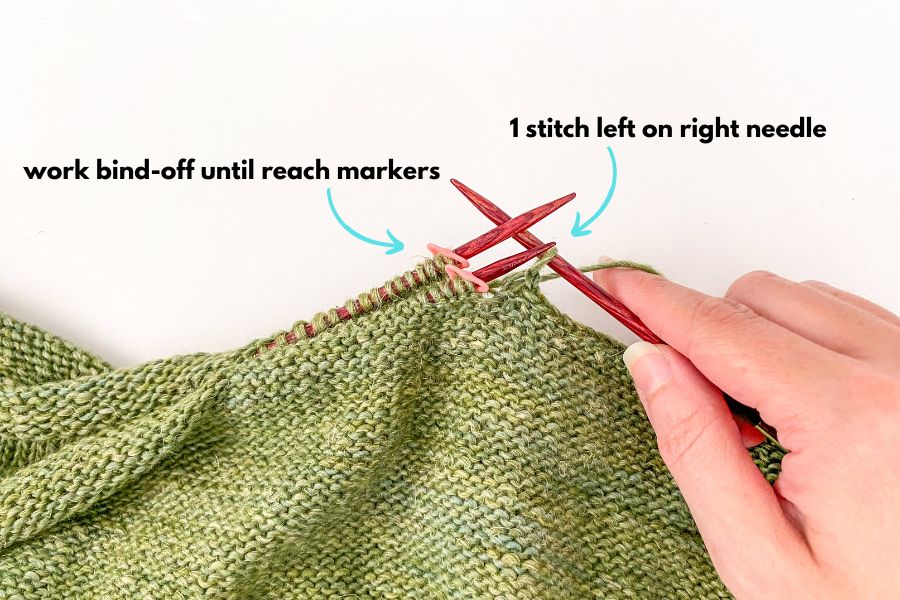
Step 2: Using your US 6/4 mm 16″ circ, work the three needle bind-off until you reach your neck markers. For a video tutorial on how to work the Three Needle Bind-Off, click here.
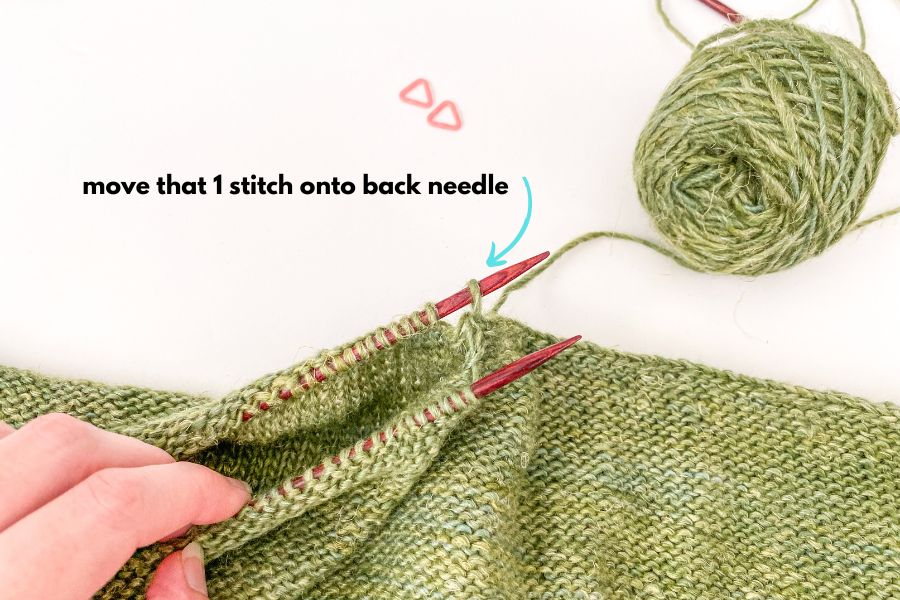
Step 3: Remove both markers. Take the 1 stitch that is left on your RN (on the extra US 6 circ) and transfer it onto the back needle of your main circ.
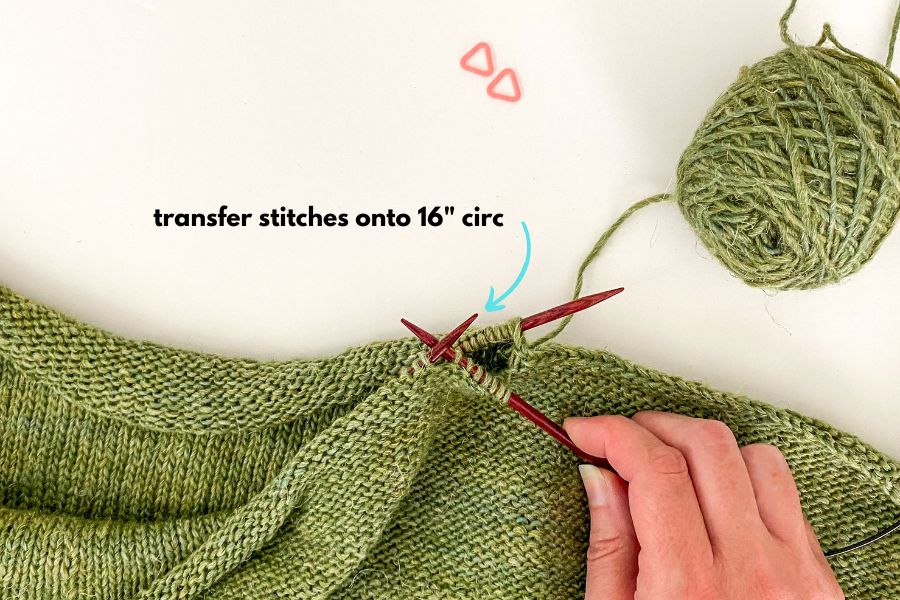
Step 4: Cut yarn (leaving a long tail) and transfer these sts onto the US 6/4 mm 16” circ and turn work right-side out (so RS is facing you again).
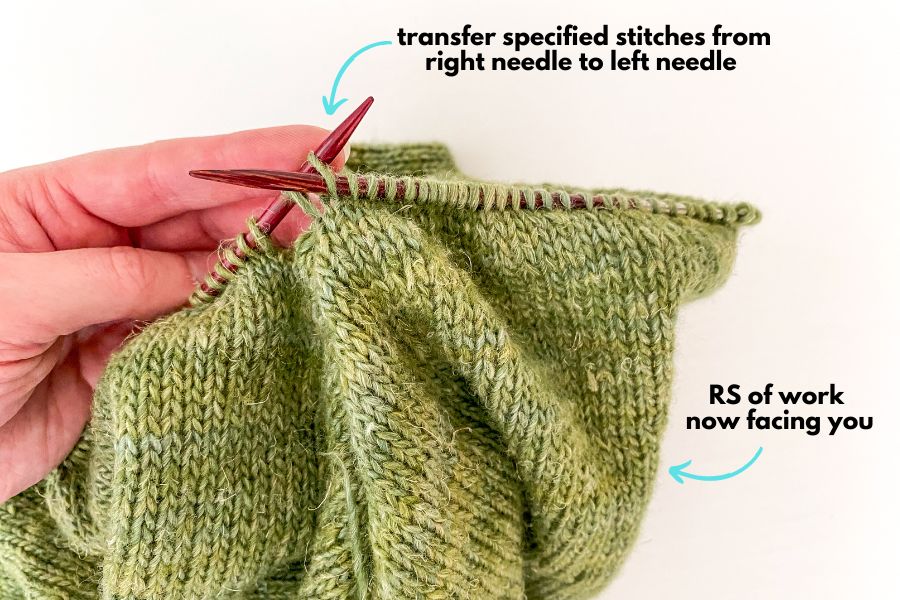
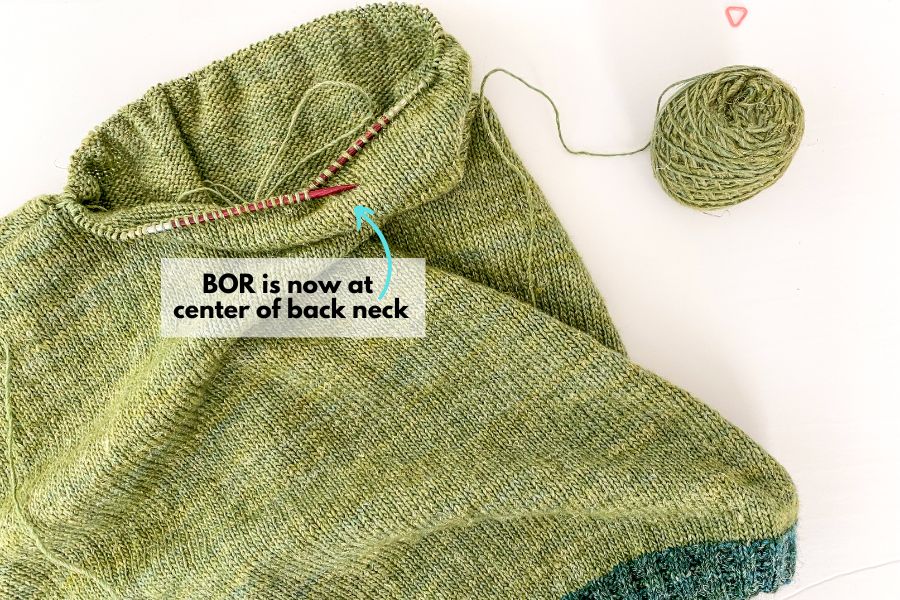
Step 5: With the RS of the work facing you, slip the number of sts as specified in the pattern purlwise from RN to LN, then pm on RN for BOR.
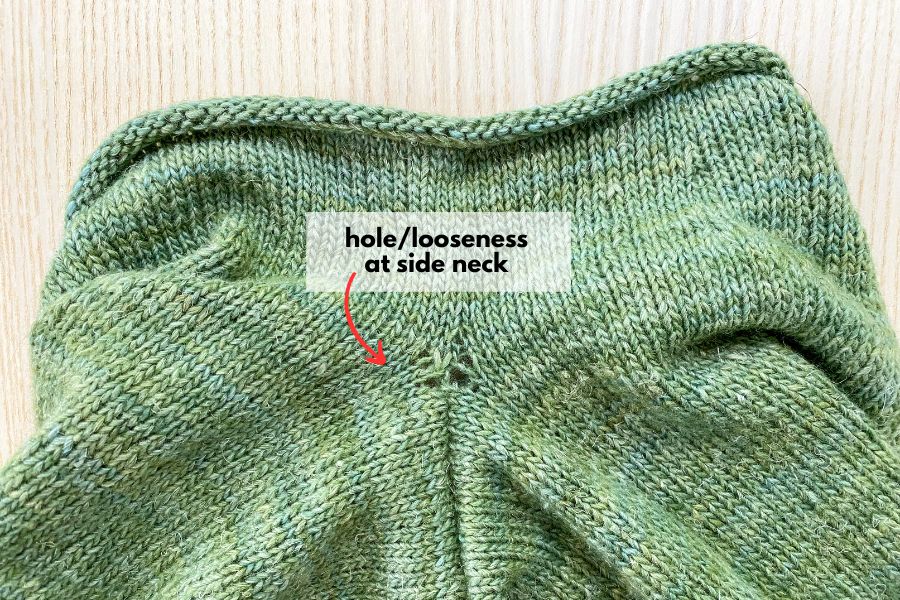
Step 6: You’ll rejoin MC and k the number of sts specified in the pattern, then K2tog, then k to BOR. You are all set now to continue knitting in the round! Don’t worry about the hole that appears at the side corner of the neck. See below for how I cinched this up!
How to cinch up side neck hole
Here is how the neck looks before I cinched things up:
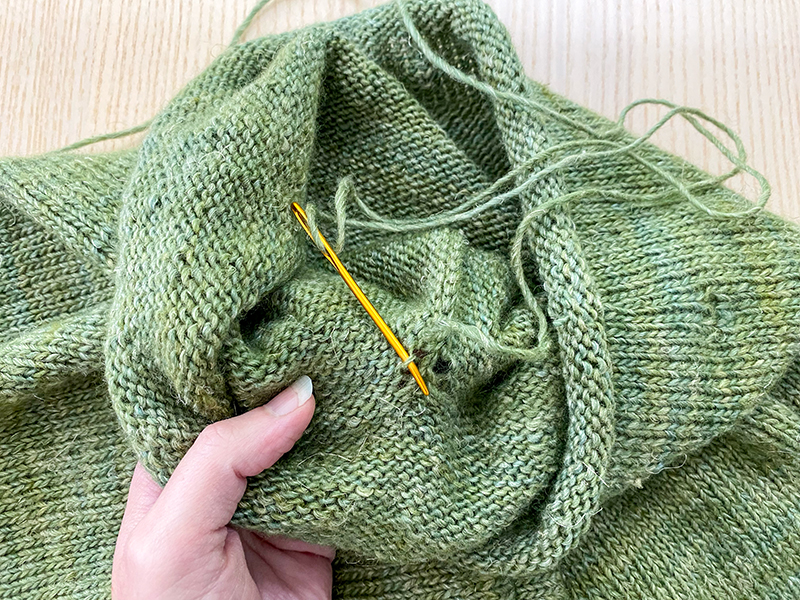
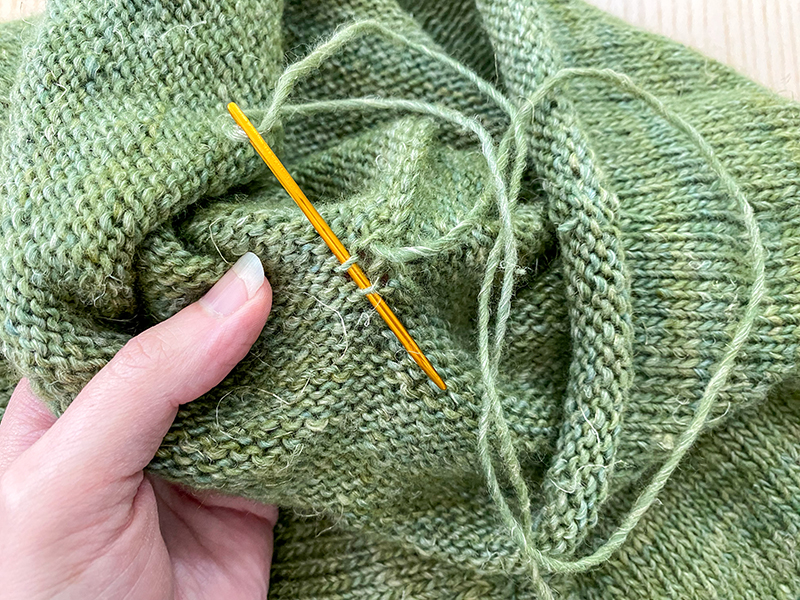
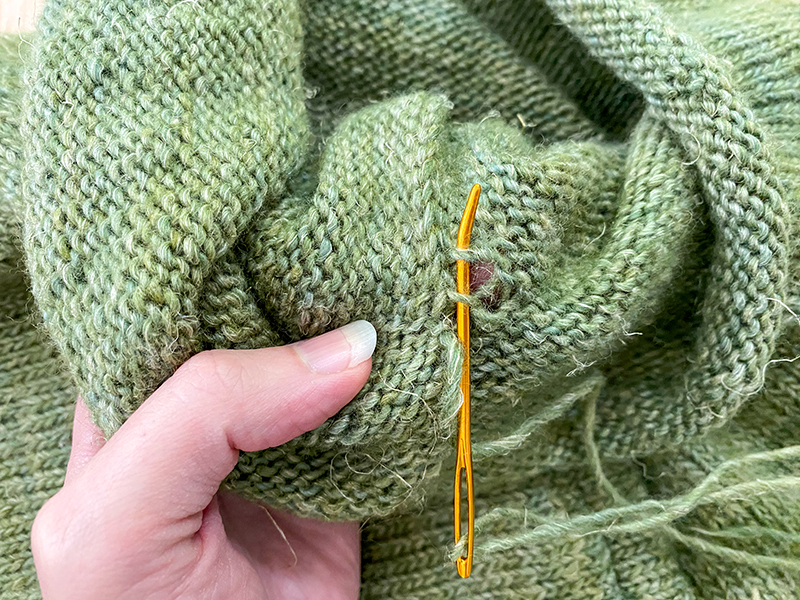
With WS facing, I thread the tail through my tapestry needle and work duplicate stitch around the hole – this means inserting the needle into the loops around the hole, tracing around the stitch. See photos below:
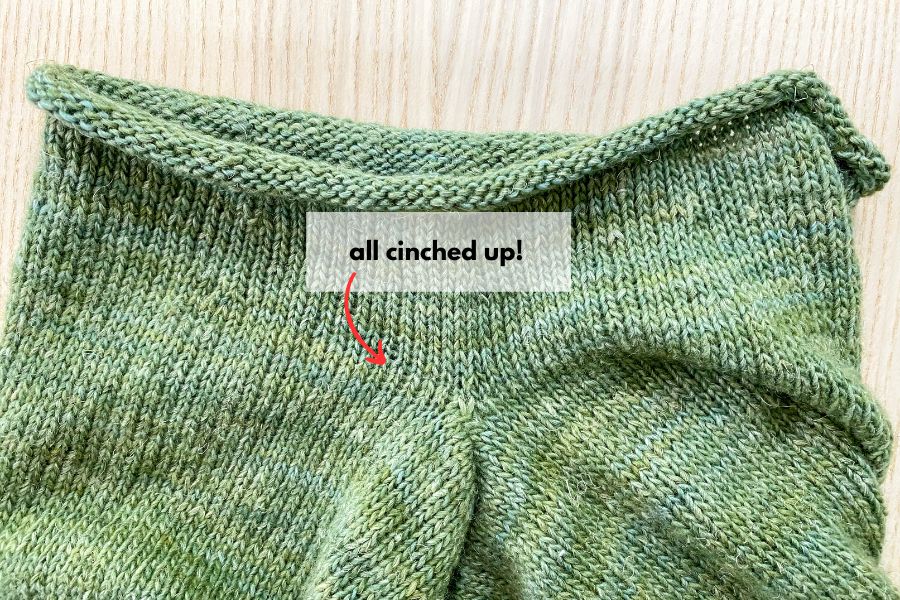
And here is how the hole looked after I cinched it up!
Pick-up and Knit (for side trim of poncho)
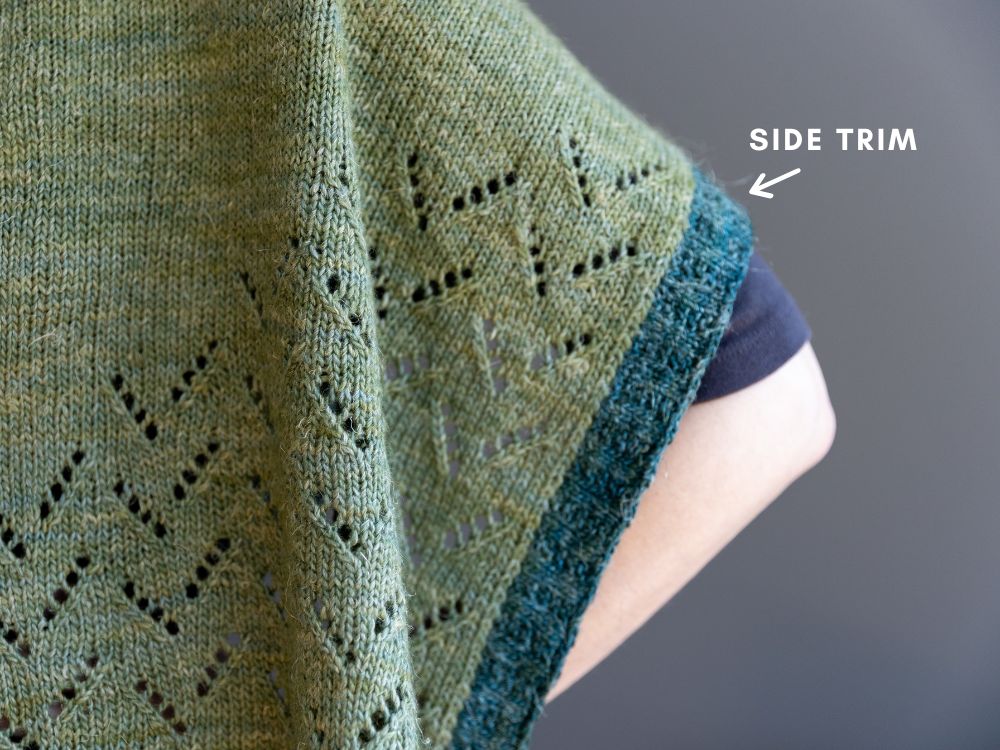
One of the last steps in Leafing Out (other than weaving in ends and blocking) and working the side ribbing (on the open end of the poncho). To create this ribbing, you need to pick-up and knit stitches along the side edges of the front and the back (you start at the bottom of the front and work your way up to the shoulder and then down the back to the bottom back edge). In the pattern, it specifies a certain number of stitches, but if you had adjusted your length you will need to pick-up a different number. That is totally fine but the key is just that you want to pick up a total number of stitches that is divisible by 4+2. An example of this is the number 206 – if you take 2 stitches away from it you get 204 and that number is divisible by 4, hence 206 is a number divisible by 4+2.
If you have never picked-up and knit stitches before, I have a video lesson of how I pick-up and knit 3 sts for every 4 rows in a sweater pattern (for a button band). Although we aren’t making a buttonband, the technique you would use is the same and so this video lesson can be very helpful – click here to view it!

