Cast-on and Hem in Brookdale Vest

Casting-On
The first instruction in the Brookdale Vest pattern is to use the long tail cast-on method to cast-on your hem stitches. It’s not totally necessary to use the long tail cast-on technique, but I prefer the look of it – but if you prefer a different type of cast-on, you can definitely feel free to use your preferred method. If you’re new to the long tail cast-on method, you can check out my tutorial here.
Note: For those who were interested in omitting the A-line body shaping in Brookdale, you’ll need to decide that before you cast-on. Read this page for more details about that.
Working the Hem
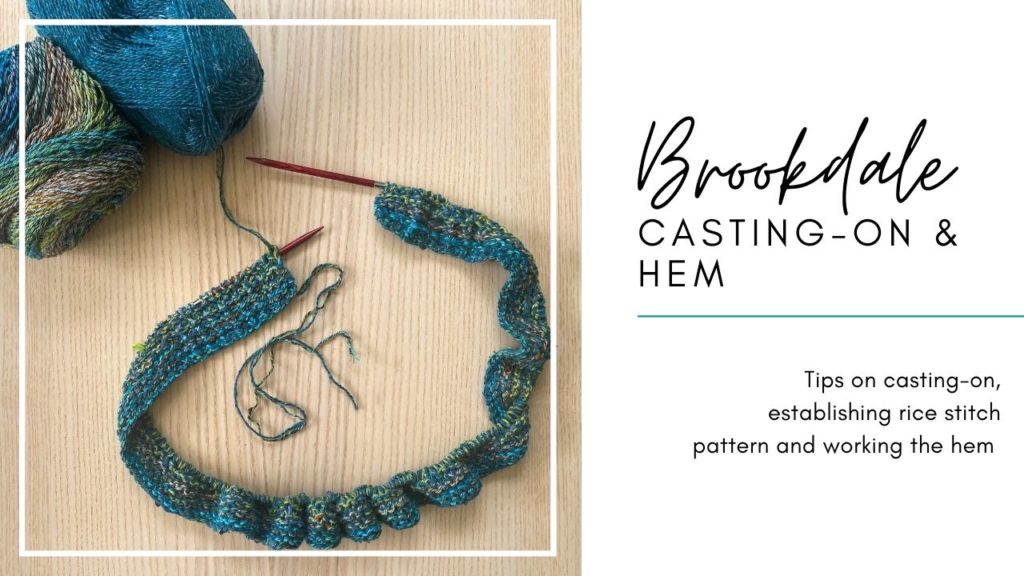
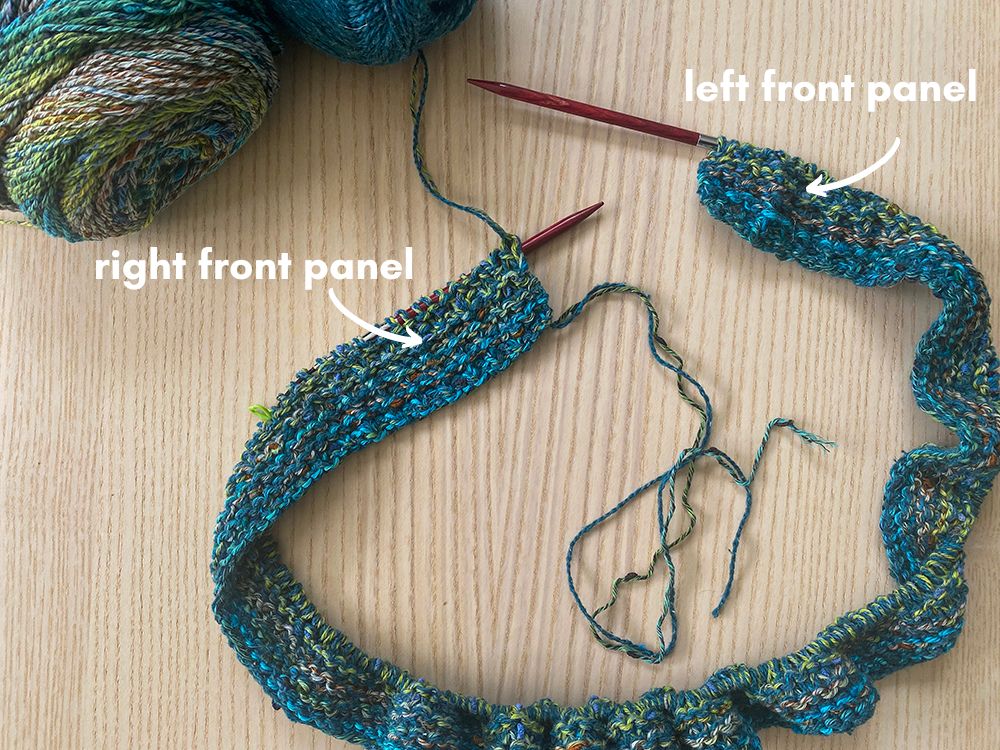
The first row right after cast-on is called the Panel set-up row. In this row we’ll be establishing our 2 front panels (which each consist of 20 stitches). These panels are worked in a stitch called Rice Stitch, with some garter stitch on either end. The rest of the body is also worked in garter stitch (note: garter stitch is when you knit every row).
One additional thing I wanted to point out – in knitting, when the “Right Front” and “Left Front” are mentioned, it’s from the perspective of wearing the garment, not how you are looking at it as you’re knitting it.
The Rice Stitch
The rice stitch, which is featured in the front panels, starts as follows: k4, [p1, k1tbl] 6 times (so there will be 16 sts on the RN), then p1, k3. If you are not familiar with the use of brackets in instructions like this, the instructions that are within the brackets are repeated over and over again for the specified amount of times. So in the above instruction you will first k4, and then you will repeat the sequence of “p1, k1tbl” a total of 6 times. So after working the repeats you’ll have a total of 16 stitches on the right needle. Then you’ll p1, k3, and then place your marker.
What I love about the rice stitch is that it’s an interesting stitch pattern on the RS (right side) and on the WS (wrong side) it’s SUPER simple as all you have to do is knit every stitch. So you have to pay attention on RS rows but your brain gets a break on WS rows :).
For a video tutorial of how the rice stitch is worked on both right-side rows as well as wrong-side rows, check out my video tutorial below! One thing I wanted to make note of: in the video, I work a small swatch of rice stitch with 4 garter stitch edge stitches on either side (just to frame it). But in Brookdale, you have 4 garter edge stitches on one side, and then just 3 garter edge stitches on the other. I just wanted to mention that!
Once you have your front panel markers in place and everything established, you’ll continue working your hem for approximately 2″. Your front panels (which consist of those 20 stitches) will be worked in rice stitch (with a garter stitch border on either side) and the rest of your body stitches are worked in Garter stitch (knitting every row).
Interested in adding buttonholes?
Brookdale was designed to be an open-style vest, but through the years I have had many inquiries about how to add closures. As I mentioned in Lesson 1: Picking a Size, if you choose a size with extra positive ease, you’ll have more fabric in the front to play with, and this can allow for some closure options. With this extra front fabric, you can use an after-thought closure, such as a shawl pin or clasp – if you go this route, then no pre-planning will need to occur. However, if you really want to add buttonholes, then you’ll need to start your planning process for this now. Here are some things for you to think about:
- Decide how many buttons you want
- Do you want some buttons to go from the bottom of hem up to around the underarm area (or just under)? If so, I would recommend working your first buttonhole row approximately 1.5″ from the CO edge. Then, work subsequent buttonhole rows approx. 3″ apart (if you keep the length as written in the pattern, this will give you a total of 4 buttonholes worked).
- If you just want 1 or 2 buttonholes, you’ll just need to decide where you want those placed so you can be prepared to work a buttonhole row where you desire.
- What should your buttonhole row be? Here is what I suggest:
- Your buttonhole should be worked on your Right Front (so at the beginning of a row).
- I recommend working the hole after the first 4 knit stitches. So for a simple YO buttonhole, the buttonhole row could start as follows: k4, YO, k2tog, [p1, k1tbl] to 4 sts before front panel marker, p1, k3, sm (follow rest of row as written).
Next Steps After the Hem:
When you’re ready to move on to the “Body” section, check out my lesson page here!

