Hyacinth Tips
On this page you’ll find tips and tutorials that will help you make your own Hyacinth Vest! I cover the following topics:
- Picking a size
- Yarn options
- Carrying yarn up
- Making the body longer
- Adding a front band closure
- Technique tutorials:
- long tail cast-on
- YO (when worked with a p2tog)
- carrying yarn up
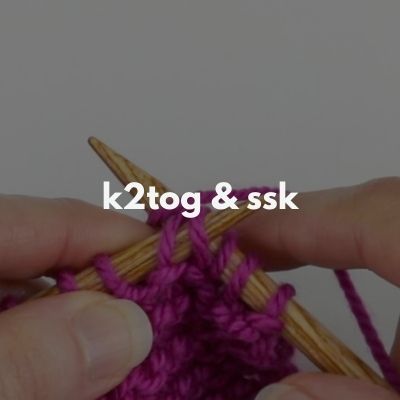
- k2tog & ssk
- binding-off in the middle of your work
- three needle bind-off
- pick-up and knit
Picking a Size
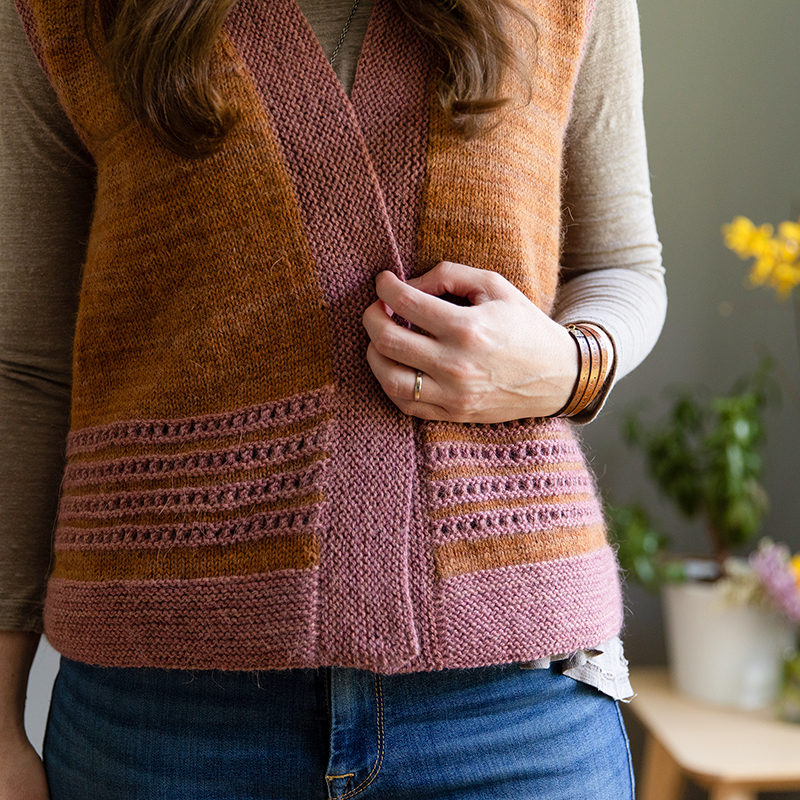
I suggest picking a size whose finished bust measurement is approx. 2-5″ larger than your actual bust measurement, depending on the type of fit you would prefer. Please note that the finished measurements I provide in the pattern are with the front bands overlapping, even though they don’t have a closure (although you could easily add a closure if you like). By picking a size based on the overlapping measurement (even though the bands won’t stay in the overlapped position unless you add a closure), you’ll be sure to have plenty of front coverage (if that’s something you are looking for).
If front coverage isn’t that important (i.e, you want to wear it very open-style), and you’re wondering what the non-overlapped circumference is, then the ‘front edge to front edge’ circumference of the piece is approx. 2″ more than the overlapped circumference listed in the pattern.
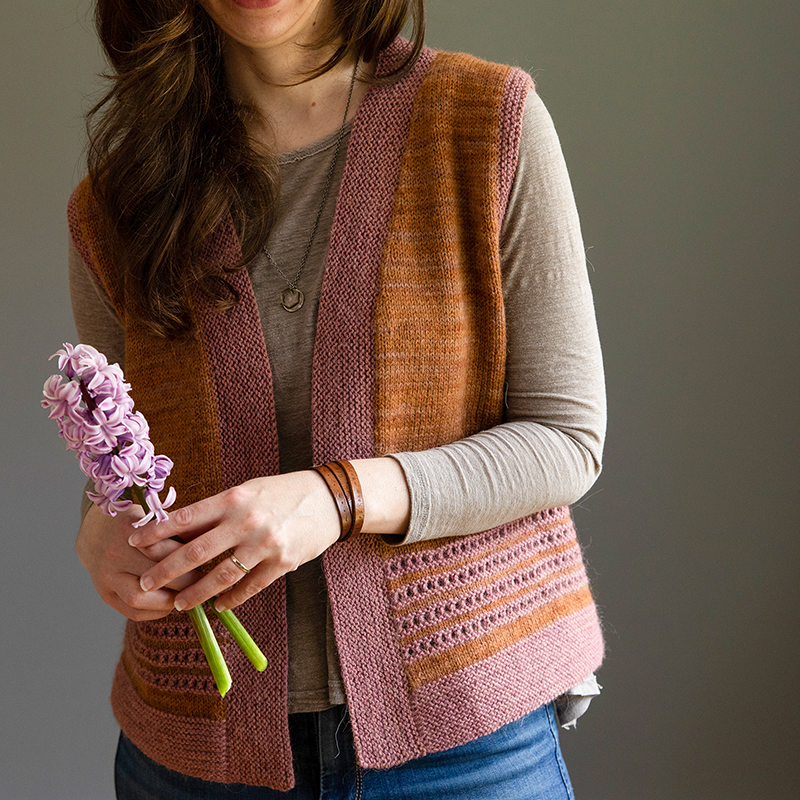
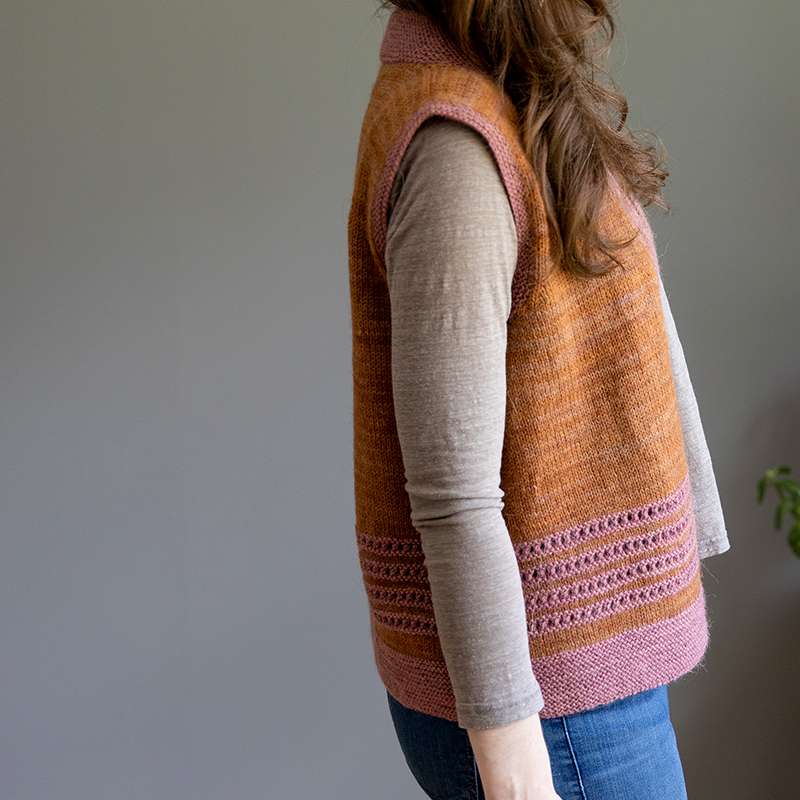
In the photographs here I’m wearing size 3 with approx. 5″ of positive ease at the bust. The other measurement to keep in mind is the hip measurement – I have approx 2″ of positive ease at the hips (because the vest is A-line shaped, and my hips are much wider than my bust). This is why I went with size 3 – had I picked size 2, I’d have approx. 1″ of positive ease at the bust but 2″ of negative ease at the hips. I wanted the vest hem circumference to be a little larger than my actual hip circumference, so size 3 was perfect.
So when picking a size, it’s good to keep in mind both your bust and hip measurements and compare both of these to the finished bust and hem circumferences in the pattern.
Yarn Options
The pattern calls for sport/DK-weight yarn – I used Manos del Uruguay’s Alpaca Heather, a wool/alpaca blend. You can check with your LYS if they are carrying this yarn, or you can find it at many online retailers, such as Wool & Company, Ball & Skein & More, Yarn.com, or Laughing Hens, But this pattern could work with other fiber types as well. In addition, you can choose to use just 1 color, or use 2 colors like I did in the photographs here (a contrasting color for all of the trim and garter eyelet bands in the body).
Carrying yarn up
If you choose to use 2 colors like I did in this sample, then starting with Body Section 1 you will join the main color (MC) and then work your garter ridges in the contrasting color (CC). So that you don’t have to cut the yarn each time you work one of these CC ridges, you can just “carry the yarn up.” What this means is that when you are working with either the MC or the CC, after you’ve worked 2 rows or so with that color you will carry the other color up the side before you start the next row and this way, when it comes time to work with that color, it has less distance to ‘travel’.
In this video, I show you exactly how yarn is carried up in this manner – it was for a different pattern (my Soundtrack pattern), but the technique of carrying the yarn up is the same so I thought it would be helpful to share for this pattern as well. The link is fast-forwarded to the part that illustrates this particular technique.
Making the body longer
As written, the underarm to hem length of Hyacinth is approx 13″. If you would like to add length, I have the following recommendations:
- If you want to just add 1-2″ of length: I suggest adding rows in “Body-Section 5” (this is after all of the A-line decreases).
- If you want to add more than 3-5″ of length, I’d suggest spreading out the additional rows a bit more:
- Step 1: We’ll say that 2″ of this additional length will just be added to “Body-Section 5″ as in the first example. So if you want to add 4″ of length, you’ll add 2” of that in “Body-Section 5”.
- Step 2: For the remaining amount, figure out how many rows it is. So in our above example we have 2″ left to gain so we’ll multiple 2″ by our per inch row gauge of 8 to get 16 rows.
- Step 3: Divide this number of rows in 2. In our above example of 16 rows, that gives us 8 rows.
- Step 4: In “Body-Section 4”, as written it says to repeat the decrease row every 20th row 2 times. Instead of every 20th row, you will decrease every 20 + [your number from step 3]. So using our example from above, you will decrease every 28th row 2 times (20 + 8).
Adding a front band closure
I designed Hyacinth to be button-less, but you can definitely add a closure if you prefer! If you don’t want to commit to buttonholes, you can consider using a shawl pin. Or if you would prefer buttons, I have some tips – below are some instructions on how to do this using a simple yarn-over buttonhole:
- Step 1: Decide how many buttons you want. I would recommend either just 1 at the center (so lined up with the underarm/start of v-neck shaping), or 4 going all the way down (or more if you altered the length)
- Step 2: Work the front bands as written in the pattern, but only work in Garter stitch for 1″ (instead of 2″), ending after a WS row (you’ll likely have 6 garter ridges knit).
- Step 3: Place removable marker(s) where you want your buttonholes to go. I have this video that shows how I did this for a different cardigan, but the concept is similar. Start with your top buttonhole – your marker should be placed approx 1″ down from the underarm area. Then if you choose to have buttonholes doing all the way down, I recommend placing your other markers approx. 3.5″ away from each other.
- Step 4: Work your buttonhole row as follows: *knit to your removable marker, remove it, YO, k2tog – then if you have additional markers, repeat from *. If not, then just knit to end.
- Step 5: Continue knitting your front bands until they measure 2″ and then follow the pattern instructions for how to bind-off.
Technique tutorials:
Below are tutorials for the techniques used in Hyacinth:

