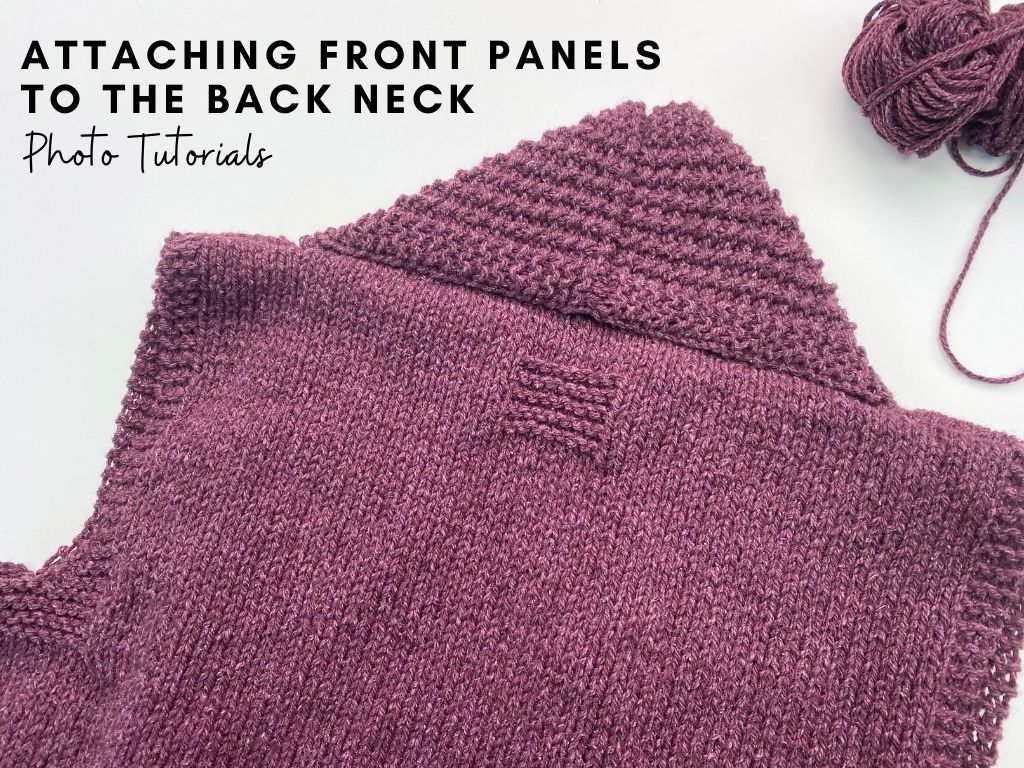
Attaching Front Panels to the Back Neck Tutorial
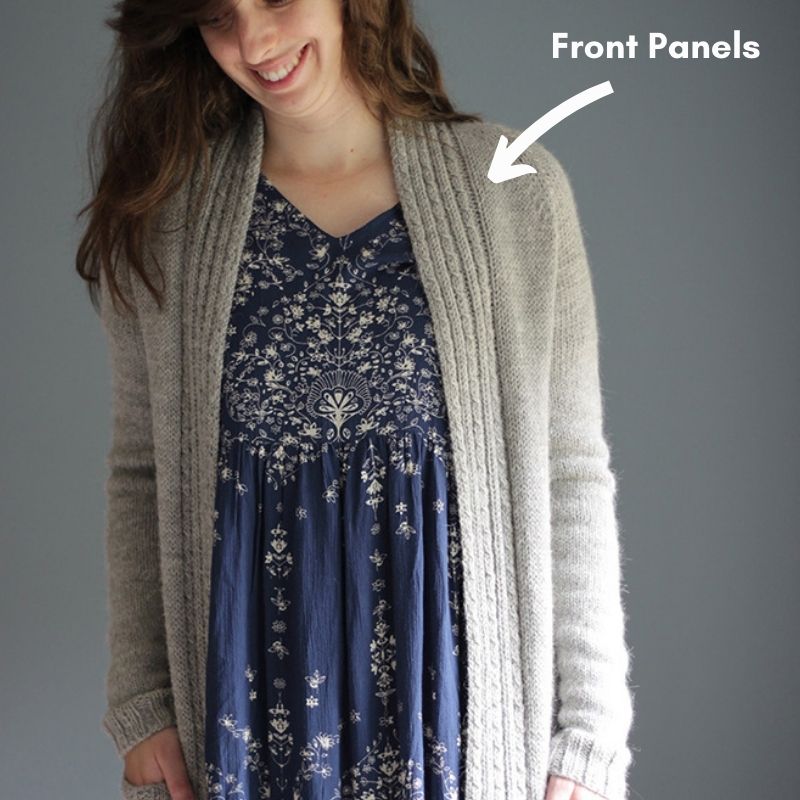
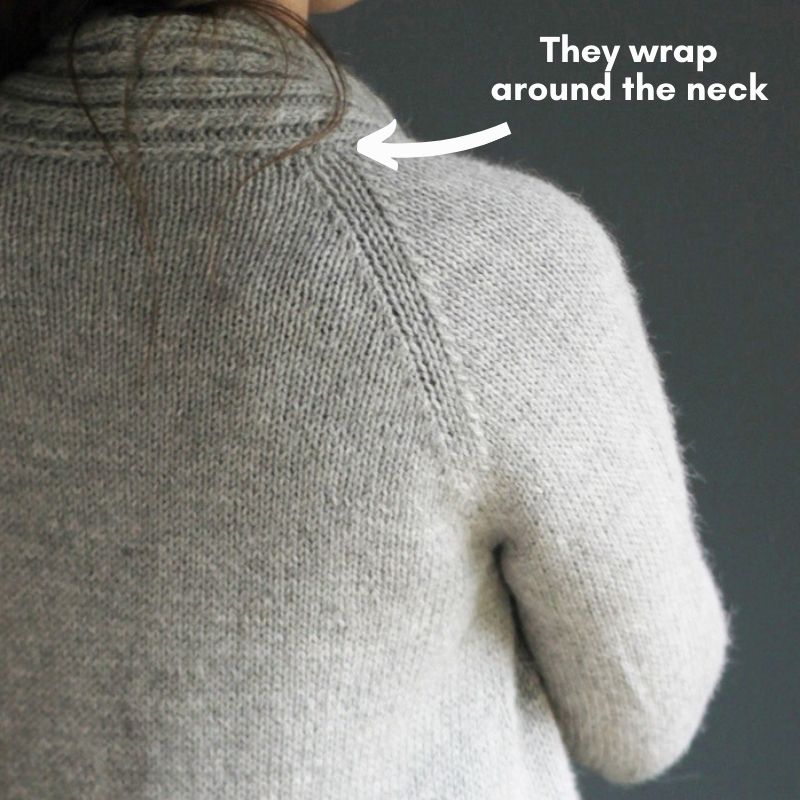
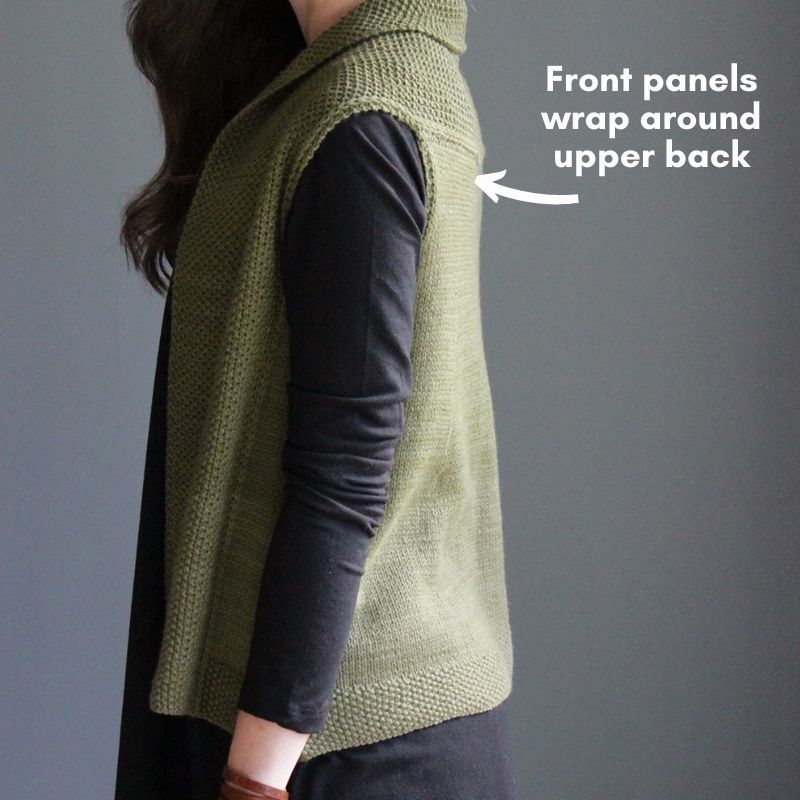
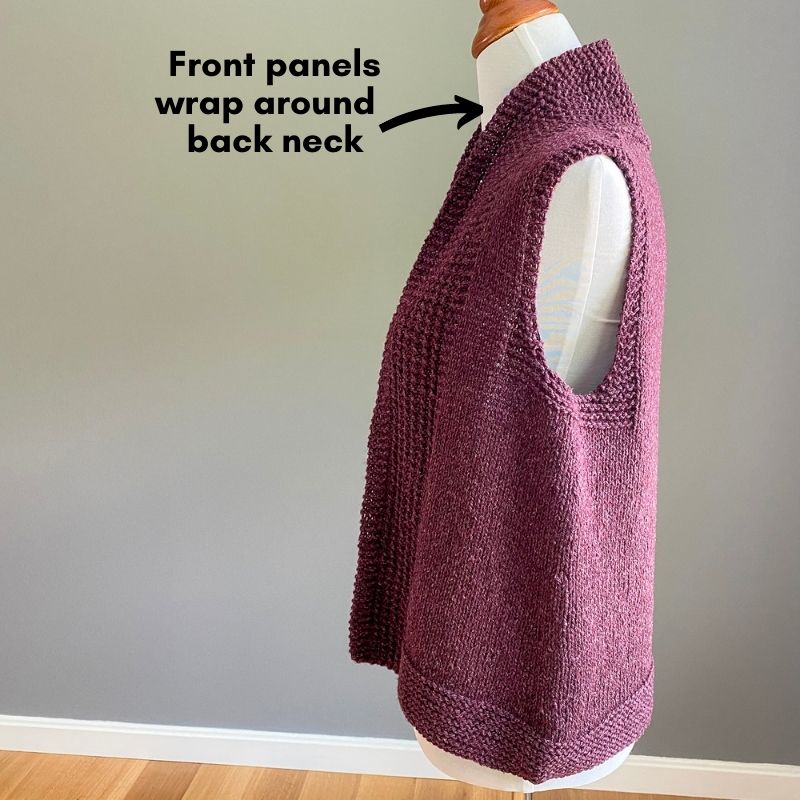
In a few of my open-style cardigan patterns I feature a design technique where I have panels that go along each front edge, and then they wrap around the back of the neck. I’ve used this design look/technique in a couple other patterns and it works well for an open-style cardi like this – because it wraps around the neck, you never have the “falling off the shoulder” problem that often accompanies open-style cardigans. It’s created by attaching the panel ends together and then the sides of the panels are attached to the back neck. Let me show you what I mean…
Here this style is featured in Mazzy:
Here it is featured in my East Coast Swing vest:
And here it is featured in my Brookdale vest:
I have photo and video tutorials of how this is done for my Brookdale Vest. Whether it’s for this pattern or something similar, having a visual of this process should be helpful!
Attaching Shoulders
In Brookdale (and any similar vest design), the first step is putting your front panels/back neck all together is the “Joining Shoulders” section. This is where yu transfer the shoulder stitches on each side to circular needles and attach them together using the three needle bind-off. You can watch the video lesson for this here, or scroll down to see the step-by-step photo tutorial:
Video Lesson:
Step by Step Photo Tutorial
Right Shoulders:
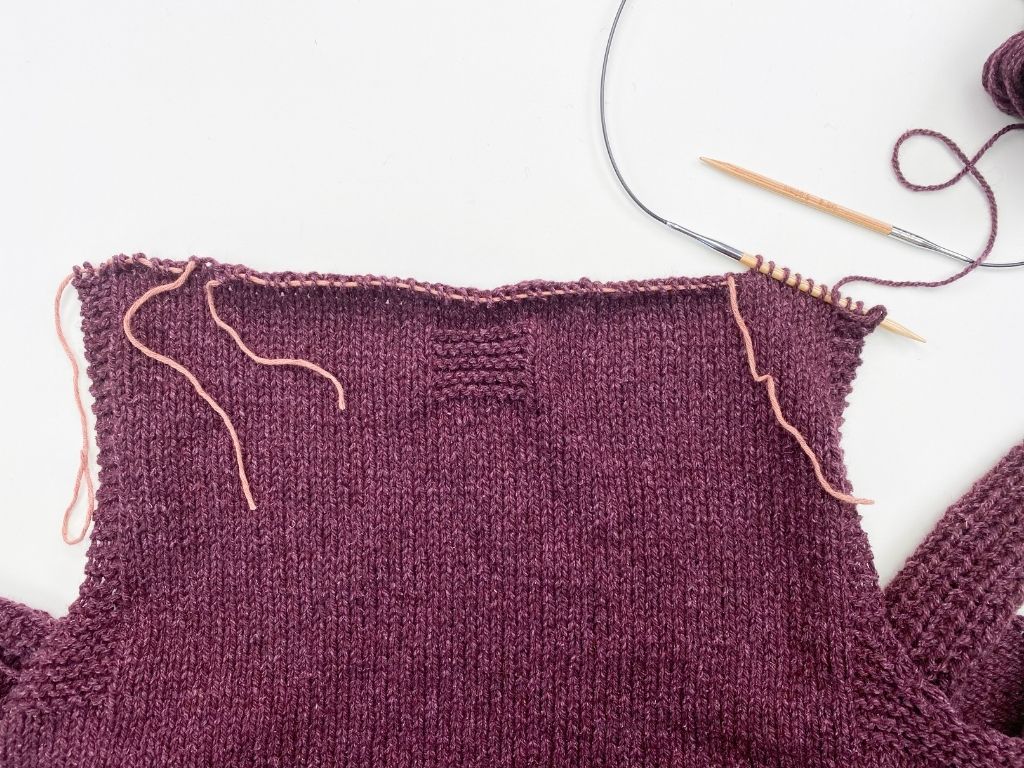
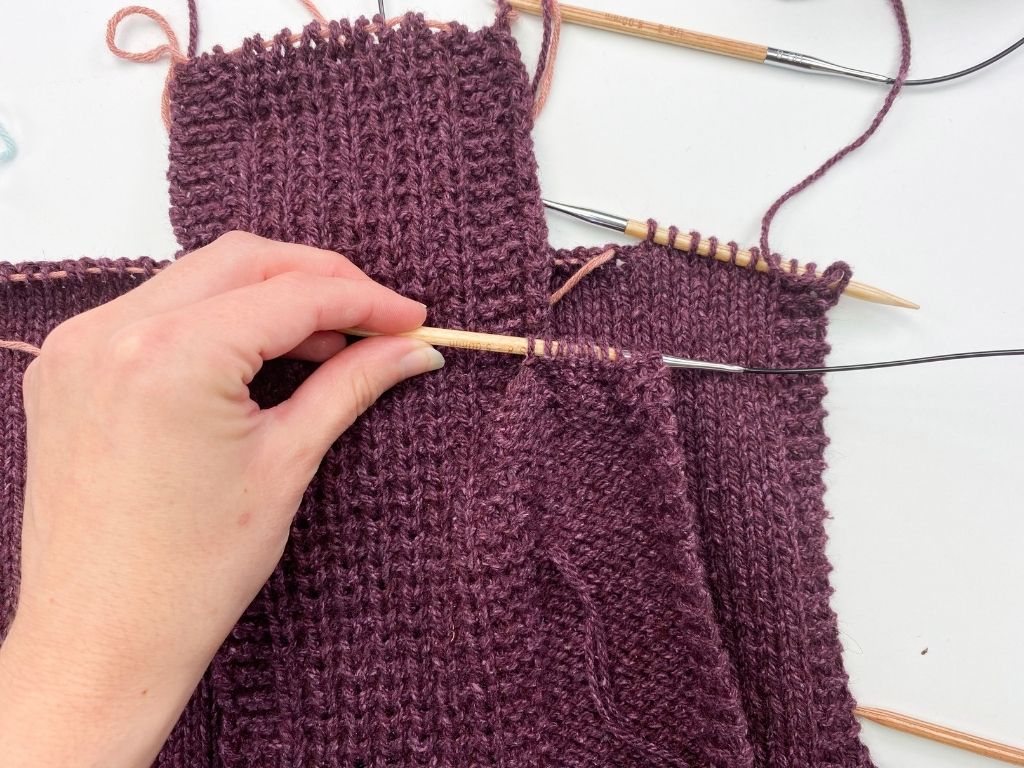
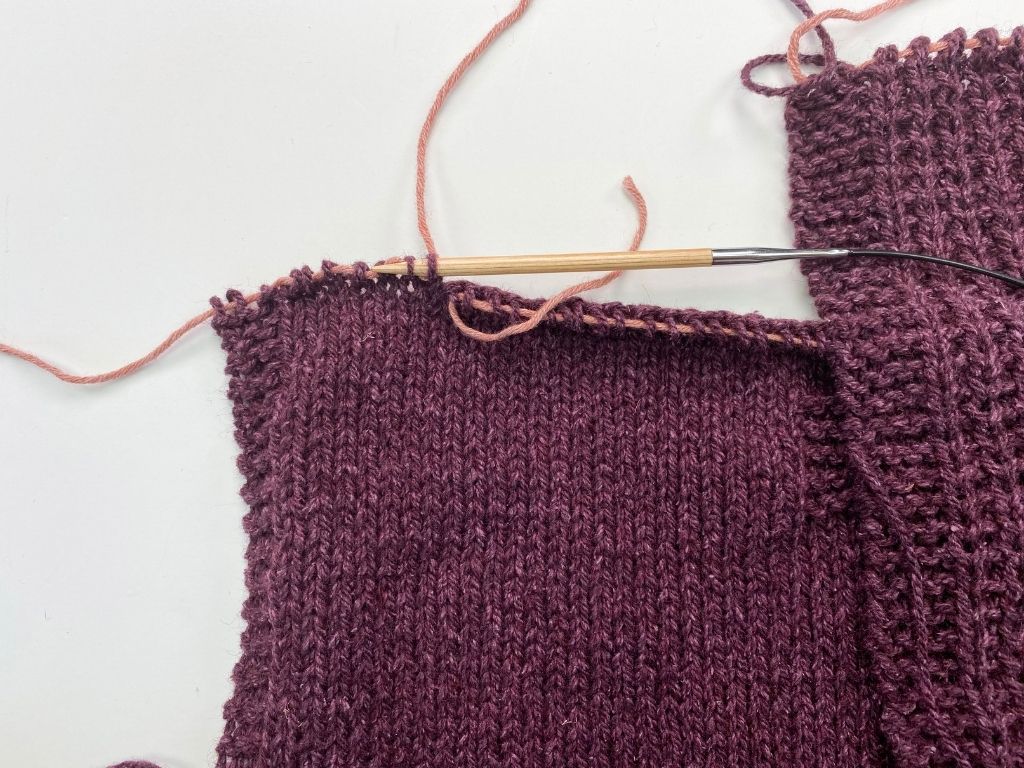
Step 1: Lay work out so that RS of Back is facing you and circ still containing the Right Back shoulder sts is on the right side (with needle pointing towards outer shoulder).
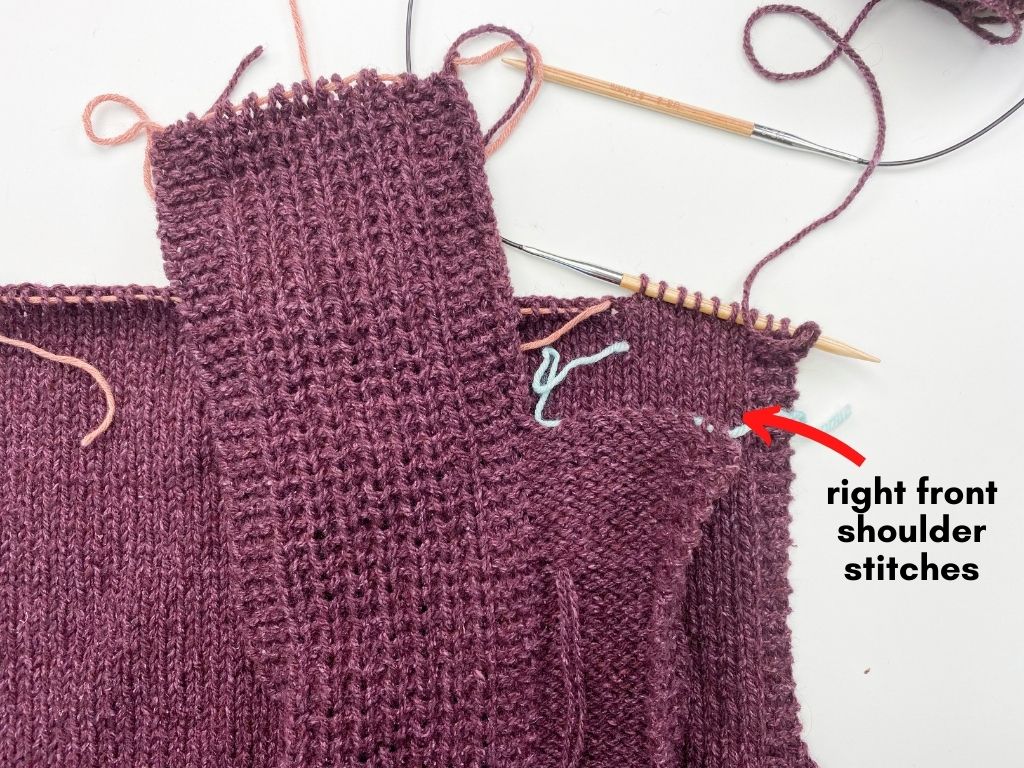
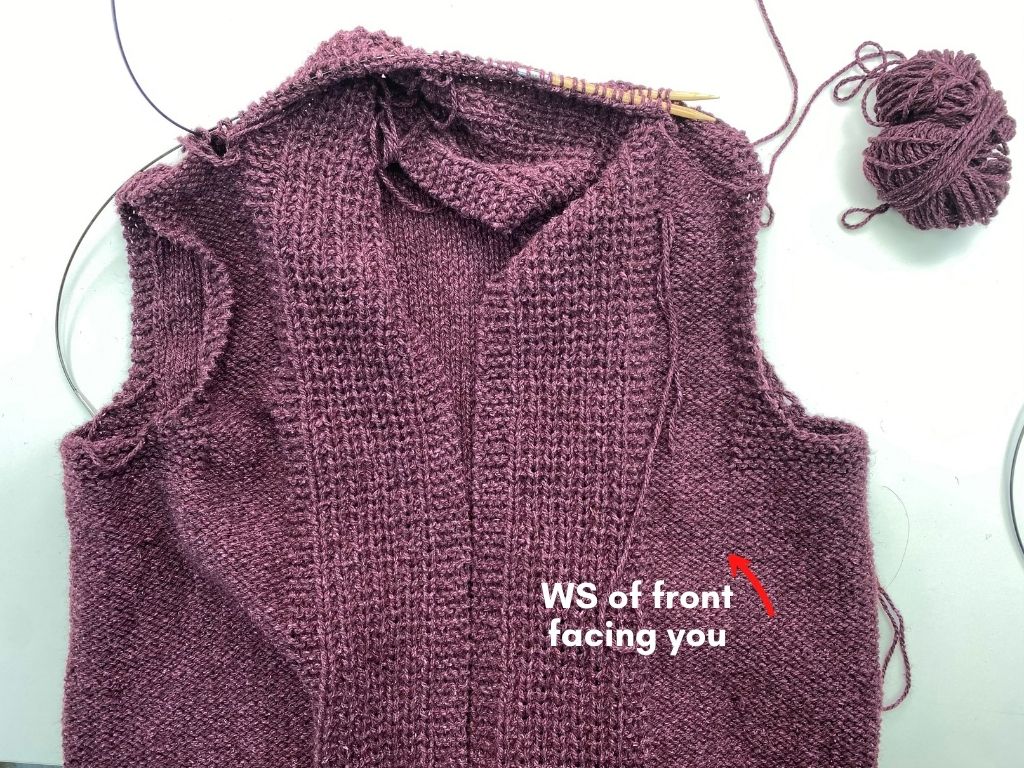
Step 2: Lay Right Front on top of the Back (WS of Right Front will be facing you).
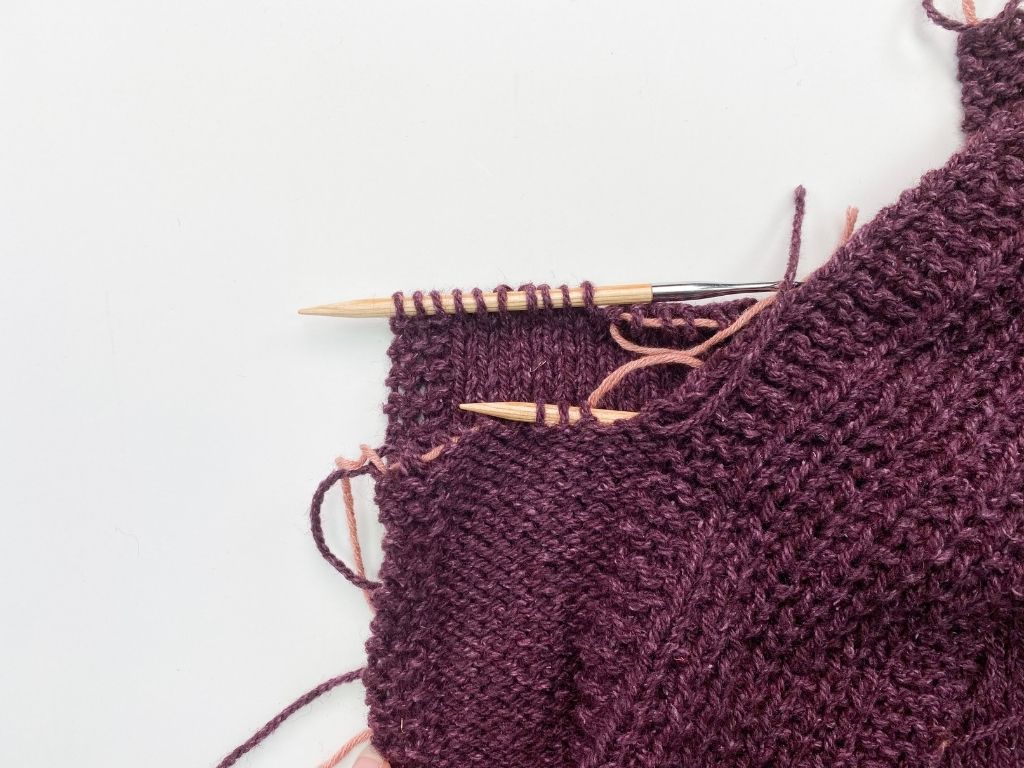
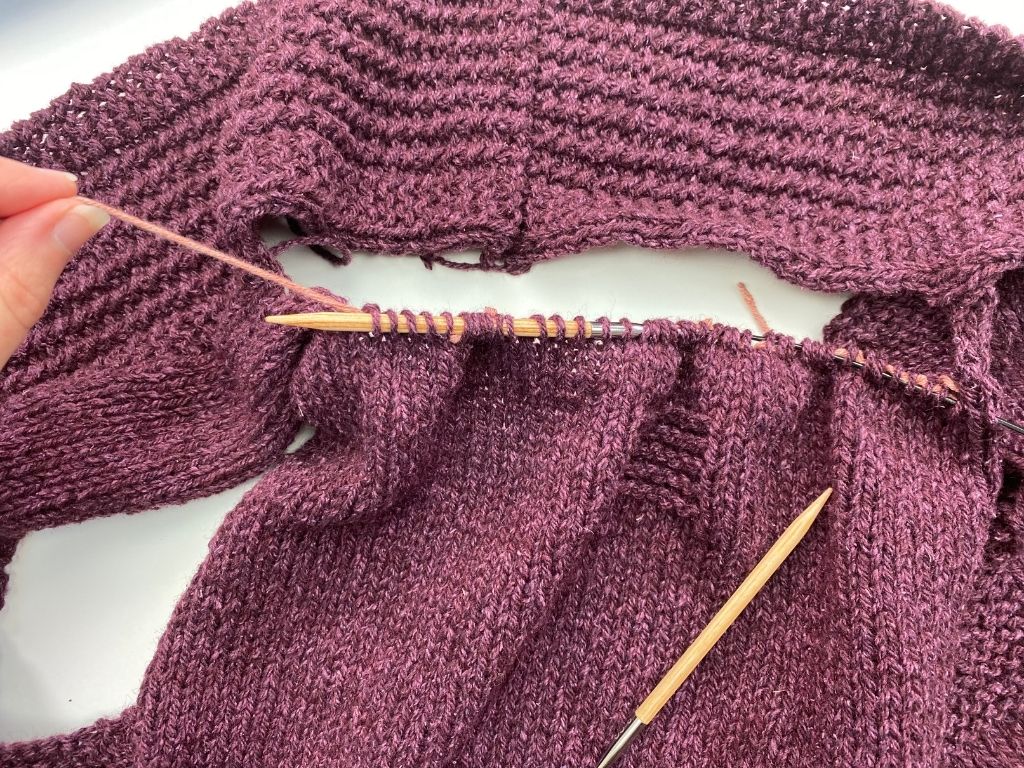
Step 3: Transfer sts held for Right Front Shoulder onto extra US 8/5mm circ.
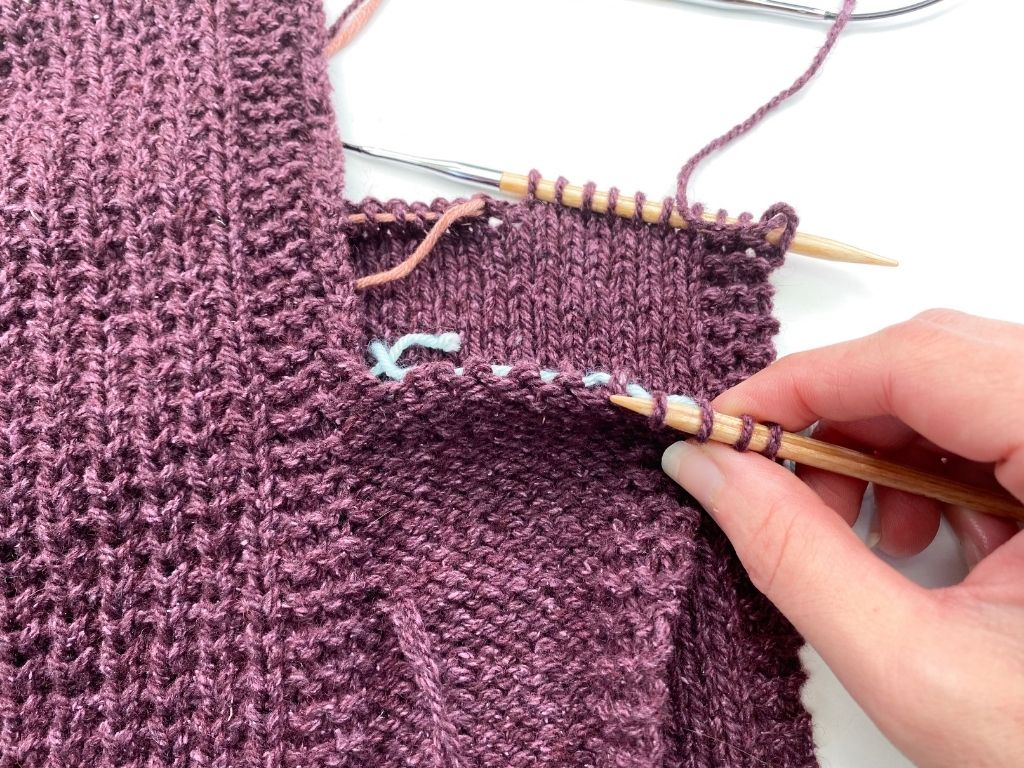
Step 4: Pull circ through so sts are resting on other end of circ with needle tip pointing toward outer shoulder edge.
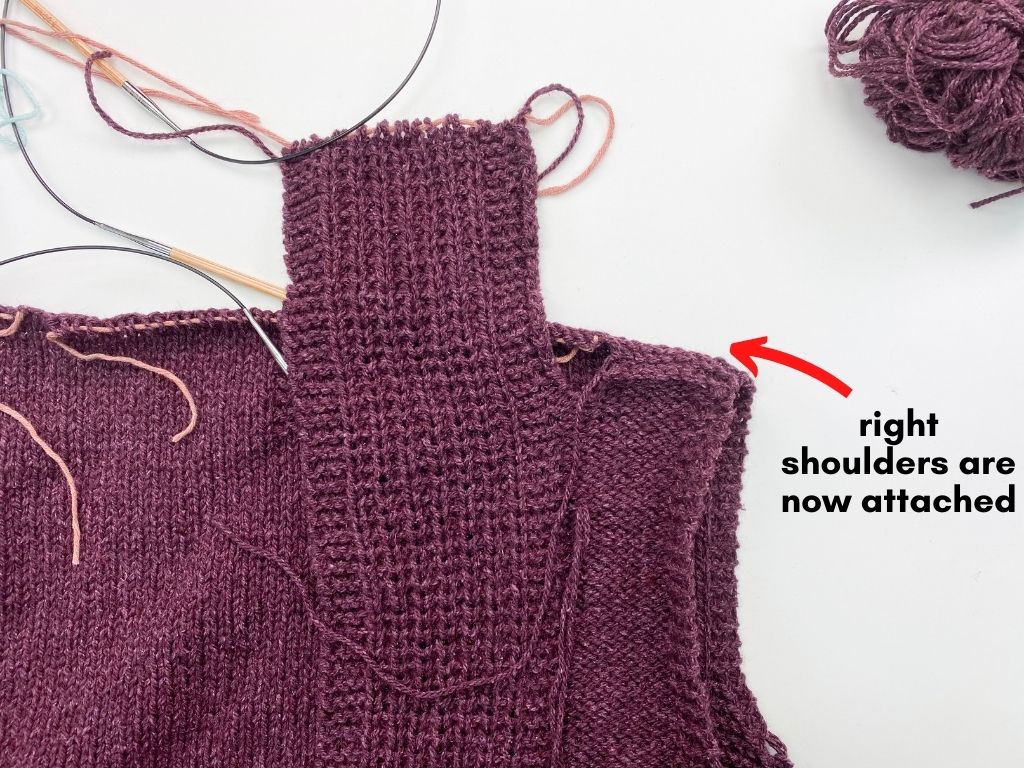
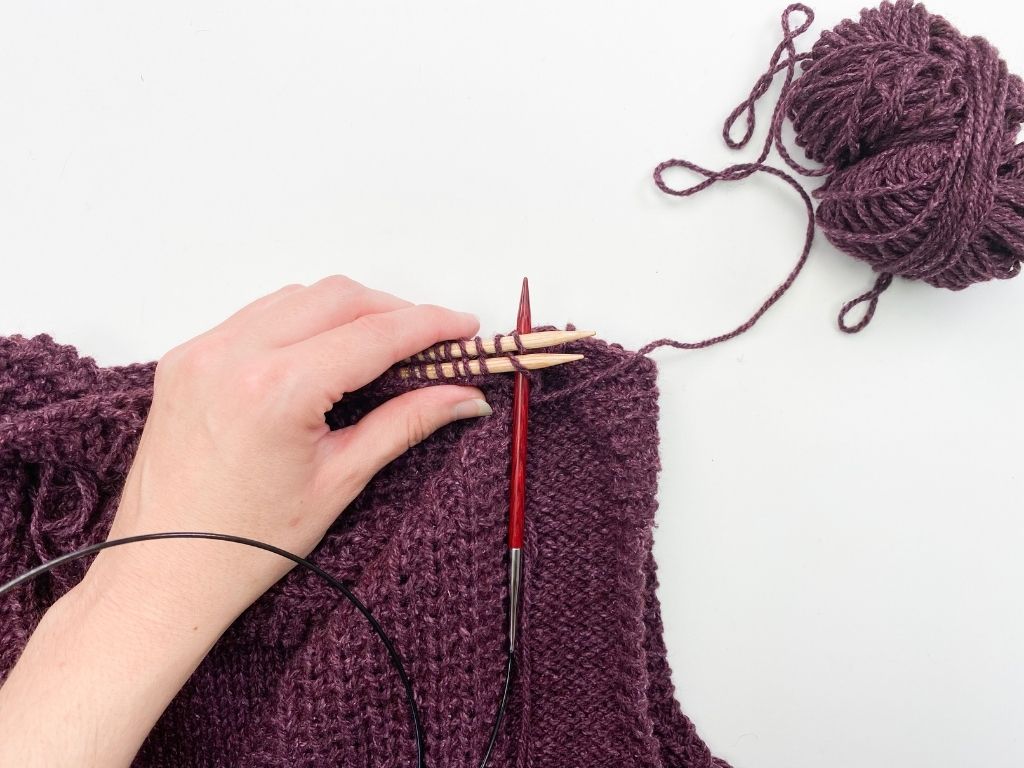
Step 5: Using yarn still attached to Right Back Shoulder, work the Three Needle Bind-Off technique to attach right shoulders together. Click here for video and photo tutorials of this technique.
Left Shoulders:
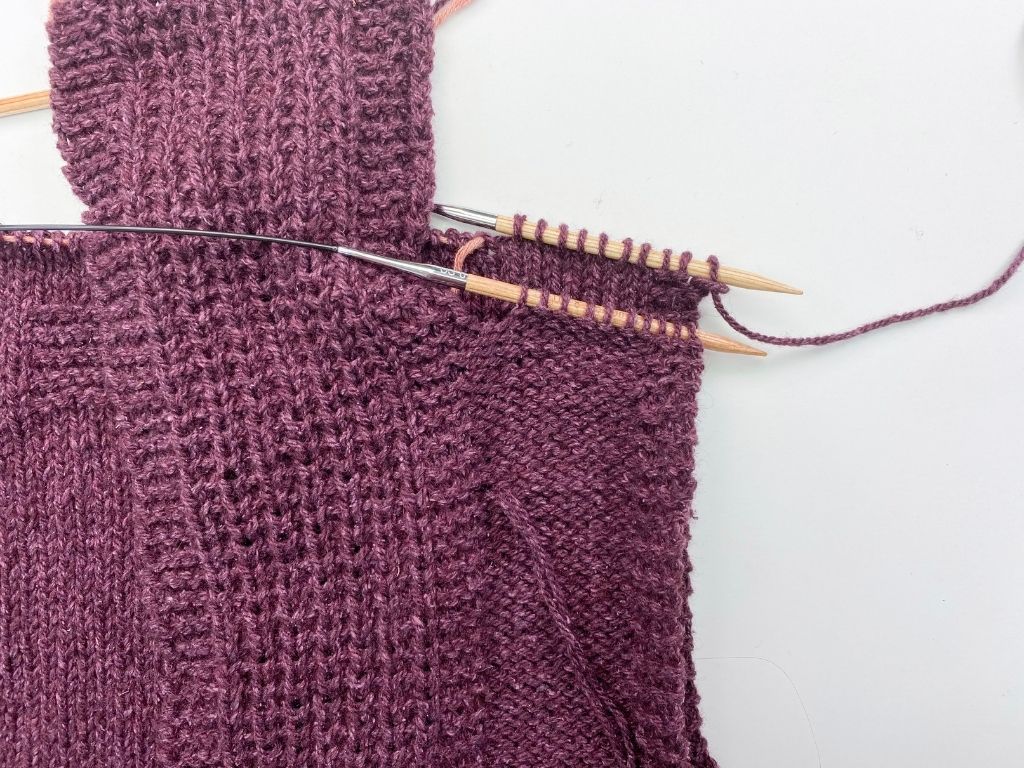
Step 1: Transfer sts held for Left Back shoulder onto one of US 8/5 mm circs (needle tip pointing toward outer shoulder).
Step 2: Then transfer sts held for Left Front shoulder onto other US 8/5 mm circ (with tip also pointing toward outer shoulder).
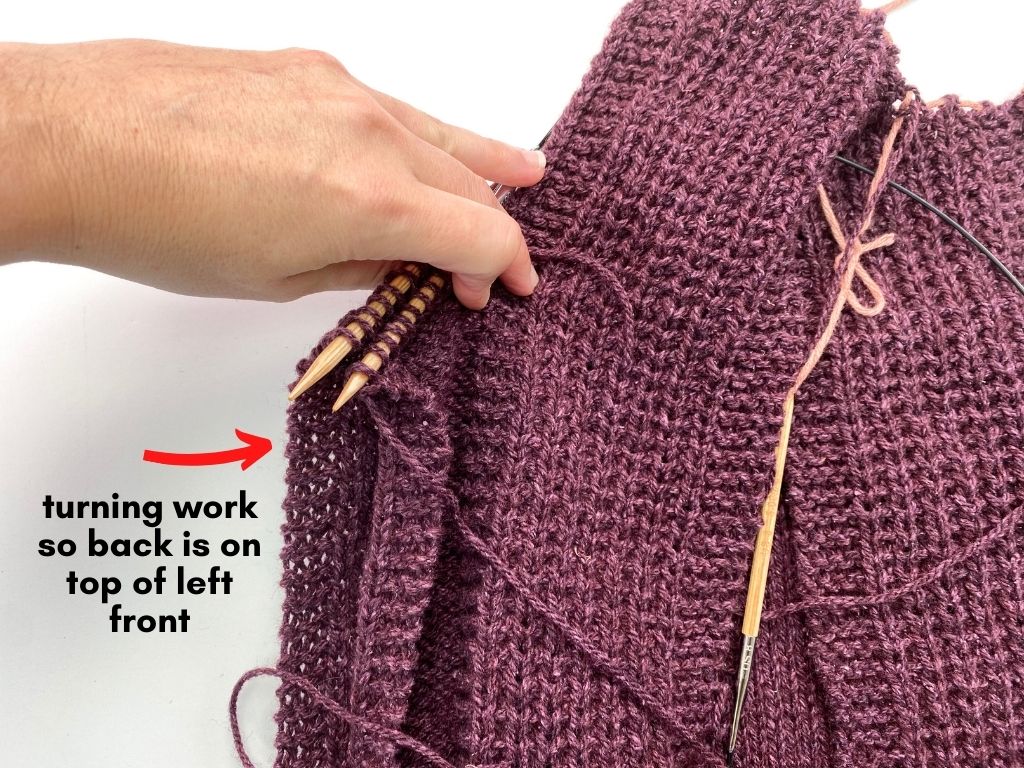
Step 3: Position work so RS’s are together (WS facing you), with Back on top of Front (you may need to flip work over in order to position it).
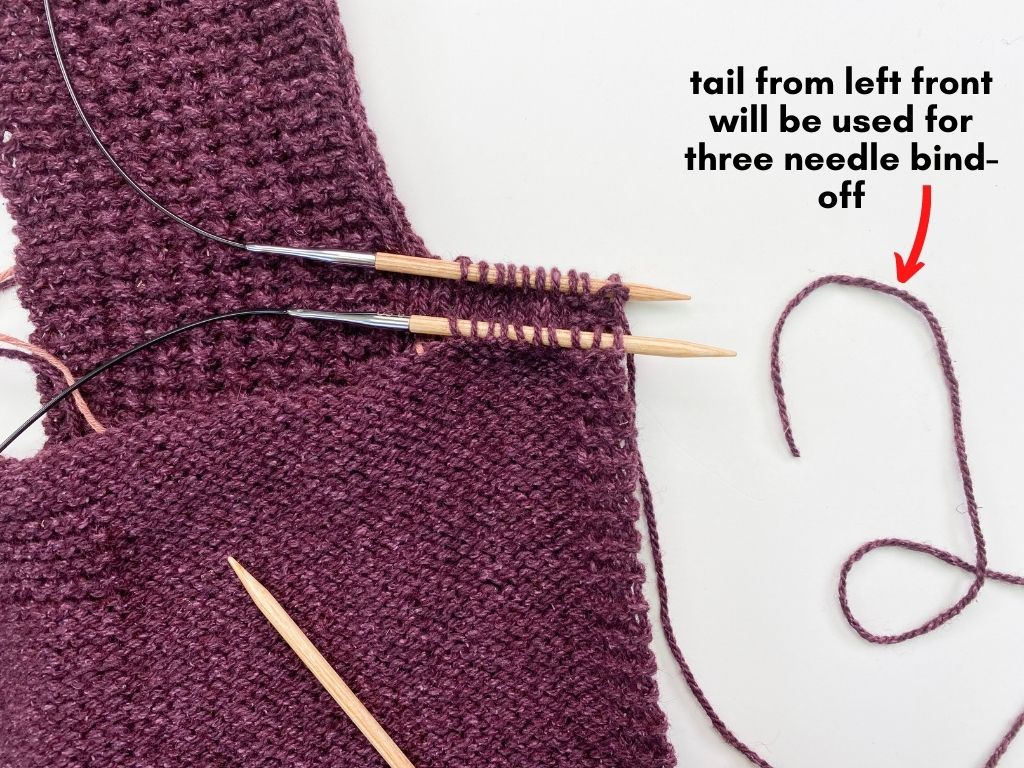
Step 4: Using long tail from Right Front, work the Three Needle Bind-Off technique to attach left shoulders together.
Join Front Panel Ends & Join to Back Neck
Once shoulders are joined together, you then move on to the Join Panel Ends section, and then you’ll attach the panels to the back of the neck. Here is a video lesson of both of these steps. Or scroll down to the see the step-by-step photo tutorial.
Video Lesson:
Step by Step Photo Tutorial
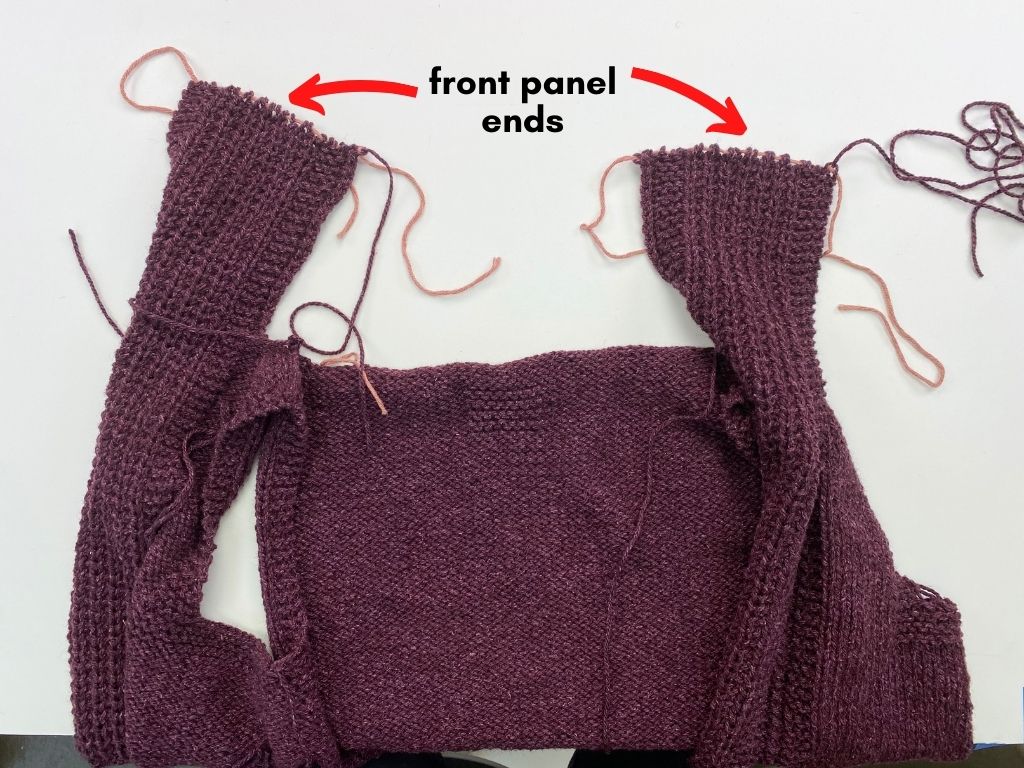
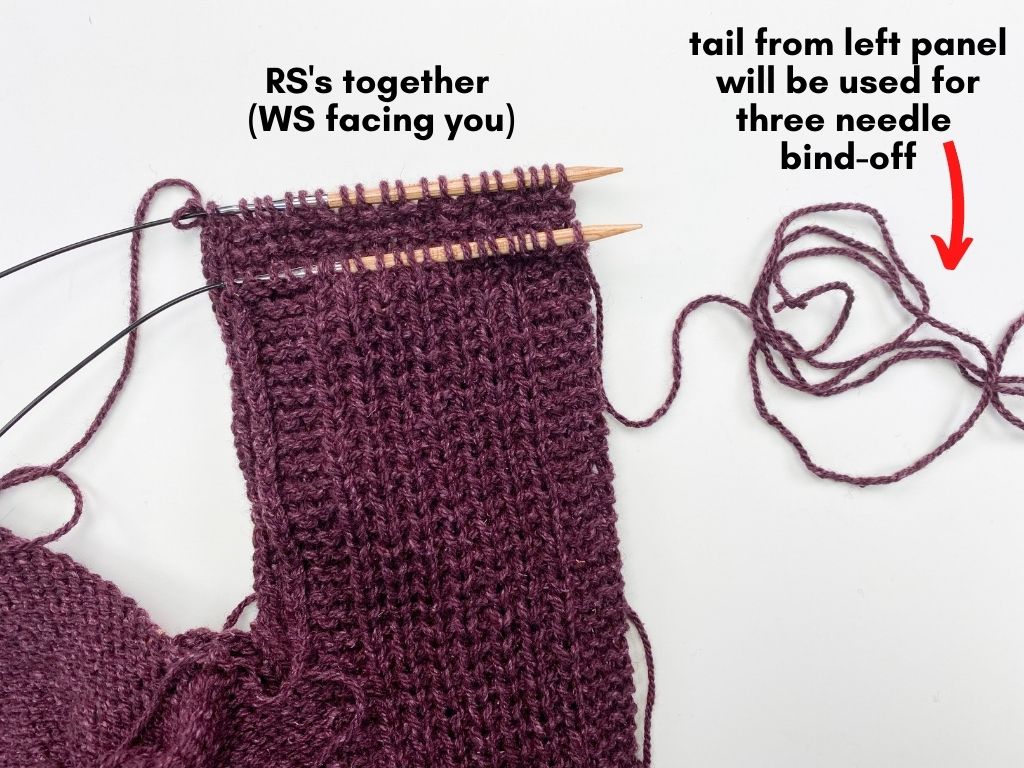
Step 1: Position work so RS’s of each Front panel are facing each other (WS facing you).
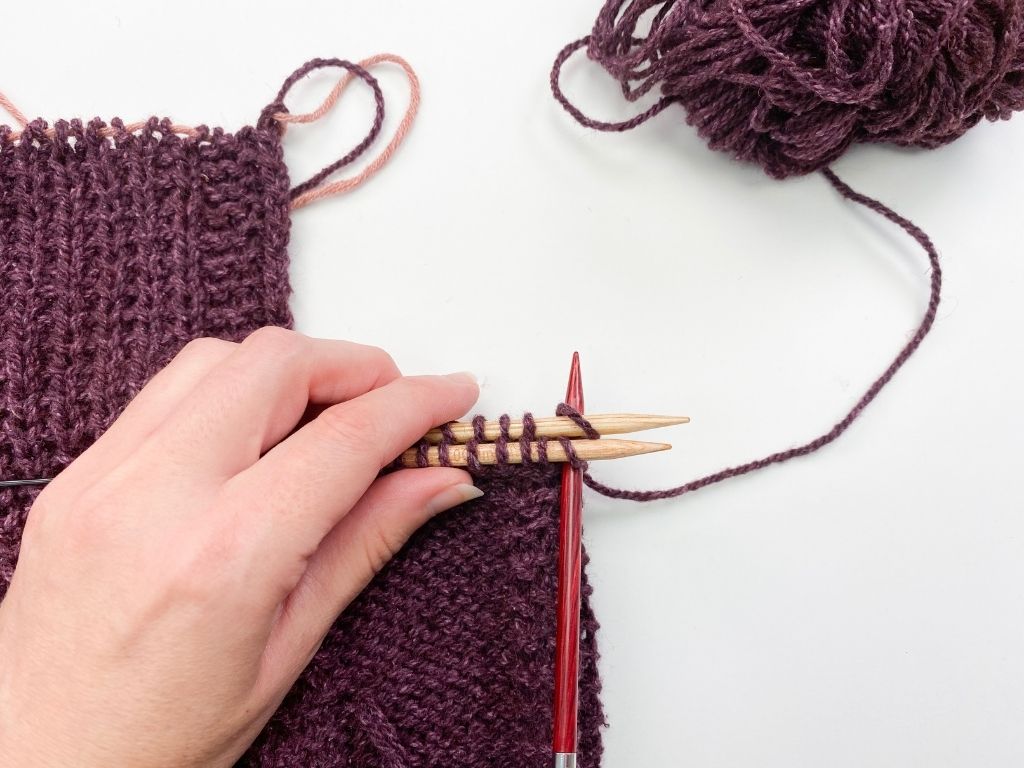
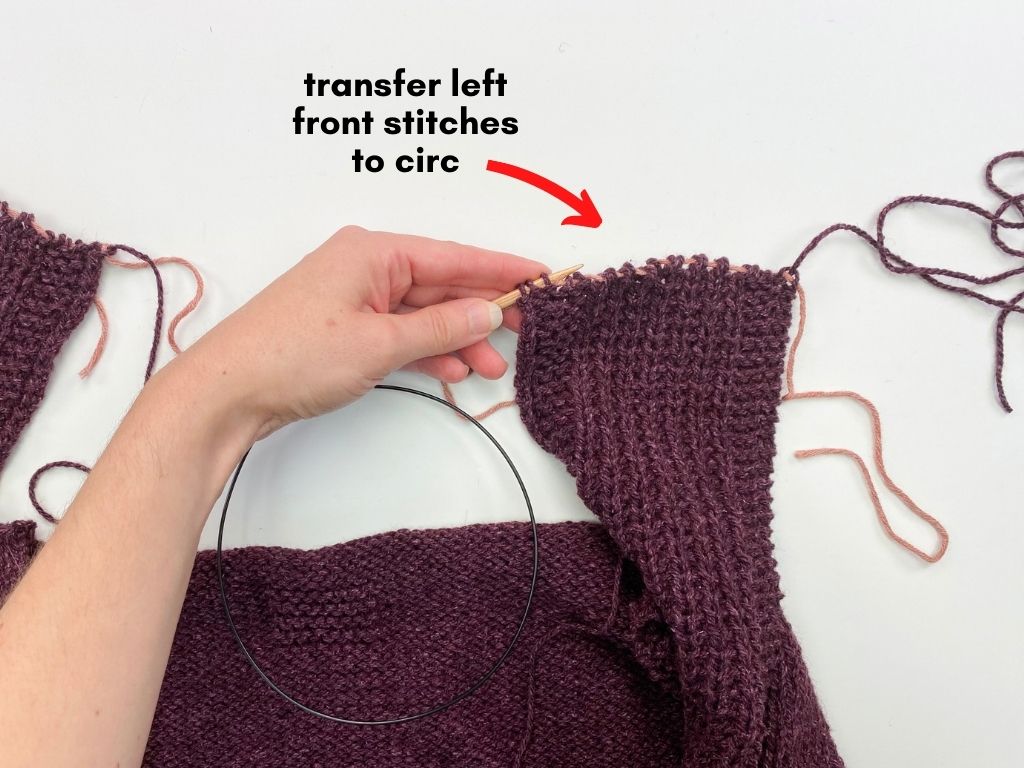
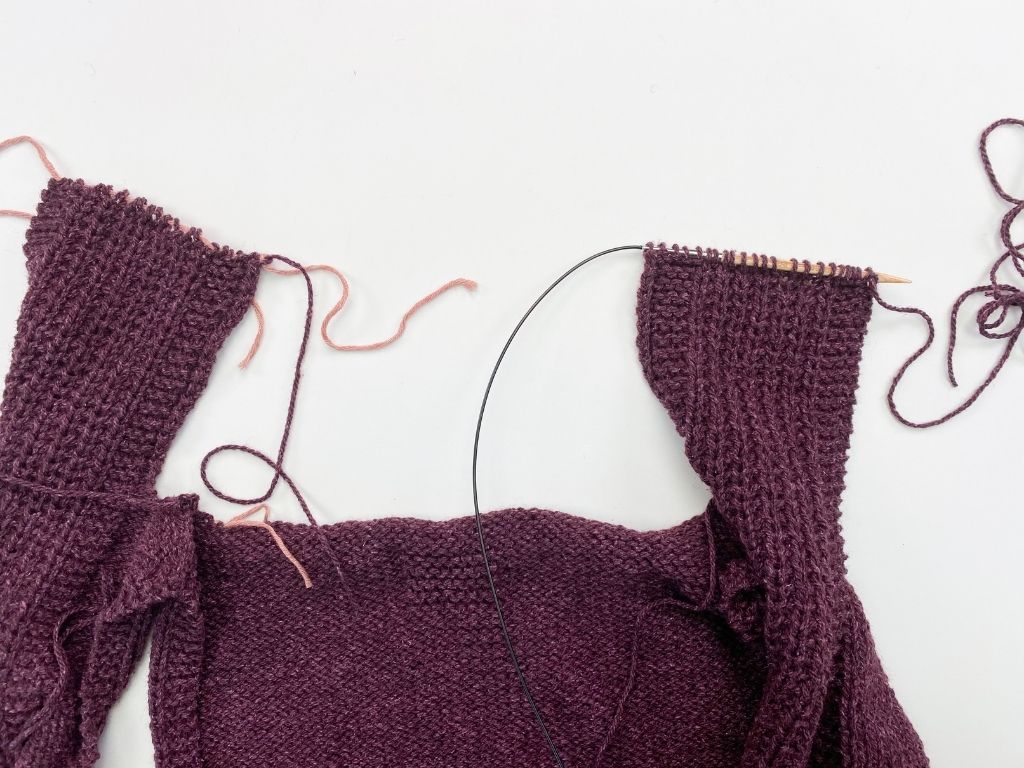
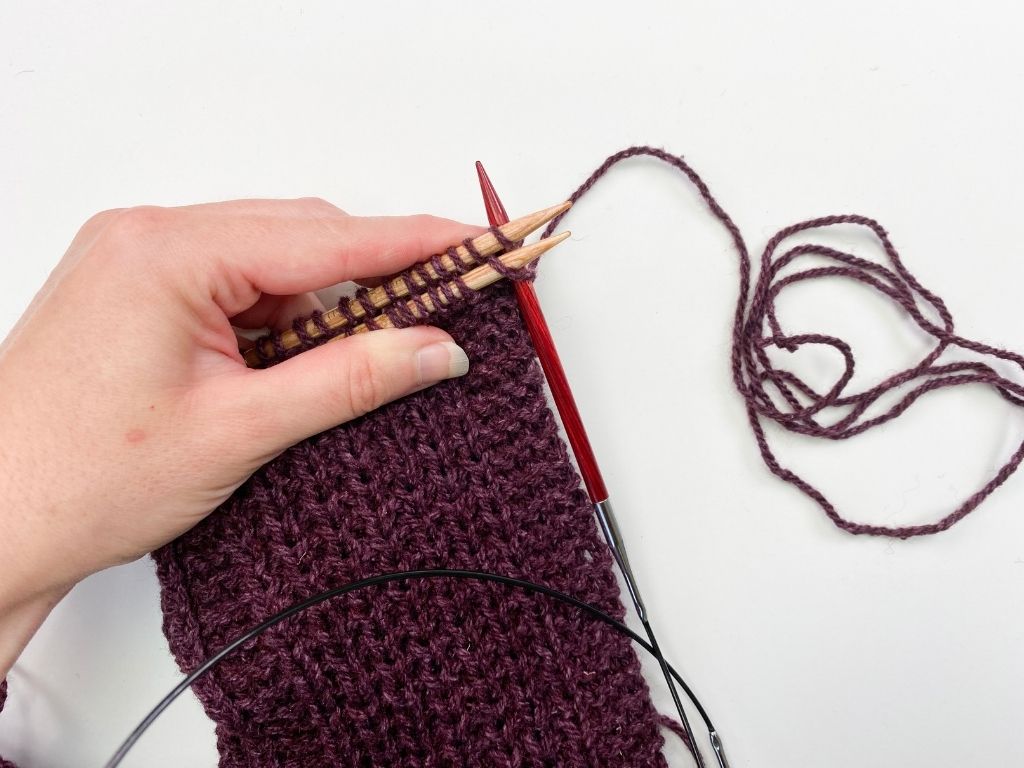
Step 2: Transfer sts held for Left Front panel onto one of US 8/5 mm circs.
Step 3: Then transfer sts held for Right Front panel onto other US 8/5 mm circ.
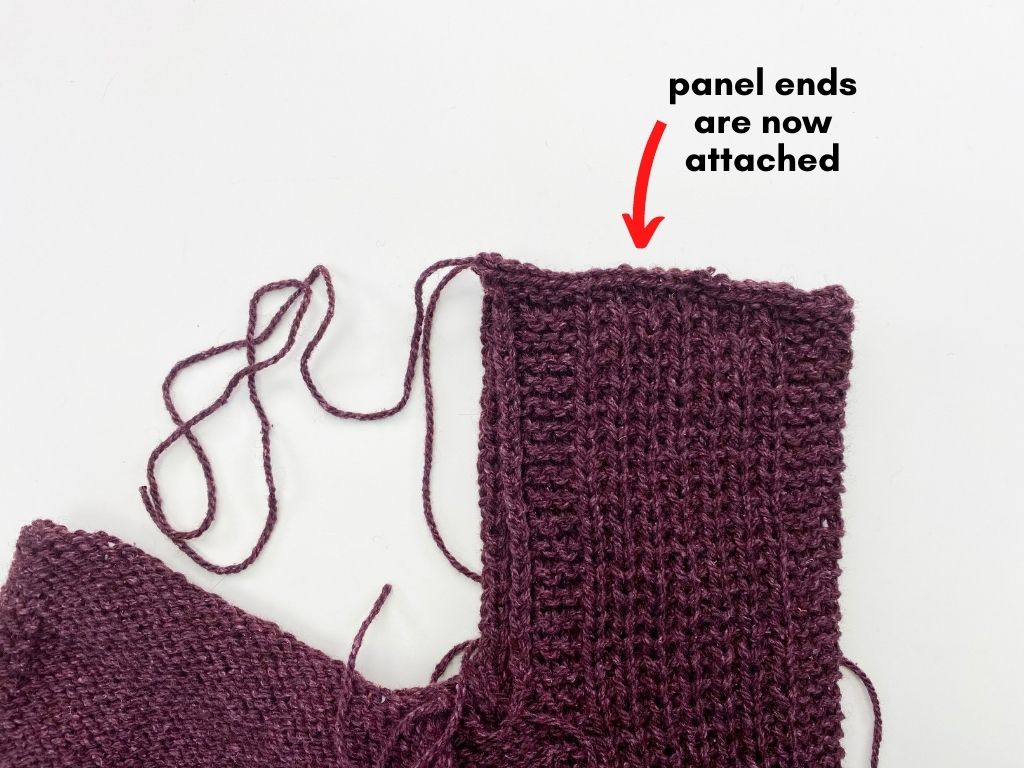
Step 4: Using long tail from Left Front panel, work the Three Needle Bind-Off technique to attach panel ends together.
Join Back Neck
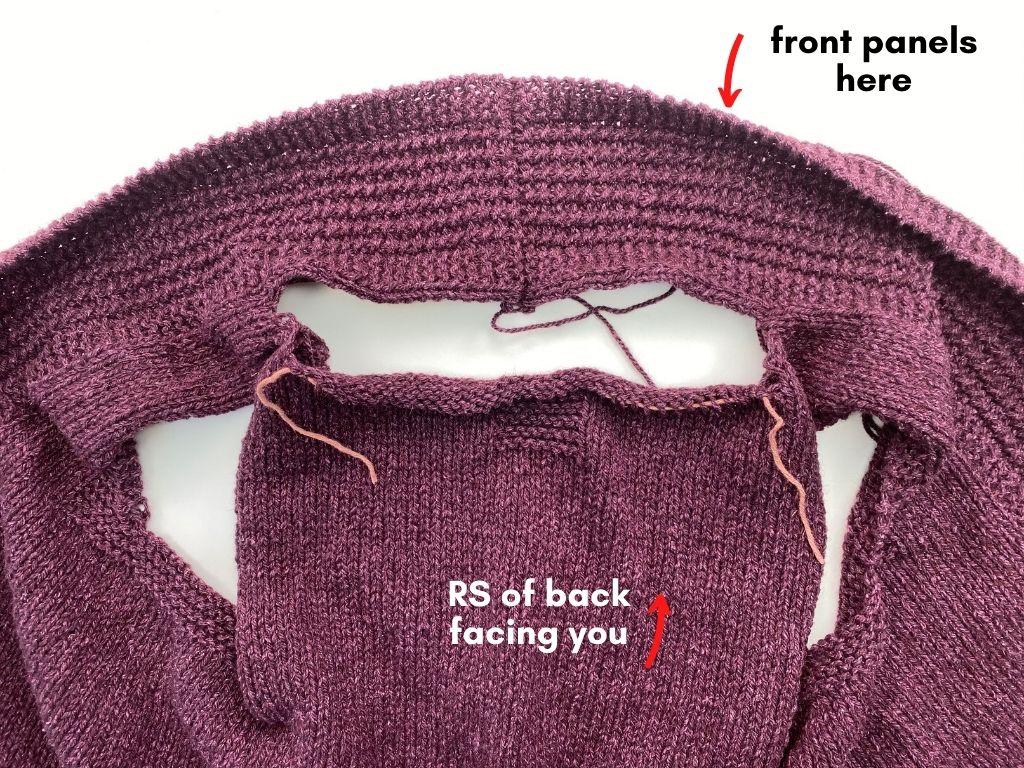
Step 1: Position work so RS of Back is facing you, and Front panels are above.
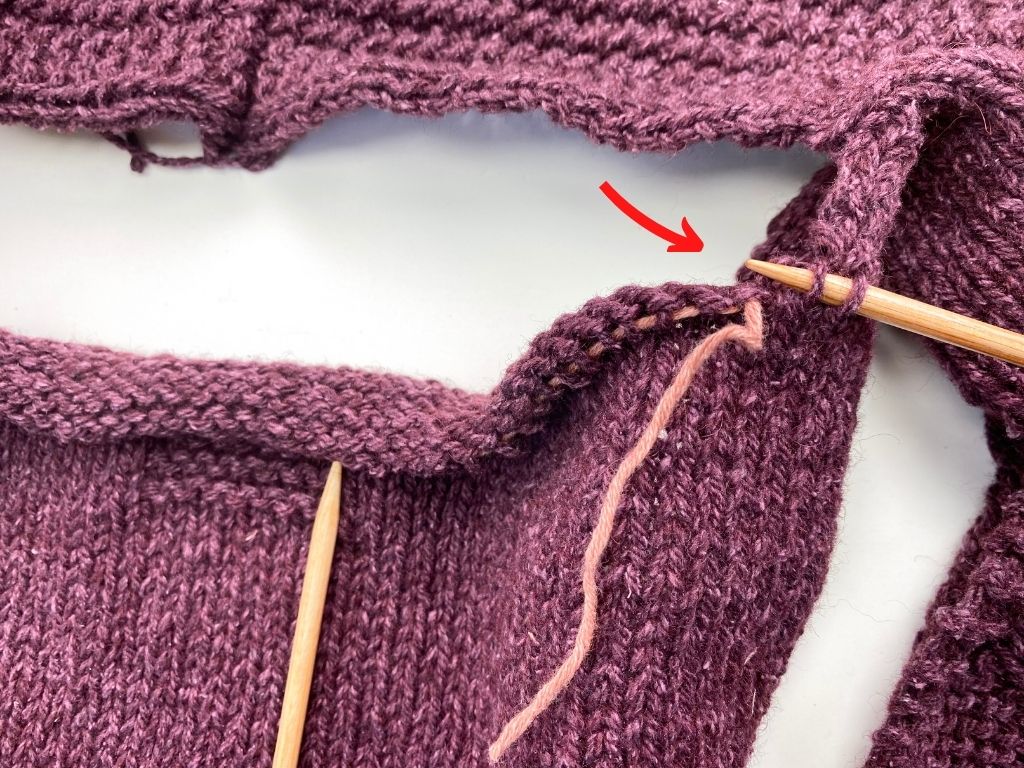
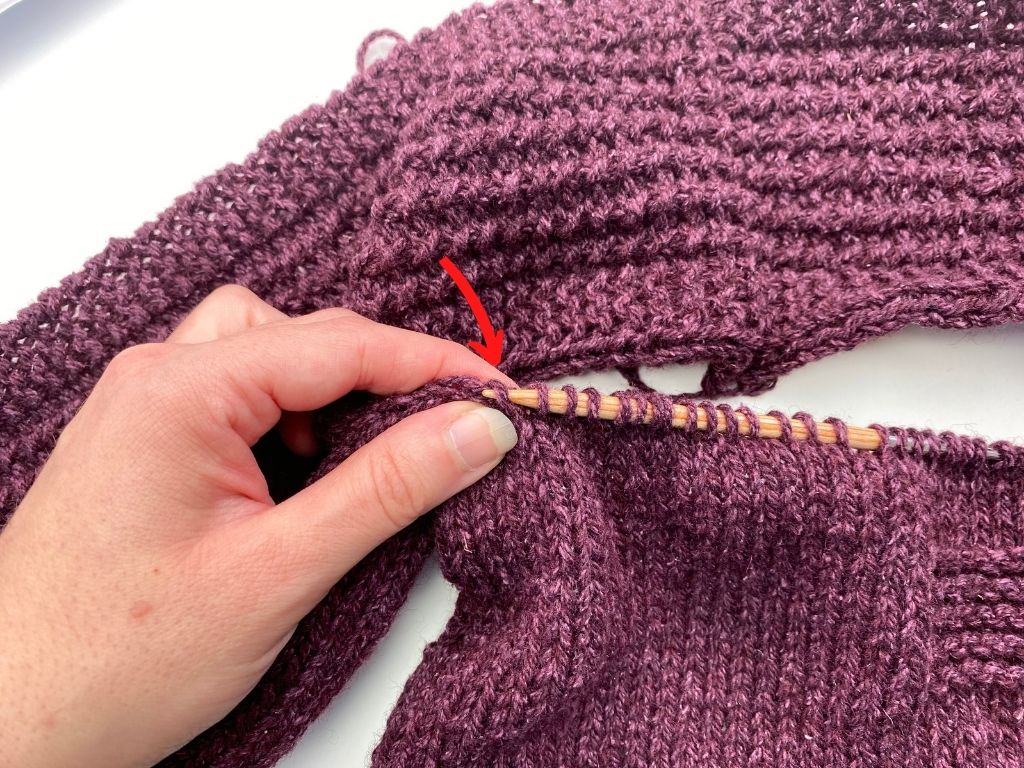
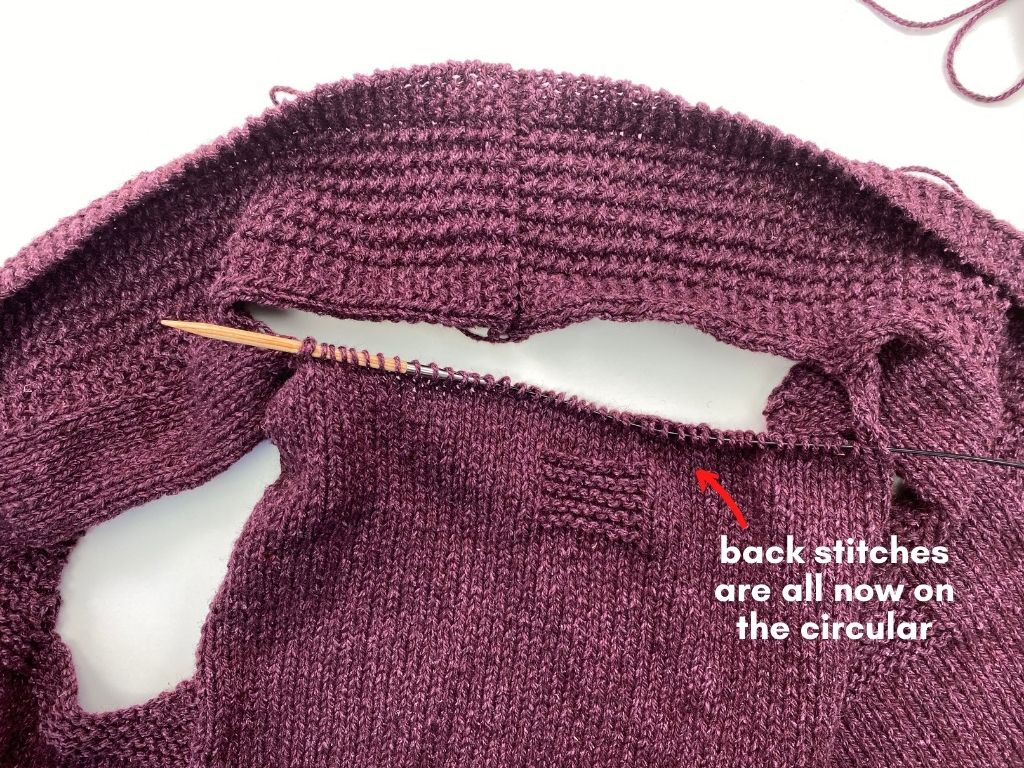
Step 2: Using one of US 8/5mm circs, pick up 2 sts to the right of the back neck sts (just pick up – do not knit them after picking up).
Step 3: Then transfer sts held for back neck onto the circ as well.
Step 4: Then pick up 2 sts to the left of the back neck
Step 5: Then turn work so that the Front panels are on top of the Back (RS facing you).
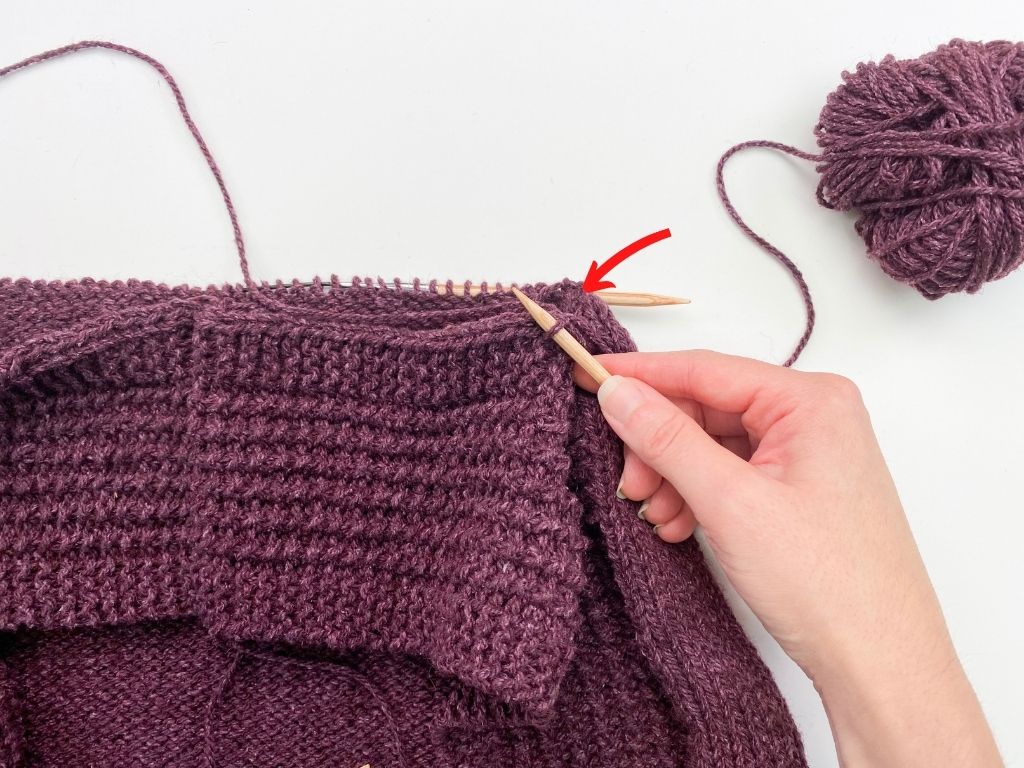
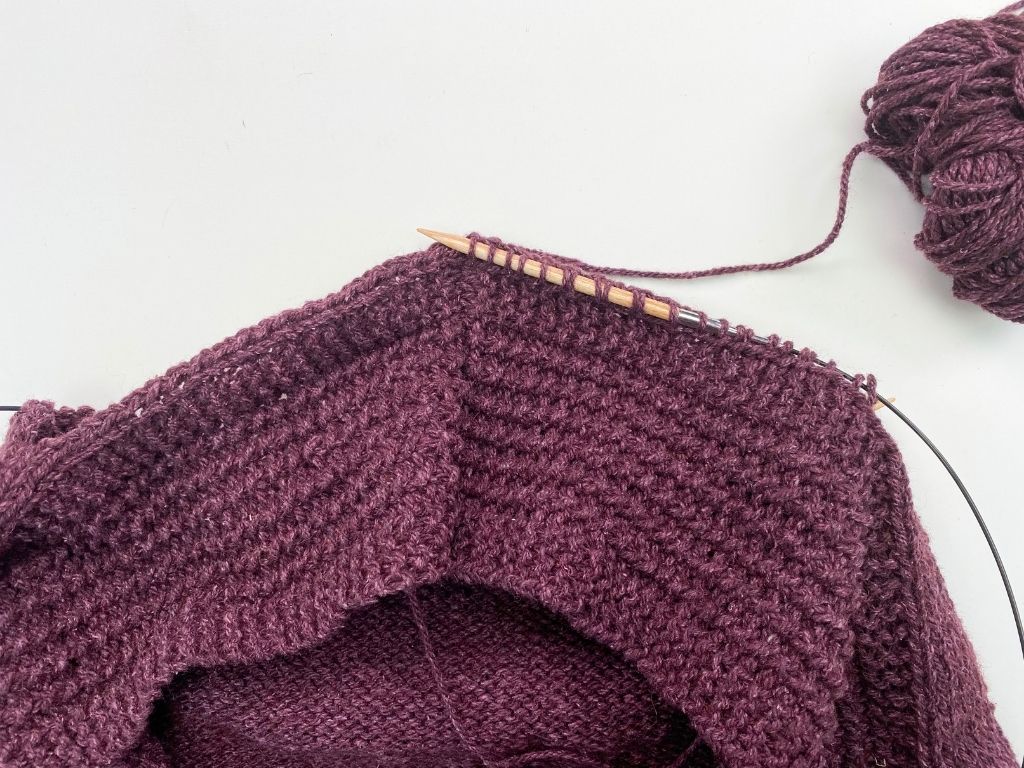
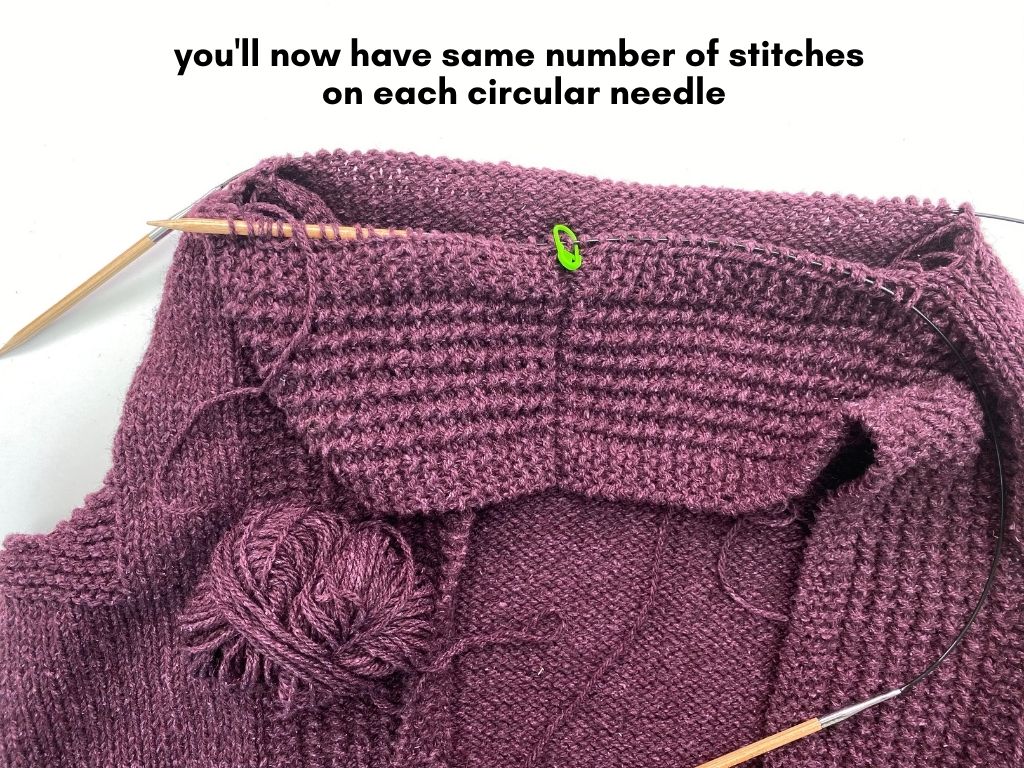
Step 6: With other US 8/5 mm circ, and beginning where Left Front panel meets shoulder, join yarn and pick up and knit 23 sts along Left Front Panel edge (to center where panel ends were joined) – this works out to approx 2 sts for every 3 rows.
Step 7: Then pick up and k 23 sts in the same manner along Right Front panel edge to shoulder (note: it might be helpful to place a removable marker before you pick up Right Front panel to make counting easier)
Step 8: Position work so RS’s are together and WS facing you (with Fronts on top of Back)
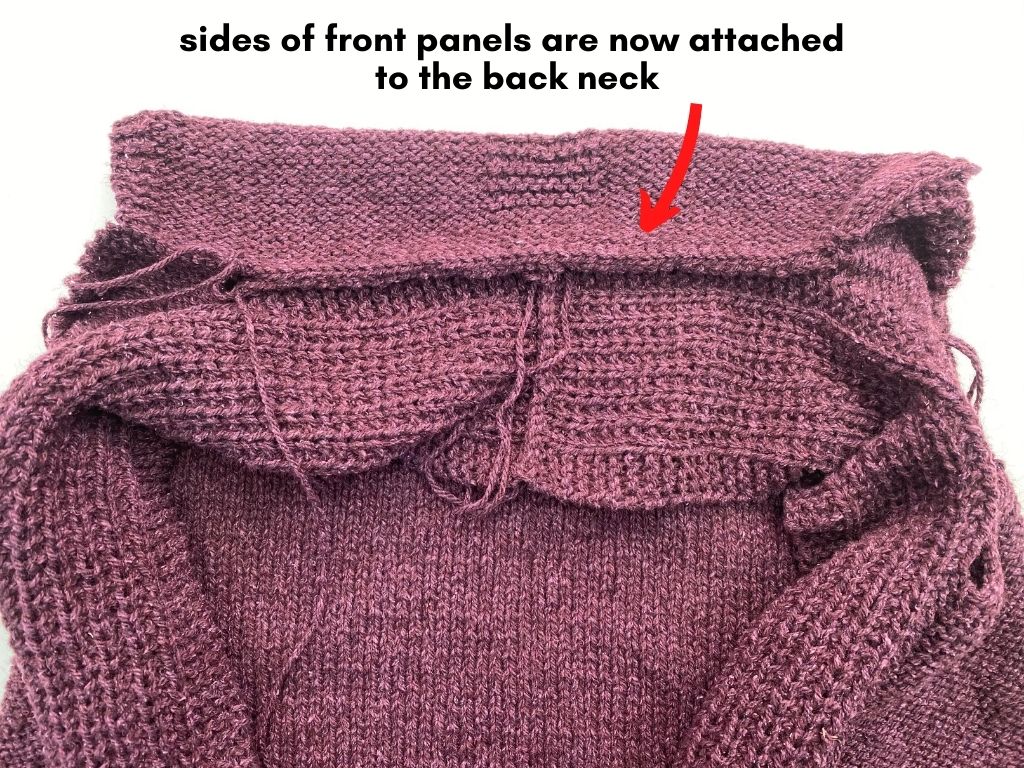
Step 9: With working yarn still attached to Right Front panel, work the Three Needle Bind-Off to attach Front panel sides to the Back Neck.
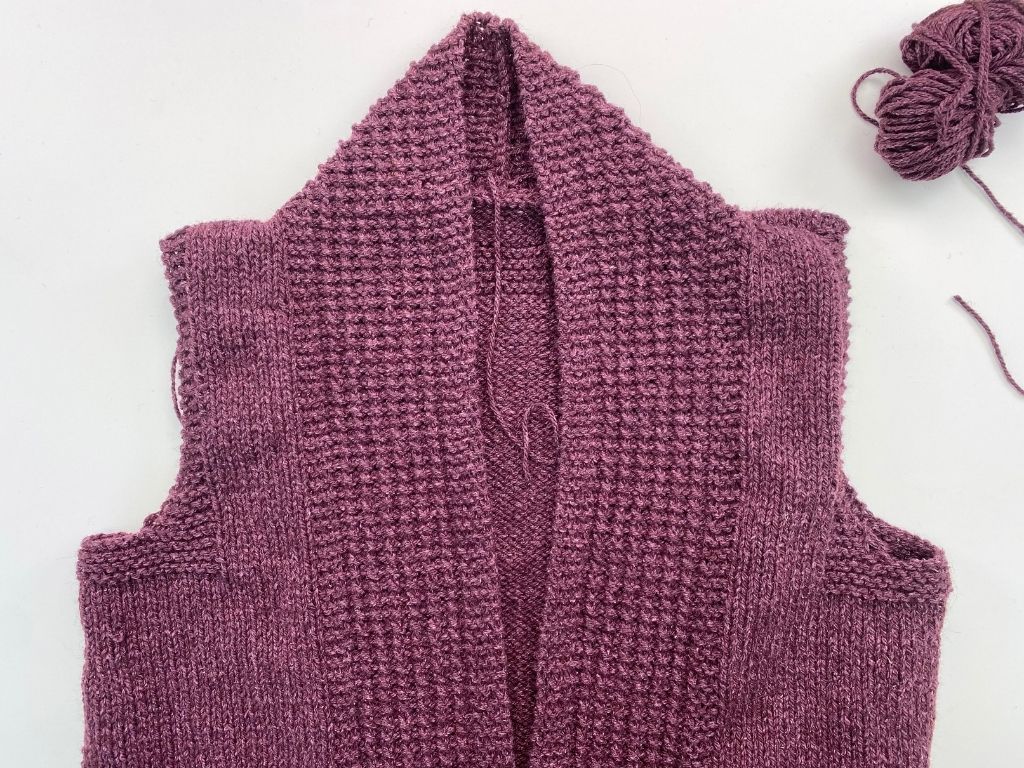
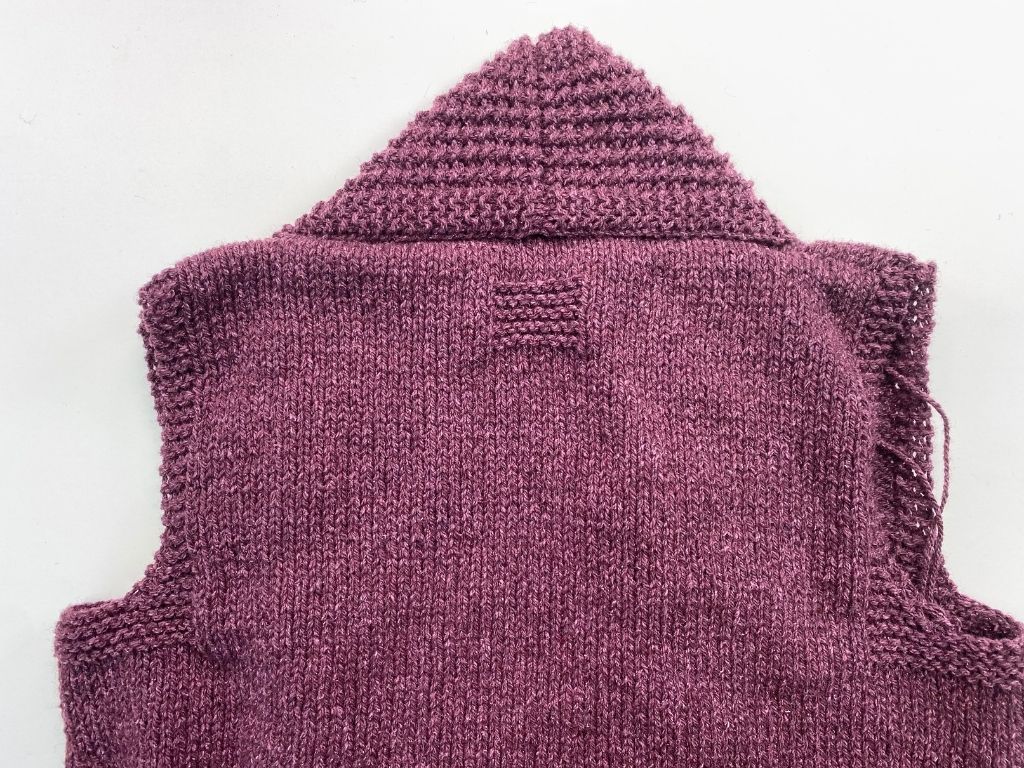
And when you flip everything around so RS if facing you again, here it what it all looks like!
Cinching up holes on either end
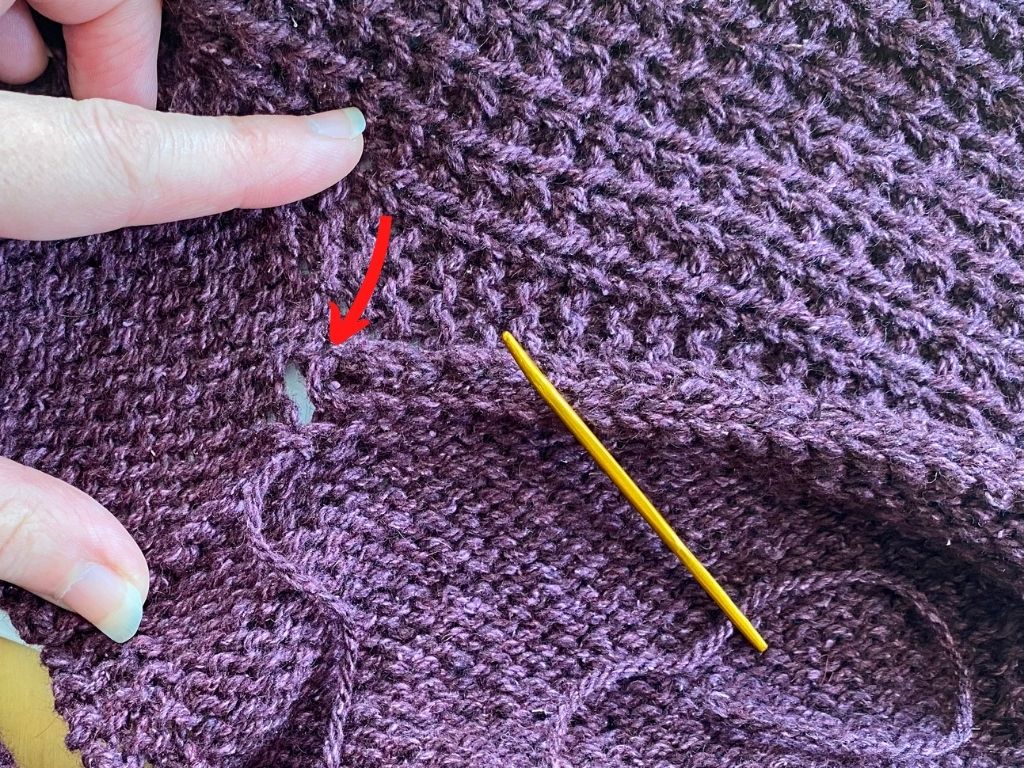
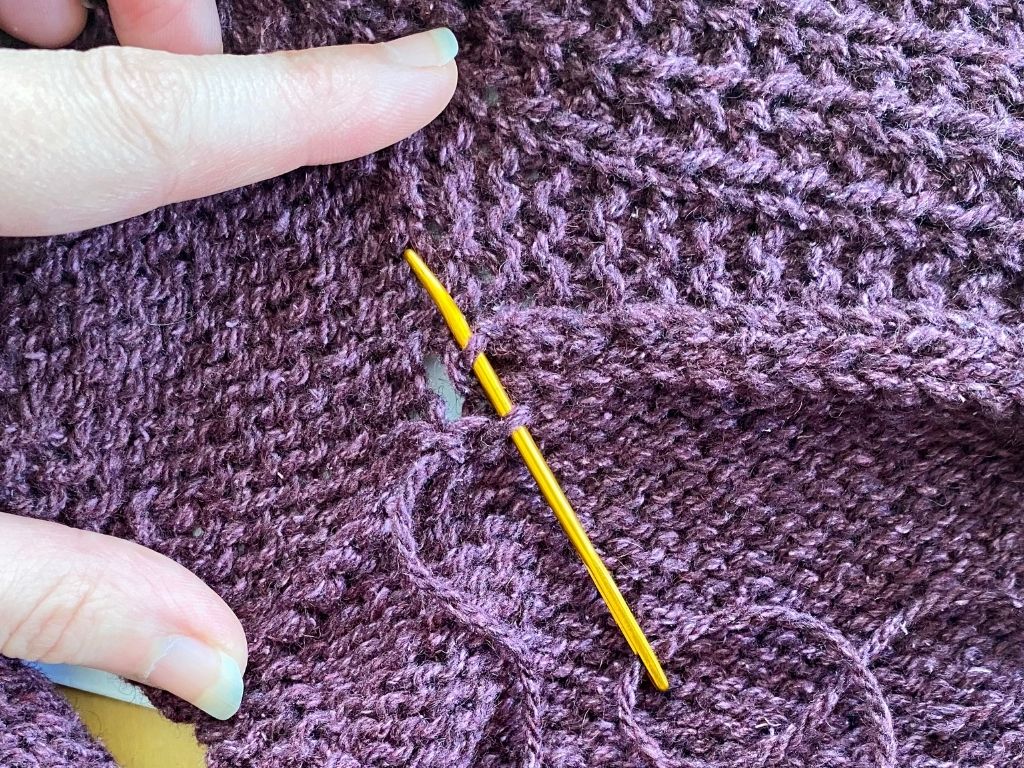
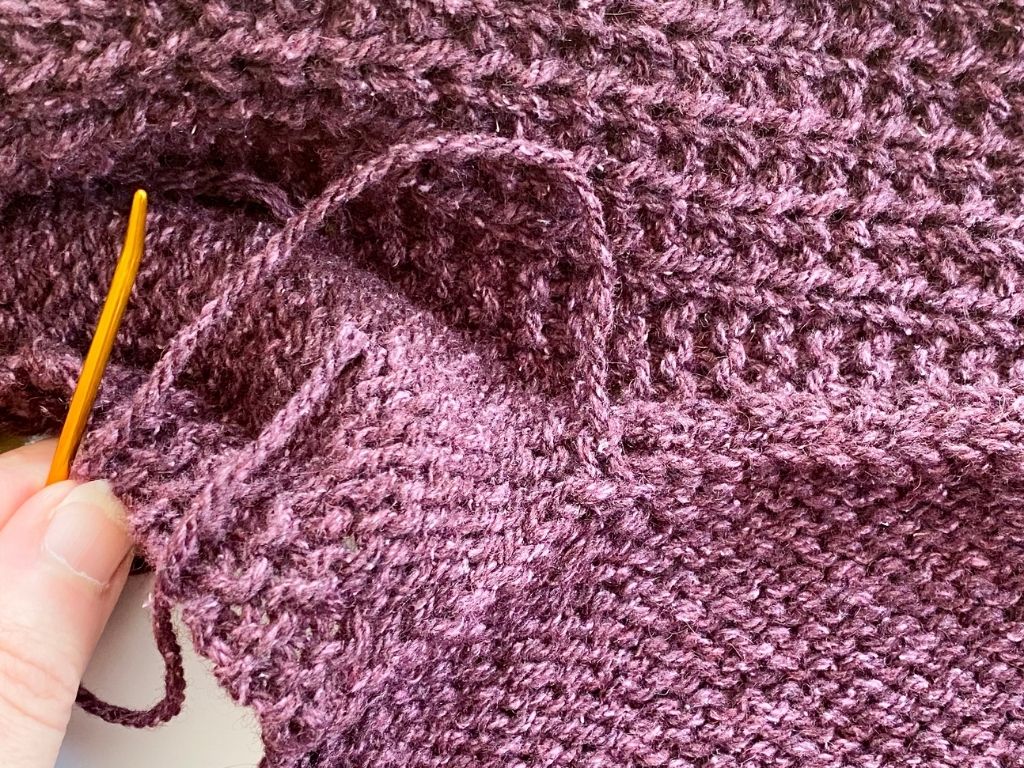
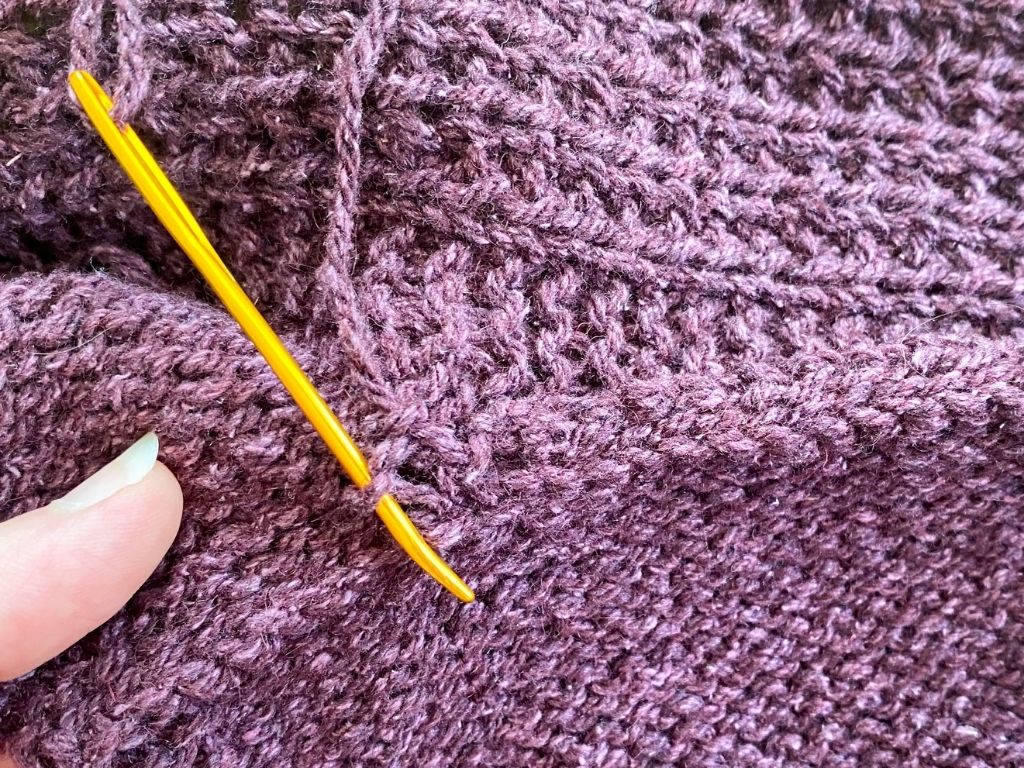
You will likely notice little holes at each end of where you attached the front panels to the back neck. Not to worry – this is to be expected and it’s easy to to cinch up! Let me show you how I did it on mine:
Here is where you can see the hole on the side:
Step 1: Thread your tail through a tapestry needle and insert needle into a bottom and top look on the right side of the hole. Then pull the needle through – you’ll see how even just that initial step really cinches up the hole nicely:
Step 2: Then insert the tapestry needle into a loop on the left side of the hole and then pull it through:

