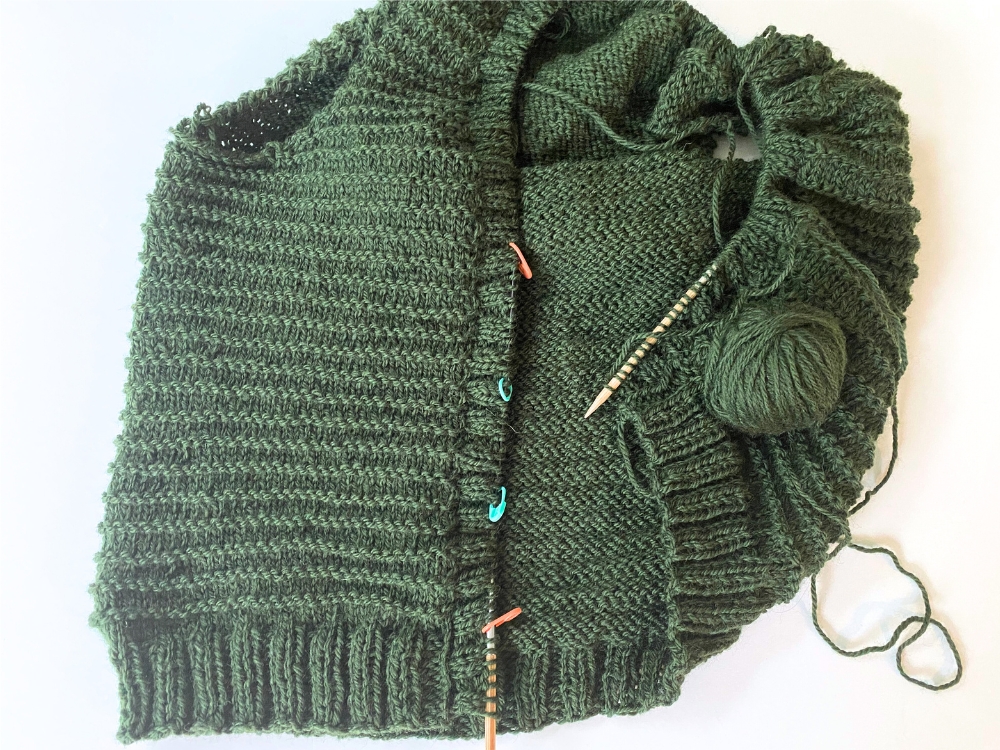
Woods Road Vest Front Bands
On this page you’ll find info and tutorials for working the Front Bands of your Woods Road Vest. I cover the topics of Picking-up and Knitting, working the Buttonhole Placement, and working the Buttonhole.
Picking–up and Knitting
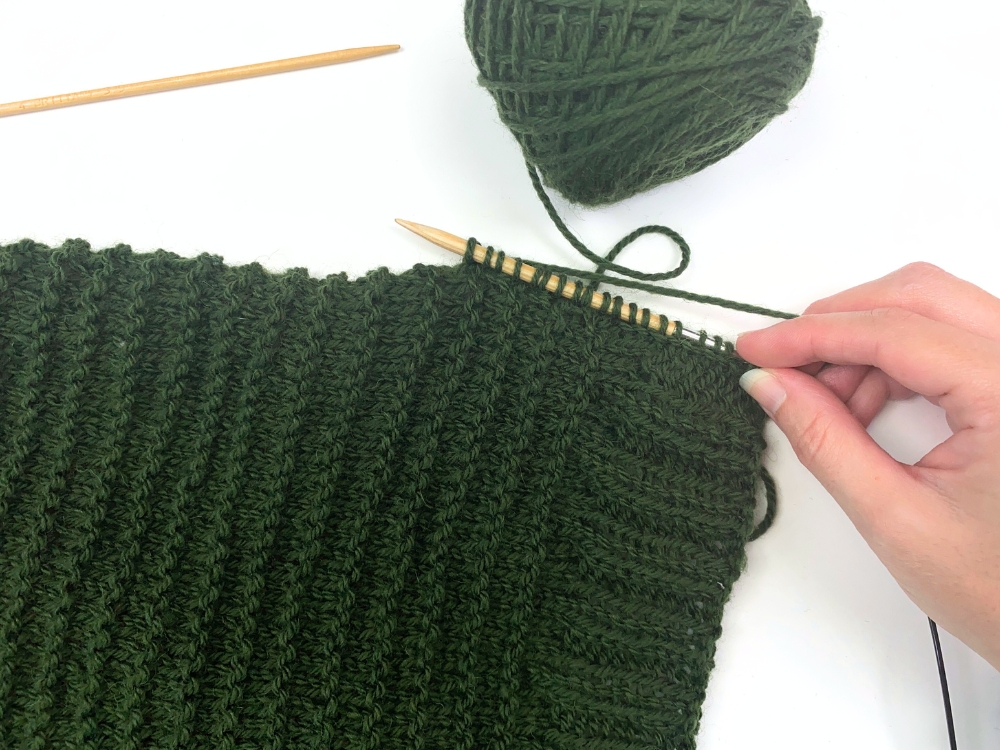
The first step of working the Front Bands is to pick-up and knit stitches. You’ll have a lot of stitches on the needles after this is complete. So your stitches will feel very scrunched up on the 32″ circular – it worked out fine for me but if you have a 40″ circular handy (or are using interchangeable circs with the option for a 40″ cable), then it may feel more comfortable to switch to that.
If you are brand new to picking-up and knitting, I highly recommend that you first watch my video lesson here. It’s for a different pattern but the concept is the same. I’ve provided some photos below for how I picked-up and knit in this particular vest, but the video is more helpful if you are a beginner.
The big difference between that video above and the Woods Road Vest is that, in this vest, we have worked a garter ridge stitch pattern. And so that means you’ll be picking-up and knitting not just in stockinette stitch fabric (like in the video link) but also in that garter ridge. There are lots of different methods for doing this, but included in the photos is how I chose to handle the garter ridge in my particular sample.
Picking-up in the bottom hem ribbing:
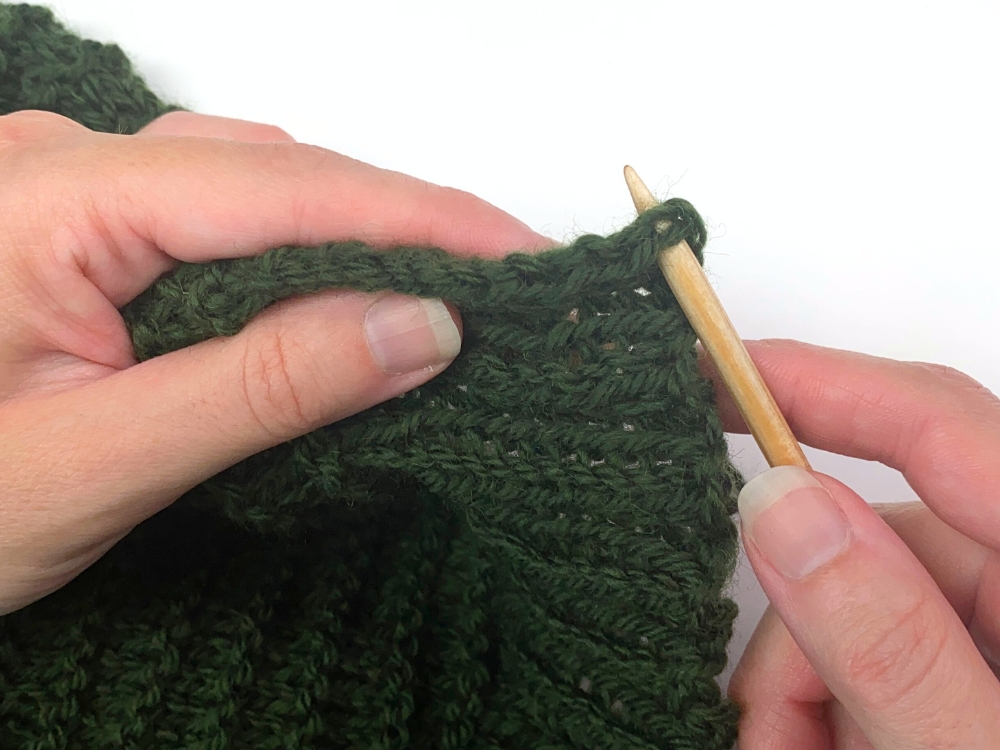
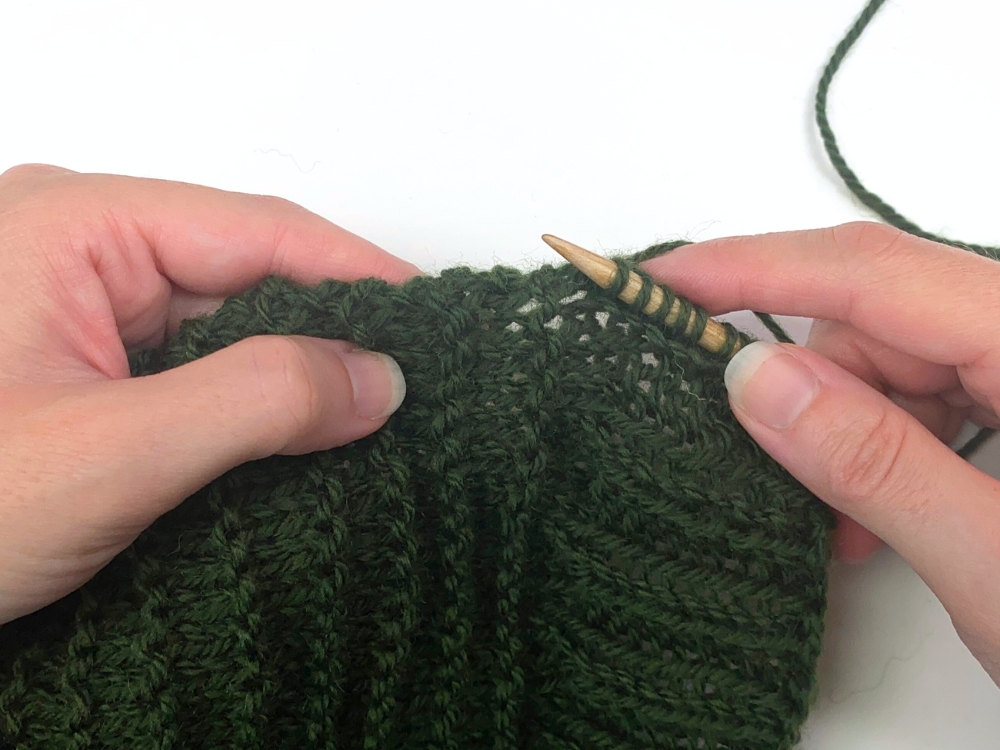
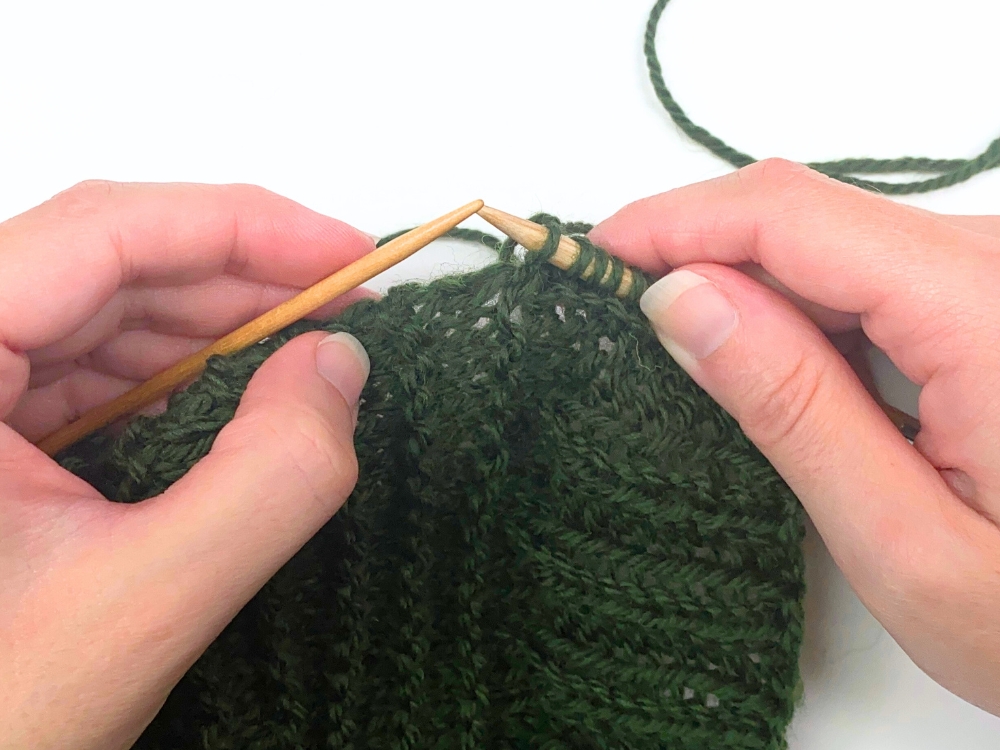
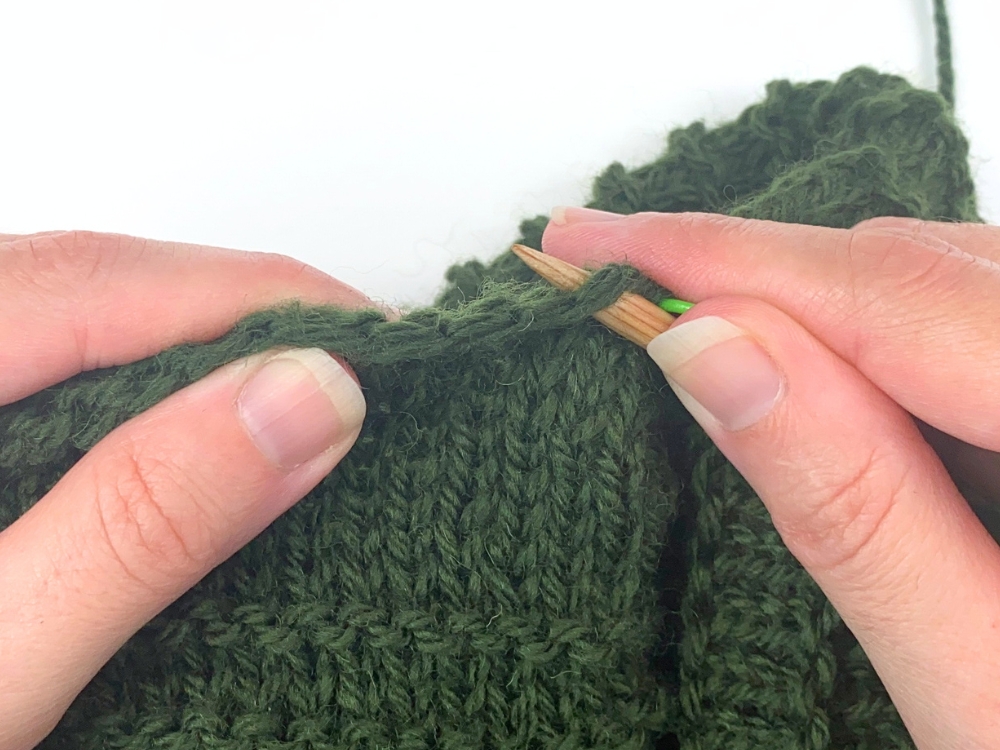
The photo below shows how I picked-up the first stitch on at the bottom of the Right Front. As you can see, I like to insert my needle tip into both legs of the stitch (it looks like a “V”) and not along the very edge – I like to pick-up into the column of V’s next to the edge.
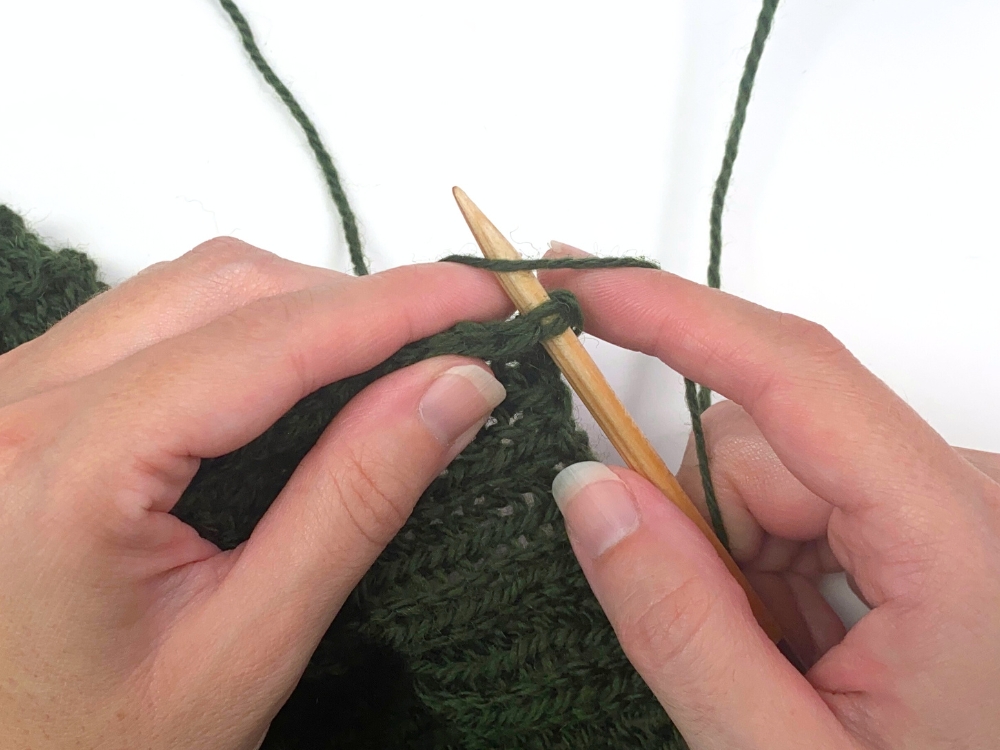
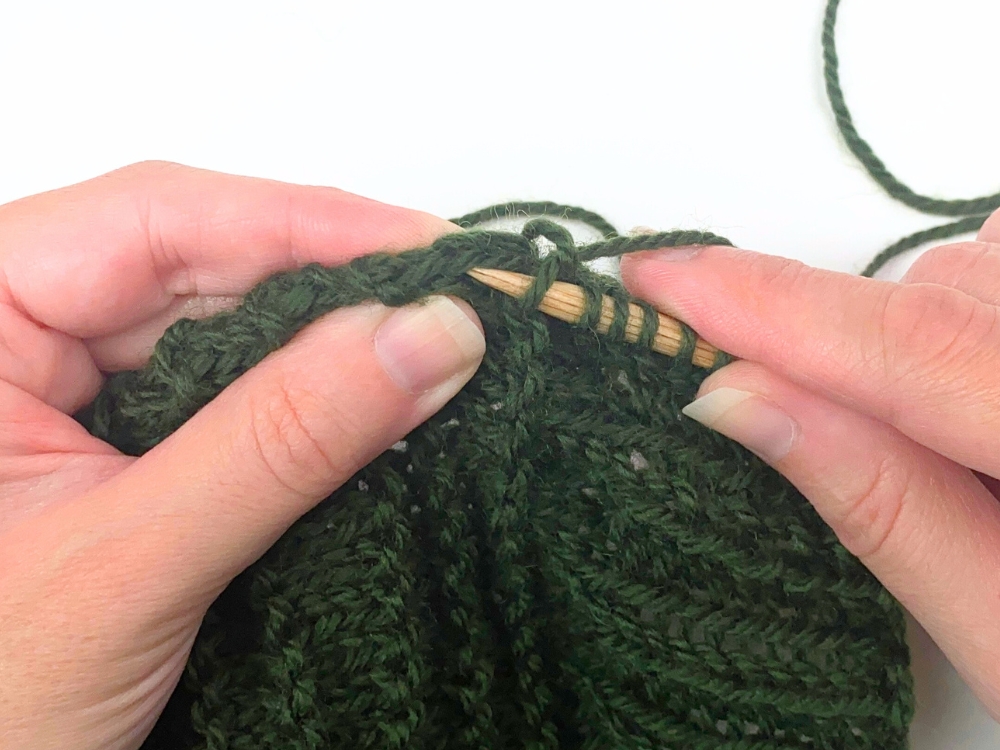
Once I’ve inserted my needle into that first “V”, I drape the yarn over the top of the needle like this…
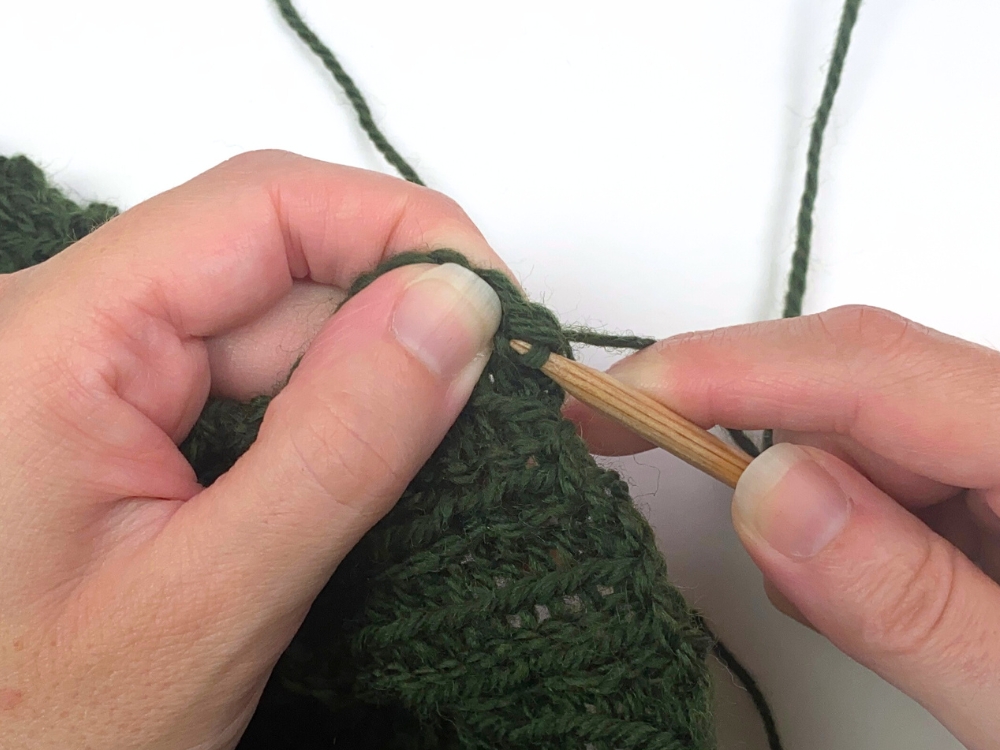
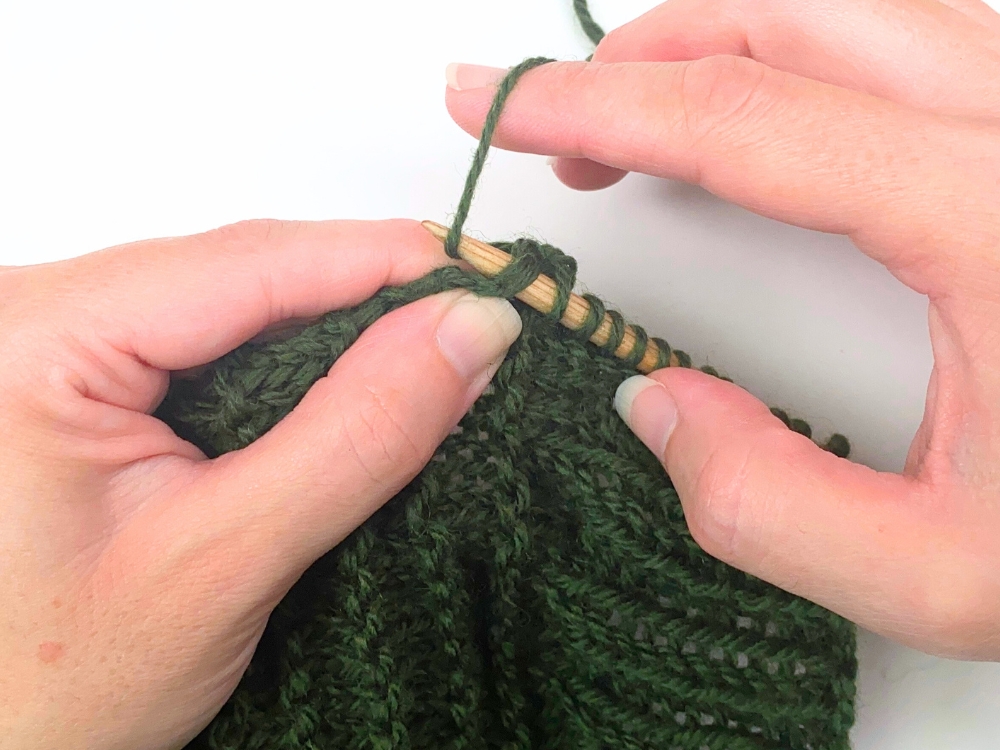
…And then knit the stitch.
Then I’ll pick-up and knit the remaining sts in my ribbing, making sure to pick-up 3 sts for every 4 rows. And each time, I go into both legs of the “v” stitch.
Picking-up in the Garter Ridge stitch pattern:
Once you’re in the Garter Ridge stitch pattern, you’ll have both stockinette sts to pick-up as well as a garter ridges. The photos below show I handled this.
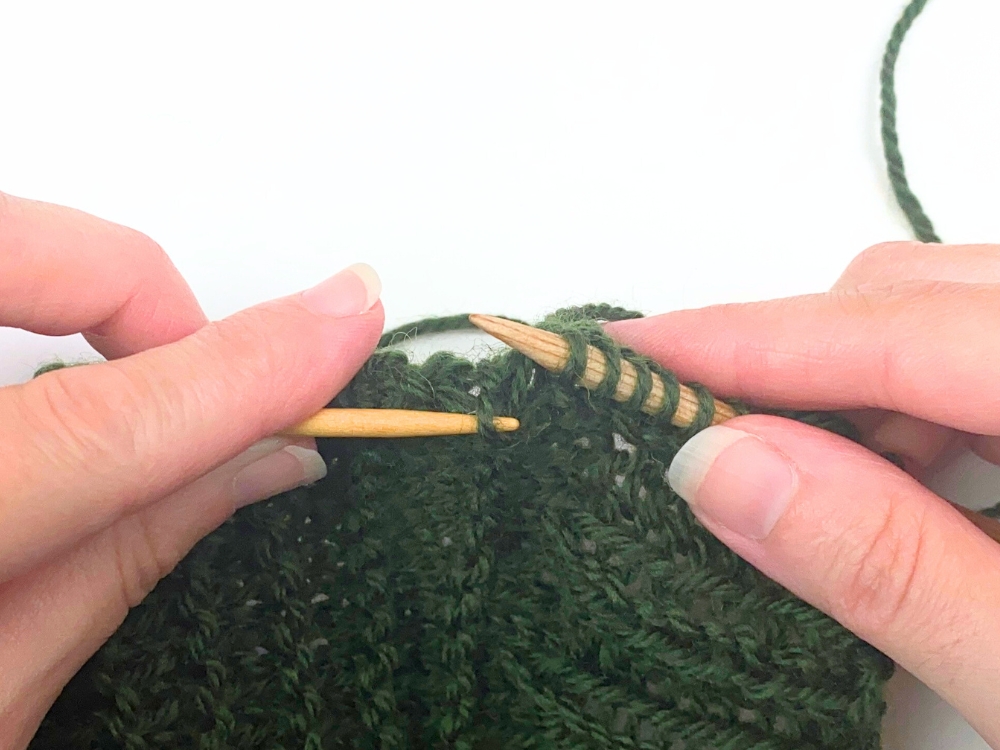
When I pick-up into a ridge, I use a spare, skinny double-pointed-needle (DPN) to assist me. I hold the DPN in my left hand and insert it into the ridge like this:
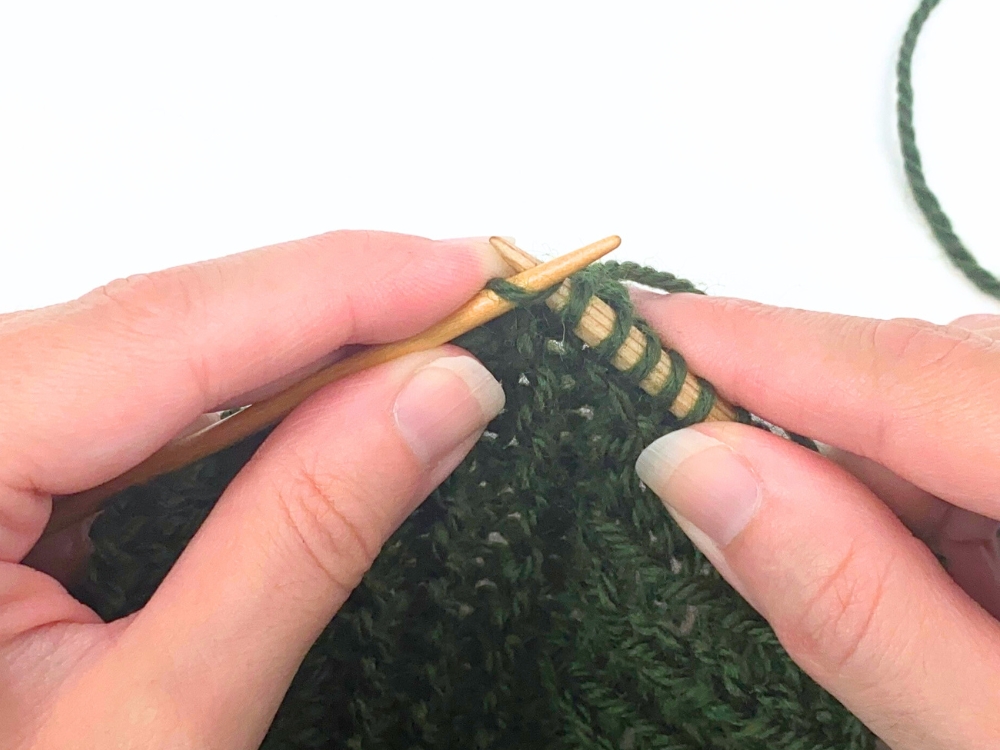
Then, I insert my right needle into this stitch on the DPN as if to knit…
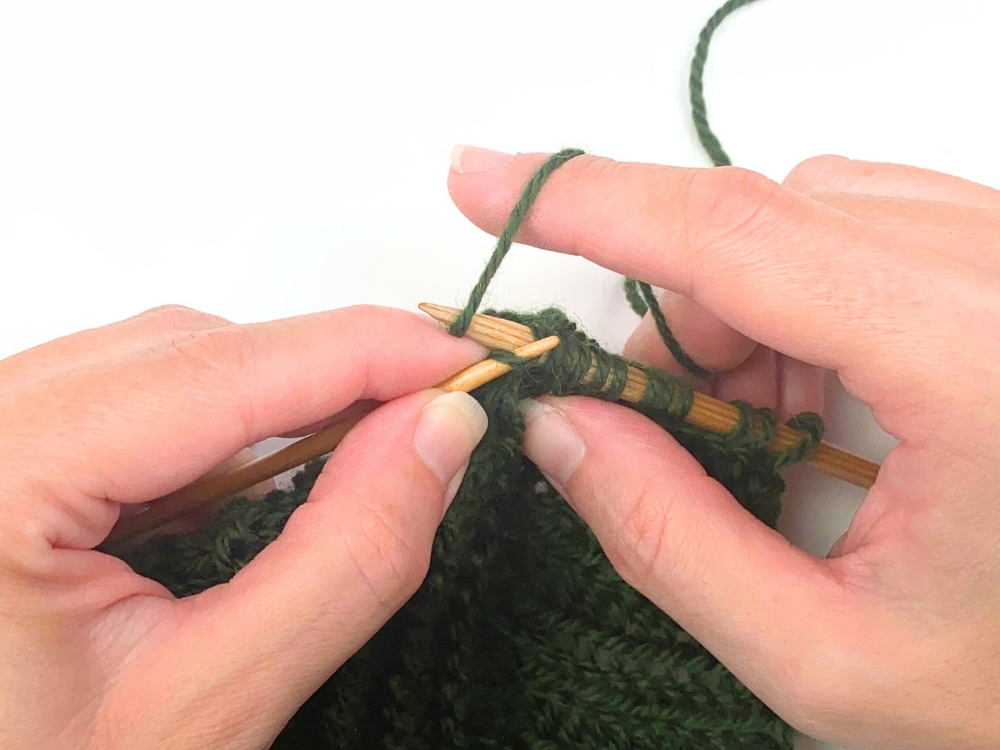
…wrap the yarn around the right needle and knit this stitch.
Then, I will skip the “V” right above the ridge and pick-up and knit the next 2 “V’s” in a row. Here is how I pick-up and knit a regular stockinette stitch “V”. I insert my right needle into both legs of the “V”…
Then wrap the yarn around my right needle and knit the stitch.
Then I’ll do the same thing with the next “V” right above it. And then I’ll pick-up and knit the garter ridge. Then I’ll just repeat that over and over again until you get to the top of the shoulder, making sure the total sts you have picked-up is a number that is divisible by 4 (if you need to stray from the 3 sts for every 4 rows ratio at the end to make this happen, that is ok).
Picking-up in the Back Neck:
When you reach the top of the shoulder, it’s now time to pick-up and knit the Back Neck sts. In this area, you’re picking-up into the stitches you had cast-on for your Back Neck. Note: for some sizes, you’ll be skipping 2 of the Back Neck cast-on sts – if your size is one of these, just skip 1 towards the beginning and 1 towards the end.
When picking-up and knitting into a cast-on edge, here is how I like to do it. I insert my needle into both legs of the sideways “V” that you see along your Back Neck. Here is what it looks like:
Working Trim – Buttonhole Placement
Below are some visuals to help illustrate the buttonhole placement step of the process. You’ll need locking stitch markers for this process.
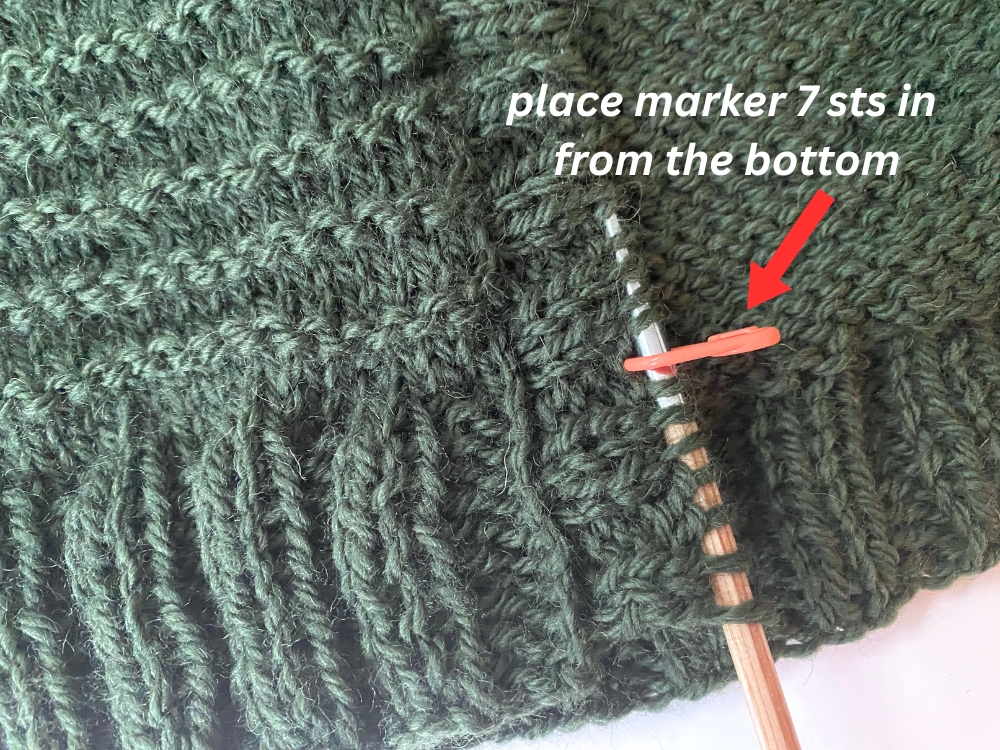
First, you will place a locking marker 7 stitches in from the bottom of the Right Front (again, “Right” and “Left” from the perspective of wearing the garment). Here is what that looks like:
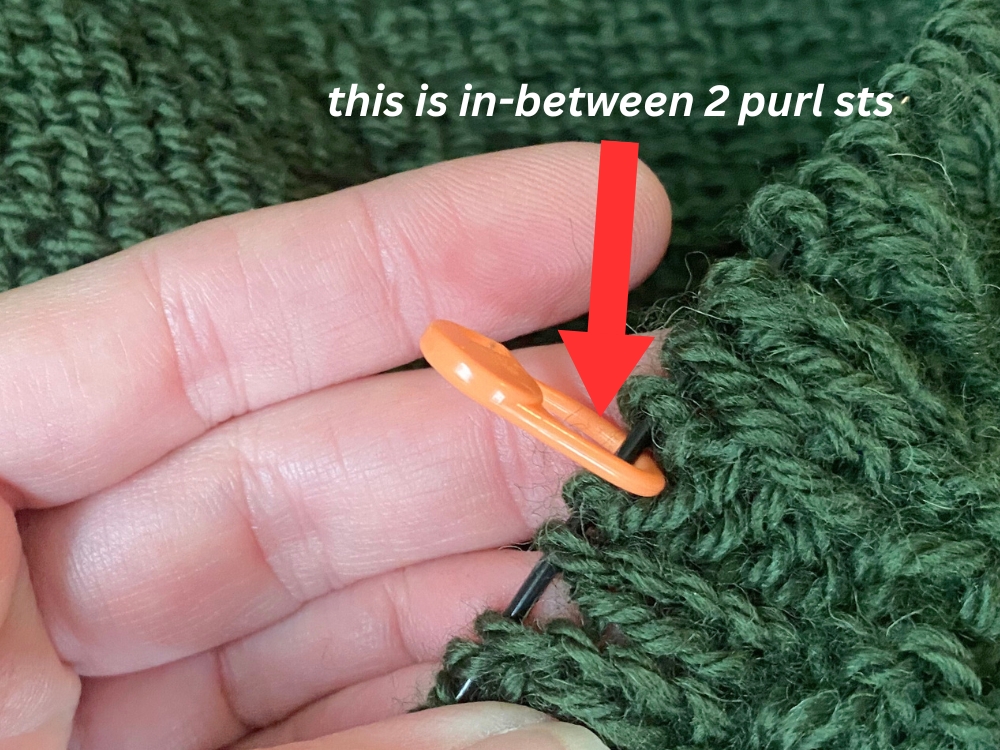
Then it’s time to place the other 3 markers. The pattern specifies that they should be placed either 16 or 20 stitches apart, always making sure it’s placed in-between 2 purl stitches. In-between 2 purl stitches look like this (and if they are spaced 16 or 20 stitches apart starting with above the first attached marker, it will always be in-between 2 purl stitches):
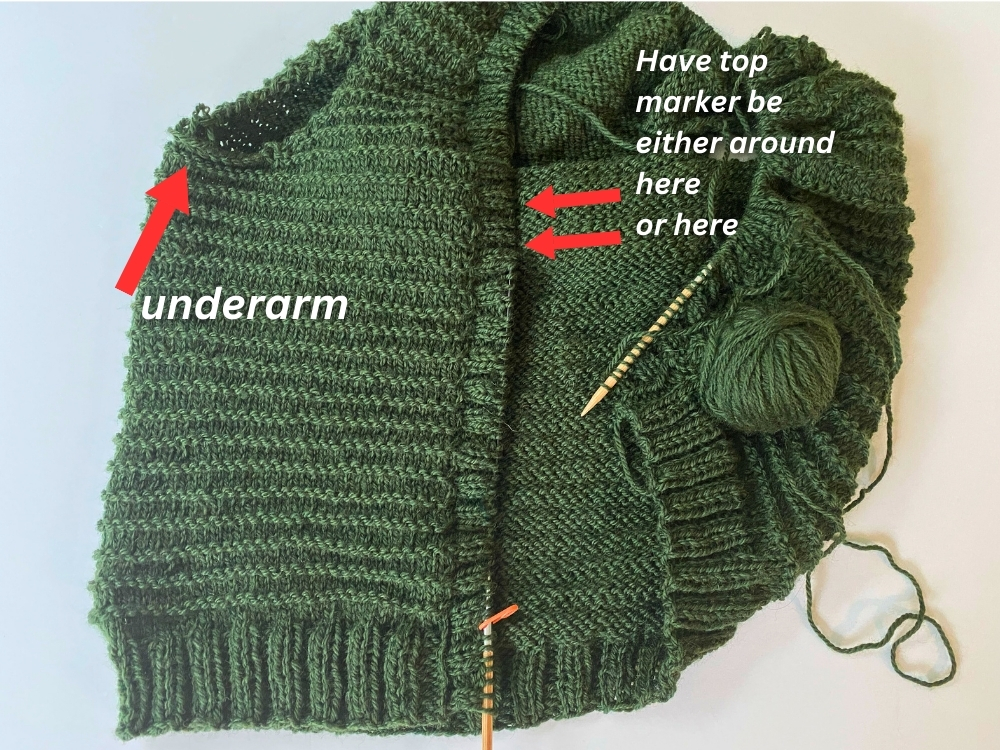
They can either by equally placed (i.e, always 16 sts apart) or you can have one or two 20 stitches apart and the others 16 stitches apart. It depends on what your final length was and where you want your top buttonhole to land. You’ll want your top hole to be 1-2″ down from the underarm (so either 2 or 3 garter ridges down from the underarm).
Working Trim – Buttonhole Row
When working the buttonhole row, one important thing to note is that you will be instructed to work a “YO, p2tog”. When working a YO before a p2tog, you just need to remember to first bring the yarn to the front of the work and then over the top of the right needle, and then bring the yarn to the front again (in-between the needle tips) so that it’s positioned ready to p2tog.
If you are new to working yarn-overs before purl stitches, it may be helpful to watch this video lesson I have. It’s my basic “yarn-over” tutorial but I also show how to work a yarn-over before a purl stitch.

