Woods Road Vest Armhole Trim
On this page, I provide visuals for picking-up and knitting stitches for your armhole trim in the Woods Road Vest.
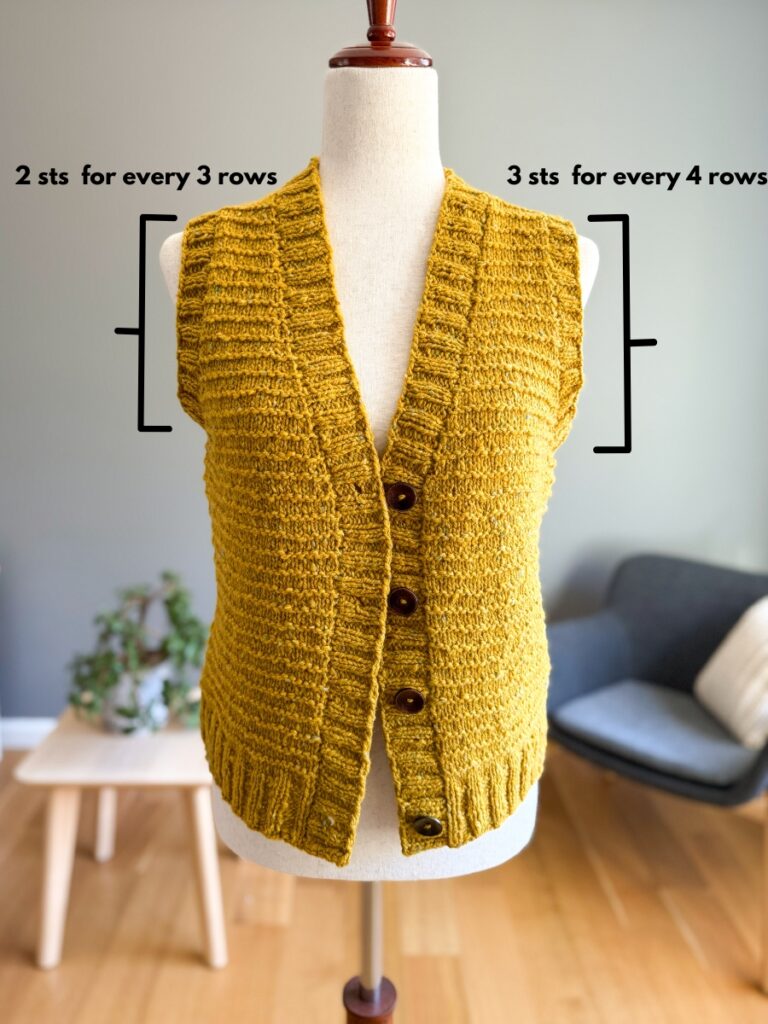
In the instructions, I say to pick-up and knit 3 sts for every 4 rows as you make your way up to the shoulder (and then back down again), just as we did on the front bands. However, I have a note that says ‘if you prefer a more cinched-in look to your trim, you can instead pick-up and knit 2 sts for every 3 rows”. The visual below shows the difference between the two:
As you can see, the “2 sts for every 3 rows” side is more cinched-up and measures approximately 1/4 – 1/2″ higher than the “3 sts for every 4 rows” side. So it just depends on the look you want and how you want your armhole to fit. If you felt that your armhole was a little on the big side, then picking-up 2 sts for every 3 rows might be a good way to help this situation. But if you want the more relaxed look, the 3 sts for every 4 rows works well for that.
The pick-up and knit process:
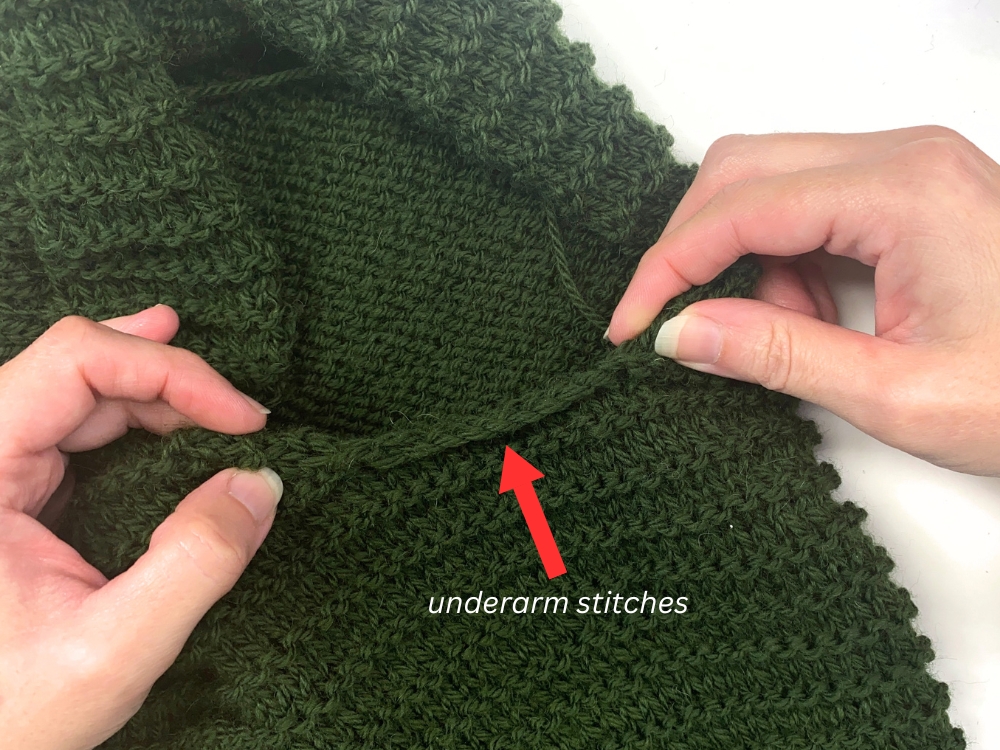
To start, the pattern says to join yarn at center of underarm and pick-up and knit the left-side underarm sts.
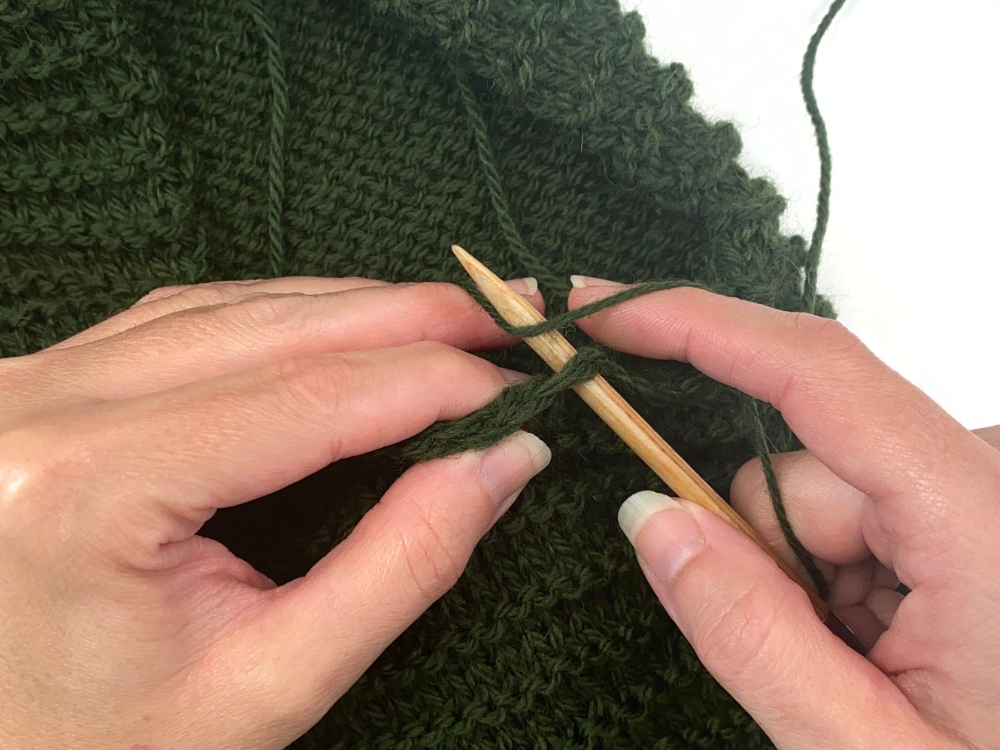
If your size says to pick-up and knit, say, 4 left-side underarm sts, then to start you would insert your needle tip into the 4th-stitch-in at the underarm – each of the underarm sts look like sideways “V”‘s, so I like to insert the needle into both legs of the “V” as shown below:
Then you’ll drape the yarn over the top of the needle…
…And then you’ll knit it.
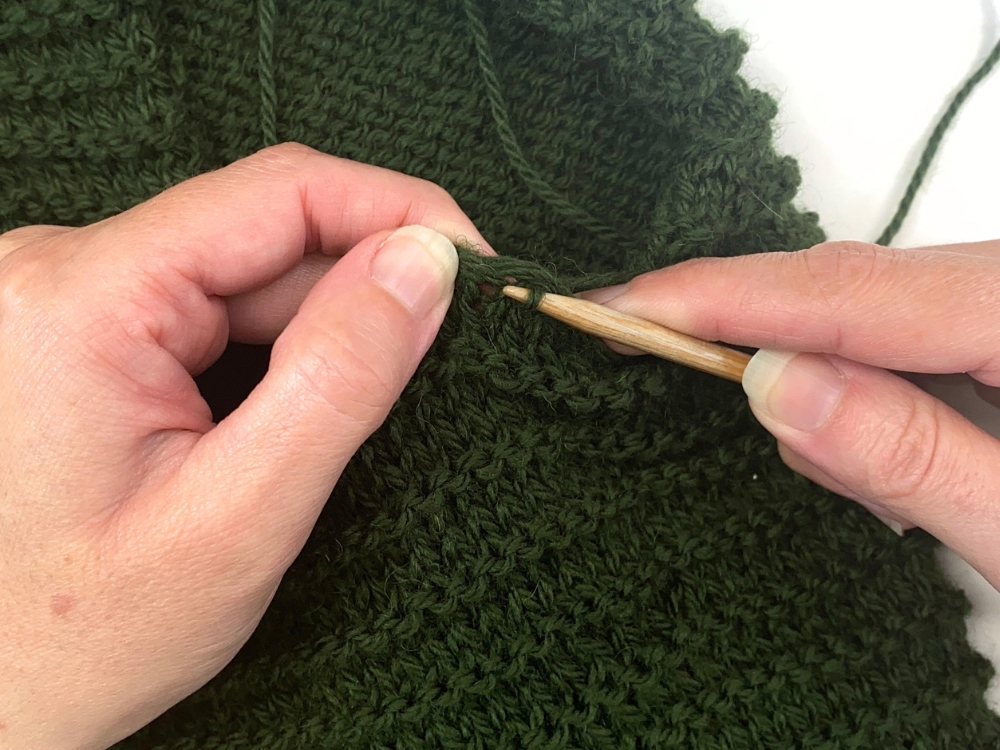
Then you’ll insert the needle into the next underarm cast-on stitch, like this…
…And knit it.
You would then repeat that until the specified number of left-side underarm sts have been picked-up. Then, you’ll be ready to work step 2 which is to pick-up and knit sts up to the shoulder, picking-up 3 sts for every 4 rows (making sure total picked-up in this step is an even number). Or you can pick-up 2 sts for every 3 rows if you prefer a more cinched-in look (as described at the top of this page). Either way, the picking-up and knitting process is similar to that outlined in the Front Bands tutorial.
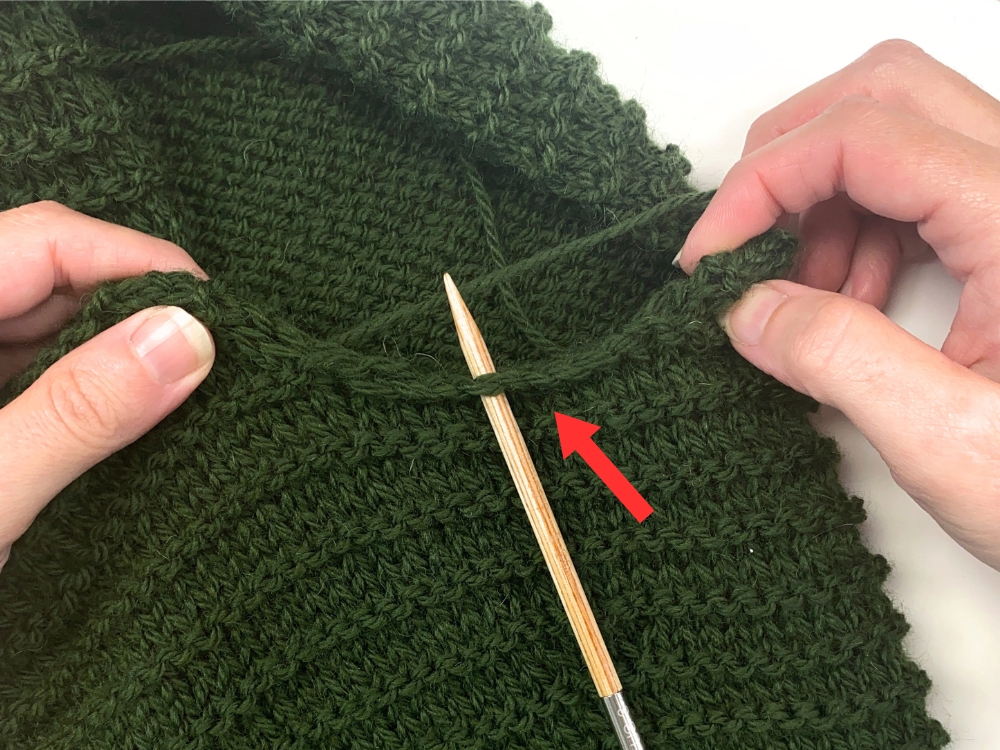
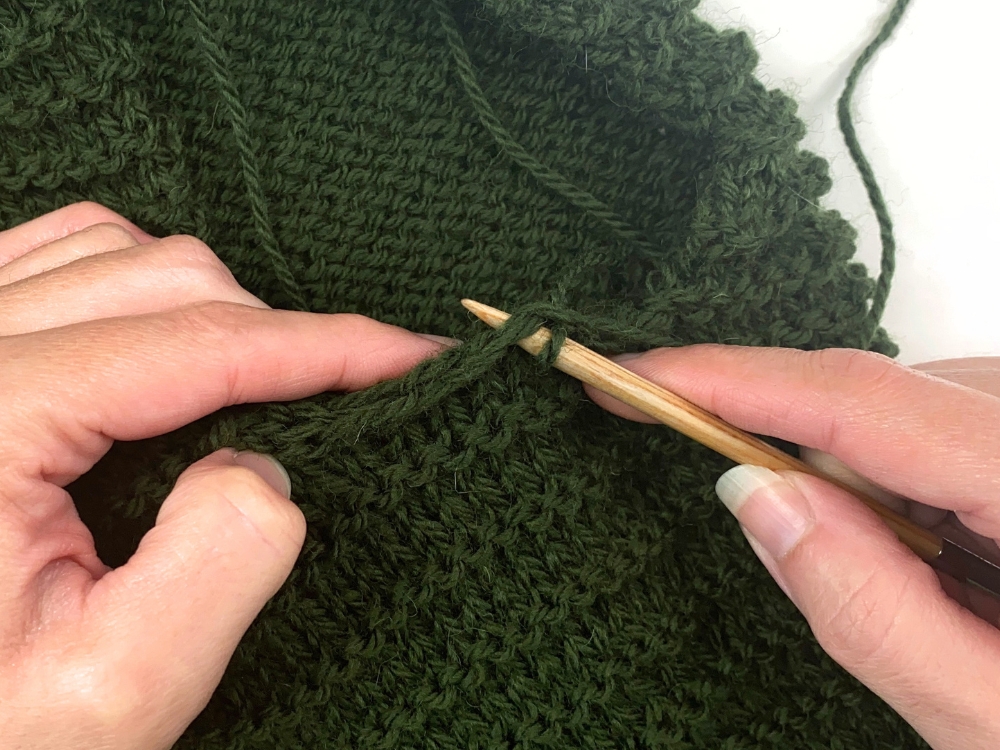
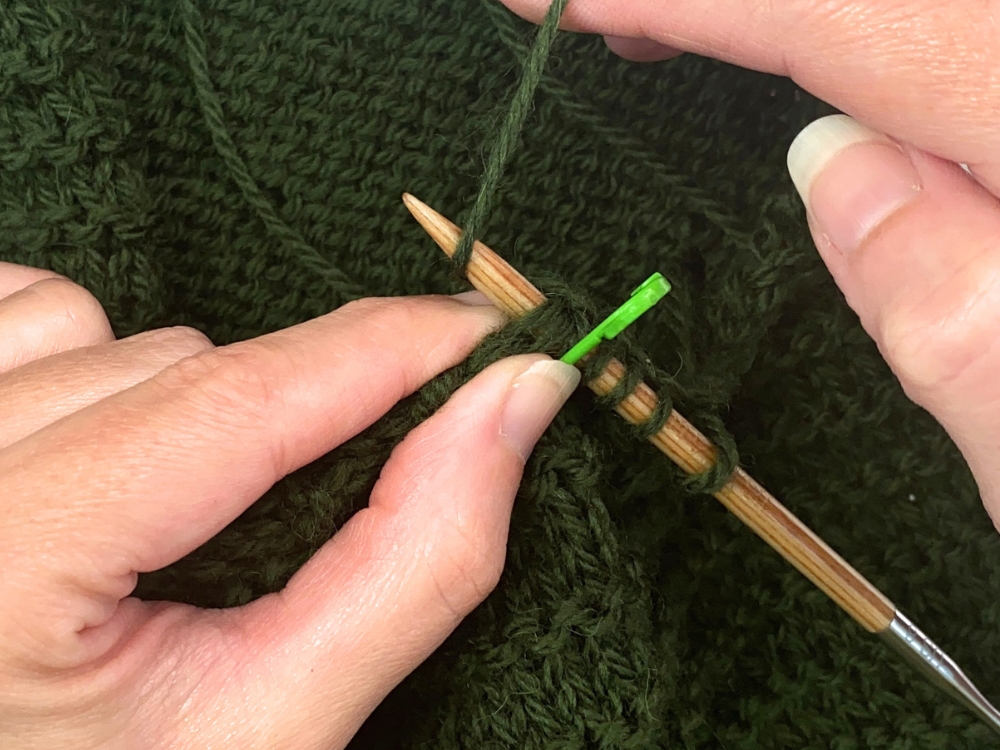
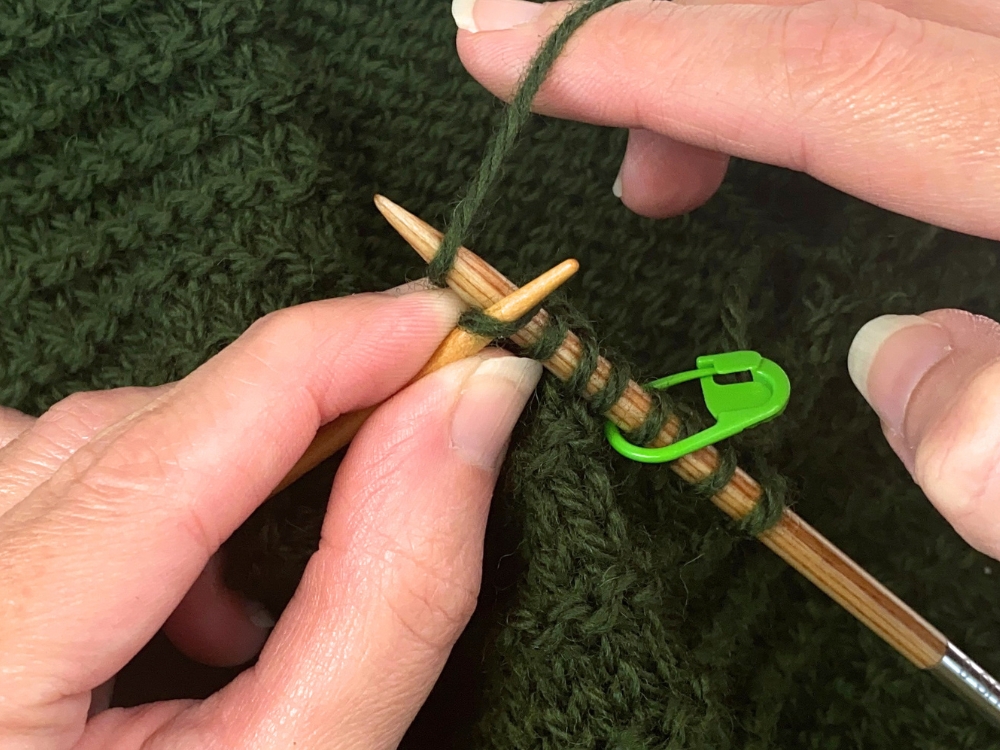
Before I start, I like to place a removable marker on the right needle, just to make counting easier as I make my way up to the shoulder. And when picking-up into the stockinette st area of the side, I insert my needle into the “V” stitch that is next to the edge st, like this:
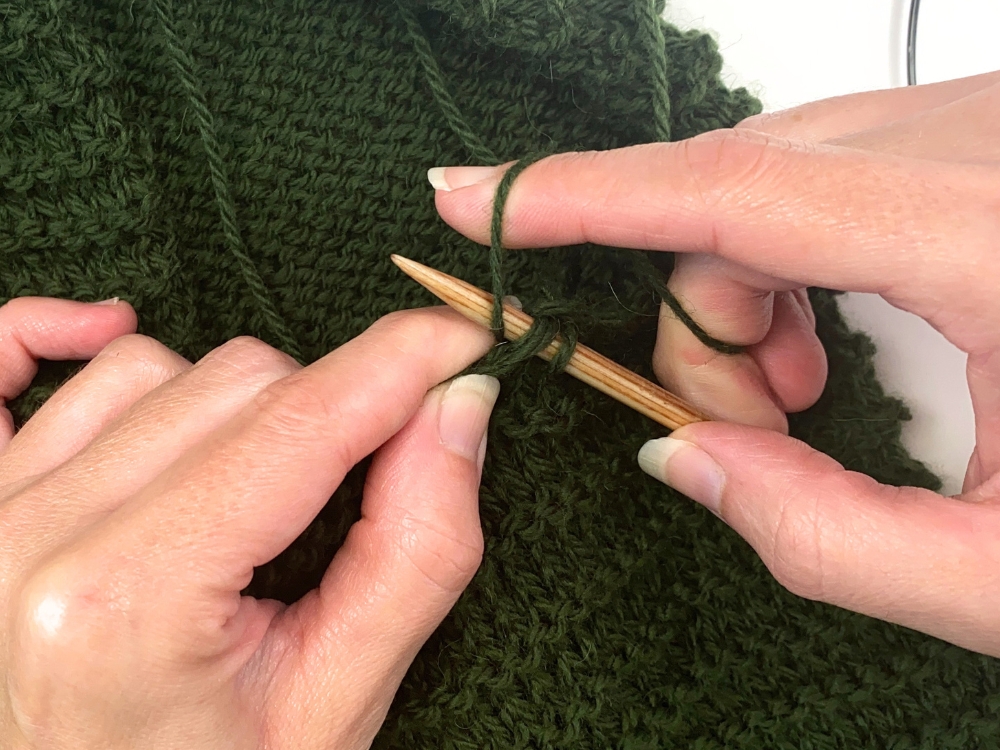
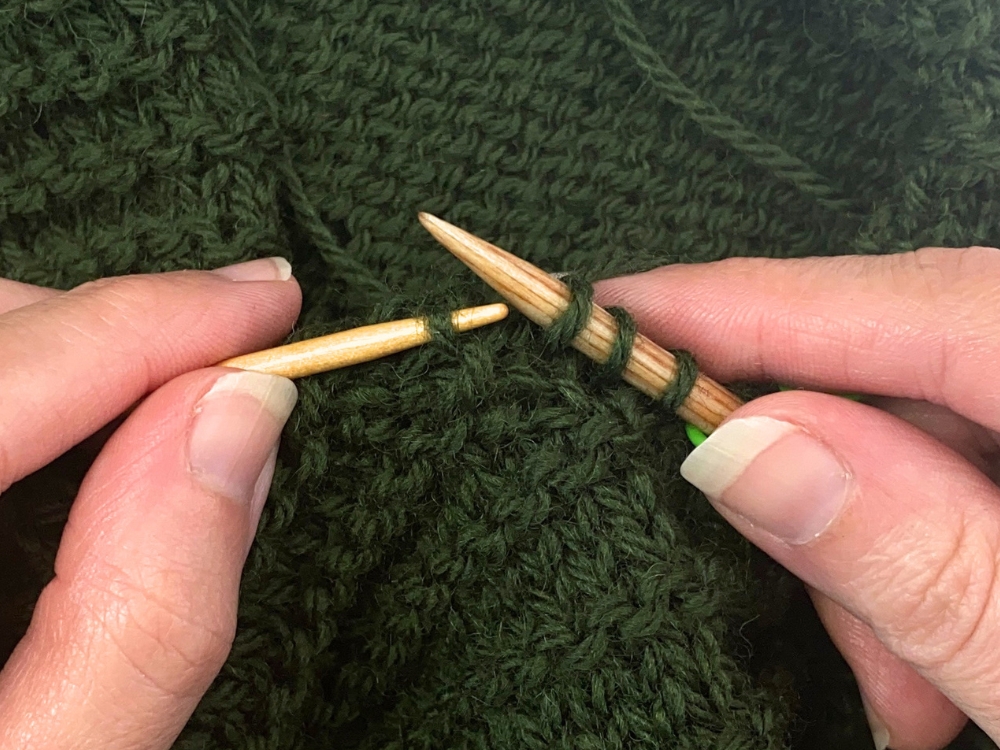
When picking-up in any of the garter ridges, I use a skinny DPN needle to assist me (just like I did in the Front bands). I insert the DPN into the loop in the ridge, and then knit it with my right needle.

