Upper Fronts of the Brookdale Vest
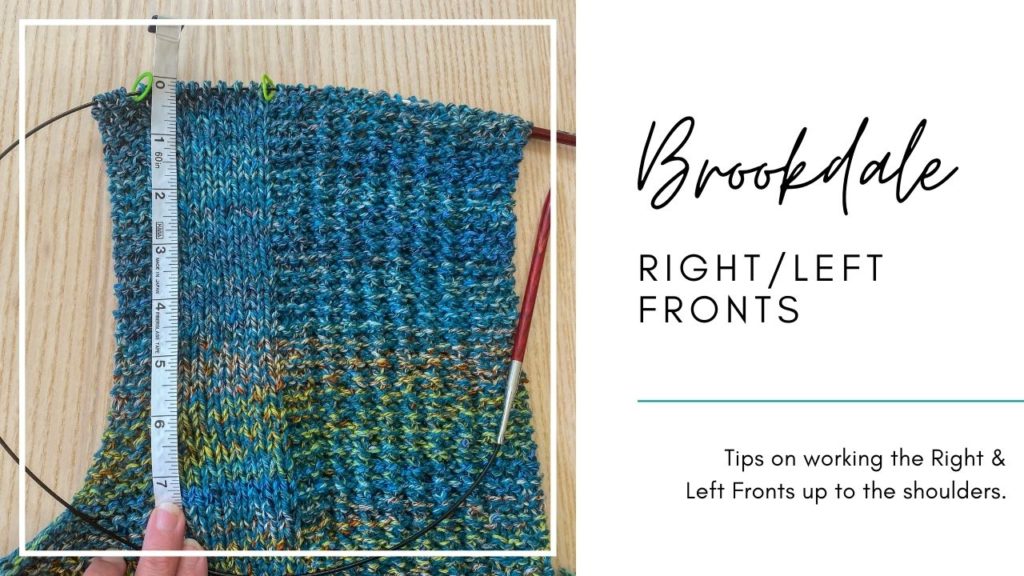
After the Underarm Divide you will be instructed to work the Right Front and then the Left Front of the garment. We’ll call these the “upper fronts” of the Brookdale Vest.
The Right Front
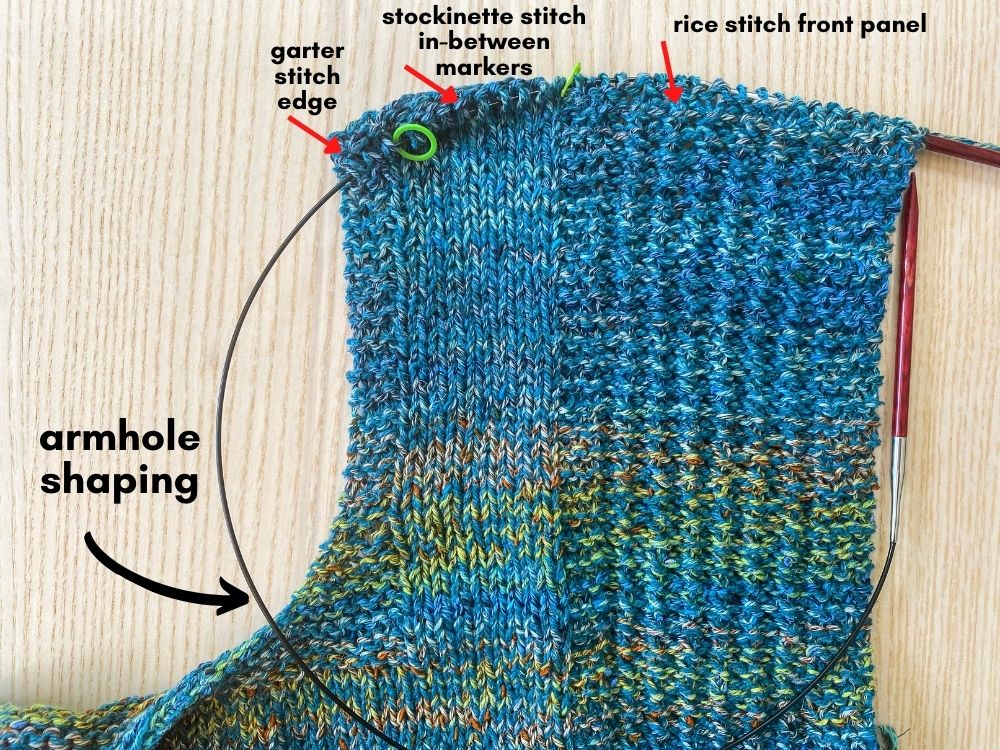
Starting with the Right Front, you’ll first be working some armhole shaping. This is what creates the curve in the armhole area and, when you’re done with this section, you’ll have just 3 stitches between the edge and the edge trim marker. These 3 stitches will always be worked in Garter stitch moving forward (so knitting every row). The “Remaining Right Front” is where you will just work the stitches as established (i.e, no decreases). So you will continue working your Front panel stitches as you always have, you’ll work your last 3 stitches in garter stitch, and then the stitches in-between your 2 markers will be worked in Stockinette stitch. The graphic below provides a visual of all of this:
Want to alter your armhole depth?
If you want to alter your armhole depth (so the amount of space between your outer-shoulder and your underarm), this is where you can do that. Just simply add more rows in this “Remaining Right Front” section. If you do this, just make sure to keep track of how many extra rows you work so you can replicate it exactly on the Left Front and the Back as well.
How do I measure the armhole depth?
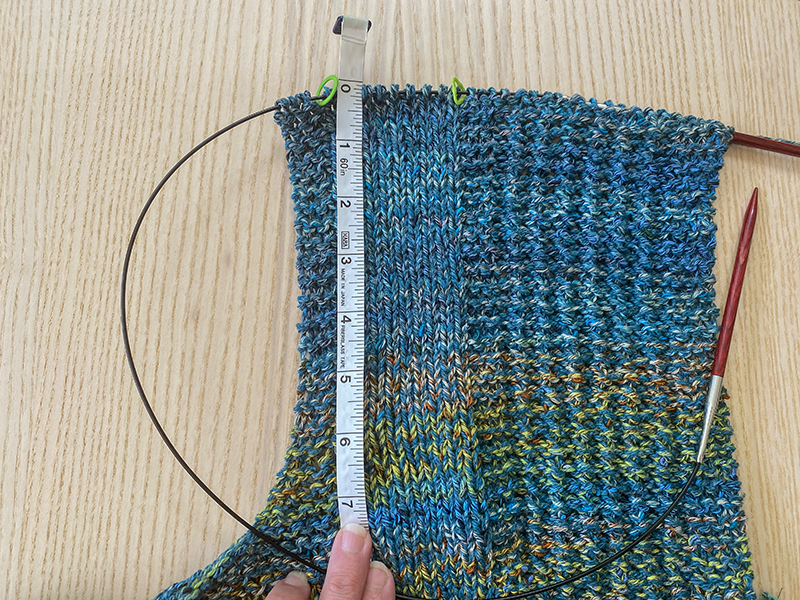
To measure your armhole depth, just measure from just under the needle to the underarm divide bind-off:
Right Front Neck Panel
Once you’ve reached the correct armhole depth, this is where things get a little ‘different’. Because we’ll want to stop working on all of the stitches except for the front panel, as the front panel will extend past the shoulders (it will eventually be long enough to wrap around half of the back neck). So in order to do this, the goal is to place the 3 edge stitches and all but 2 stockinette stitch stitches onto a holder/scrap yarn. I say all but 2 because 2 of these stitches will be worked along with the neck panel in the next section (you’ll see what I mean).
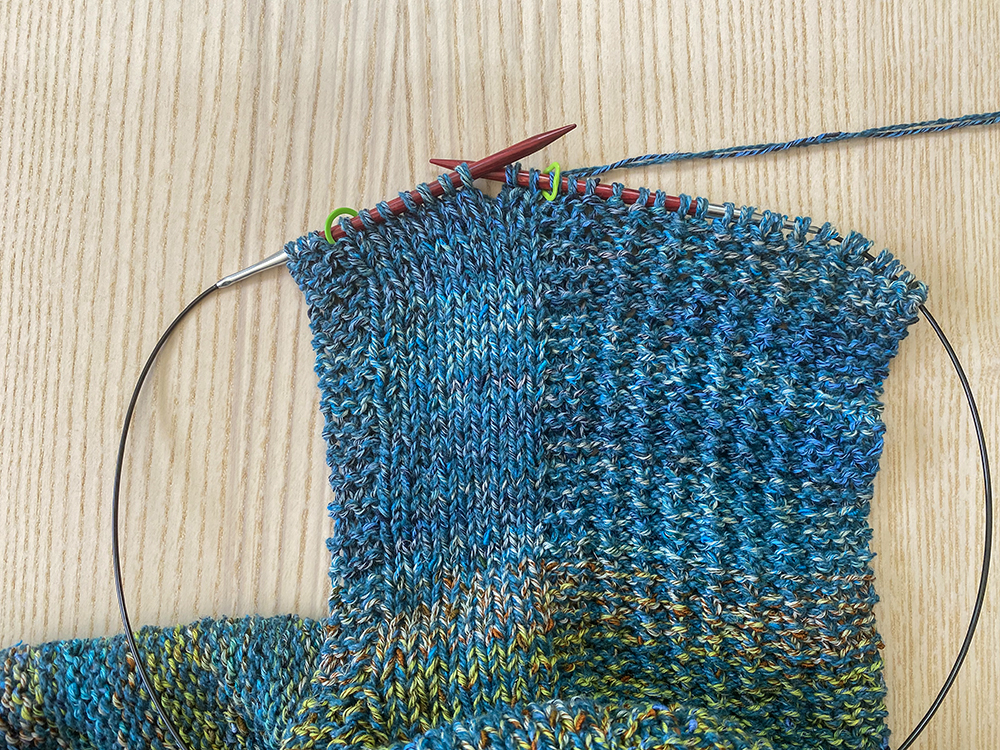
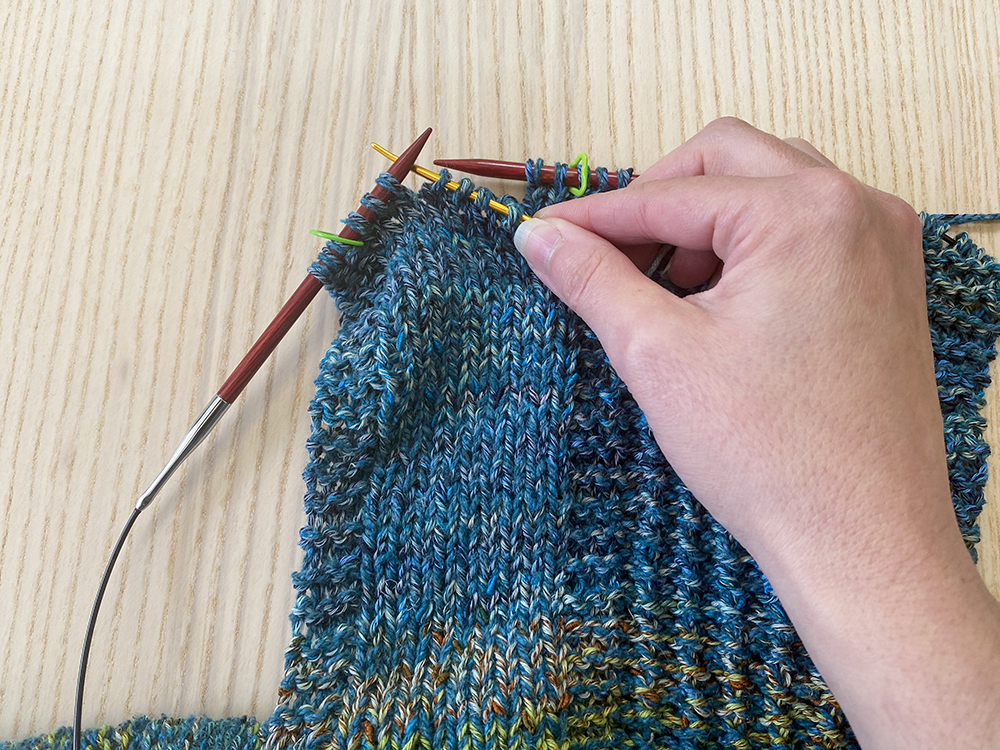
Step 1: So in the first row of this section, you’ll work your Front panel as established, slip the marker, knit 2 stitches. It will look like this:
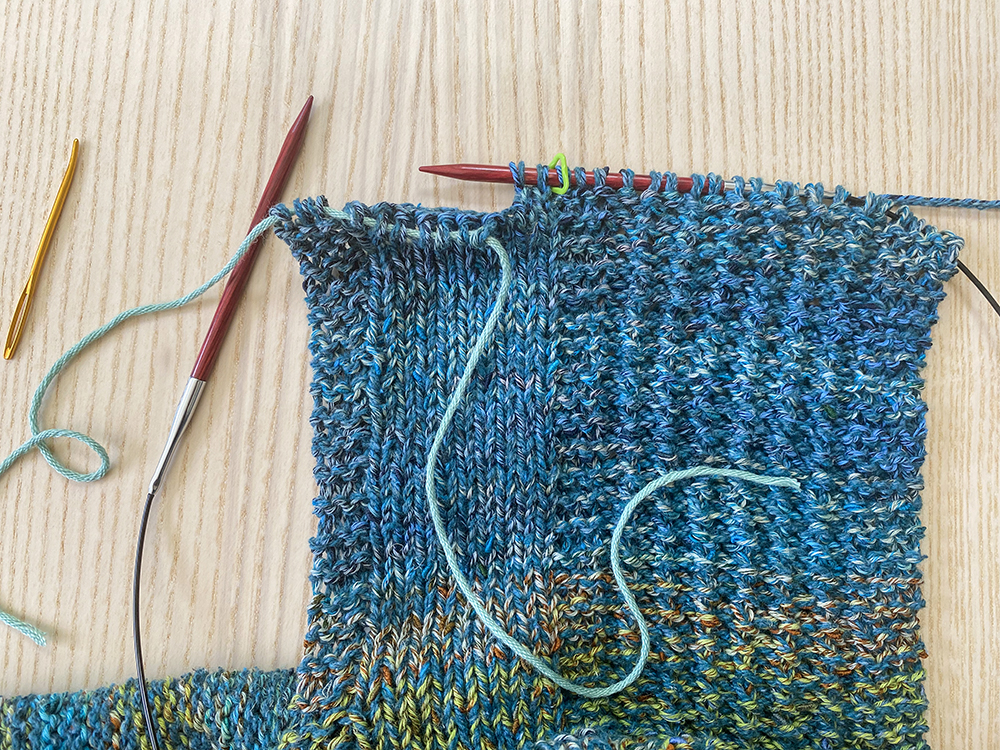
Step 2: And then you’ll place the rest of the stitches onto a holder. Below I’m transferring them onto a piece of scrap yarn using a tapestry needle:
So you’ll only have 22 stitches total on the needle after this point and it will look something like this:
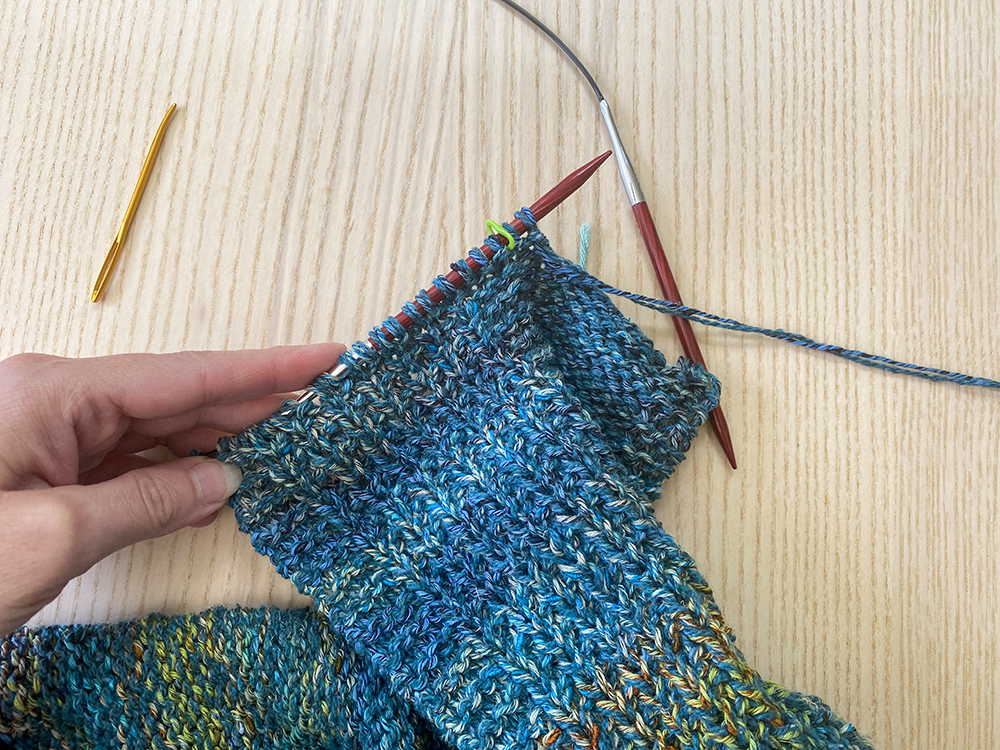
Step 3: You’ll turn the work (so the WS is facing you) – it will look like the picture below. You’ll now just be working back and forth on these Front panel stitches, plus the 2 stitches on the edge (on the other side of the panel marker).
Step 4: After you’ve repeated rows 1-2 the specified number of times, it will look like the below. You’ll measure to make sure it’s approximately 5.5″ from the point where the panel was split from the rest of the front stitches:
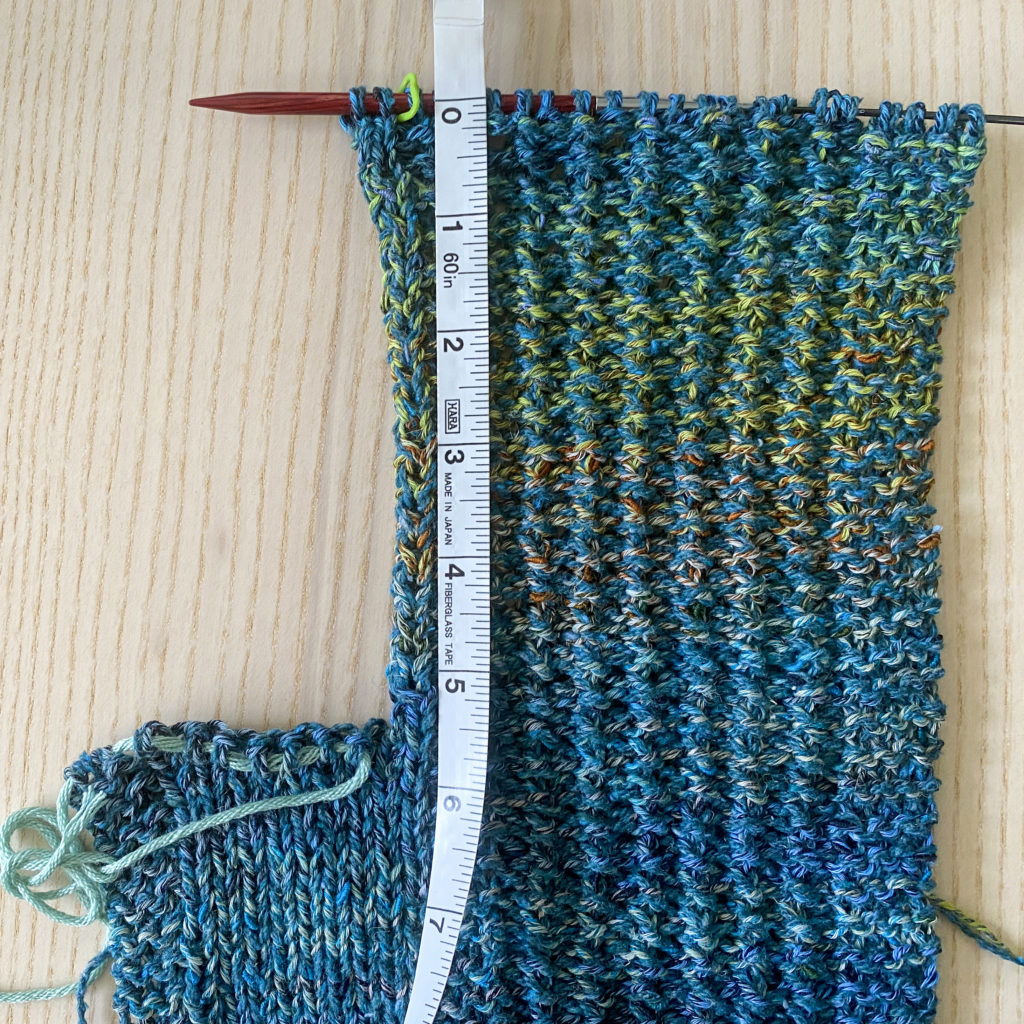
You’ll then transfer these 22 stitches to another holder/piece of scrap yarn and move on to working the Left Front…
Left Front
The Left Front is worked very similarly to the Right Front. But I’ll point out a couple of things that may be helpful.
Joining Yarn
After you transfer your stitches from the holder onto the circular needle, you’ll be instructed to join yarn ready to work a RS row. So this just means you want to have the RS facing you. To join the yarn, simply drape it over the right needle (making sure to leave a bit of tail to weave in later) and start knitting with the yarn.
The rest of the armhole shaping is similar to the Right Front.
Left Front Neck Panel
Unlike the Right Front, you’ll first transfer stitches to holder/scrap yarn – it will look like this:
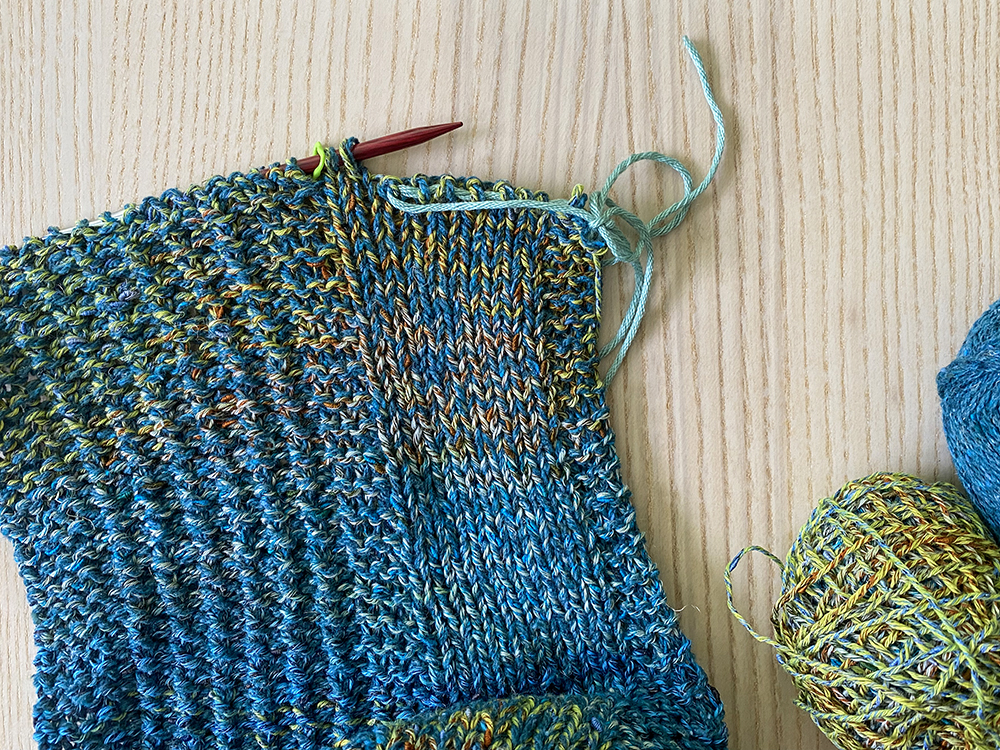
and then you’ll rejoin yarn and work your last 22 stitches as instructed. And then you’ll work the panel similarly to the Right Front.
When you’re done with the upper Fronts, you’ll then be ready to move on to the upper Back!

