Time After Time Cowl Tips
On this page you’ll find tips & techniques for working your own Time & Time Cowl! Below are the topics I cover on this page:
- Long-version vs. short-version
- Yarn Tips
- Adjusting for different yarn-weights
- Helpful stitch pattern tip
- Binding-off in pattern
- The techniques:
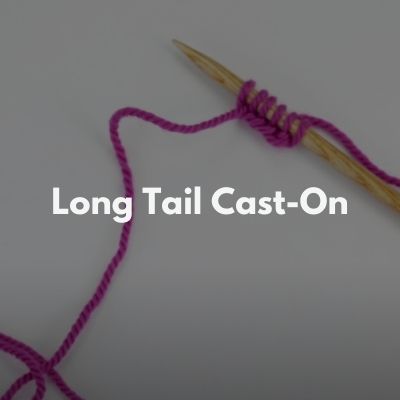
- Long-tail Cast-On
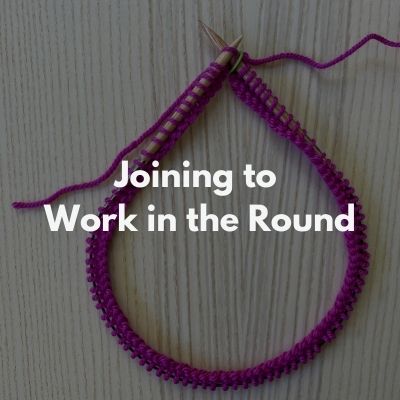
- Joining to work in the round
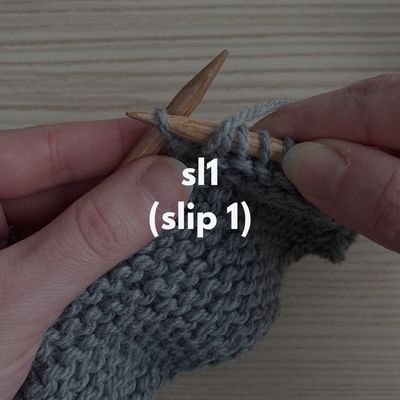
- sl1 (slip 1)
Long-Version vs Short-Version
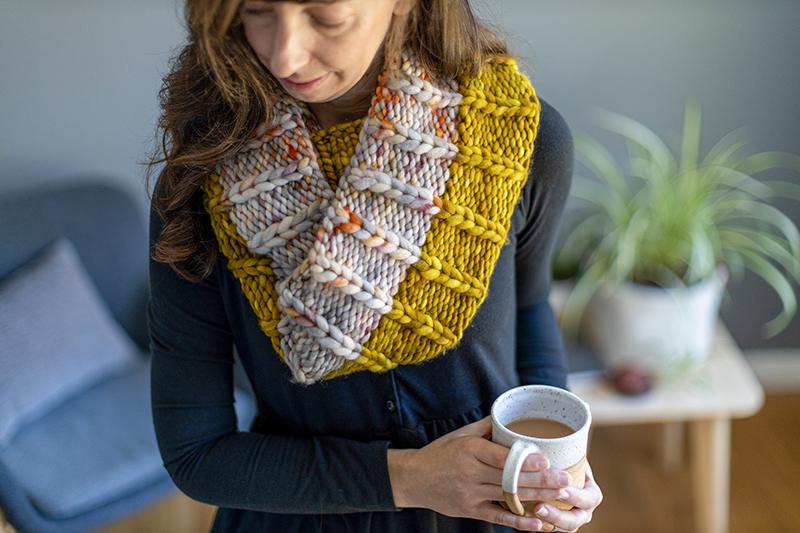
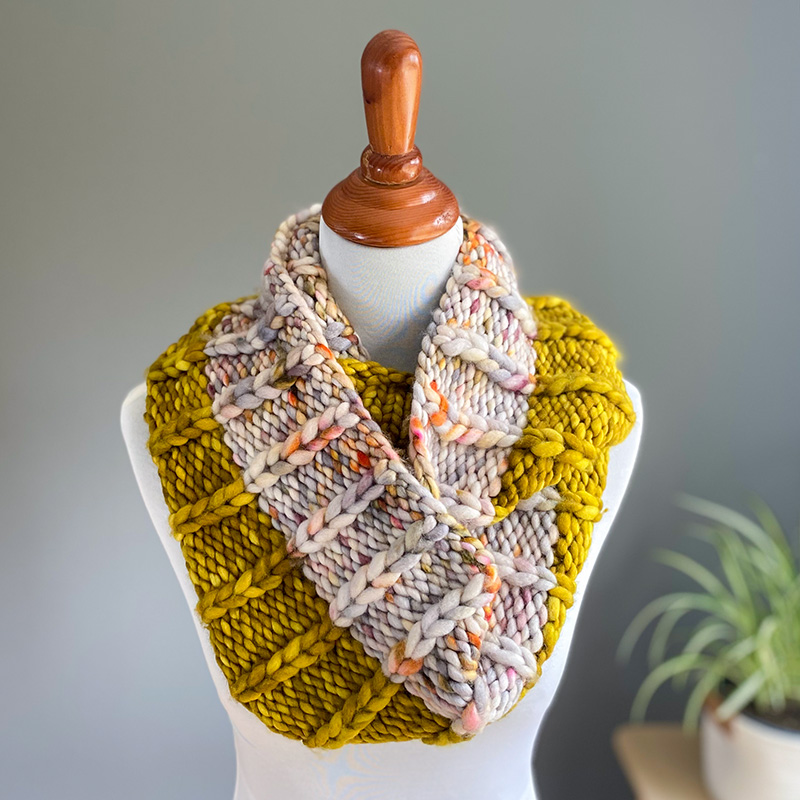
I offer instructions for 2 different versions of Time After Time Cowl – a long, 2-skein infinity-style version (that you can double-up around your neck for a super warm and cozy fit) as well as a 1-skein short-version that is more like a neckwarmer that could be worn indoors our outdoors. The long-version uses 2 skeins (1 of each of the 2 colors) and a 32″/80 cm US 15 circular needle and the short-version uses just 1 skein and a 24″/80 cm US 15 circular needle. Tip: if you think you may make multiple cowls in multiple sizes, you can purchase US 15 interchangeable needle tips and then just the 32″/80 cm and 24″/60 cm cords (this way you don’t have to buy 2 separate needles).
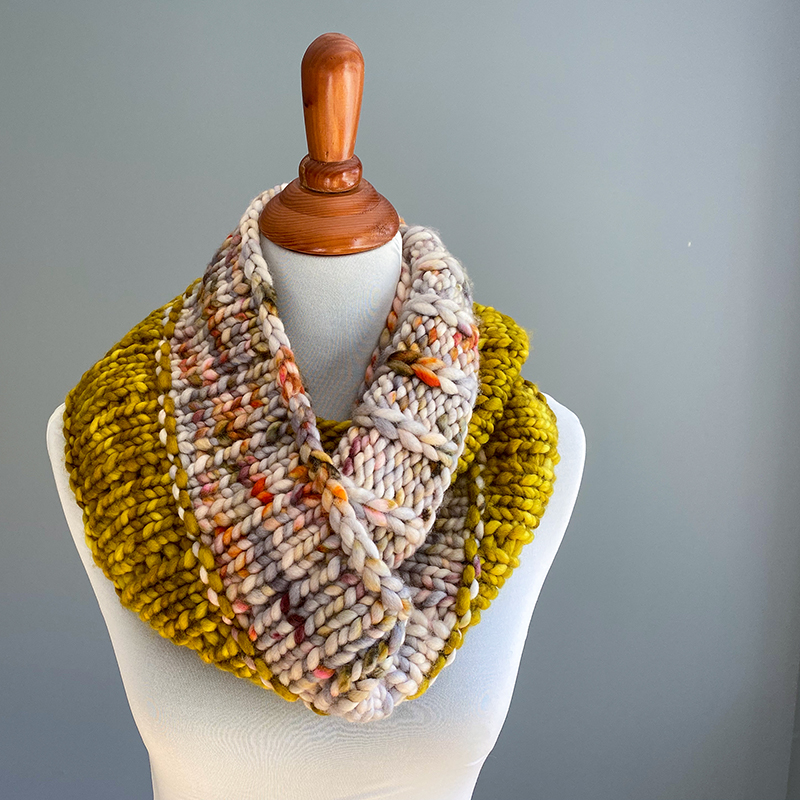
Because I created a long version that would be doubled-up around the neck, I wanted to make sure to use a stitch pattern that looked good on either side. The below picture shows what it looks like when I have the wrong-side showing – it still looks great!
Yarn Tips
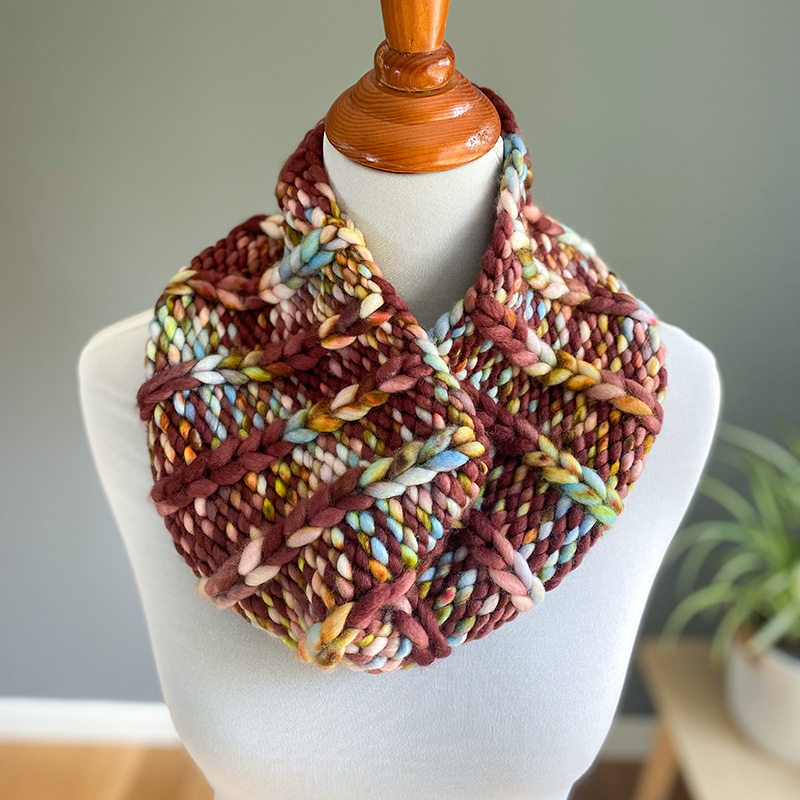
This cowl calls for super bulky weight yarn and I used the gorgeous Super Bulky by Hedgehog Fibres. This yarn is available from Wool & Co in SO many amazing colors. For my long-version, I used 2 colors – the semi-solid Kelp and the multi-color Liebling. I typically don’t work a lot with multi-color/variegated/speckled yarns. But in a cowl like this, and paired with a semi-solid like I did, it’s such a fun pop!
Tip for picking 2 colors in the long version: With variegated yarns, it can be hard to know how they will knit up or exactly what kind of colors it has (especially if you’re buying online). So this is why I paired the multi-color with a semi-solid. This way, when you’re picking out yarns, start with the semi-solid – pick the color that you just love or will go perfectly with your winter coat (or that of your recipients). Then pick a multi-color that seems to go well with it – even if it winds up not being a perfect match, all of Hedgehog Fibre’s colorways seem to play well with each other. My winter coat is a plum color, so I knew the bright mustard-y shade of Kelp would look great with it. Then I paired the Liebling colorway because it had some subtle purply shades, a little bit of yellow too, and other colorways that seem to work well with both my boat and the Kelp colorway.
Adjusting for different yarn-weights
Love this design but want to use a thinner yarn? No problem! Below are guidelines for how many stitches to cast-on for a couple of different yarn-weights. Also, for the long-version, if you don’t want it quite as long as I have it, you can simply remove some stitches – just make sure you keep the stitch count as a multiple of 4.
Bulky-weight yarn (with a gauge of approx. 3.25 sts/inch): Cast-on 184 for long-version, 88 for short-version.
Worsted-weight yarn (with a gauge of approx. 4.5 sts/inch): Cast-on 256 for long version, 120 for short-version.
DK-weight yarn (with a gauge of approx. 5.25 sts/inch): Cast-on 300 for long version, 140 for short-version.
Working the Slip Stitch
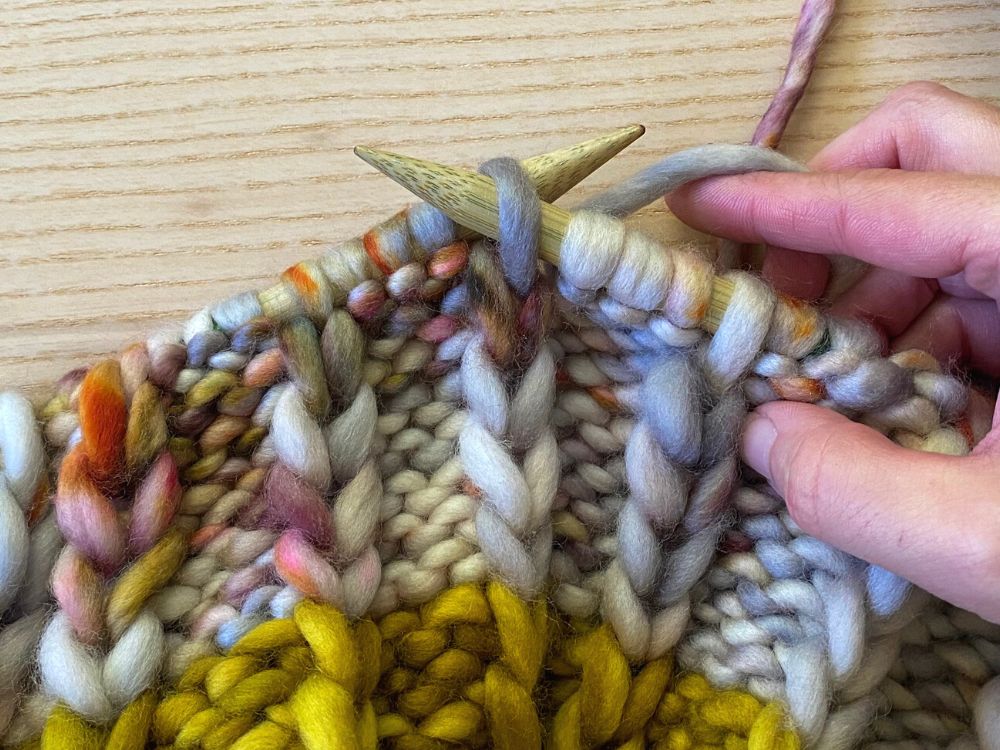
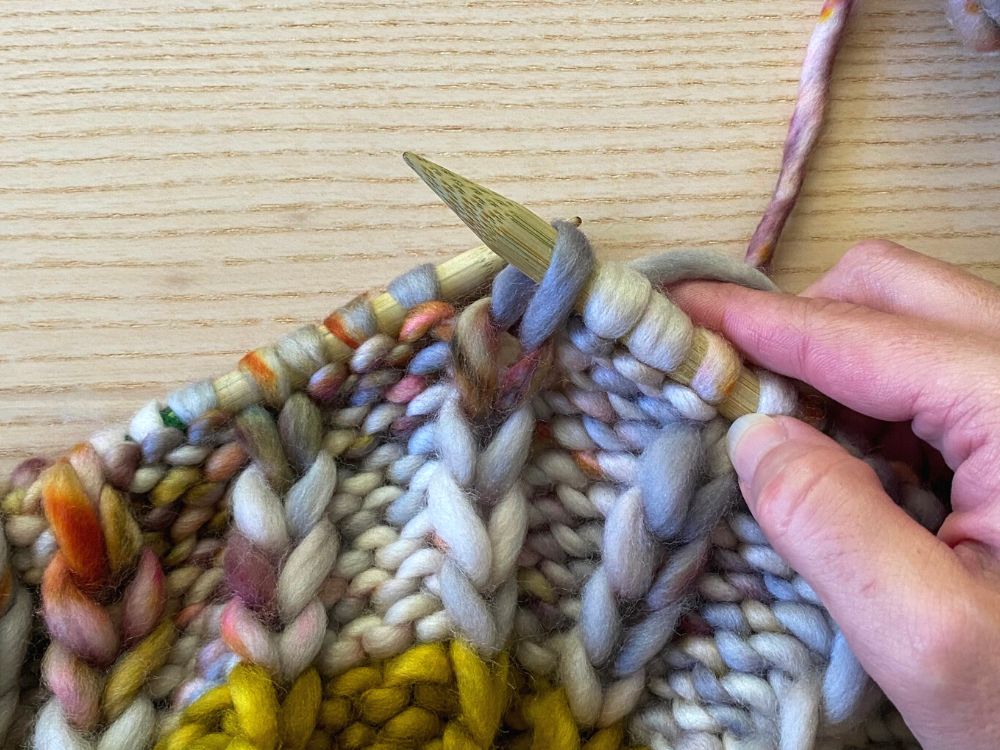
Every-other-round you’ll be instructed to “sl1 pwise wyib” which stands for “slip 1 stitch purlwise with yarn held in back”. Here is a visual of this:
Helpful stitch pattern tip
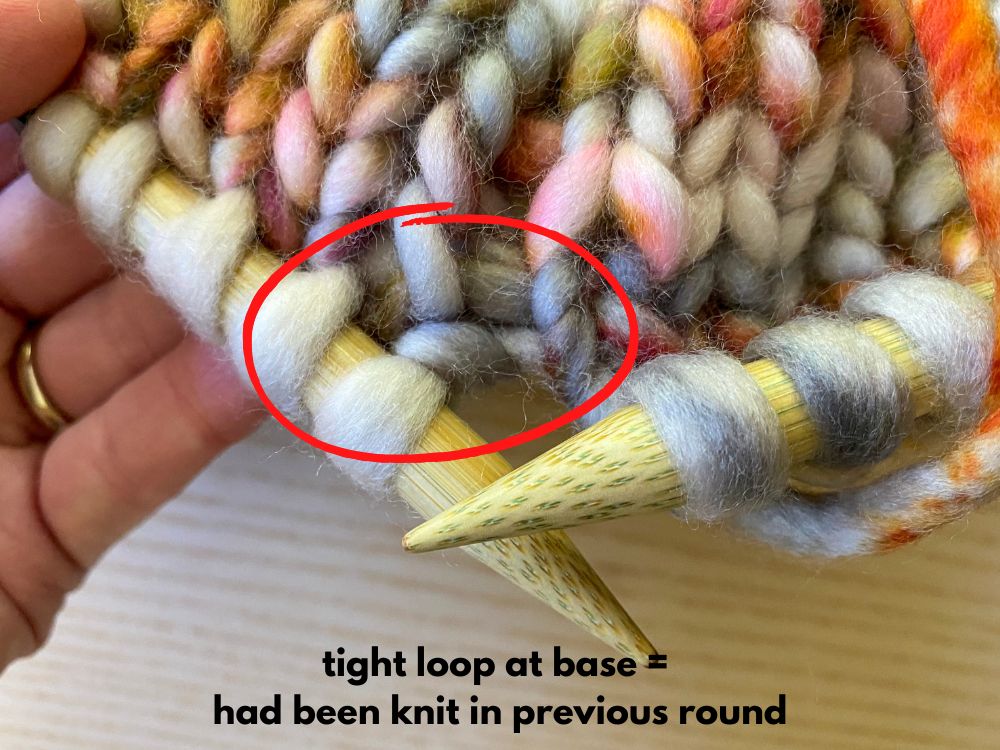
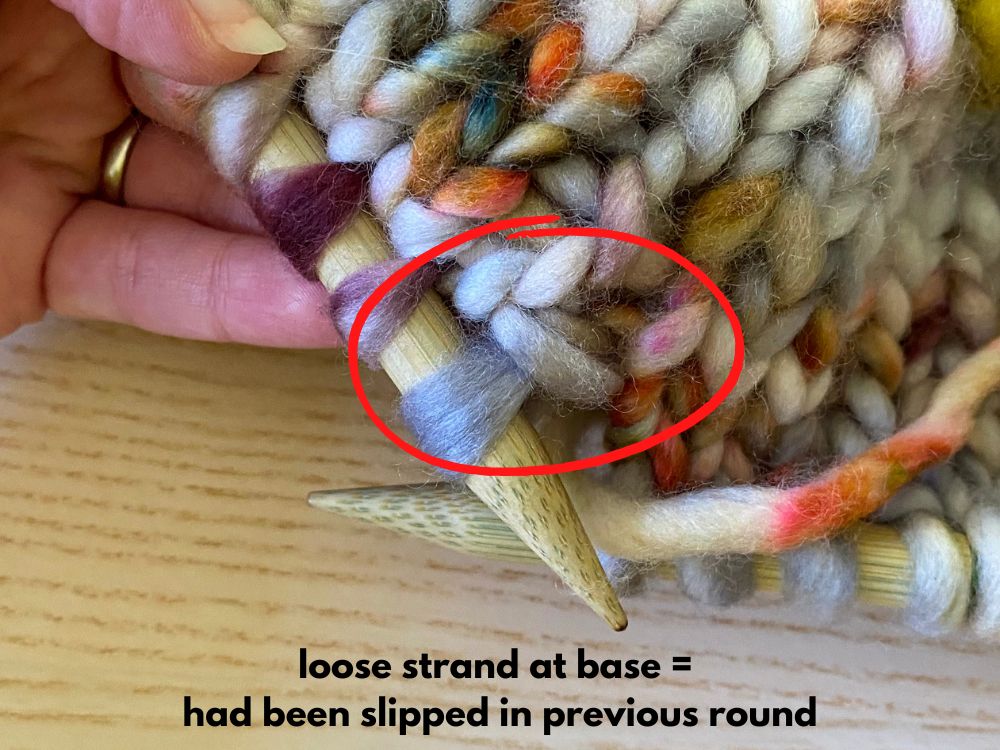
In this stitch pattern, every-other-round you will slip the stitch that on the previous round had been knit. If you aren’t sure which round you are on (are you knitting that stitch or slipping it?), then ‘reading your knitting’ will be helpful. This means looking for visual cues in your stitches. Here’s what you do – when you get to the stitch in question, look at the WS of the fabric:
- If the stitch is wrapped in a loop at its base, then that means it was knit on the previous round – meaning you should slip it on this round (see image A).
- If the stitch just has a loose strand over the base (so it’s not quite wrapped), then that means it was slipped on the previous round – meaning you should knit it on this round (see image B).
Binding-off in pattern
When it comes time to bind-off, I suggest to bind-off in the rib pattern (i.e, as each stitch presents itself). When a pattern says this, it just means that if the next stitch is a purl stitch (it has that purl bump at the stitch base), then you will purl it and then work the bind-off. And same goes for a knit stitch (or in this pattern, the stitch that was sometimes slipped and sometimes knit) – you will knit it, and then work the bind-off.
I worked a similar “BO in rib pattern” when working my Audrey’s Cardigan and have my video demonstration here. Keep in mind this is a 2×2 rib stitch vs the 2×1 slip stitch rib worked in Time after Time, but it will demonstrate the concept of binding-off in a rib stitch which will be helpful if you’ve never done this before.
Techniques
Below are links to the different knitting techniques used in the Time After Time Cowl pattern:

