How to make a pompom
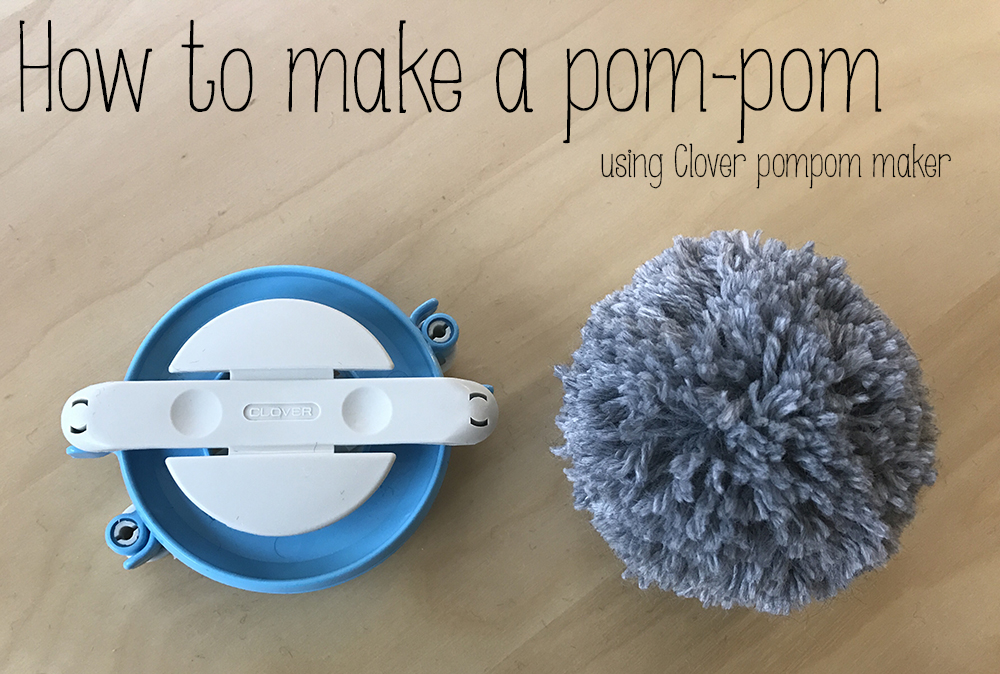
Pom-poms are so much fun – whether you adorn a hat with it or use them as decorations. I’ve tried a lot of different methods for making pom-poms through the years and so far my favorite method is using the Clover Pompom Maker. You can purchase these at most big-box craft stores and many local yarn shops carry them as well. And they come in multiple sizes too! For this tutorial I am using the Large, 3.375″ one.
Materials Needed:
- Clover Pompom Maker
- Pair of sharp scissors
- Yarn for pompom – I’d recommend a wool yarn or at least a yarn that is blended with wool. Cotton or linen yarn will not be “fluffy” enough to make a good pompom. In my sample below I have used Berroco Vintage (a wool/acrylic blend).
Pompom Instructions:
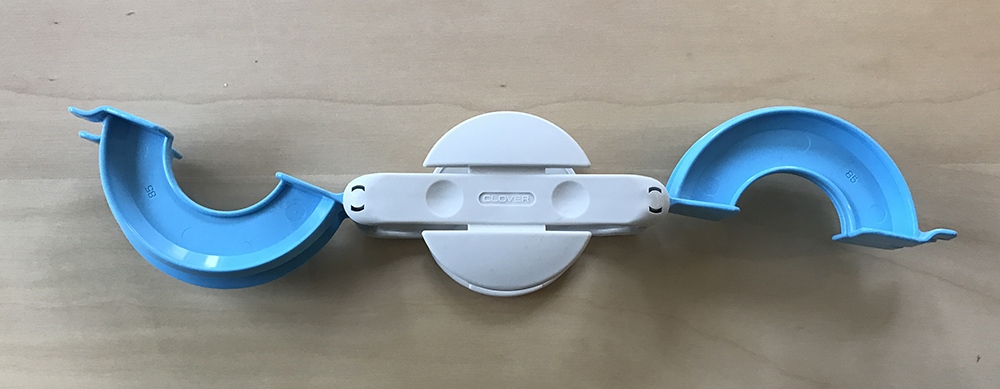
Step 1: Open up pompom maker so “smiles” and “frowns” are aligned together.
Step 2: Starting with one side (doesn’t matter which one you start with), take your yarn and start wrapping it around the two blue parts. Don’t worry about where your yarn end is – it will get wrapped up as you add layers. As you wrap, push down the wraps so that the yarn is dense and tight.

Step 3: Once the entire blue part is covered, continue wrapping the yarn in multiple layers until it’s nice and thick, as shown below. You don’t have to go as thick as I have, but I wanted this pompom to be big and fluffy. The more you wrap, the thicker your pompom will be.
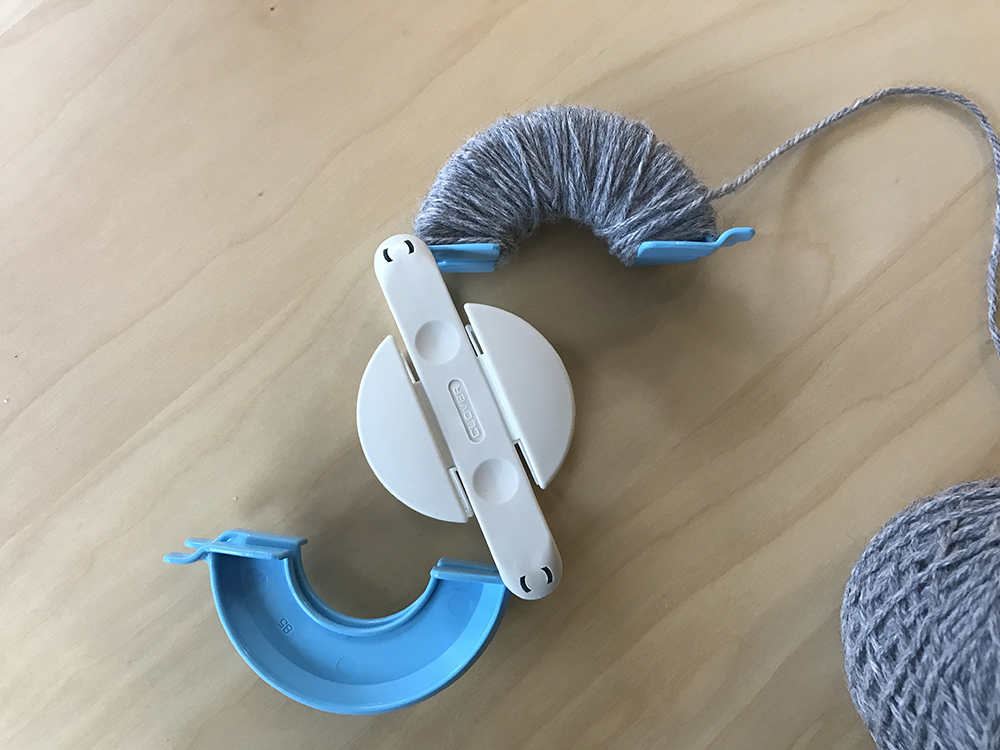
Step 4: Cut yarn, flip pompom maker over and work the same steps for the other side.

Step 5: Once the second side is all wrapped, push both sides in so pompom maker forms a circle.
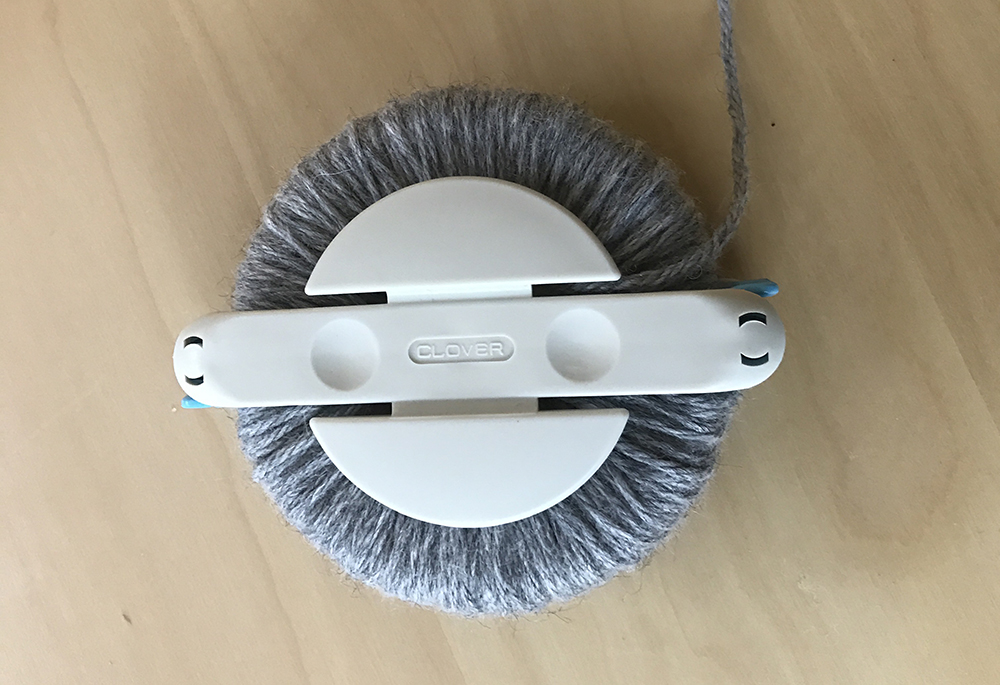
Step 6: Hold pompom maker in your hand, making sure to keep blue parts closed. Take a sharp pair of scissors and start cutting one of the sides, in between the blue parts as shown below. Continue cutting until you have made your way around the entire side. Then work the other side in the same manner, being careful to hold pompom maker together so that no pieces of yarn start to fall out.
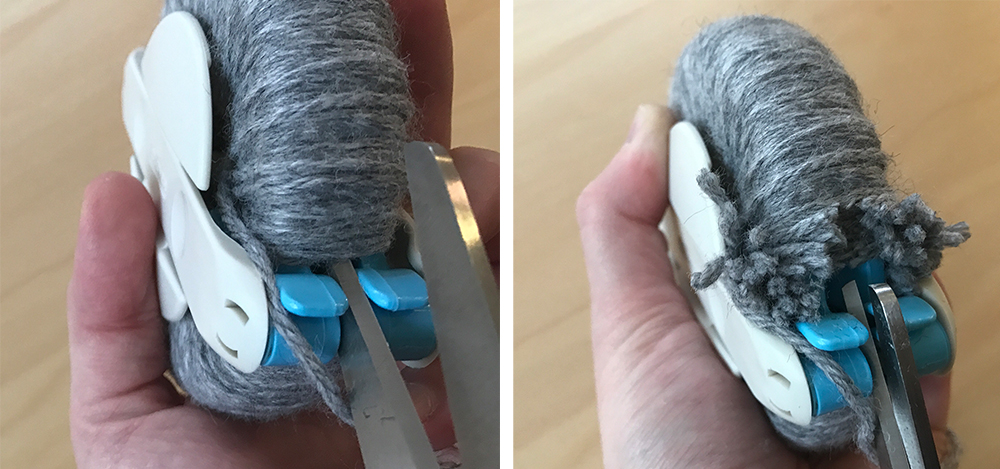
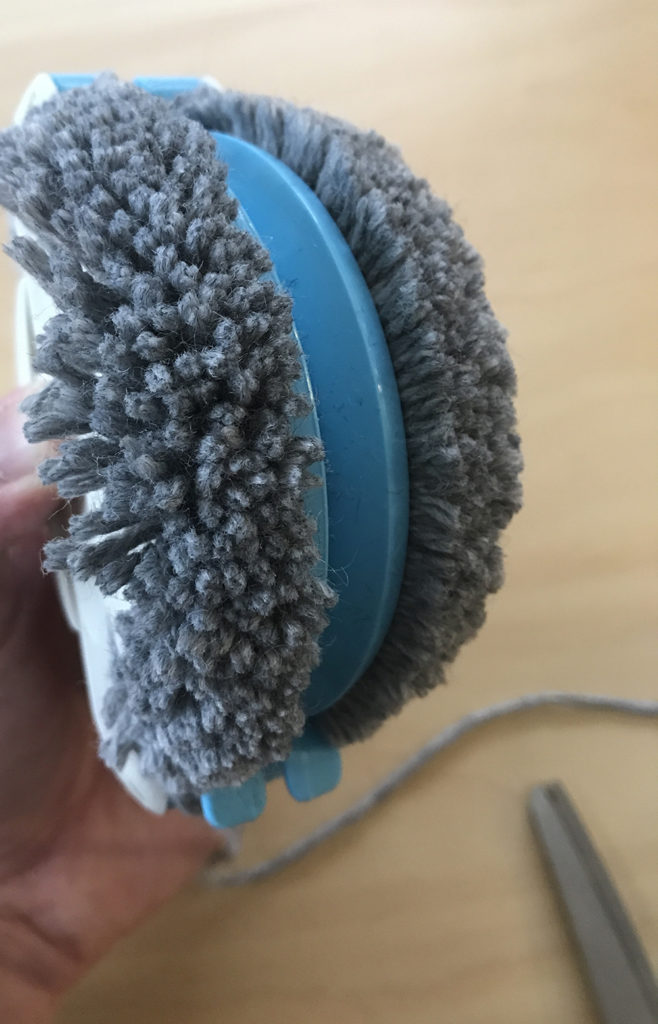
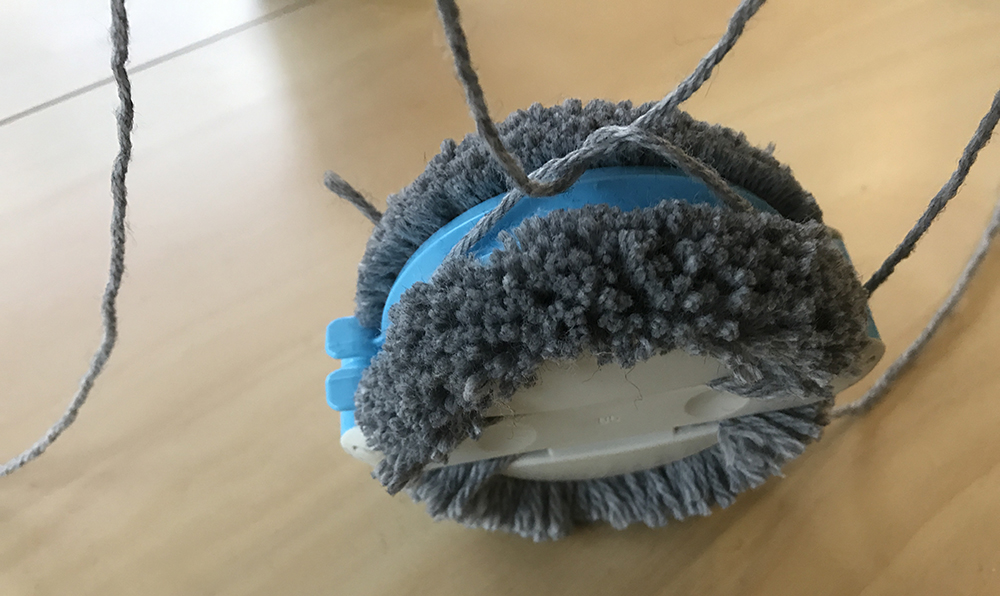
Step 7: Cut a long piece of yarn – you will want to insert this piece of yarn around the circle, in between the blue parts, and then tie tightly as shown in the photo below. Flip pompom maker over and tie tightly one more time. I then flip pompom maker over again and tie tightly another time, this time making a knot. This step is what holds the pompom together so it’s very important that you cinch this piece of yarn tightly and tie in a knot. I find it can be helpful to have another person holding the pompom maker as you cinch (if you have a volunteer nearby!).
Step 8: Open up each side’s blue parts and then pull apart center section of pompom maker, freeing your pompom
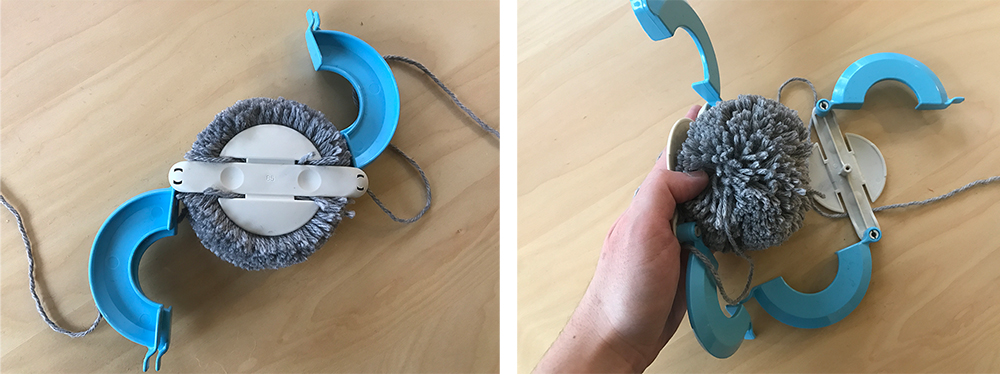
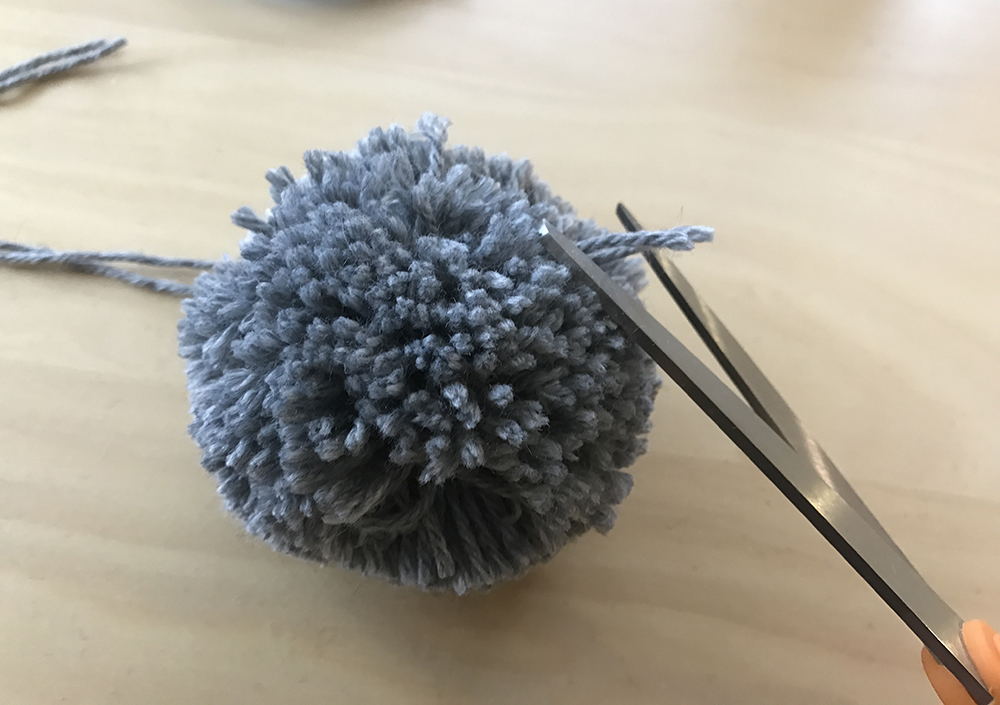
Step 9: Using your sharp scissors, give your pompom a haircut by trimming the ends, making everything as uniform as possible. Use the yarn ends (that had been used to cinch and secure your pompom) to secure to the top of your hat (or to hang for decor if you choice!).
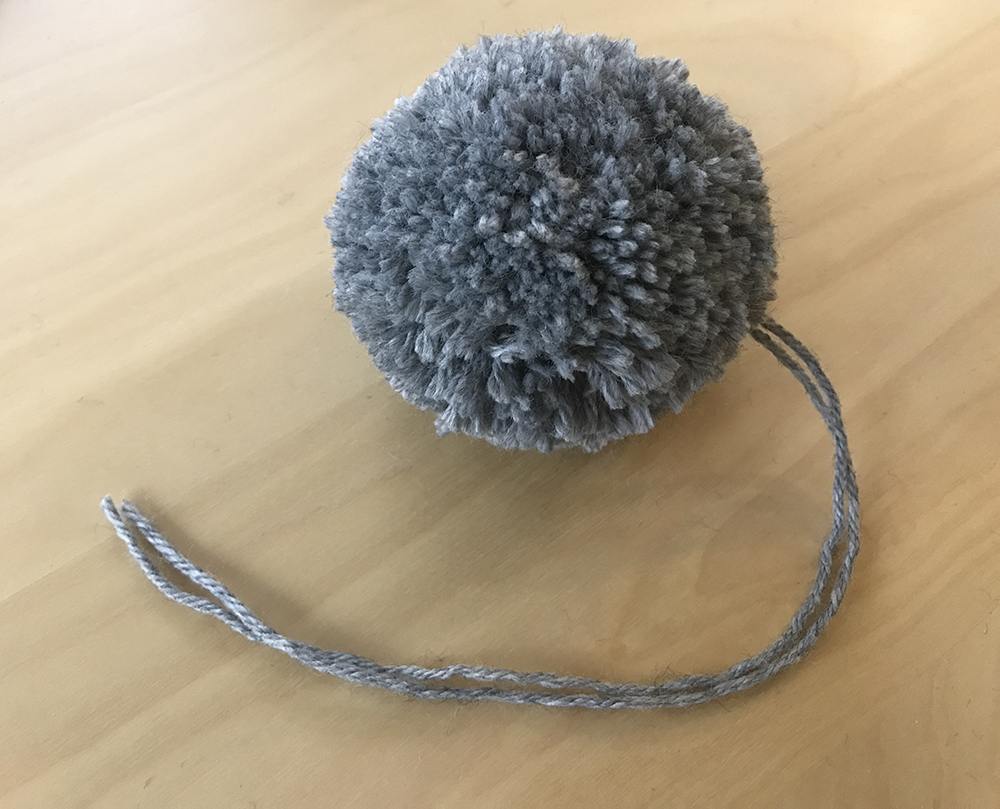
Your pompom is complete!
