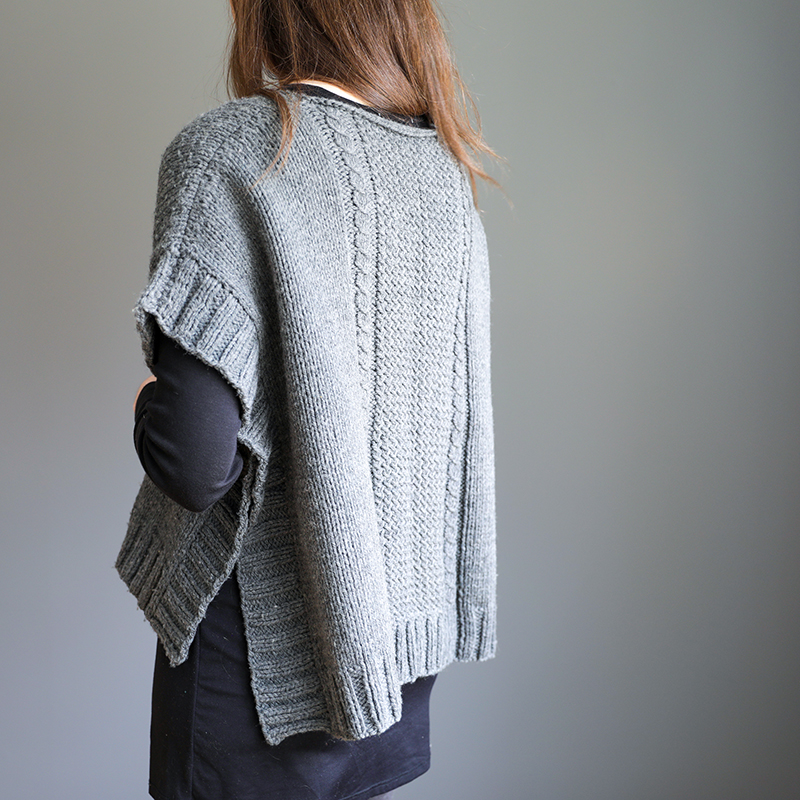
Margo Tips
On this page you’ll find tips and tutorials for the techniques used in Margo Poncho or Little Miss Margo Poncho! This page reviews the following techniques:
- Yarn Options
- Picking a size
- Long-tail cast-on
- Faux cable stitches
- Wrap & turn short rows (for shoulder shaping)
- Three needle bind-off
- Picking up stitches
- Attaching Buttons
Yarn Options:
The pattern calls for bulky-weight yarn – I used Quince & Co’s Osprey. Below are just a few other great yarn options you can consider! Also make sure to check with your own LYS to see what they recommend – there may be a local indie dyer yarn that could work well too:
- Berroco Ultra Alpaca Chunky, Vintage Chunky or Ultra Wool Chunky
- Cascade Ecological (or Eco+) Wool
- Ewe Ewe Yarn’s Baa Baa Bulky
- Plymouth Yarn Homestead
- Manos del Uruguay Wool Clasica
Picking a Size:
Only 2 sizes are given as each size will fit many bust sizes due to the oversized fit. The S/M size (with finished width of 31.5″) will typically fit a bust range of 32-44” and the L/XL size (with a finished width of 36″) will fit a bust range of 46-62”. However, if you are in the L/XL range but prefer a less oversized fit, then knit the S/M size. If you would like to see some photos of it from other knitters, check out the Ravelry page here!
Long-tail Cast-On:
This is my favorite type of cast-on and I have a video below that shows you the thumb-method that I use for it. However, feel free to use whatever kind of cast-on you prefer.
Faux Cable Stitch
The highlight of the Margo Poncho is the panel of faux cable stitches. They’re called “faux” because although the look mimics a cable, there is no cabling involved! In the demo below, I show you how to work this panel:
Wrap & Turn Shoulder Shaping
Each shoulder is shaped by using wrap and turn short rows (although you can a different type of short row technique, such as German short rows, if you prefer). I wrote a blog post all about using short rows for shoulder shaping – click here to read it! Below are my videos on how to work wrap and turn short rows in Stockinette stitch and how to work wraps as you reach them:
Three Needle Bind-Off
The Front and Back shoulders are joined together using the three-needle bind-off. Below is my video that shows you how to work this technique:
Picking-Up Stitches
The ribbing on each side of the poncho is created by picking up stitches along the sides. If you’ve never picked up stitches before, it might be helpful to watch my tutorial below. It’s for a sweater but the beginning part (between 0:00 and 5:26)
Attaching Buttons
Check out my tutorial here – it’s for a different poncho pattern but the technique is the same.

