Magic Hour Tips
On this page you’ll find tips & tutorials to help you make your own Magic Hour! You’ll find information about:
- Yarn options
- How to use less colors
- Adjusting the size
- Shawl construction & getting started
- Tip for Keeping Track (or not keeping track) of repeats
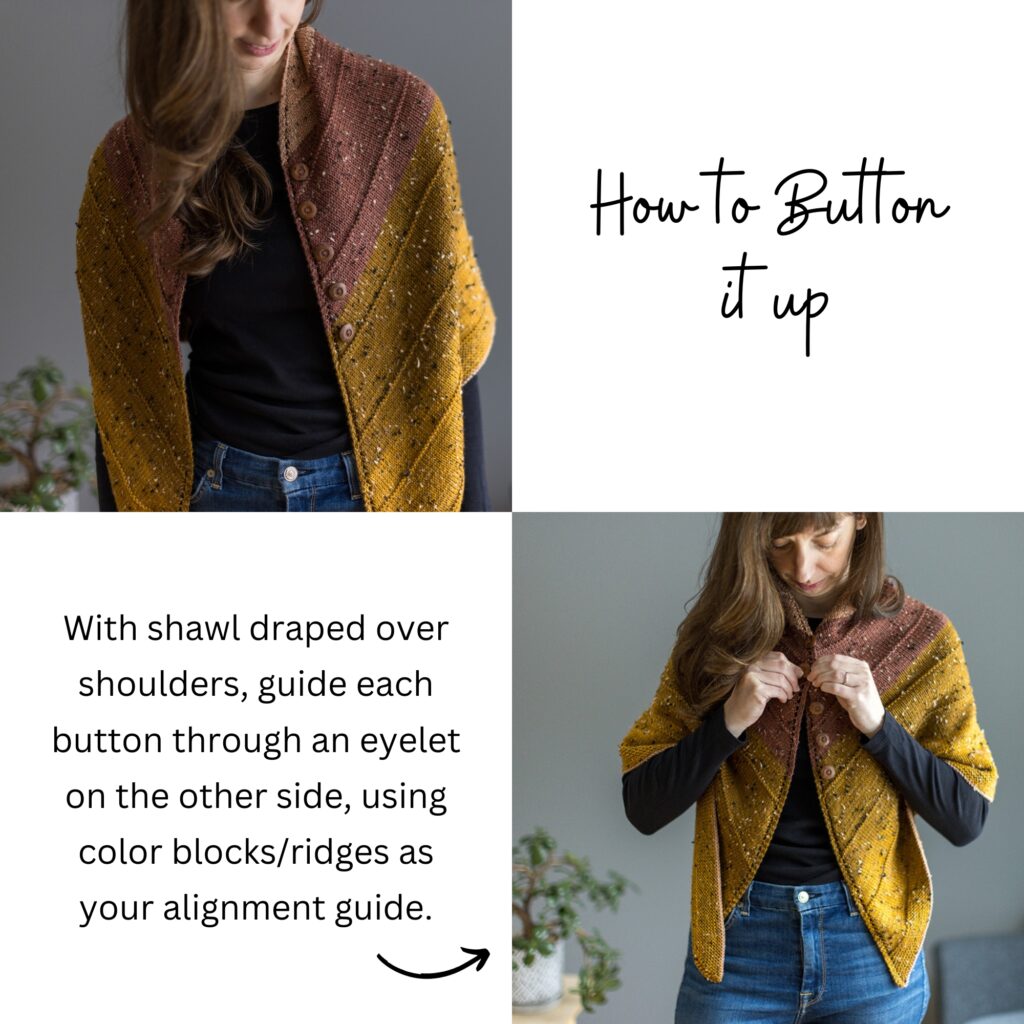
- Button tip & Attaching buttons
- Technique tutorials:
- long tail cast-on
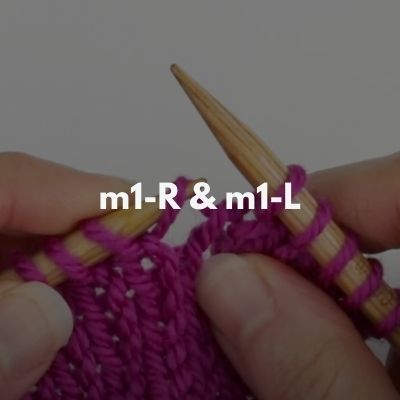
- m1-R & m1-L
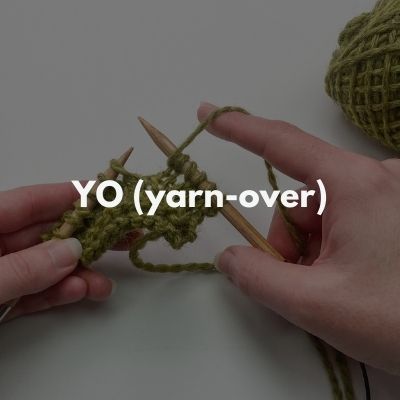
- YO
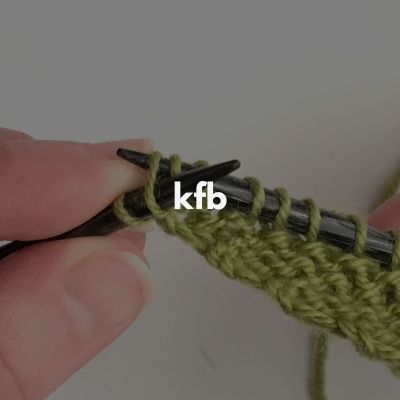
- kfb
- How to wear it
Before we get to the tips & tutorials, I first wanted to share the inspiration behind the colors I chose as well as the name. If you are a newsletter subscriber then you already know that my husband Jeff is my photographer and he not only takes all of my pattern photographs but he’s also a beautiful nature photographer here in Maine. Below is a shot he took earlier this Spring here in Freeport, Maine by the water:
I was immediately drawn to the colors of course! The pinks/purples in the clouds with the bands of yellow on the horizon just completely amazed me. And when visiting the yarn shop Wool & Co a couple of months after this photo was taken, I saw an interesting yarn that just so happened to have colorways reminiscent of this scene (see below for more details about the yarn).
Jeff took this photo just after sunrise, and often the term “Magic Hour” is used by photographers to describe either the first hour after sunrise or the hour before sunset. The light can be just gorgeous at this time, as definitely was the case this particular morning. So “Magic Hour” seemed like the perfect name for this design!
Yarn Options
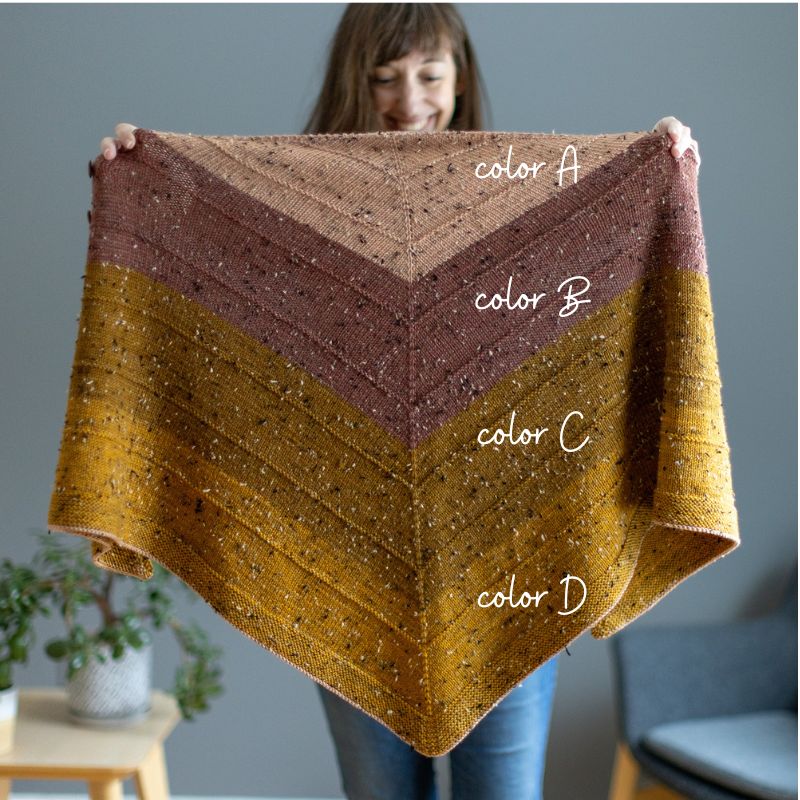
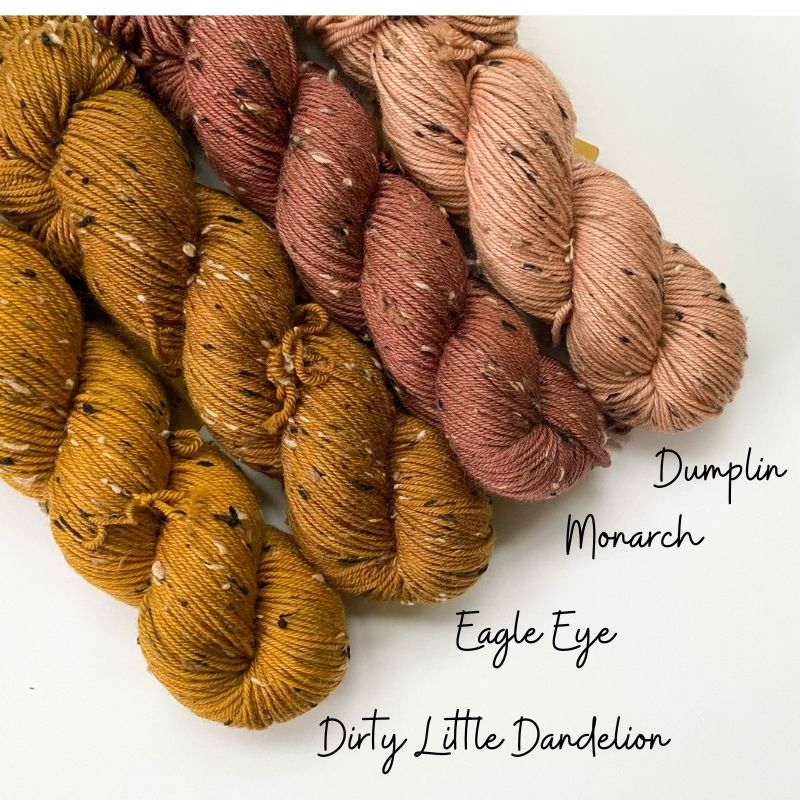
Magic Hour calls for 4 different colors of DK-weight yarn. I used Craggy Tweed by The Farmer’s Daughter Fibers in the colorways: Dumplin (color A, 75 yards), Monarch (color B, 150 yards), Eagle Eye (color C, 230 yards) and Dirty Little Dandelion (color D, 345 yards). Note: more yardage will be needed if you want to make your Magic Hour larger, or an additional color will be needed.
Each skein of this particular yarn has 231 yards and for colors A, B and C you just need 1 skein. Color D requires 2 skeins. If you are interested in using this exact yarn, here are some places online you can find it: Directly from Farmer’s Daughter Fibers (the dyer of this yarn), Wool & Co, Monarch Knitting, Spun Ann Arbor, The Mermaid’s Purl (and of course don’t forget to check with your own LYS!). Note: if you’re a yarn shop that carries this yarn and I haven’t listed you above, send me a message and I will add you!
A note about this particular color palette: the color Monarch (color B) does not seem to be available any longer. However, there are shades very similar that I’ve seen online, such as: Sinopah, Bear Gulch, J. Rankin, Willow Creek, BS’n (each retailer has some different options so it depends on where you are looking). There are also other shades very close to some of the other colors so if one of the shops above doesn’t have the exact 4 colors I used, you’ll likely find similar shades. Or pick your own unique color palette! The options are endless 🙂
But this pattern can work for really any kind of DK-weight yarn you might have or want to use. If you would like to consider other yarn options that have a wide color palette (to do a similar gradient-like look), here are some ideas to consider (I tried to provide a range of price options as well):
- Manos del Uruguay Silk Blend or Milo
- Spun Right Round Tweed DK
- Brooklyn Tweed Dapple
- Universal Yarn Deluxe DK Tweed Superwash
- Purl Soho Cashmere Merino Bloom or Nigh DK
- Rowan Felted Tweed
- Sandnes Garn Smart or Double Sunday
The only kind of yarn that may not be as good an option would be cotton or linen. And the reason for that is because those types of fibers don’t have enough body to hold up the buttons well (or the eyelet holes will stretch too much holding the button and not spring back due to the lack of elasticity in the yarn). So if you want to be able to button the shawl like in the photos, I would suggest sticking with a merino or wool blend yarn.
Tips on using less colors
Although I use 4 different colors in Magic Hour, it would be quite easy to adjust to work for just 2 colors if you prefer. Here is what you’ll need to know:
- You’ll need approx 225 yards of color A and approx 575 yards of color B (if you’re making it the same size as written).
- In the pattern, you’ll use color A for the initial setup section, section 1 and section 2 and you’ll use color B for section 3 and section 4 (so essentially your color A is used for A & B in the pattern and your color B is used for C & D in the pattern).
Adjusting the size
There are a couple of options for making your Magic Hour larger. For any of these, keep in mind that you may want to alter your button placement due to the new size. See my button tips below for more details about this.
Option 1: Keeping 4 colors, each of the same length (but extending length of each color)
- There is a simple way to make each color block section longer but still remain in the same ridge stitch pattern that you see photographed. And this method keeps each of the 4 colors the same length as in the pattern. By doing the adjustment I note below, you add approx. 2.75-3″ in center spine length for each color.
- Here are the edits you would make:
- Work Initial Setup section as written. But in section 1, you will first just work rows 1-33 as written. Then instead of proceeding to row 34 you’ll go back to row 12 and then work rows 12-48 (to the end of the section).
- Similarly, in sections 2 & 3 you will work rows 1-33 as written. Then instead of proceeding to row 34 you’ll go back to row 12 and then work rows 12-44 (to the end of the section).
- Then in section 4, you will work rows 1-34 as written and then repeat rows 13-34. Then you will work section 5 as written.
- In terms of extra yardage needed, to be safe I would estimate that you should double the amount of yardage listed in the pattern for each color.
Option 2: Add a 5th color
- The simplest option that would add a bit less length than option 1 would be to just add a 5th color. This would essentially add 1 more color block section to the shawl and give you a total of 7″ extra in length (based on pattern gauge).
- This is also a good option if you’re not sure in the beginning if you might want to make it bigger or not because no alteration is made in the pattern until you get past section 3.
- In terms of affecting yardage in the pattern, the easiest option would be to make this 5th color your new last color – this way the yardage amounts listed in the pattern for the other 4 colors aren’t affected. If you do this, then I would estimate you would need 550-600 yards of this 5th color.
- Here is the edit you would make:
- Work the pattern as written for all sections until you get to section 4. Then instead of starting section 4, repeat section 3 but with color D.
- Once you have finished your repeat of section 3 with color D, then start section 4 with your new 5th color. You will also work that color then for section 5.
Option 3: Extend the bottom garter hem
- A great option to add extra length without having to plan much ahead is to just extend the bottom garter hem. As written it measures 1.5″ so you can add several inches or more to this. You would need more yardage of color D (how much depends on how much deeper you go), but one option is to add in a new color for this hem (perhaps using up some stash yarn!).
- Here is the edit you would make:
- Simply repeat rows 1 & 2 in section 5 until you are happy with the length (instead of just 6 times).
- Then follow the remaining instructions for that section
Need more advice on how to customize your size? I’m always happy to help. Feel free to reach out!
Shawl construction & getting started
Magic Hour is constructed like a typical triangle shawl. If you are new to this type of shawl construction, here are some tips you might find helpful:
- You are casting on a small number of stitches but will then be working increases to grow your shawl out.
- The first section of the pattern, the “Initial Setup” section, is where you get things set-up – you’ll cast-on and work your first few increase row and place markers for your center stitch.
- Once you get through the set-up, sections 1 through 5 you continue working increases every right-side row, working in color blocks and also inserting garter ridges at spaced intervals.
- A typical increase row consists of working a yarn-over 2 stitches in from each edge and a m1-R and m1-L increase on either side of center stitch. The only time this changes up is when working an increase row after a garter ridge – when this occurs, the pattern instructs you to work a ‘kfb’ increase on either side of the center stitch instead of m1 (this is just because a m1 doesn’t look as nice after a garter ridge). Below are tutorials on how to work all of these different increases.
- What if you forget an increase? Don’t worry if you mess up and forget an increase now and then. This pattern is very forgiving – just make sure to add an extra increase on the next row.
- Tip: After you finish section 3 or 4, assess the size of your Magic Hour. It may even be helpful to put the stitches on 2 circulars so you can really see the size. After finishing section 3, you’ll still have about 7″ left of center spine length to work in sections 4 & 5. But if you feel like you need more length/width than this, I would look above at the adjustment options, specifically options 2 or 3 as these are both adjustments you would make at this later point in the pattern.
Tip for Keeping Track (or not keeping track) of repeats
Throughout the pattern, you’ll see that you are often instructed to repeats rows 1 & 2 a certain number of times. For example, in Section 1, rows 3-14 say to repeat rows 1 & 2 6 more times (and that you’ll have 20 sts on either side of center marker at this point). If you don’t want to have to keep track of the number of times you have repeated rows 1 & 2, you can simply just keep repeating rows 1 & 2 until you have 20 sts on either side of the center marker (ending after a WS row). I always provide the stitch count so you can choose to go off of that instead of the number of times to repeat. Just a helpful little tip as you make your way through the pattern!
Button Tips & Attaching buttons
The last step of Magic Hour, after it’s been blocked, is to attach the buttons (of course this is optional if you prefer it to be a traditional shawl/scraf). Here are a couple of tips related to the buttons and attaching them:
Tip #1: Choose a light button
Choose as light a button as possible! Because you’ll be utilizing the eyelet edge as your buttonholes, it’s not as sturdy as a traditional button placket. So if you put a heavy-ish button on, your fabric will stretch out a little more in those buttoned areas. I chose very light plastic buttons (purchased at Joann’s) and I would recommend a similar light-weight button.
Tip #2: You may want to change the button placement
The placement I recommend in the pattern is based on the size I made and my personal preference and how I styled them in the photos. However, depending on your preference and what kind of finished measurements you end up with (since different yarn may net you a slightly different size), it would be a good idea for you to try on the shawl and place a safety pin or removable marker at where you may want your top button to be. And FYI, don’t worry if your first placement doesn’t work out! You can always undo the button and reattach at a different spot.
Tip #3: You may want less buttons
Similar to tip #2, depending on the finished size, your own measurements and how you want to wear our Magic Hour, you may not want to use all 5 buttons. You may find that just 3 works perfect for you (perhaps eliminating the top 2 or the top and bottom button). One tip is to sew your middle button on first and then put it on and button it and see how you like it then you can go from there!
Tip #4: How to attach your buttons
You can attach your buttons in whatever way you prefer, but here’s how I chose to do it:
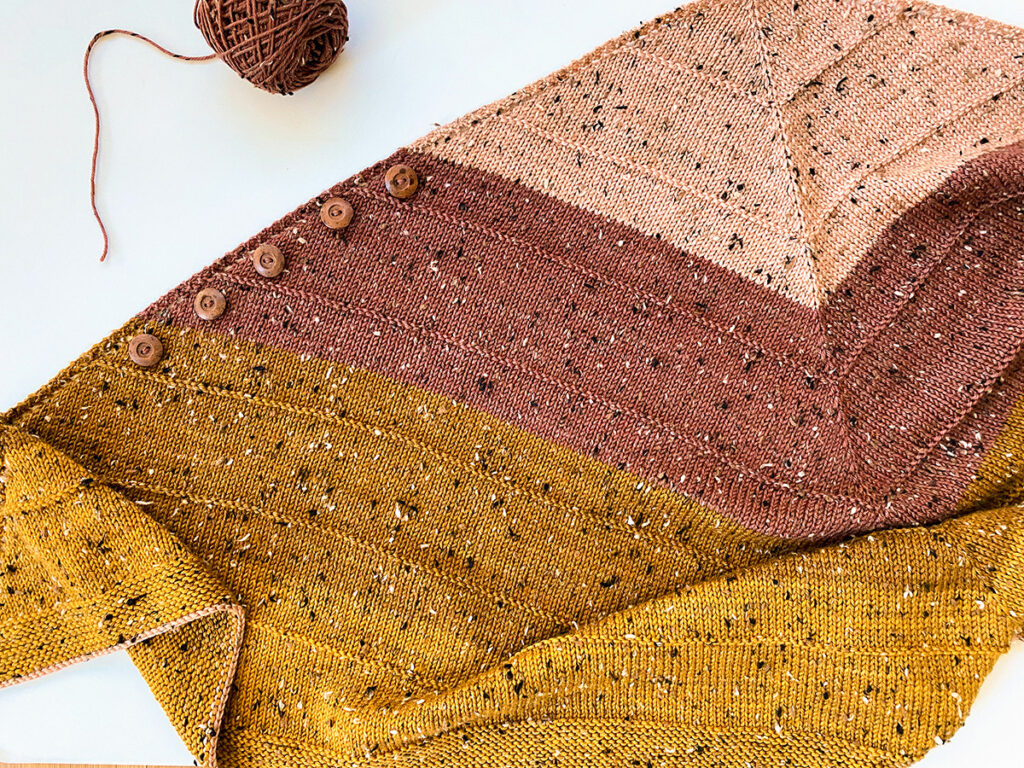
- With the shawl laying flat in front of me (with RS facing), I decided to place 5 buttons along the left side, with my top button in the color B section, right above the first color B garter ridge and the bottom button in the color C section, right above the first color C garter ridge. Then the I spaced the other 3 buttons equally in-between.
- These buttons are placed next to the eyelet (not over them), about 1/4″ from the edge.
- I threaded some leftover color B yarn through a needle that would fit through the button holes and attached each in place. For a photo tutorial of how I typically sew buttons on, check out this tutorial. It’s for a baby cardigan but the process I use is the same.
Technique Tutorials
Below you can find photo/video tutorials for the techniques I used in this pattern:
How to wear it
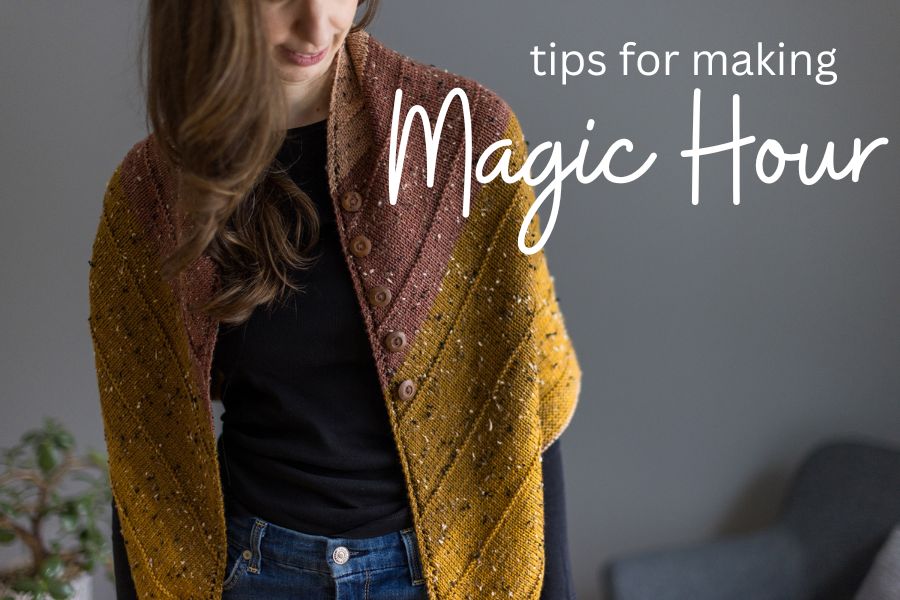
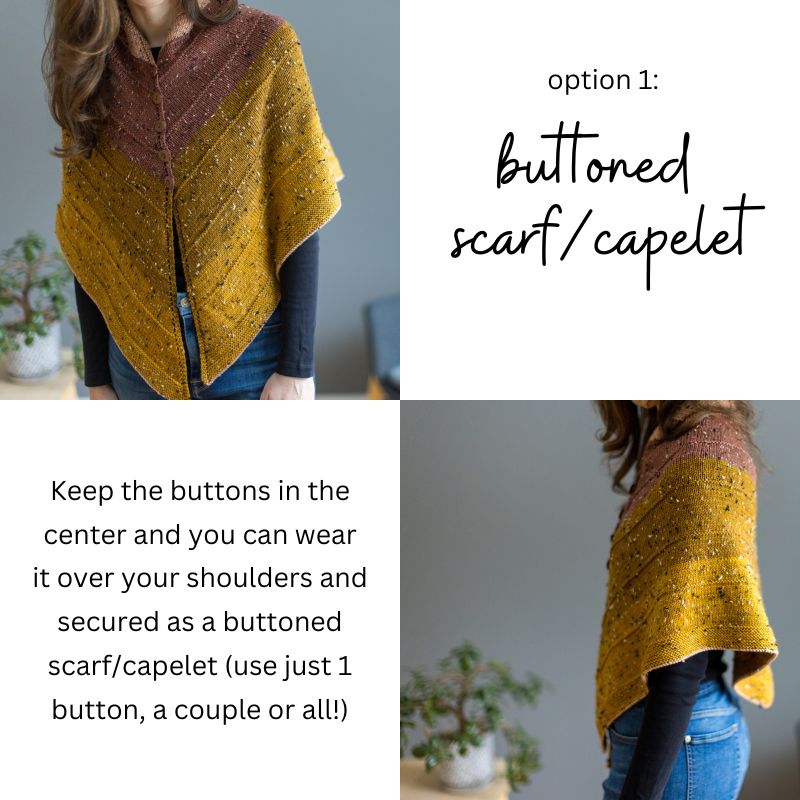
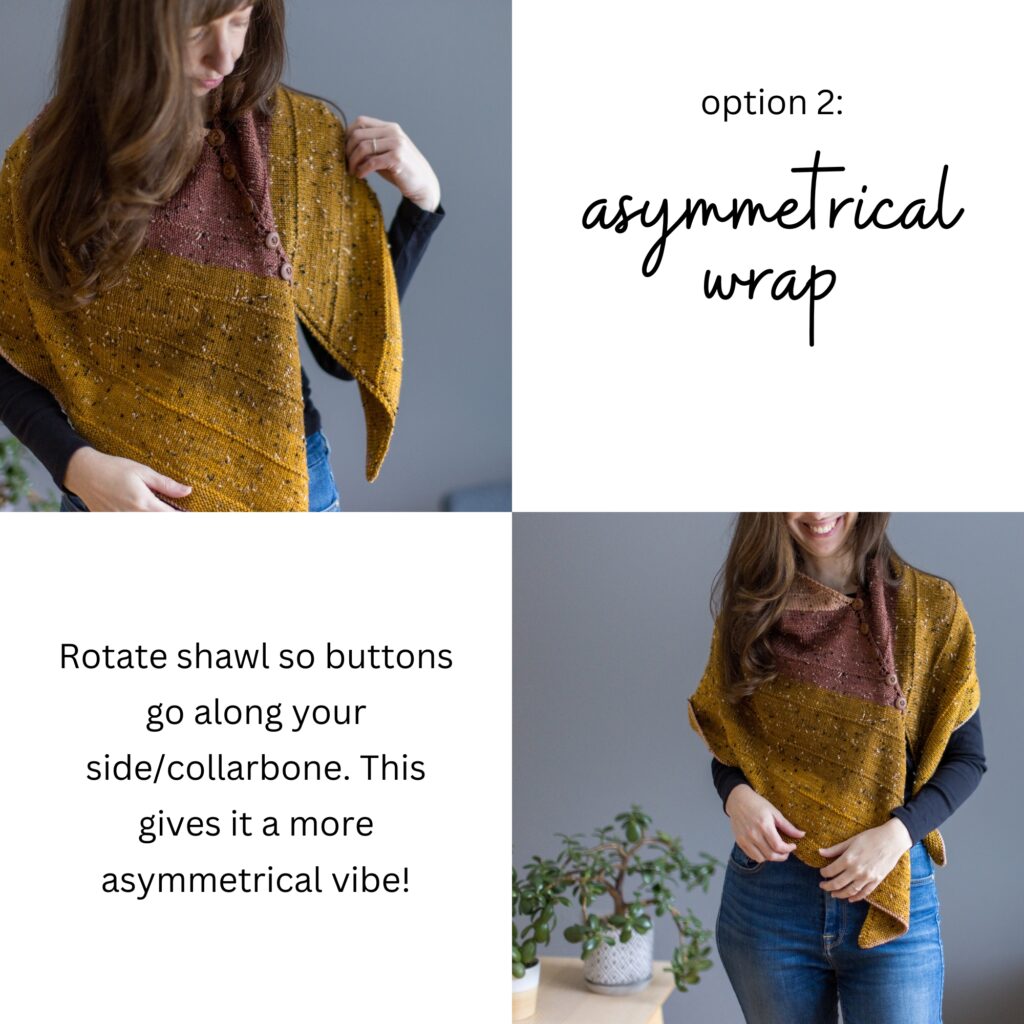
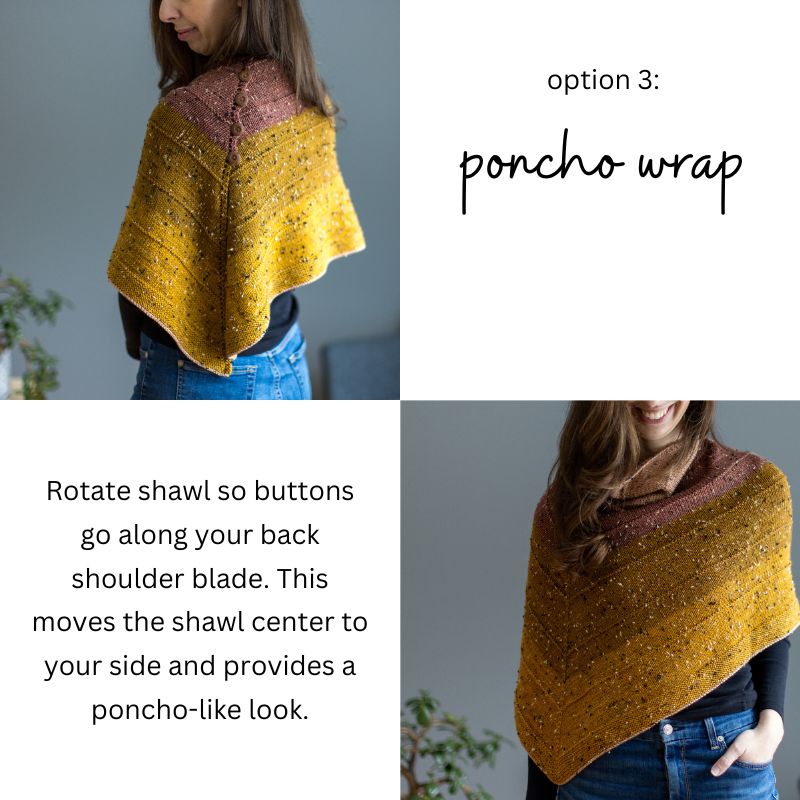
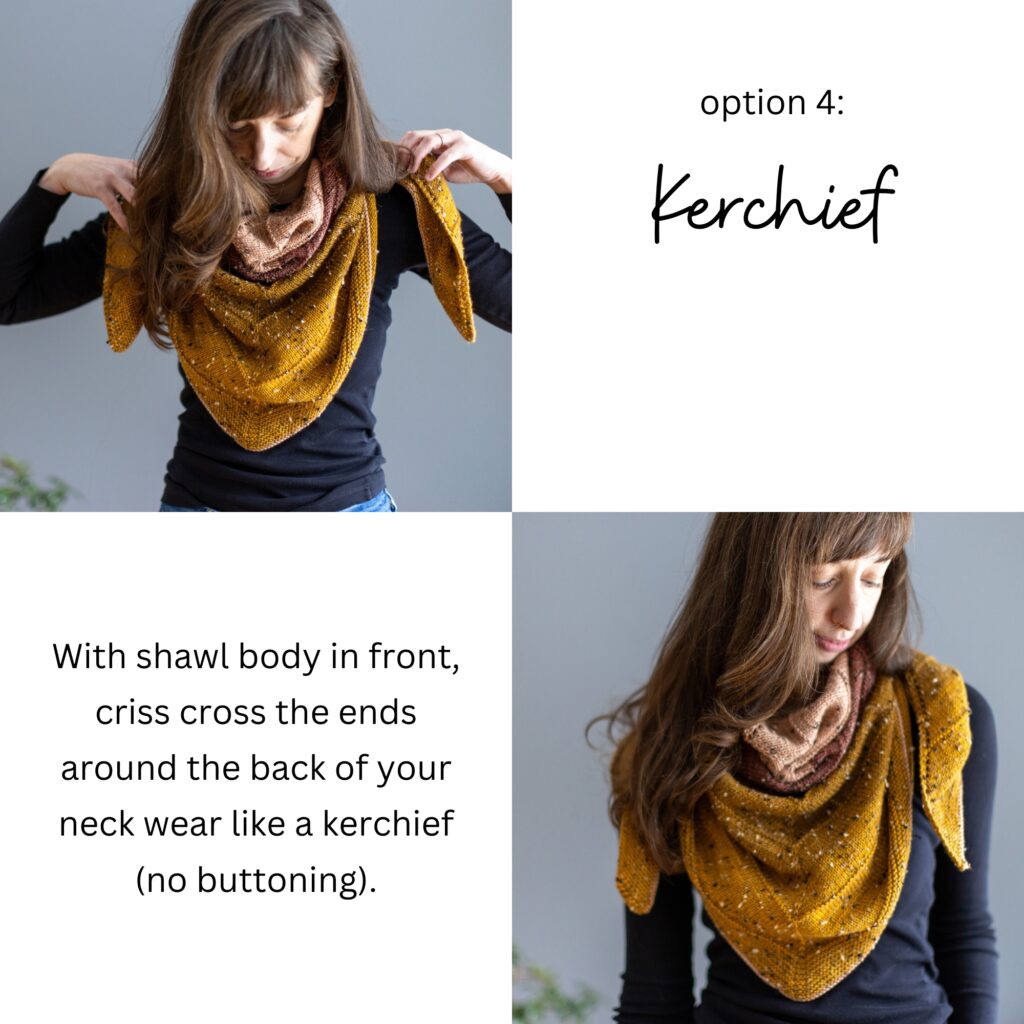
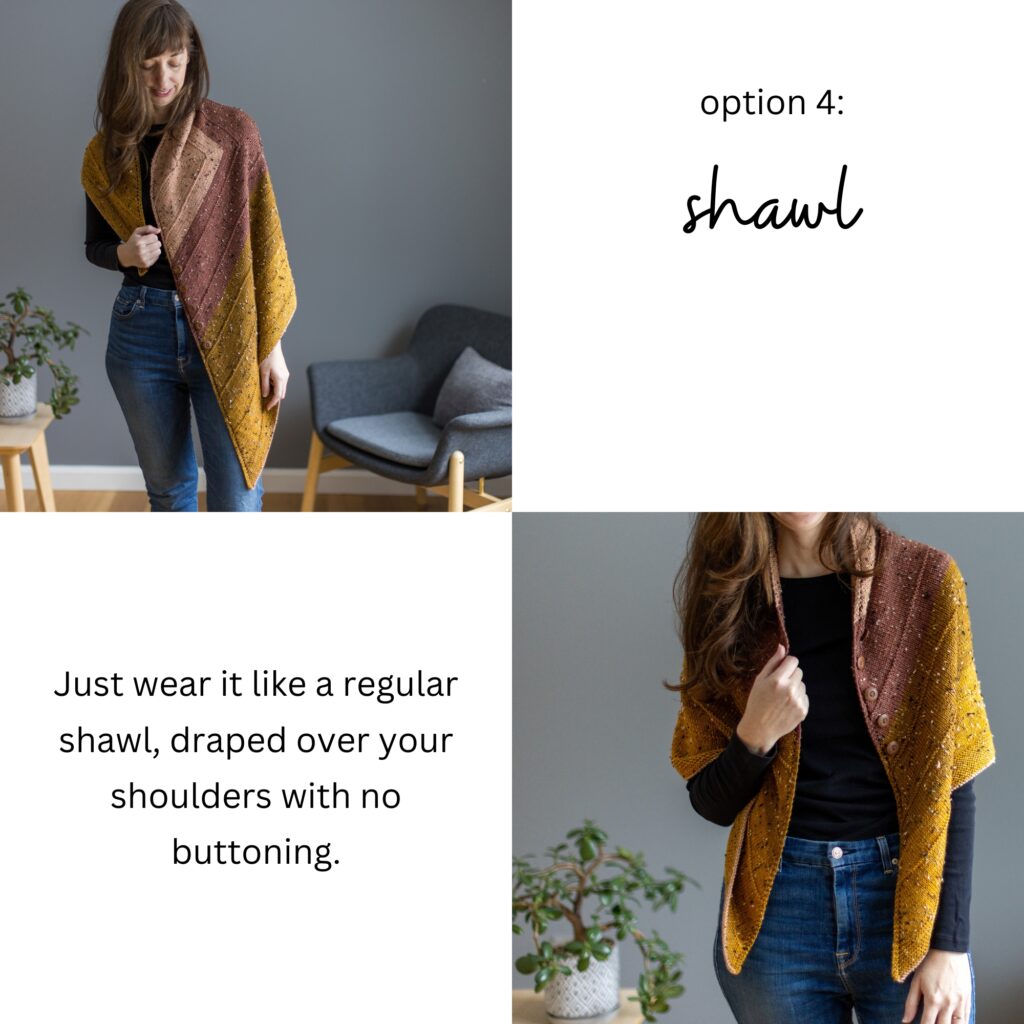
There are multiple ways you can wear Magic Hour! Here are some ideas for how to style it:

