Low-Key Tips
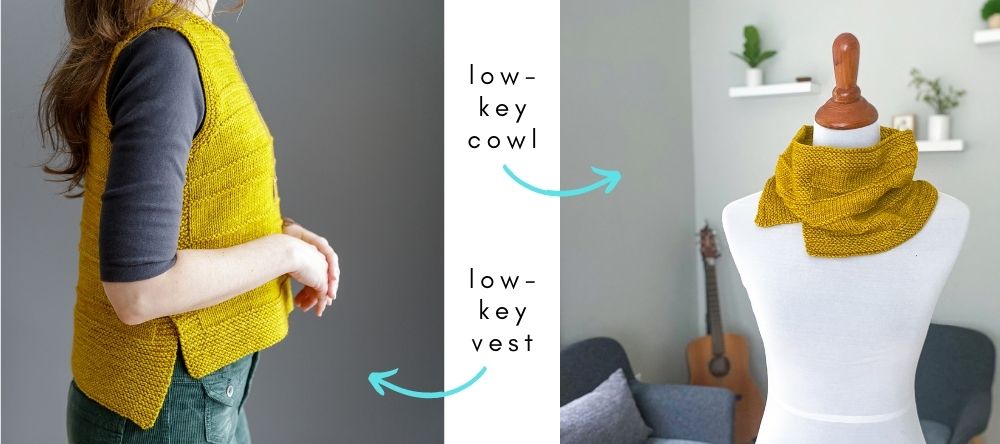
On this page you’ll find tips and tutorials for the techniques used in the Low-Key vest and Low-key cowl. This page reviews the following techniques:
- Picking a size (for the vest)
- Long-tail cast-on
- What is RS when working in Garter stitch?
- Front/Back Joining Row
- Altering the length (for the vest)
- Decrease stitches (k2tog & ssk) (used in the vest)
- Three Needle Bind-Off (used in the vest)
- Picking up stitches (used in the vest)
- Weaving in ends
- Blocking tip
Picking a size (for the vest):
I recommend picking a size that is approx 4-9″ larger than your bust circumference, depending on your desired fit (you could always do less, or more, ease if you prefer). In my samples, I knit the yellow, cropped version is size 2 (which for me is around 4-5″ of positive ease at my bust) and this gives a more standard fit for me when wearing with a medium layer underneath. I knit the teal, tunic version in size 3 (which for me is around 8-9″ of positive ease at my bust) to show what it would look like a bit more oversized for a more layered look. Additionally, because the tunic version hits at the widest part of my hips, this also shows that, if your hips are wider than your bust and if you’re knitting the tunic version, that you need to keep your hip measurement in mind when picking a size. I wrote lots more about this topic here on my blog post!
If you would like to know how the size numbers compare to typical S, M, L type sizing, in general, size 1 would be equivalent to an XS, size 2 a S, size 3 a M, size 4 a L, etc.
Long Tail Cast-On:
I like using the thumb method of the long tail cast-on (although if you prefer the slingshot method that totally works too!). Below is my video tutorial of how to work the thumb method of this cast-on:
What is the RS when working in Garter Stitch?
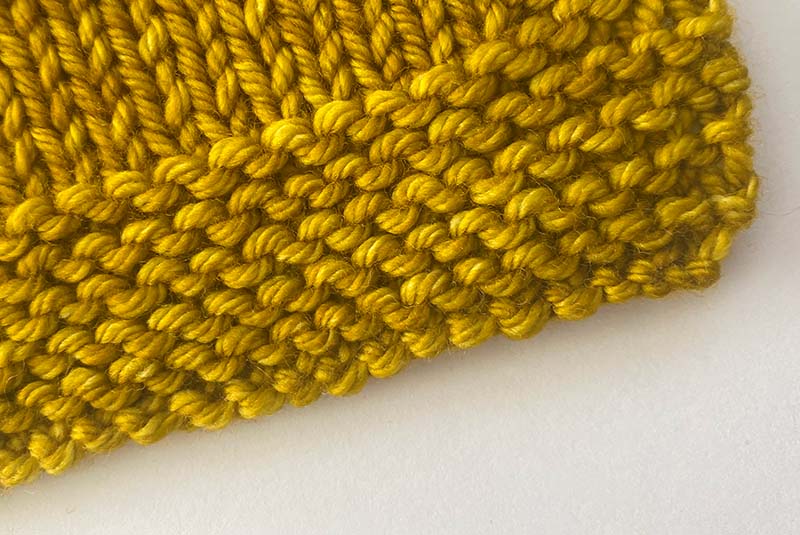
Since garter stitch fabric looks the same on the back and the front, what does the “RS” (right side) look like? I bring this up because when working the hems, the instructions say to work in Garter stitch flat for a certain number of rows, or until measures a certain number of inches, making sure to end after working a RS row. So how do you know if you just worked a RS or WS row in Garter? It all has to do with how the cast-on edge looks. When I work garter stitch, row 1 is always a RS row (so that means every odd numbered row is a RS work). But if you’re not sure what number row you’re on, just look at the cast-on edge.
If you’re about to start a row and the cast-on edge looks like this, then you are on a RS row:
If you’re about to start a row and the cast-on edge looks like this, then you are on a WS row:
The Joining Row:
After you have worked your Back and Front hems (in either the vest or the cowl), the next section is the “Joining Front/Back” – this section is where you literally join your Back and Front pieces together! In the pattern I’ve broken it out into 7 steps (and included some photos as well). I’ve also created the below video demonstration where I walk you through each of these steps, using my Low-key Cowl as the example (the cowl and vest both have the exact same steps for this process – the only difference is that in the vest there is a ridge row worked before the join whereas in the cowl it’s worked after the join (in case you notice the difference in the pattern photos):
Altering the Length (for the vest)
If you plan to make the body of your Low-key vest longer or shorter (or the armhole depth longer or shorter), and are wondering how to do so while keeping the garter ridges in pattern, check out my blog post here!
Decrease Stitches – k2tog & ssk (used in the vest):
Check out my decrease tutorial page here for videos on how to work a k2tog or ssk.
Three Needle Bind-Off (used in the vest):
Picking Up Stitches (used in the vest):
If you have never worked the “pick up and knit” technique, check out my tutorial page here.
Weaving in Ends:
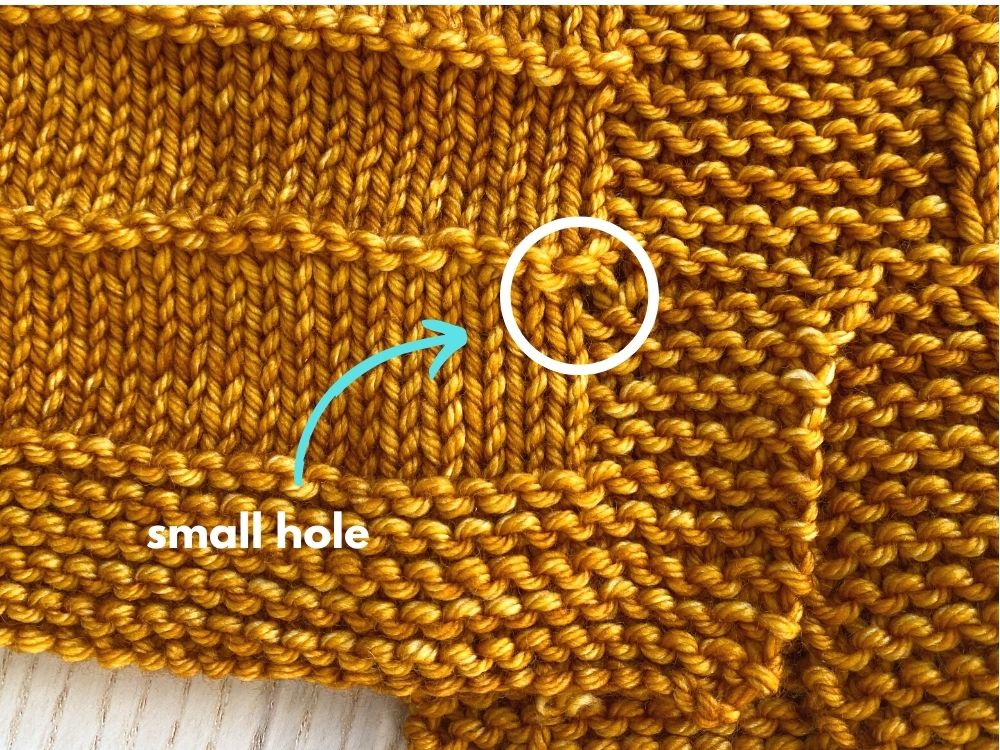
In both the Low-key vest as well as the cowl, in step 1 of the “Joining Front/Back” section, you’re instructed to slip 6 sts and then rejoin yarn. After you have joined the pieces together, your BOR marker will be at this location and you will notice there is some looseness in this area. You’ll see a bit of a hole as pictured below (in the white circle):
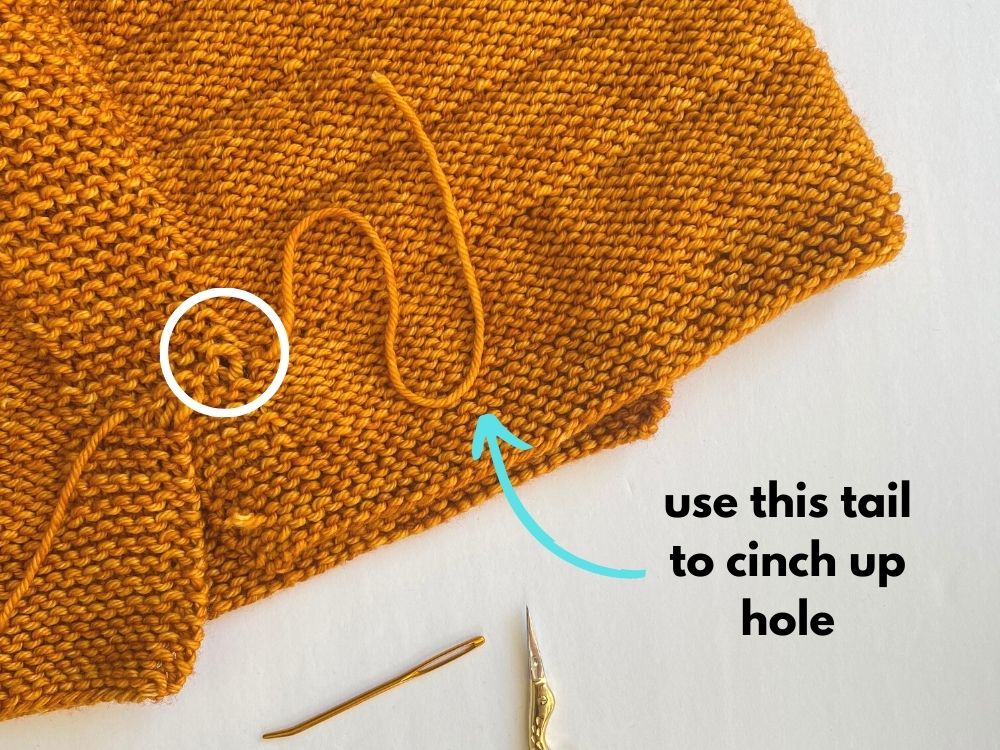
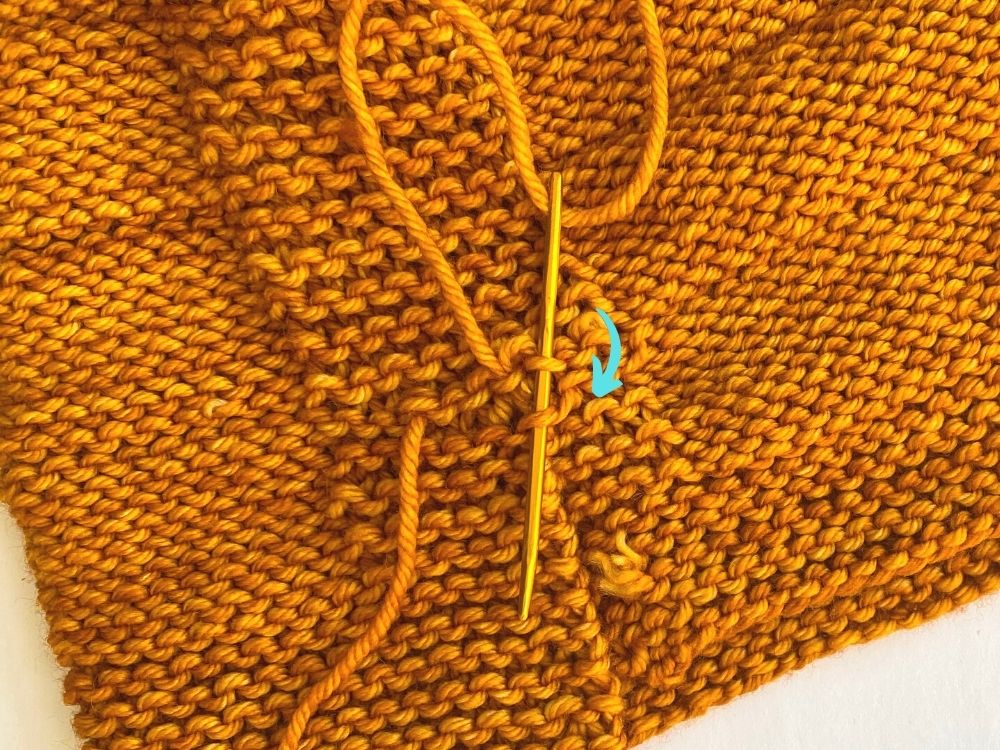
Don’t worry – this is easily cinched up! My photo tutorials below walk you through how I use the duplicate stitch technique to do this:
1. First, turn the work so the WS is facing you. You’ll be using the tail that’s to the right of the hole.
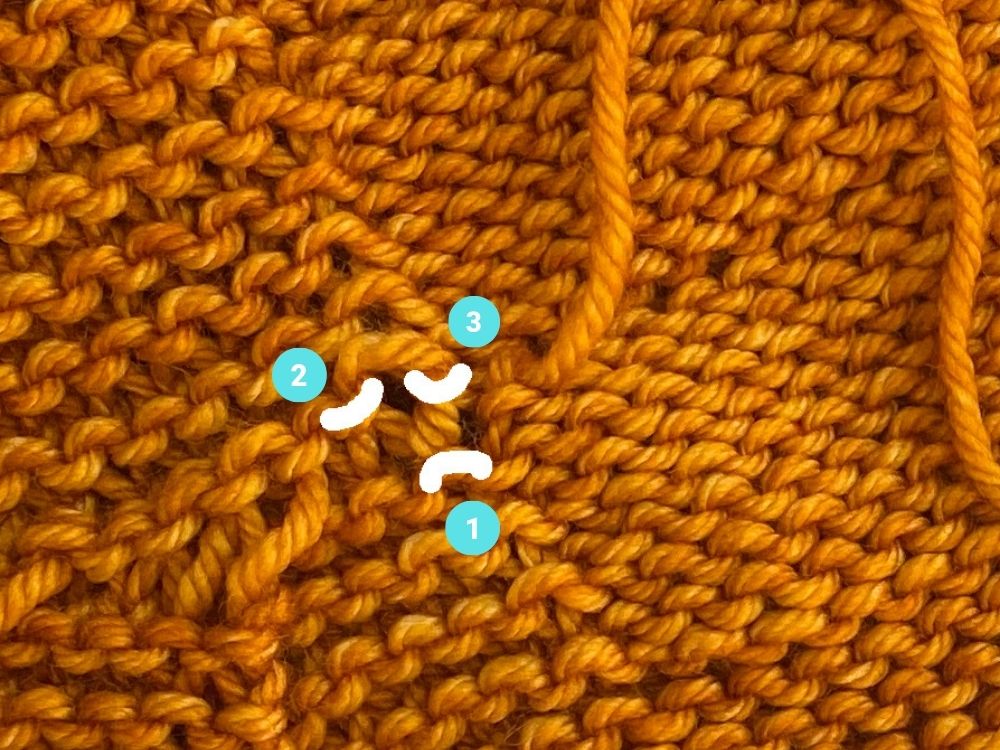
3. In the zoomed in pic below, I have highlighted in white the loops that you will be going into as you work the duplicate stitch.
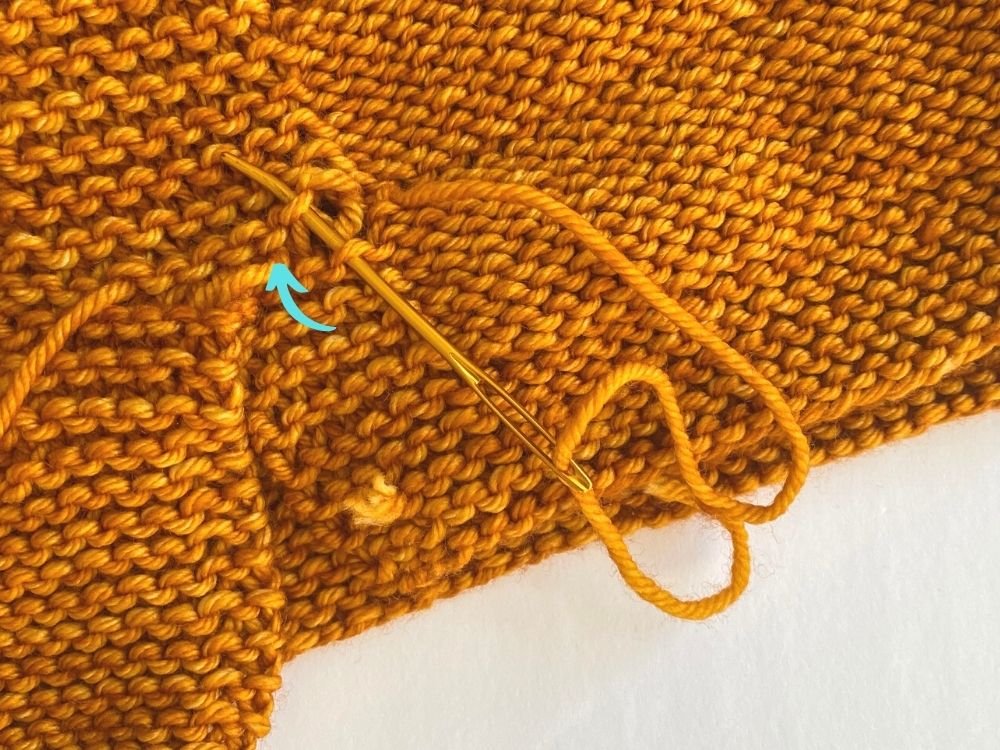
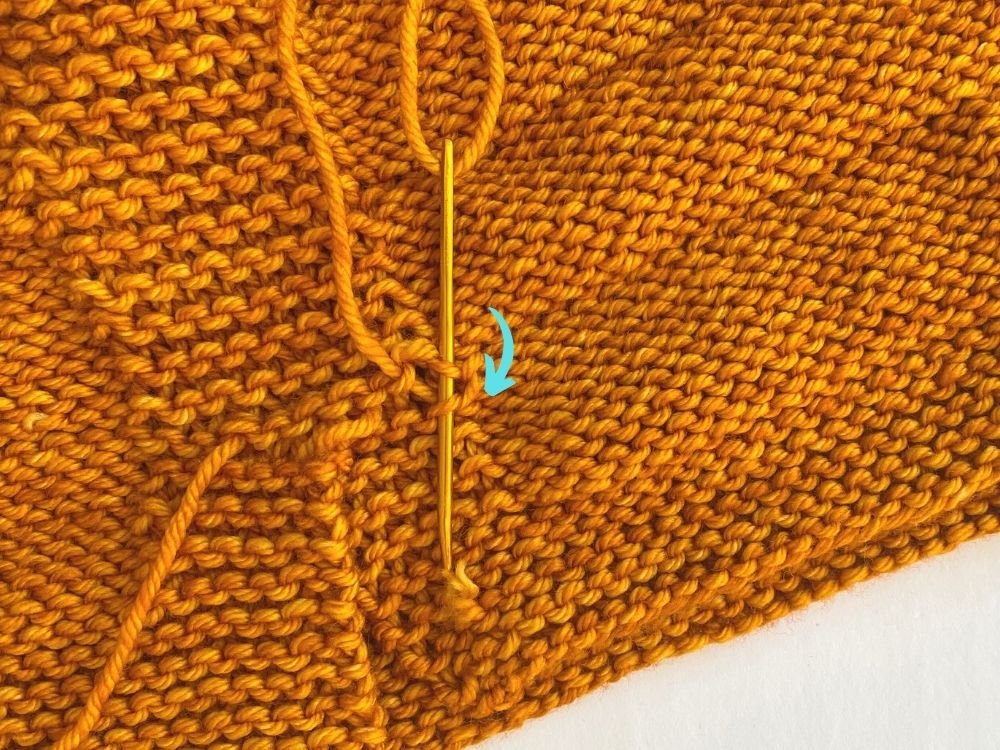
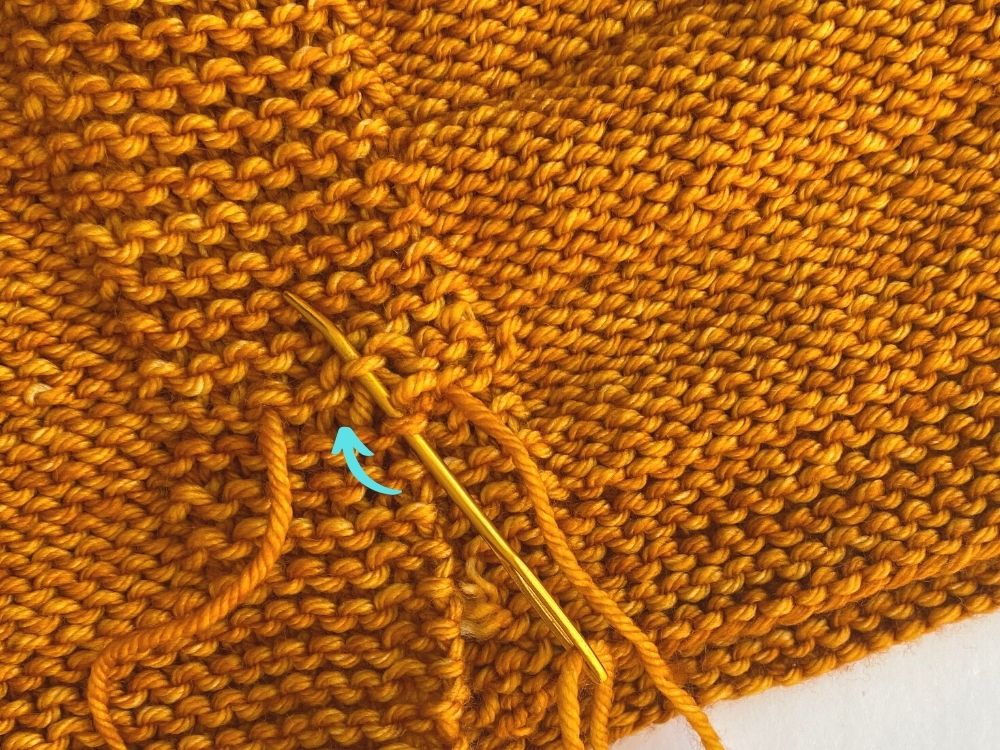
So you’ll start by going into the bottom highlighted loop, then into the second highlighted loop located in the upper left, then into the third highlighted loop in the upper right. And then to end it, you’ll go back into the first highlighted loop again.
4. The pics below show you how I insert the tapestry needle (that the tail is threaded through) into each of these loops:
5. Now that hole is all cinched up!

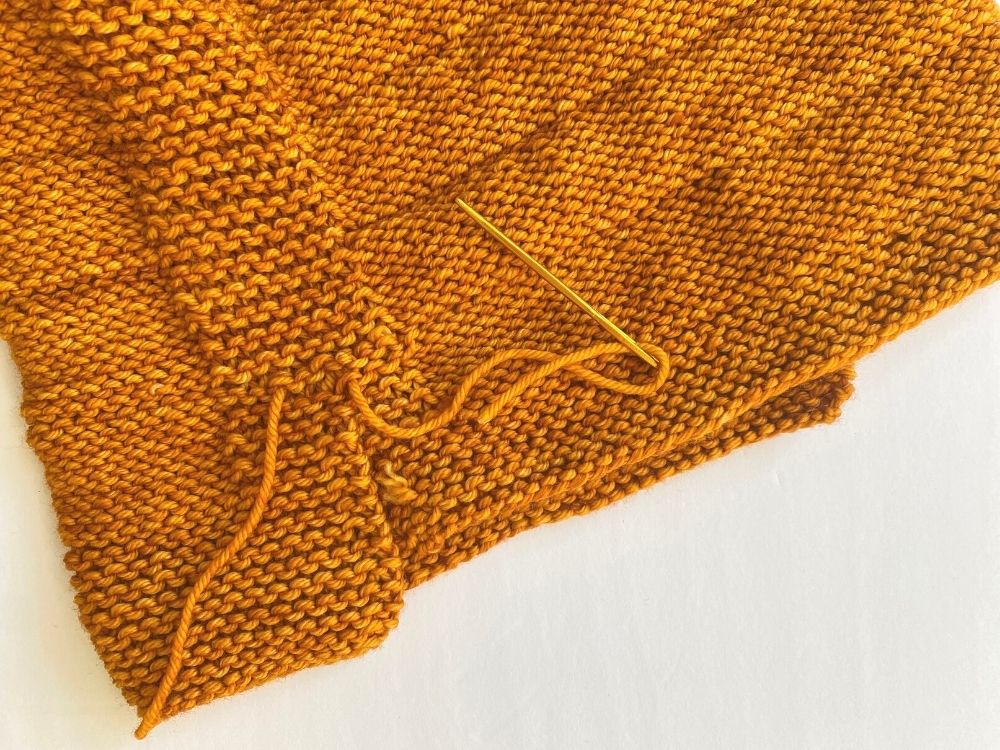
6. There is also some looseness around the split hem join area – circled in white below:
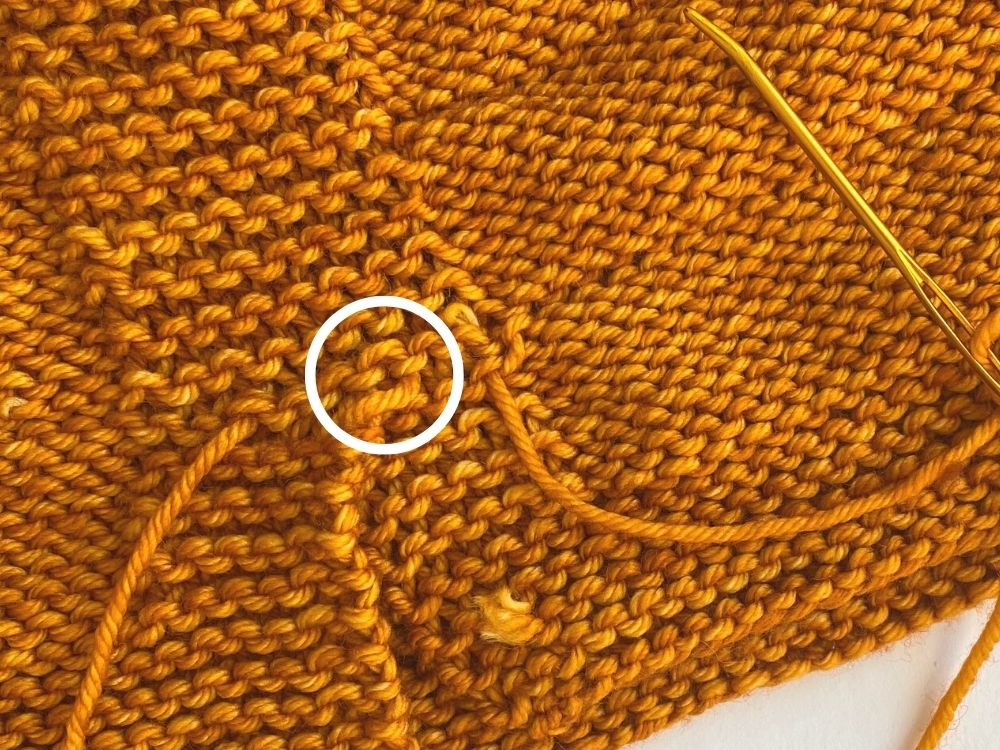
Use the same tail to work the duplicated stitch around this area as well to tighten it up:
7. Now everything is all cinched up!
Weave in the end a bit more and then cut it, and then weave in the other tail a bit as well as cut it.
Blocking Tip:
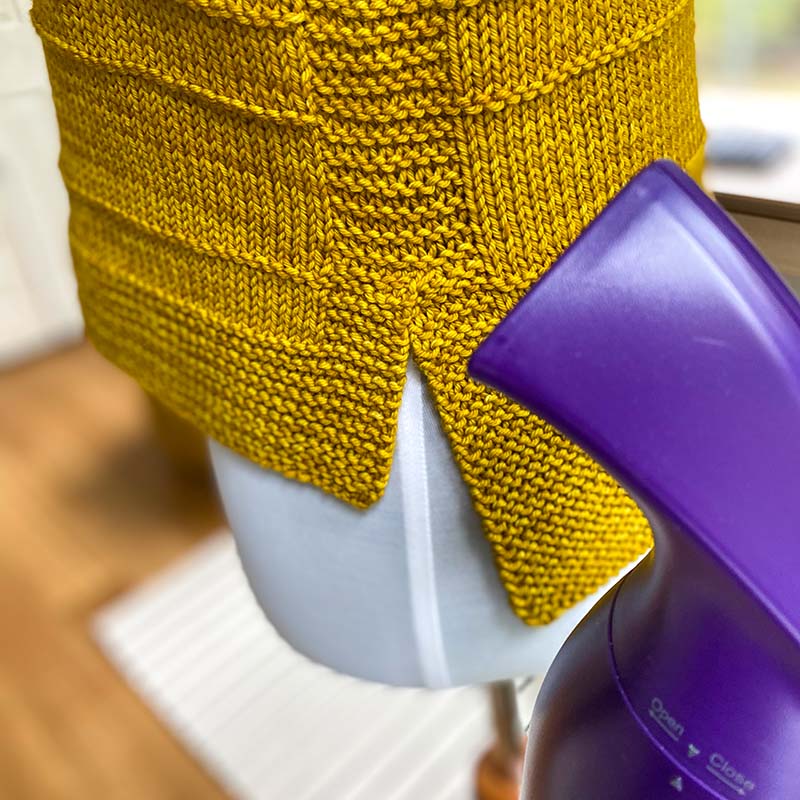
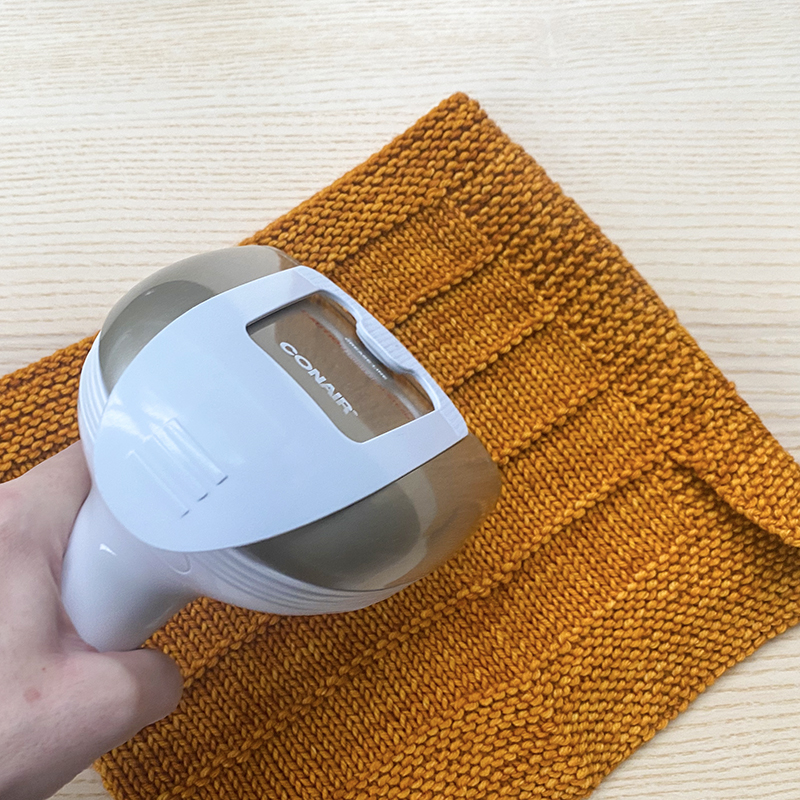
I wet-blocked both my Low-key vest as well as my Low-key cowl. If you are new to wet-blocking, you can check out my blog post here, or watch my video demonstration here. In both of these pieces, after they were dry, I hand-steamed the sides to erase the creases that appeared. You can use this technique for any blocked garment!
Check out this blog post where I talk more about steaming out creases. Also, for the cowl, one additional thing I wanted to mention was that because I wanted to wear it slightly asymmetrical (with the split hem not falling exactly at the side), when wet blocking I placed it on my blocking tile in a slighly off-center manner – I talk more about this in the blog post as well so make sure to check it out before you block your own Low-key cowl.

