Joining Fronts in Audrey’s Pullover
In Audrey’s Pullover, after shaping the neckline you’ll reach the “Front Joining” section. Below are visuals that guide you through each of the steps listed in this pattern. As one additional resource, you can also check out this video lesson of the joining process in my Mud Season sweater – it’s a different pattern but the cutting yarn/slipping of stitches/establishing a new BOR process is similar and so can also be helpful if you need more visualization.
Step 1:
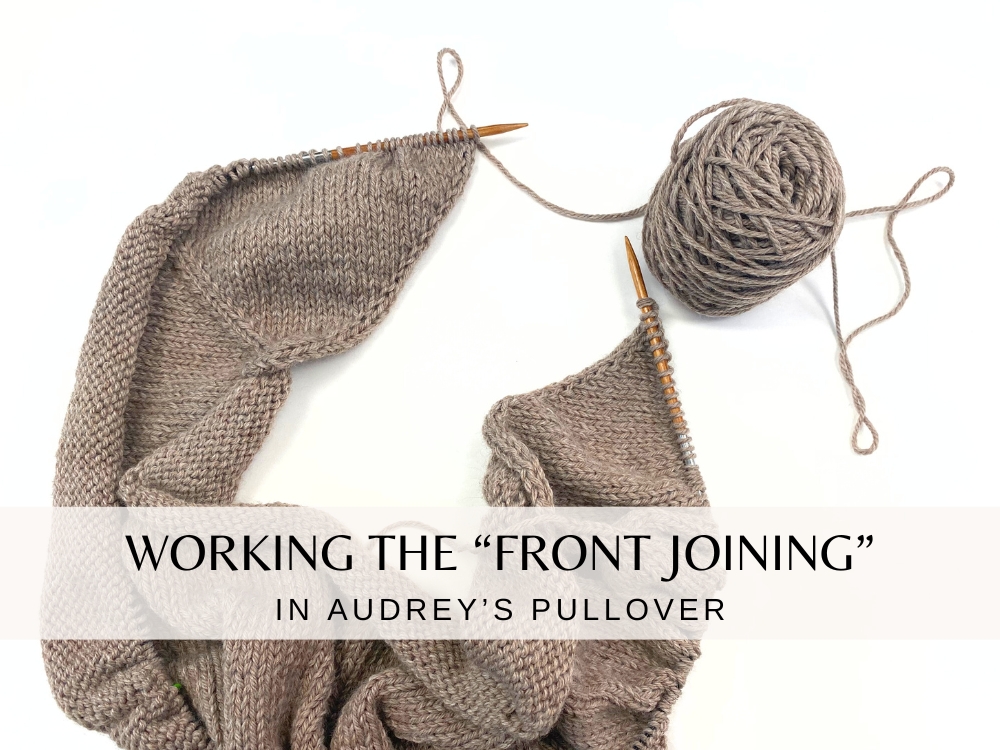
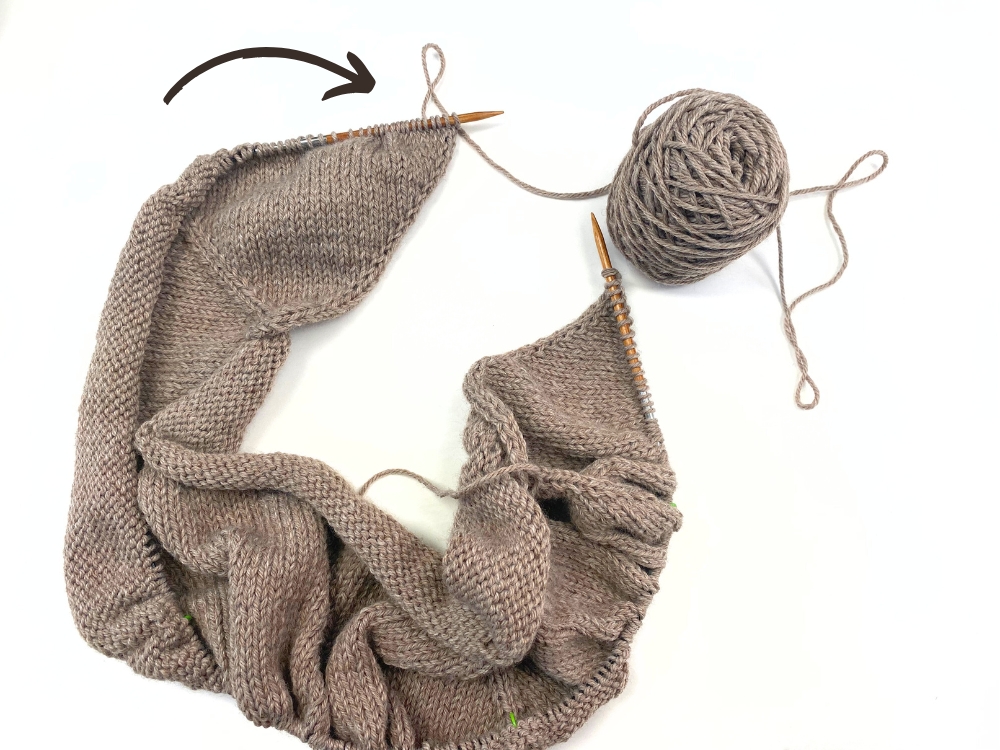
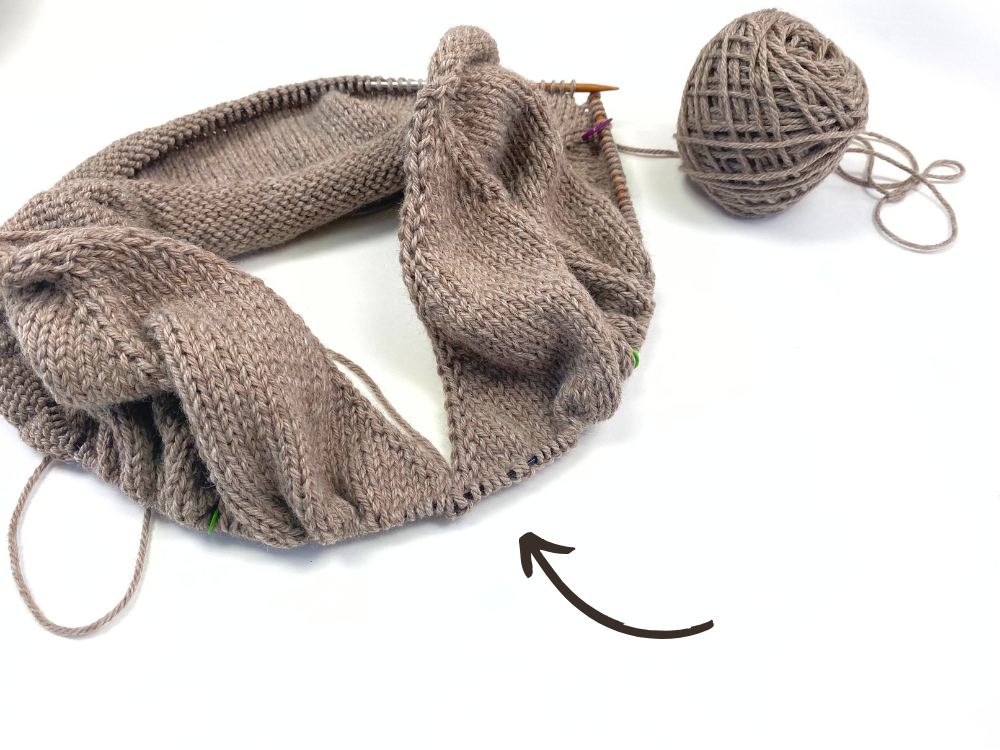
This is what your work will look like at the beginning of this section:
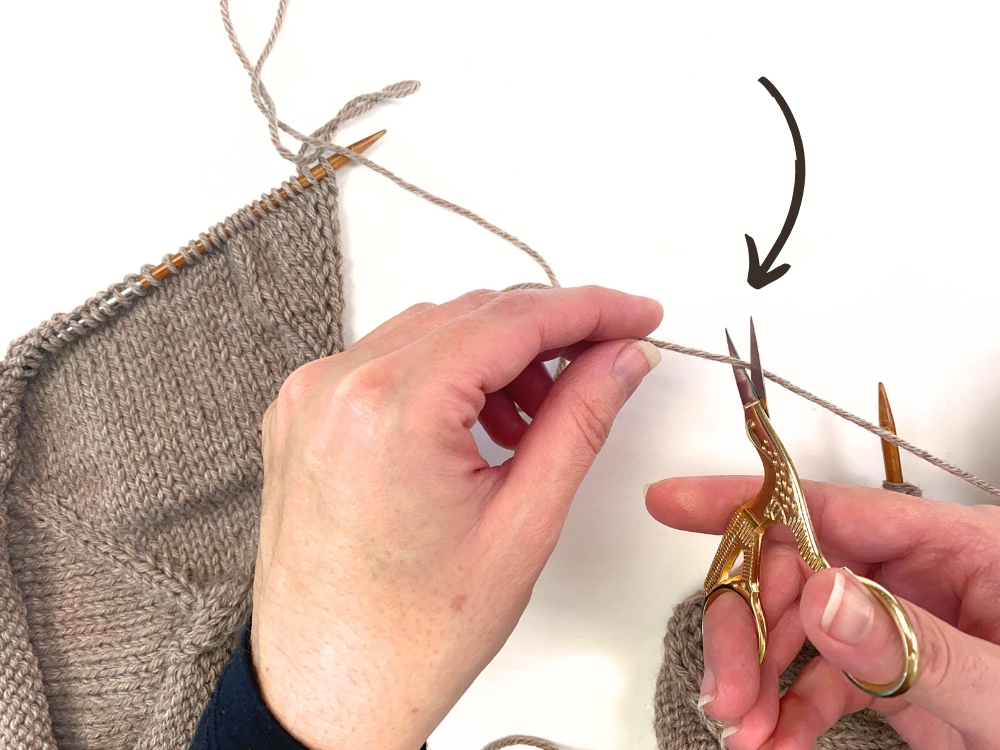
The first step is to cut the yarn, leaving a long tail:
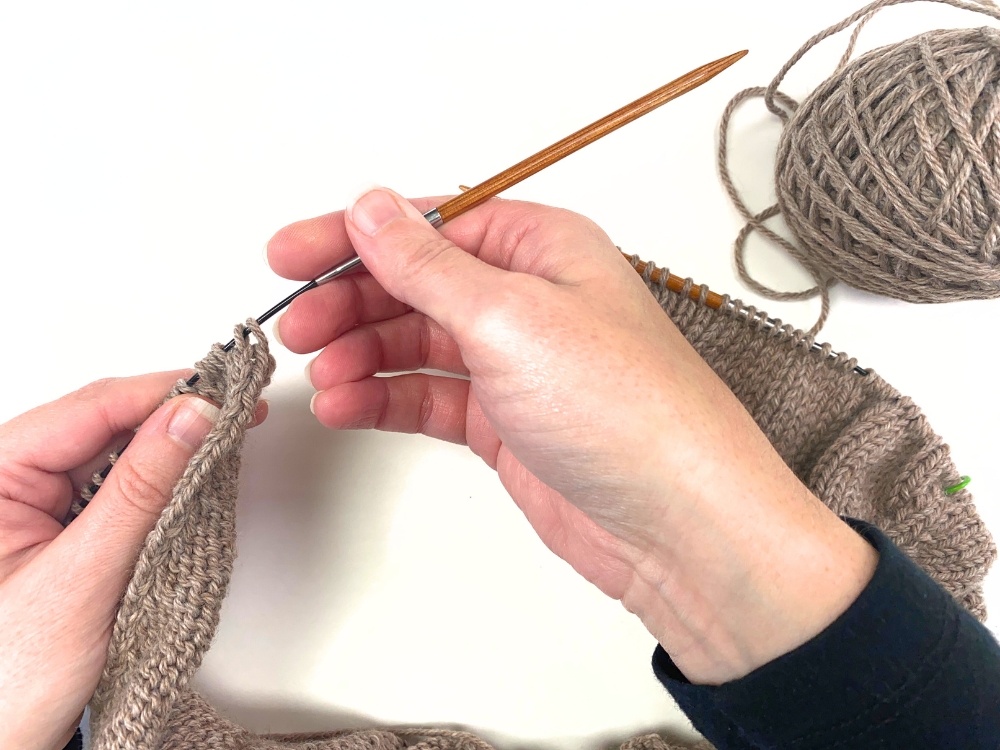
Then you’re going to be slipping your Left Front stitches (remember – left front and right frot are from the perspective of wearing the garment). To slip the first stitch, you’ll insert your right needle into the front of the first Left Front stitch (as if to purl):
Then you’ll slip the stitch over to the right needle without working it, like this:
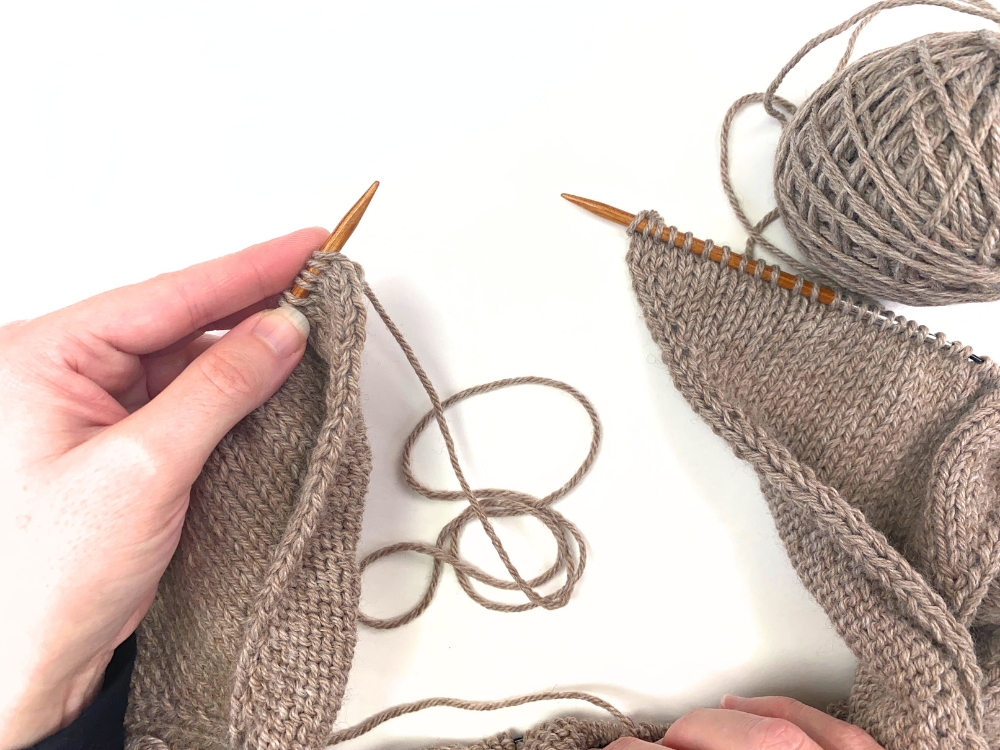
Then you’ll continue to do this across all of your Left Front stitches:
Then, when you encounter the first marker, you’ll just slip that over to the right needle as well.
Then you’ll continue slipping your Left Front stitches, until you reach the next marker:
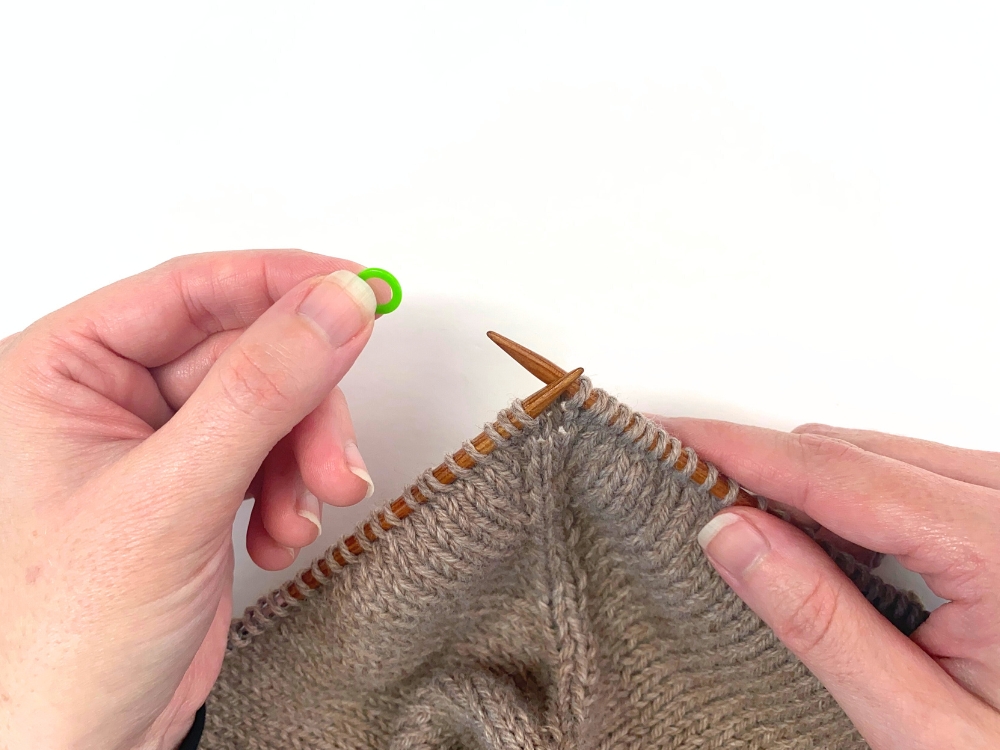
Then, when you get to that next marker (after slipping all of your Left Front stitches), you’ll remove it off of the needle:
Step 2:
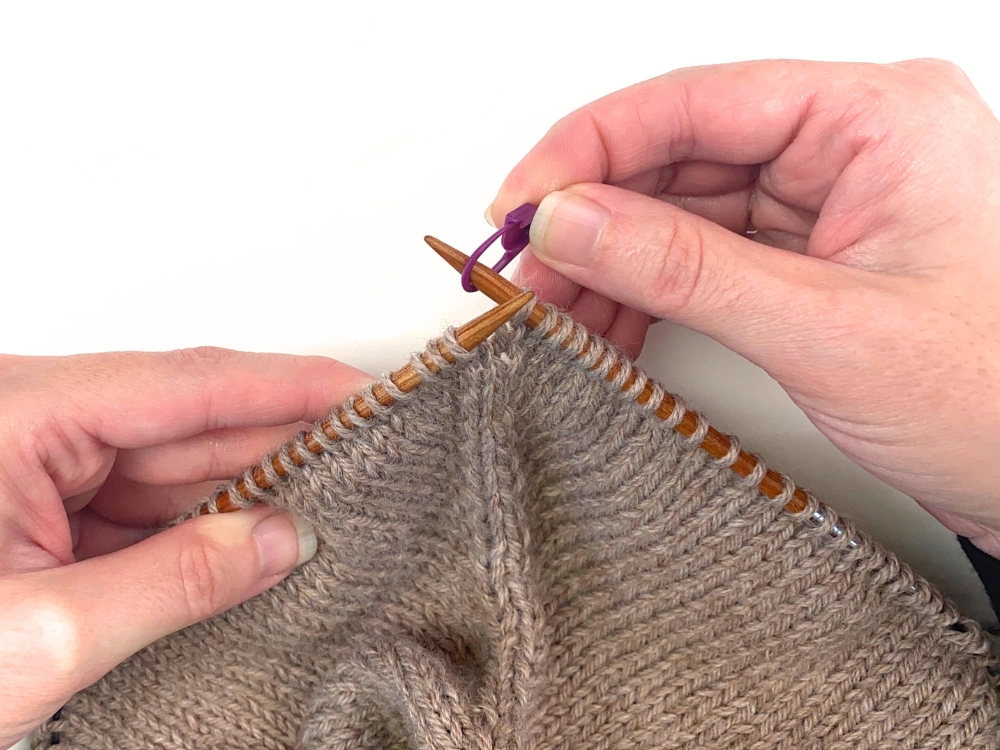
Then in step 2 of this process, you’ll place a new marker on your right needle, making sure it’s a different style then the other 3 markers you have placed. The reason for this is that once the Fronts are joined together and you’re working in the round, this marker will be your BOR marker and represent the beginning/end of each round. So I have chosen here to place a purple locking stitch marker (very different from the round green markers I already have placed).
Step 3:
To step 3, you’re instructed to rejoin yarn and k1.
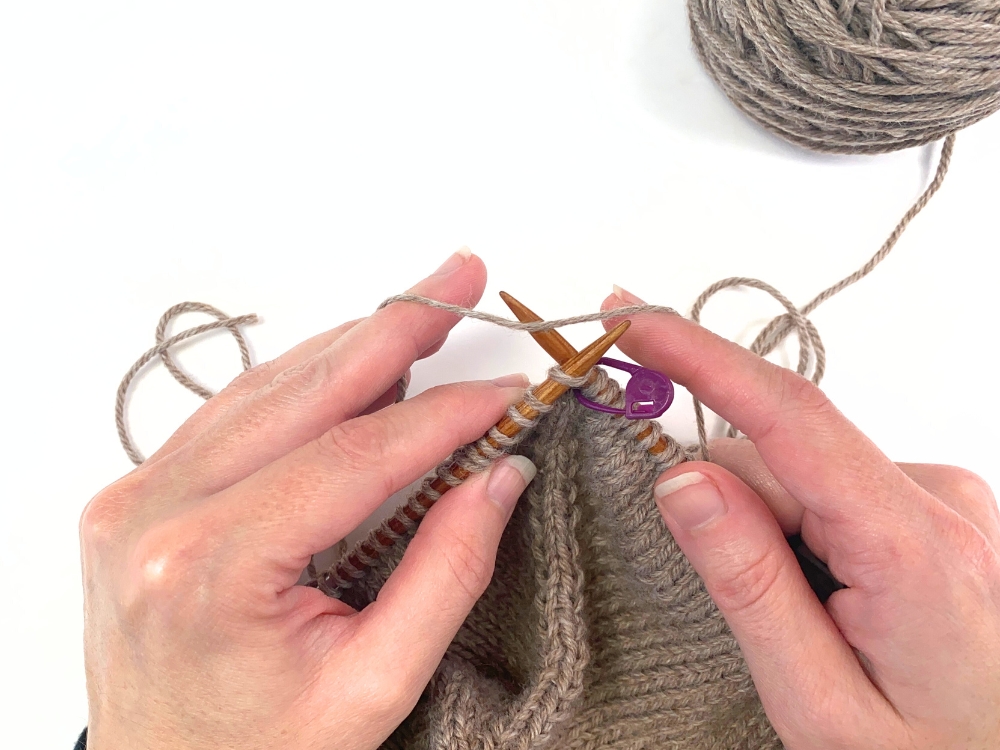
To rejoin the yarn, I first insert my right needle into the next stitch knitwise, and then I drape the yarn over the top of the right needle (leaving a long tail):
And then I knit that stitch and continue with the rest of Step 3’s instruction. At the end of Step 3, you will have slipped your last marker, and started your Right Front with a k1 and worked a m1-L.
Step 4:
In Step 4, you’ll knit the remaining Right Front stitches, but don’t turn the work like you typically would at the end of a row.
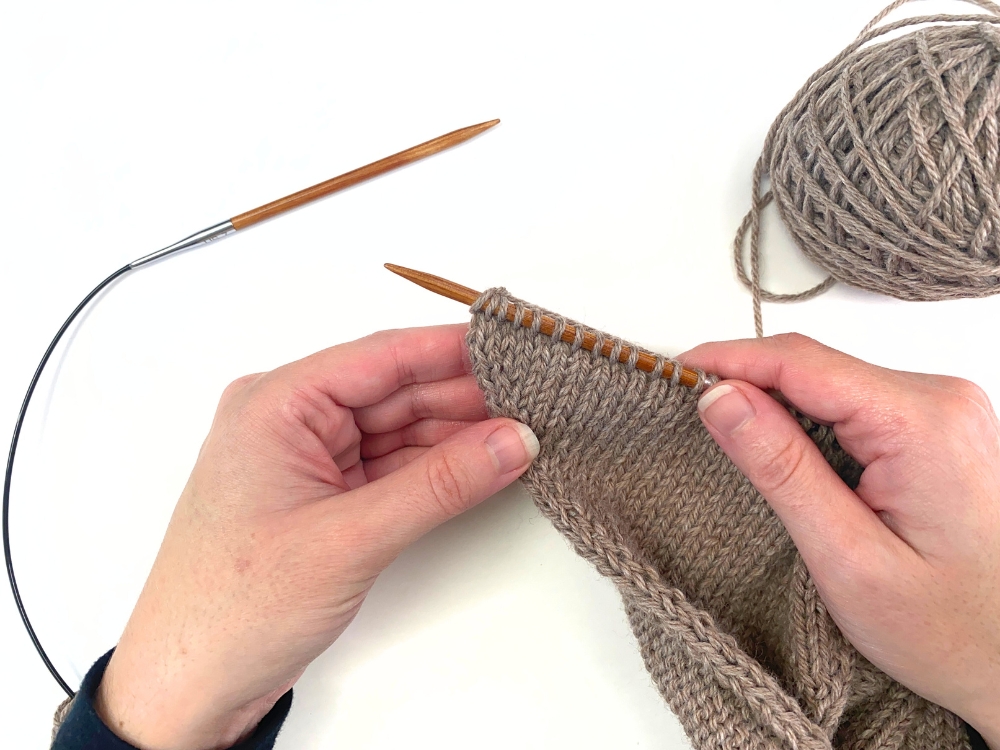
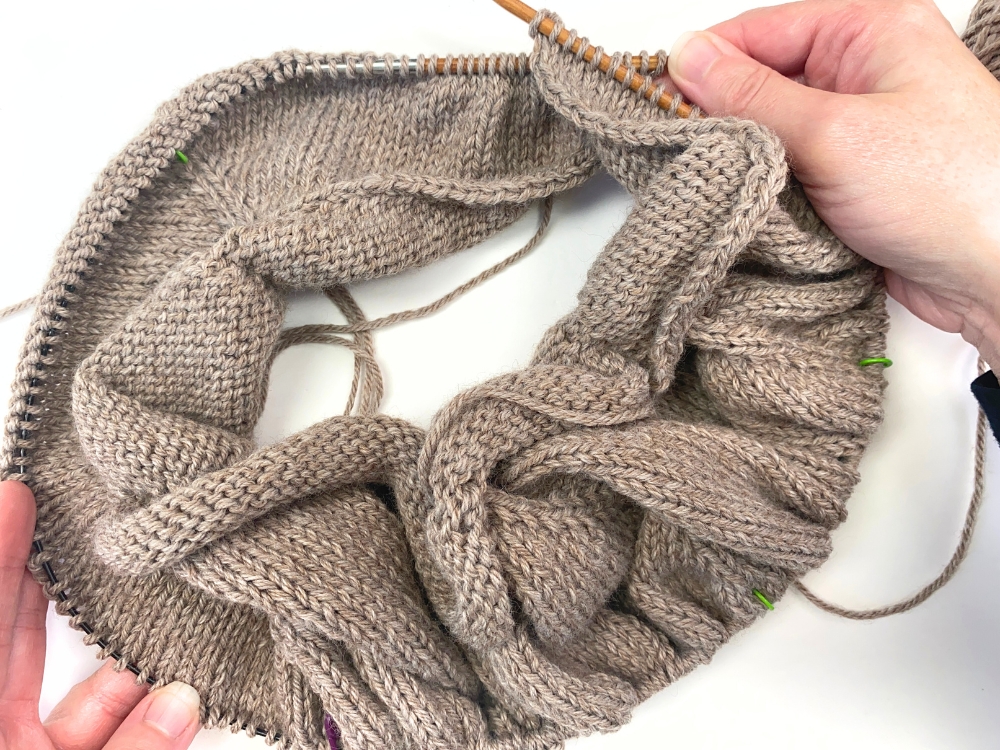
With the Front of the work still facing you, you first want to slide your Left Front stitches to the end of the left needle like this:
You want to bring your needle tips together, but first make sure your stitches aren’t twisted. This just means making sure everything is going in the same direction on your needles.
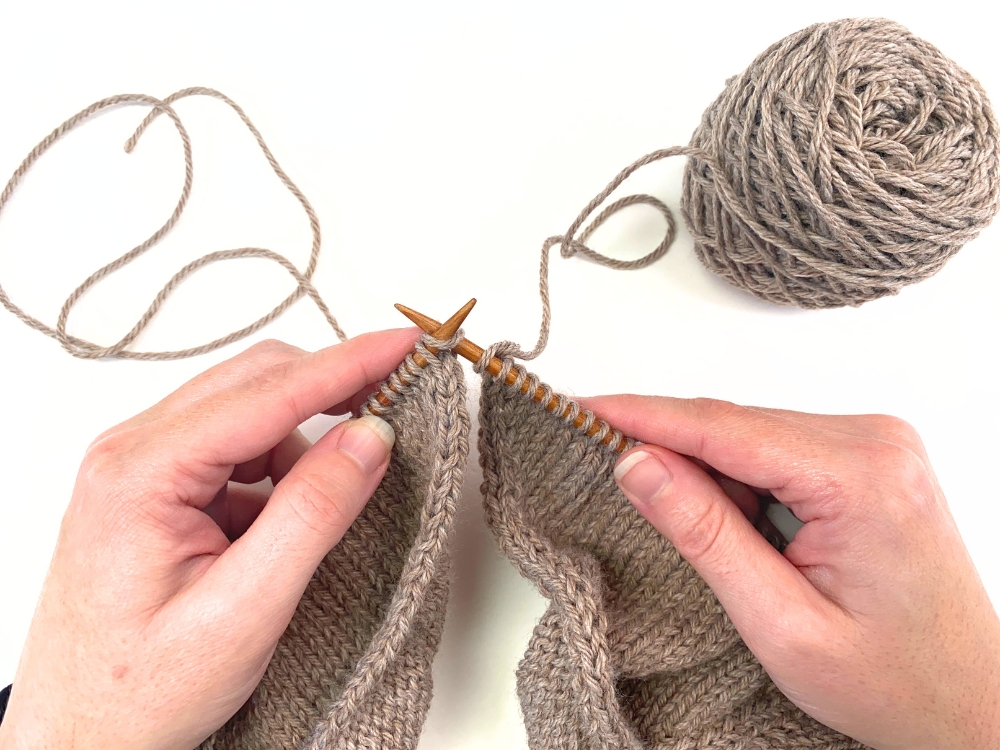
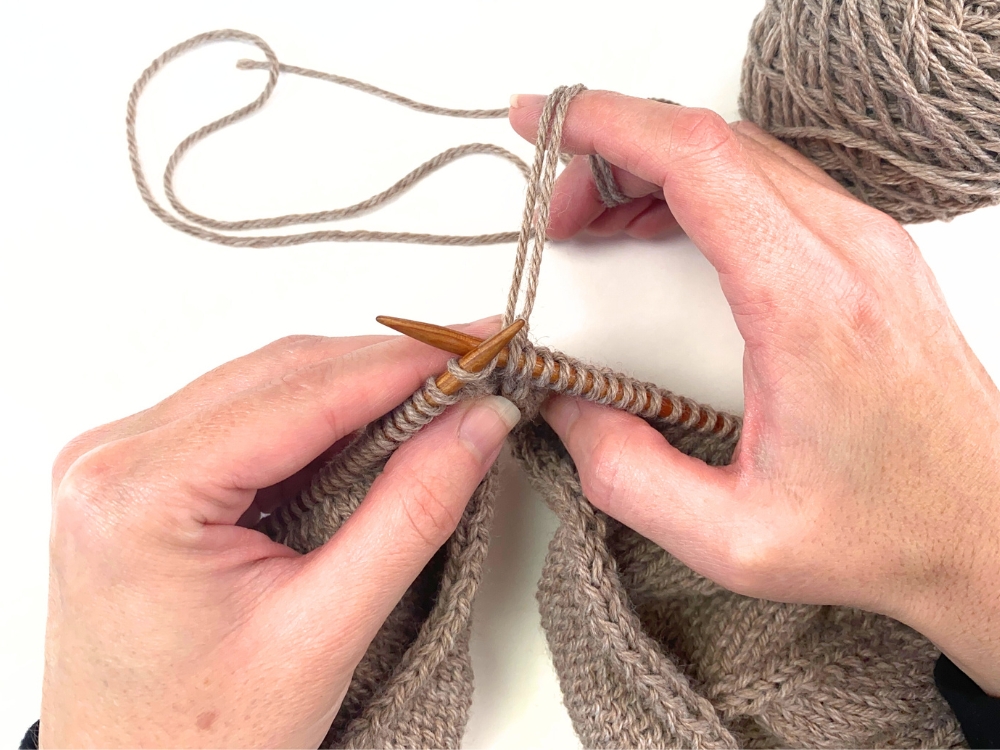
Once you’ve confirmed you have no twists, then you’ll want to join your Fronts together by inserting the right needle into the first step on the left needle:
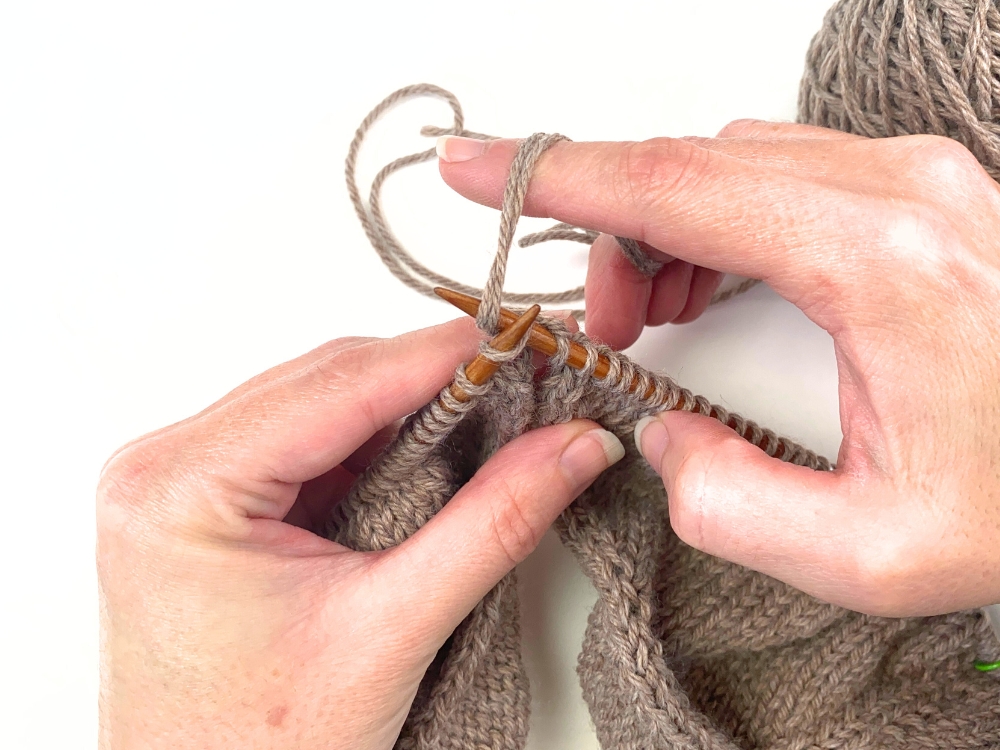
As a reinforcement technique, I like to knit this first stitch with both the working yarn and the tail from the Left Front (just for this first stitch). So holding back the working yarn and the tail together like this…
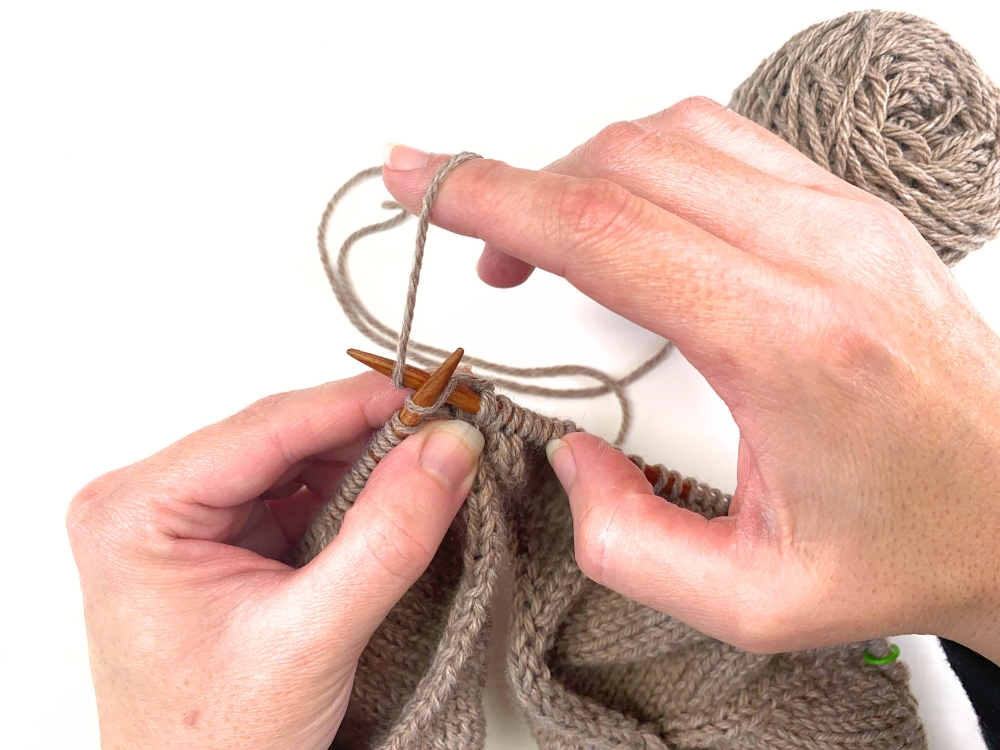
…And then I’ll knit the stitch with both strands:
Once this first stitch is knit, it will look like this – it will have 2 loops. So just remember when you encounter this double-loop stitch again on the next round that you need to work the 2 loops as one.
Then I’ll continue the rest of Step 4 which is to knit across the Left Front sts to 1 stitch before the marker.
Step 5:
In Step 5, you’ll simply work as instructed to finish up the round (so working to the new BOR marker). So you’ll work a m1-R, k1, sm, k1, m1-L, then k to 1 st before the new BOR marker, then m1-R, k1. You’ve now completed the joining round and your piece will now be worked in the round.
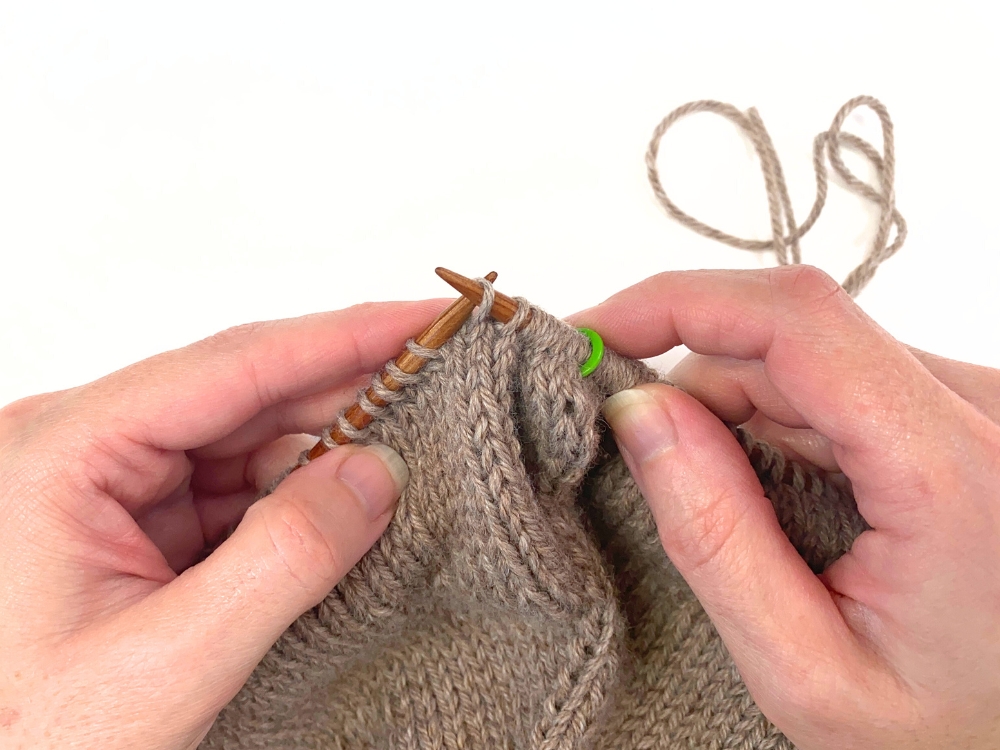
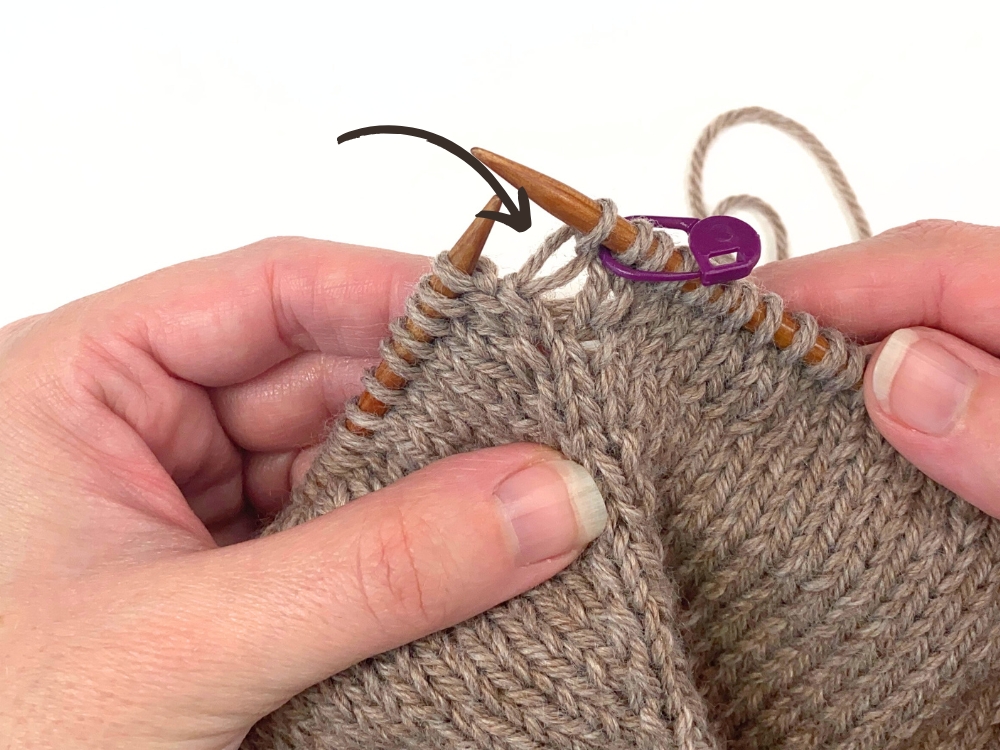
One additional thing I wanted to point out is that on the next round (which in the pattern says you’ll just knit to the end, slipping markers as you reach them), when you go to knit the first stitch you’ll see that it looks super loose, like this:
This is because this is where you rejoined the yarn and is to be expected. This is why leaving a long tail when rejoining the yarn is good because you can cinch things up and tighten it when weaving in your ends. To cinch up a little right away, simple tighten your tail like this:
You’re all set now to work your Audrey’s Pullover in the round!

