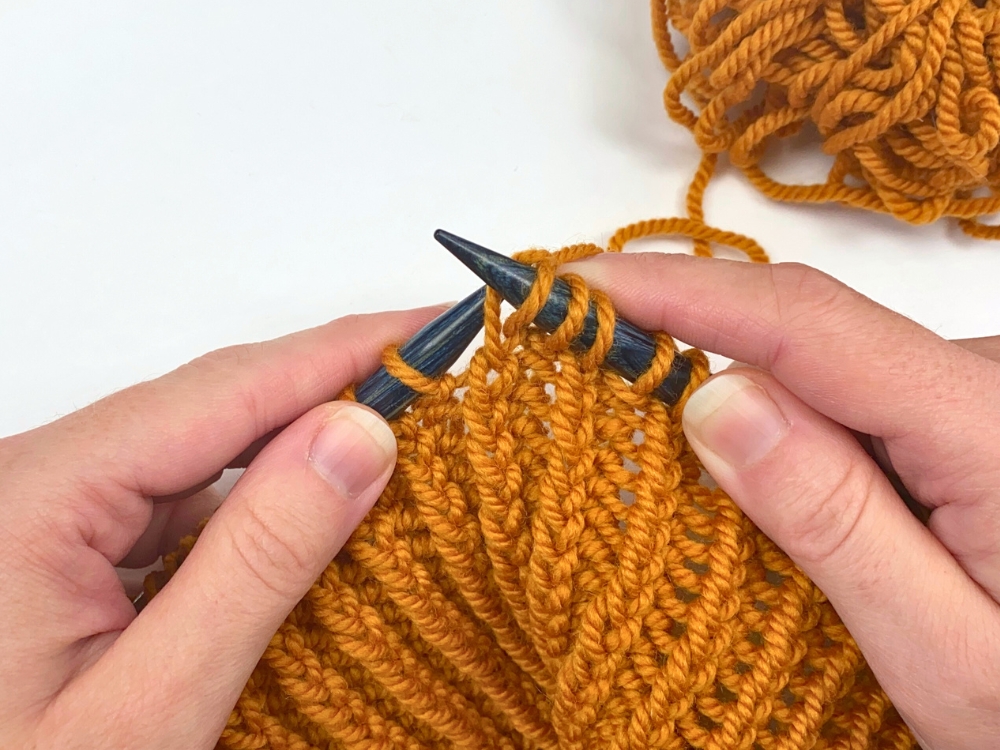
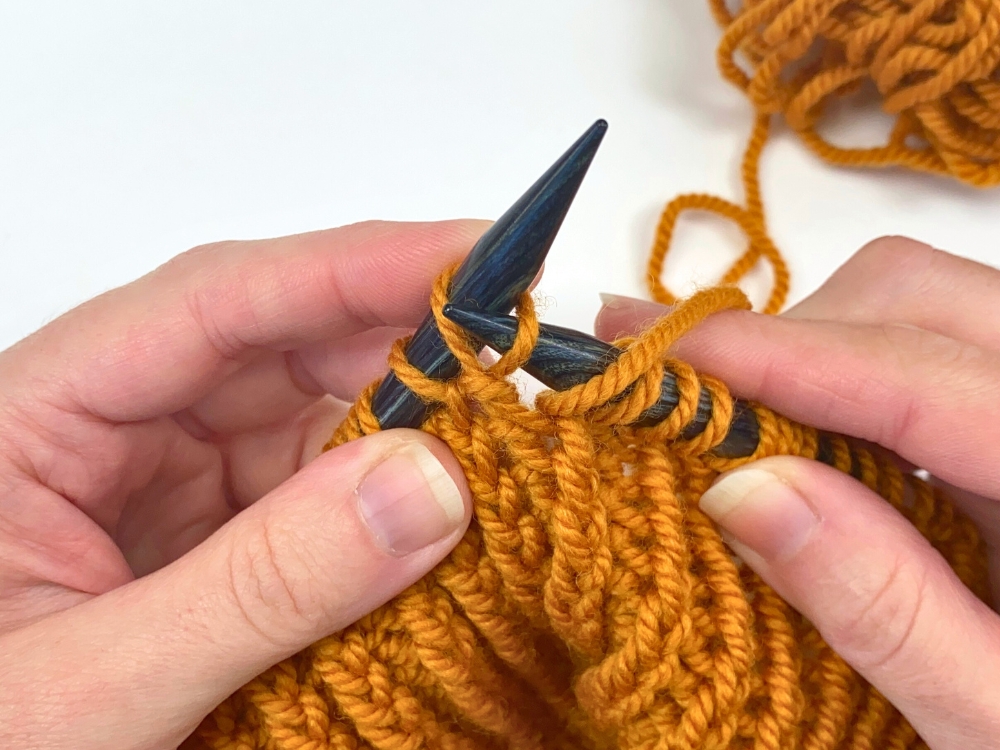
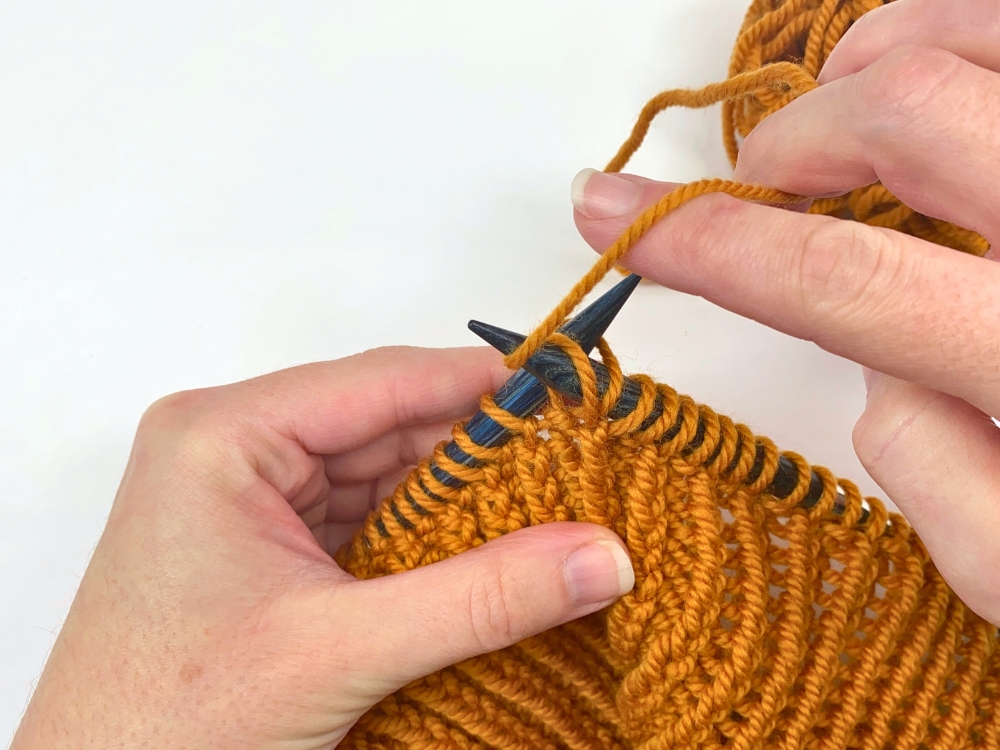
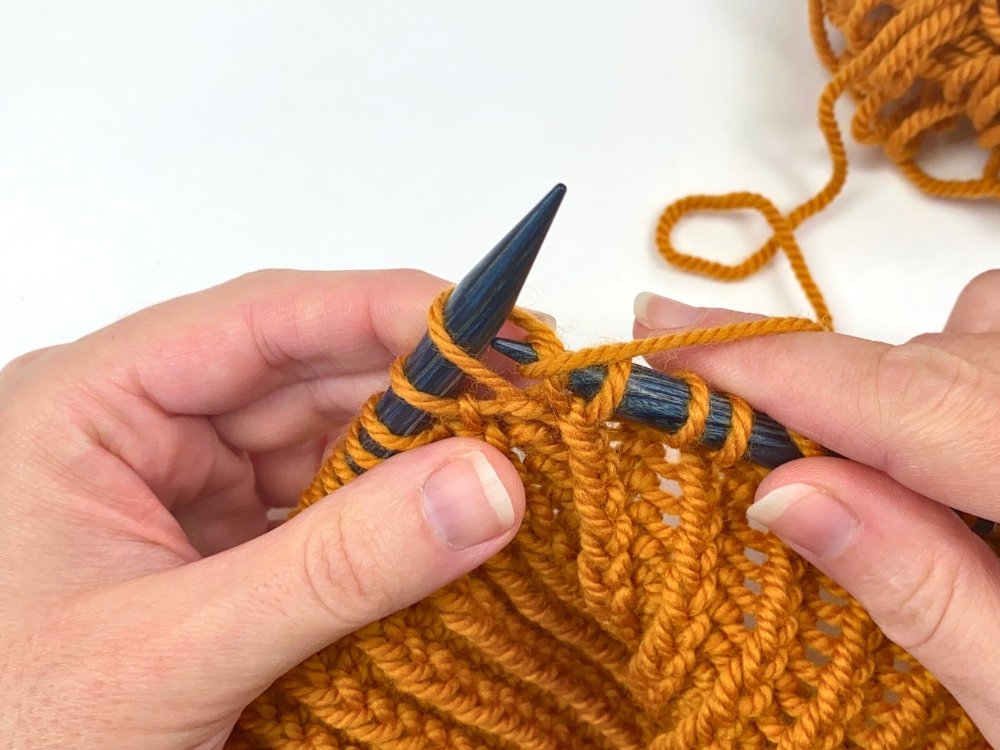
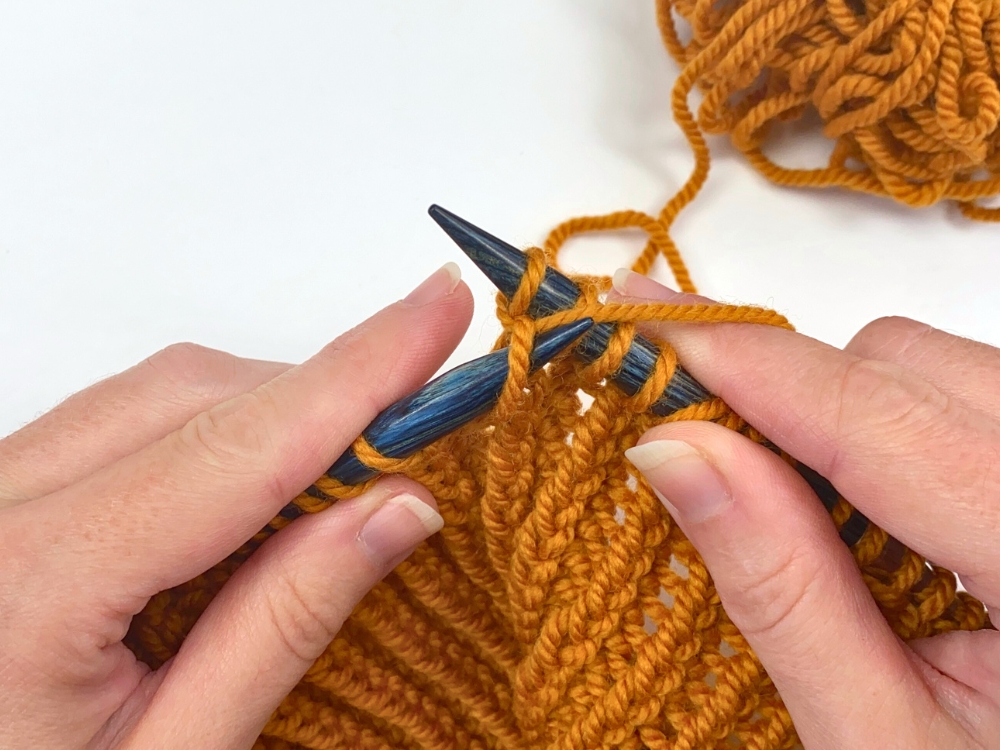
How to work the twisted rib
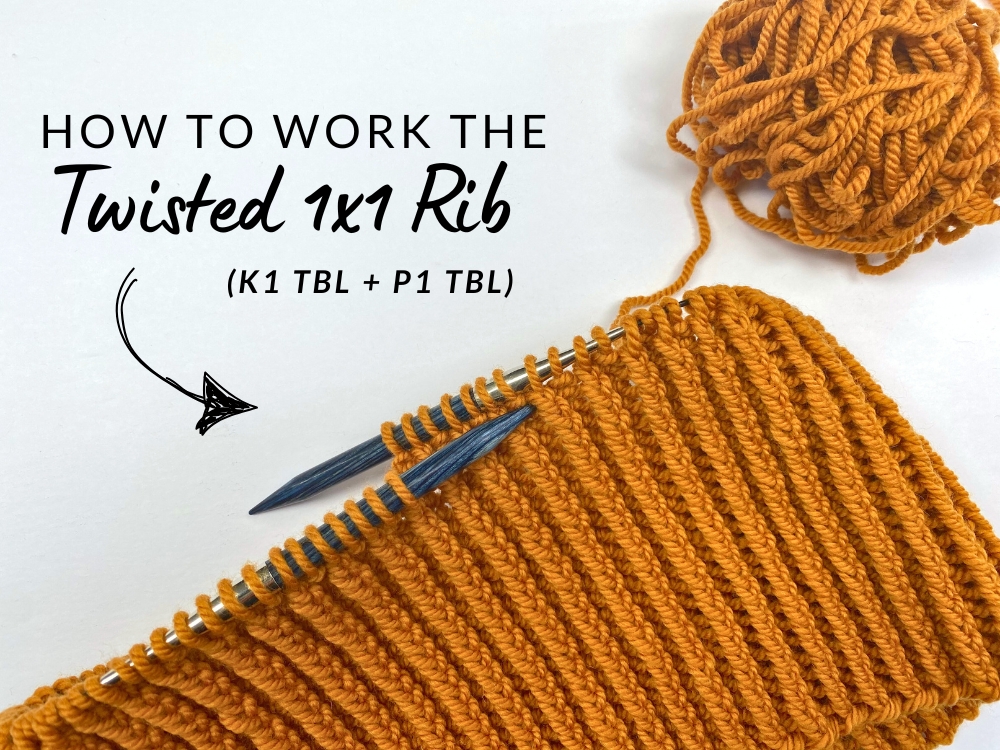
Twisted 1×1 rib is the stitch pattern that features these 2 stitches: k1tbl (k1 through the back loop) and p1tbl (p1 through the back loop). In the tutorials below, I show you exactly how to work both of these stitches (whether you use them together in the twisted rib stitch pattern or separately for other reasons).
Video Lesson:
To watch a demonstration, check out my YouTube video below.
Photo Tutorial
Below are photos that illustrate how both k1tbl and p1tbl are worked.
k1tbl (k1 through the back loop)
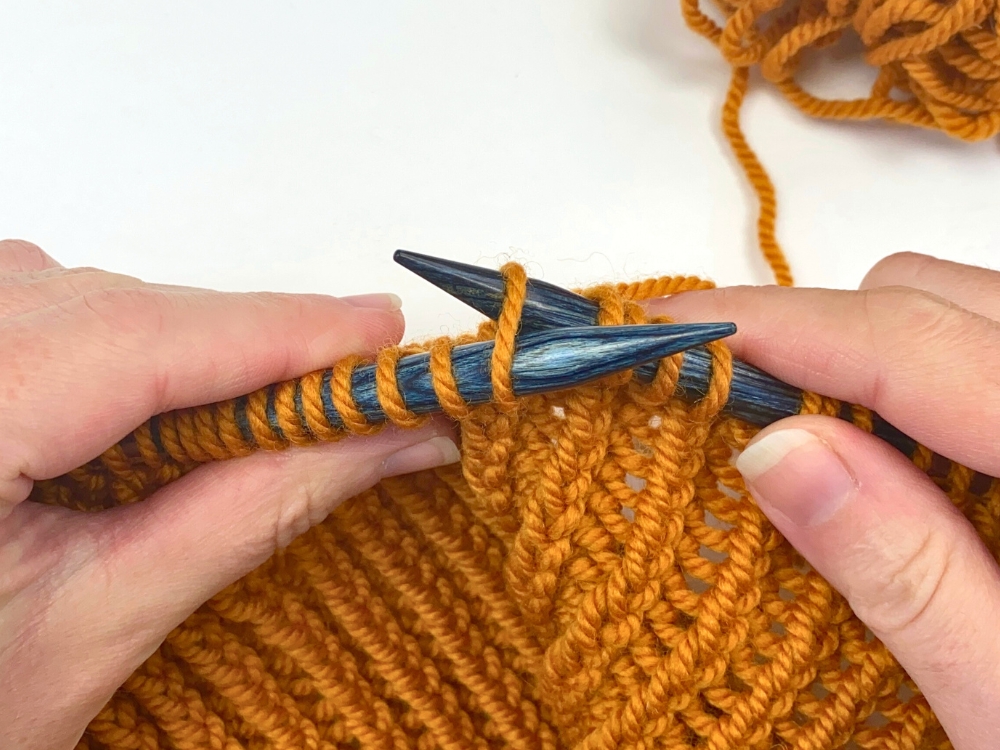
Holding the yarn in the back, insert the right needle into the back of the next stitch on the left needle, from right to left:
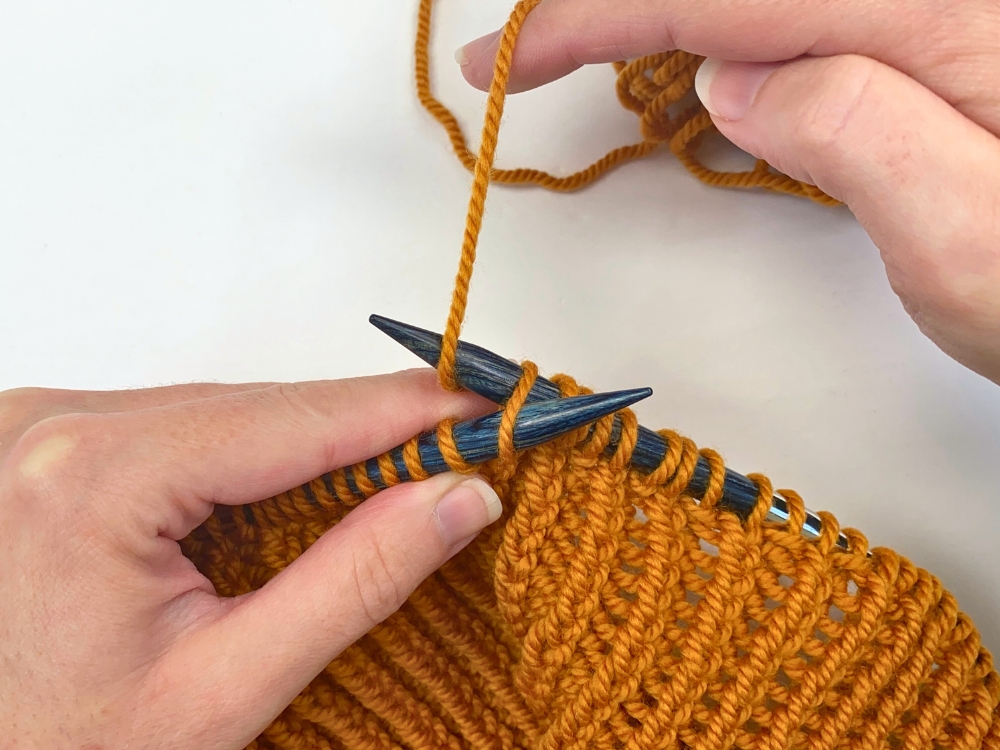
Then knit this stitch just like you typically would – first, wrap the working yarn around the right needle tip:
And then knit the stitch:
p1tbl (p1 through the back loop)
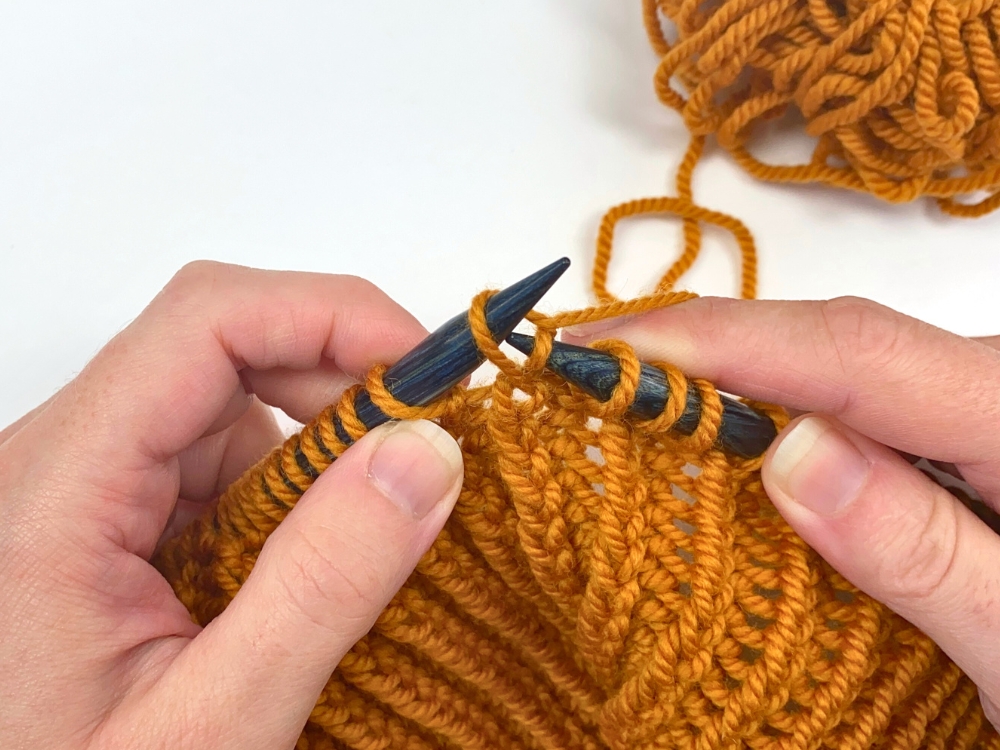
Holding the yarn in the front, insert the right needle into the back of the next stitch on the left needle, left to right. Note: if the stitch feels too tight to get your right needle into it in this position, use your left index finger to torque the stitch a bit to create slack in the back:
Then purl this stitch just like you typically would – first, wrap the working yarn around the right needle tip:
And then purl the stitch:

