Picking Up Neckline Stitches

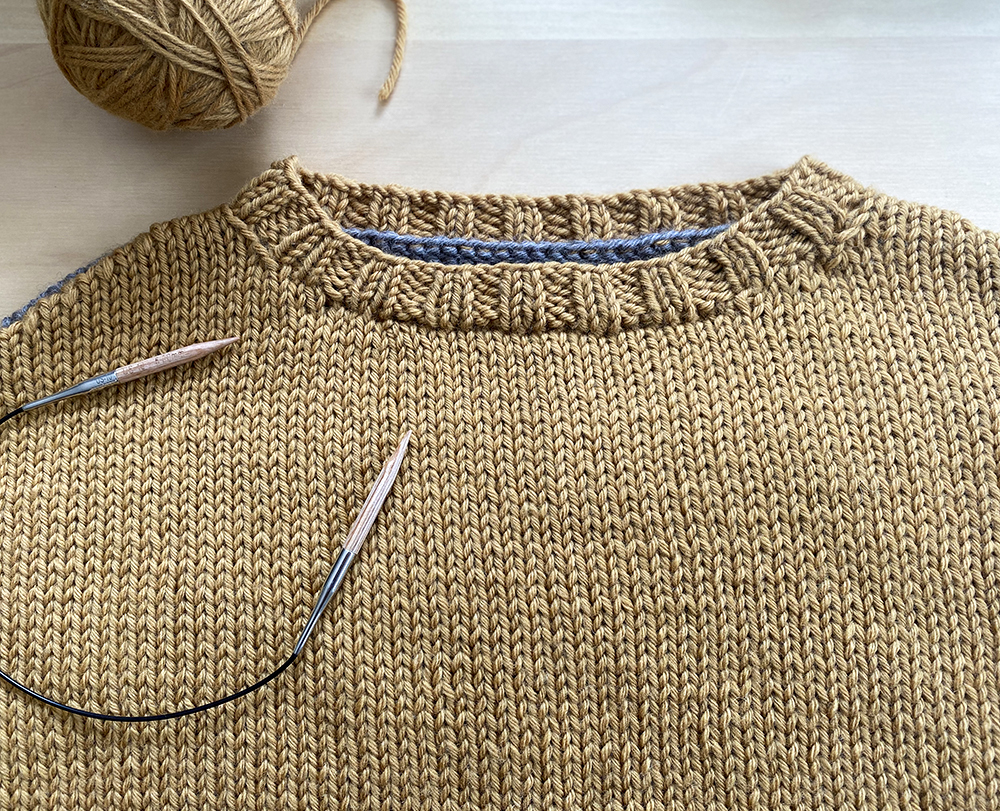
One of the last steps in Happy Harvest is picking up stitches along the neckline to create the rib trim. This helps give the piece a more finished look around the neckline and also helps hide any imperfections in the raw edge around the neck.
There are multiple ways and techniques for picking up around a neckline, but below I have listed a couple of tips I like to use as well as a photo tutorial of how I picked up stitches in my Happy Harvest sample. But many of these same techniques apply to any time you are picking up around the neck. Also, check out my video tutorial here – it’s for a different pattern but the techniques I use are the same.
Tips on picking up stitches around the neck:
- When picking up, pick up into both legs of the stitch (it looks like a “V”), whether in a horizontal bound-off edge or a vertical edge.
- For any area that has horizontal bound-off stitches (such as the back of the neck or the center front), you will always pick up and knit into each of the bound off stitches.
- For the areas where you’re picking up along a vertical edge (such as along the Left and Right Front curves), you’ll pick up 3 stitches for every 4 rows (so pick up 3, then skip 1, pick up 3, skip 1, etc.).
- Place a removable marker after each section so that it’s easy to count and make sure you have picked up the correct number.
- In Happy Harvest, the trim is worked in a 2×2 rib (i.e, k2, p2), so the total number of stitches picked up needs to be a multiple of 4. So if you need to pick up a different number of stitches, just make sure it’s in that multiple.
- You could also choose not to work in a rib trim and instead work in garter stitch, or just pick up the stitches then bind them all off (for a smaller, more subtle trim edge).
Photo Tutorial:

