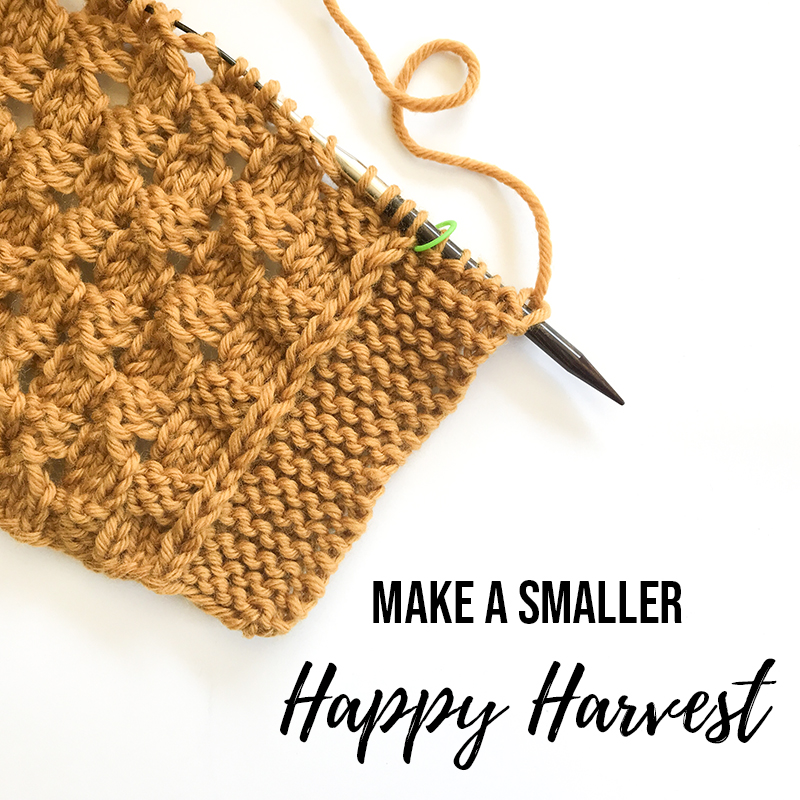
Making A Smaller Happy Harvest

When I designed Happy Harvest, I intended it to wear like a poncho so even the smallest size (size 1, intended to fit bust sizes 32-40″) has a finished circumference of 51″. In the instructions, I note that if you want to wear your Happy Harvest more like a sweater-vest instead of a poncho (so with less positive ease), to knit a size closer to your actual bust measurement. This works well for bust sizes 40-60″, since you can just knit the size 1 instead of size 2 or 3, but if you are a bust size 30-38″, there isn’t a smaller size you can refer to. So if you fall in that group of folks who want to knit a more vest-like garment and your actual bust measurement is around 30-38″, I created the tips below that you can follow so that your Happy Harvest finished measurement is around 41″. This will also work if you want to make a smaller Happy Harvest for a tween/teen. You will follow all of the size 1 instructions except where noted in the below steps. The main areas you will have to alter are your cast-on amounts and adjusting the shoulder shaping area (shoulder depth will be shallower and the number of stitches you have for each shoulder will be less).
Step 1: Front Cast-On Amount
On page 2 > Front > Hem > 1st bullet point: CO 77 sts.
Step 2: Shoulder Shaping Adjustment
On page 2 > Front > Shoulder Shaping:
- Delete Rows 1-6
- Row 7: k to 2 sts before marker, w&t
- Row 8: p to 2 sts before marker, w&t
- Row 9: k until you have 29 sts on the RN (including garter edge), pm for neck, k 19, pm for neck, k to 4 sts before marker, w&t.
- Row 10: p to first neck marker, remove marker, BO all sts purlwise to next neck marker, remove marker, BO 1 more st, then p to 4 sts before marker, w&t – 29 sts each side of bind-off.
Step 3: Front Neck/Shoulder Shaping Adjustment
- For both the “Left Front Neck/Shoulder Shaping” section (on page 2) and the “Right Front Neck/Shoulder Shaping” section (on page 3), you will follow the instructions as written EXCEPT for the number of stitches to knit or purl before the marker before you work the w&t.
- For both sections, for the first instance where you work a certain number of sts before the marker, work to 6 sts before the marker then w&t (instead of 14 sts as listed for size 1). Then for each instance moving forward where you’re instructed to work a certain number of sts before the marker, always work 2 more sts then the time before. So after that first instance (where you are working to 6 sts before marker), you will work to 8 sts before the marker, and then the next time work to 10 sts, and then the next time work to 12 sts.
- At the end of each of these sections you will have 23 sts for each shoulder.
Step 4: Back Cast-On Amount
On page 3 > Back > Hem > 1st bullet point: CO 77 sts.
Step 5: Shoulder Shaping Adjustment
On page 3 > Back > Shoulder Shaping:
- Delete Rows 1-6
- Row 7: k to 2 sts before marker, w&t
- Row 8: p to 2 sts before marker, w&t
- Row 9: k to 4 sts before marker, w&t
- Row 10: p to 4 sts before marker, w&t
- Row 11: k to 6 sts before marker, w&t
- Row 12: p to 6 sts before marker, w&t
- Row 13: k to 8 sts before marker, w&t
- Row 14: p to 8 sts before marker, w&t
- Row 15: k to 10 sts before marker, w&t
- Row 16: p to 10 sts before marker, w&t
- Row 17: k to 12 sts before marker, w&t
- Row 18: p to 12 sts before marker, w&t
- Row 19: k until there are 23 sts on RN (including garter edge sts), place marker for back neck, k 31, pm for neck, k to 1 st before marker knitting wraps as you reach them, sl1, sm, k6.
- Row 20: same as written in pattern.
For the rest of the instructions at the end of the pattern (Joining Shoulders & Neck Edging), follow the instructions as written for size 1. If you have any questions, just send me an email!
