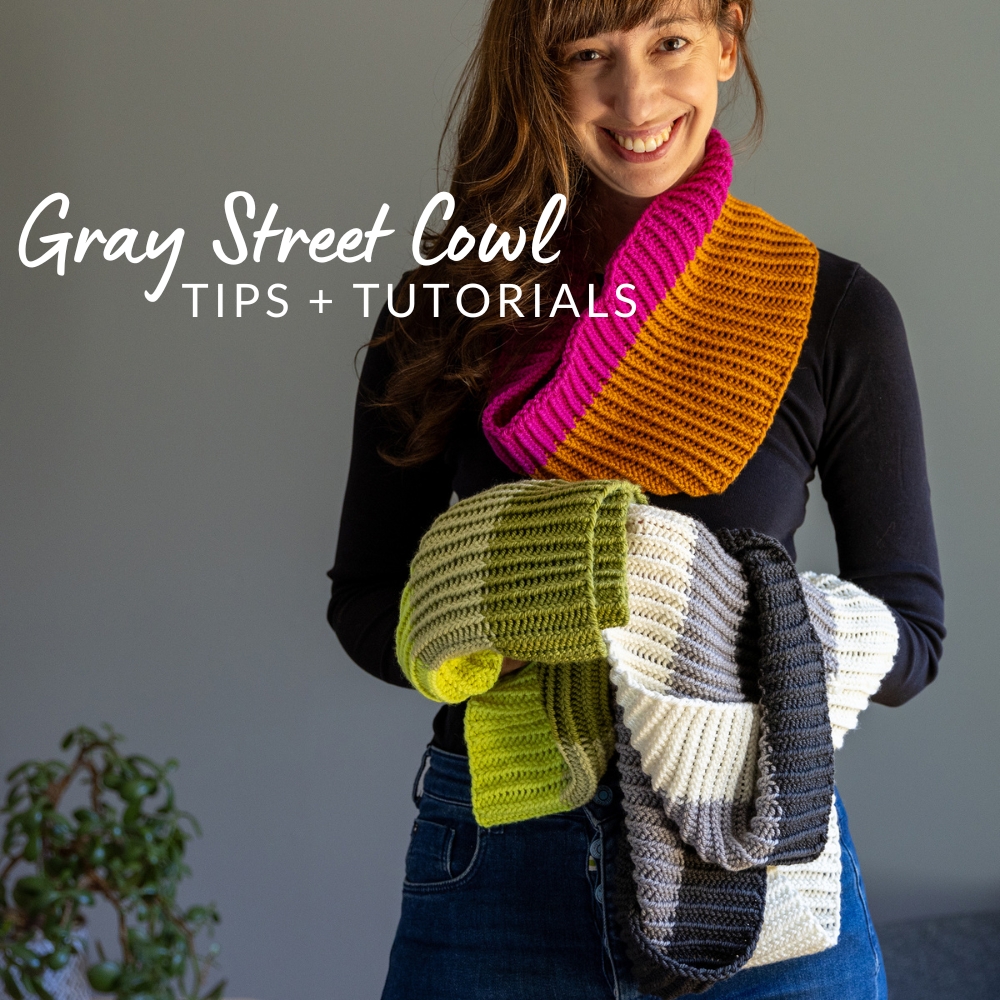
Gray Street Cowl Tips
On this page you’ll find tips & tutorials to help you make your own Gray Street cowl. I cover the following topics:
- Color pairing ideas
- Gauge tips
- Adjusting for a different weight yarn
- Adjusting depth
- How to cast-on and join for working in the round
- How to work the twisted rib stitch pattern
- How to join a new color
- How to bind-off in pattern
Color Pairing Ideas
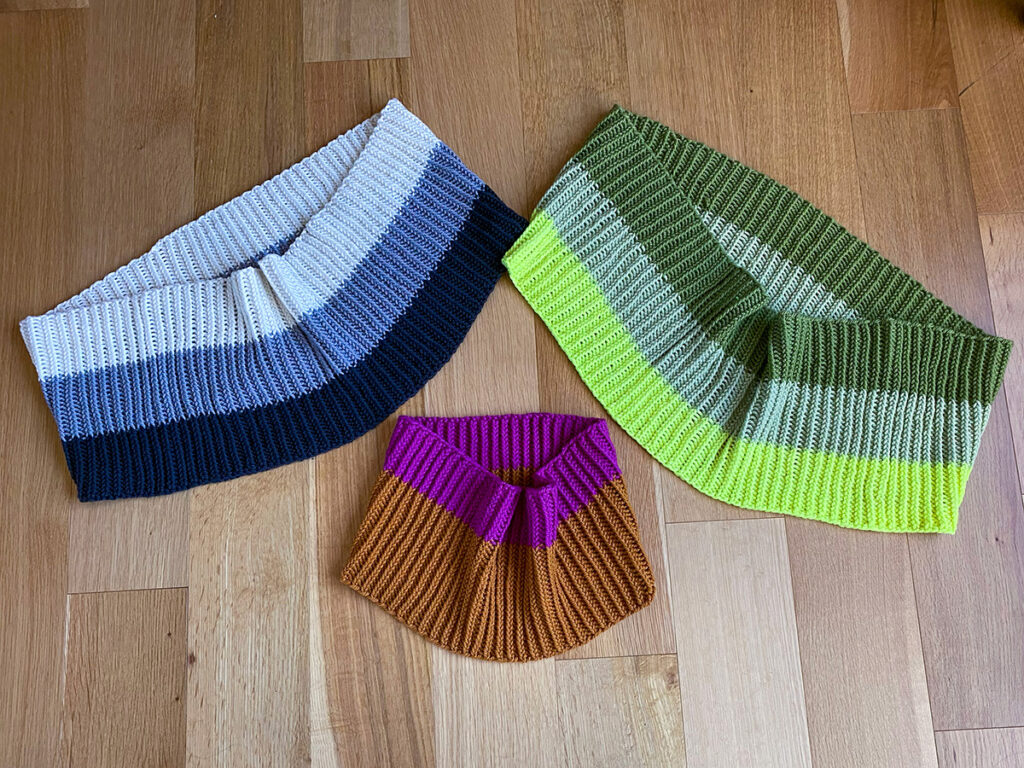
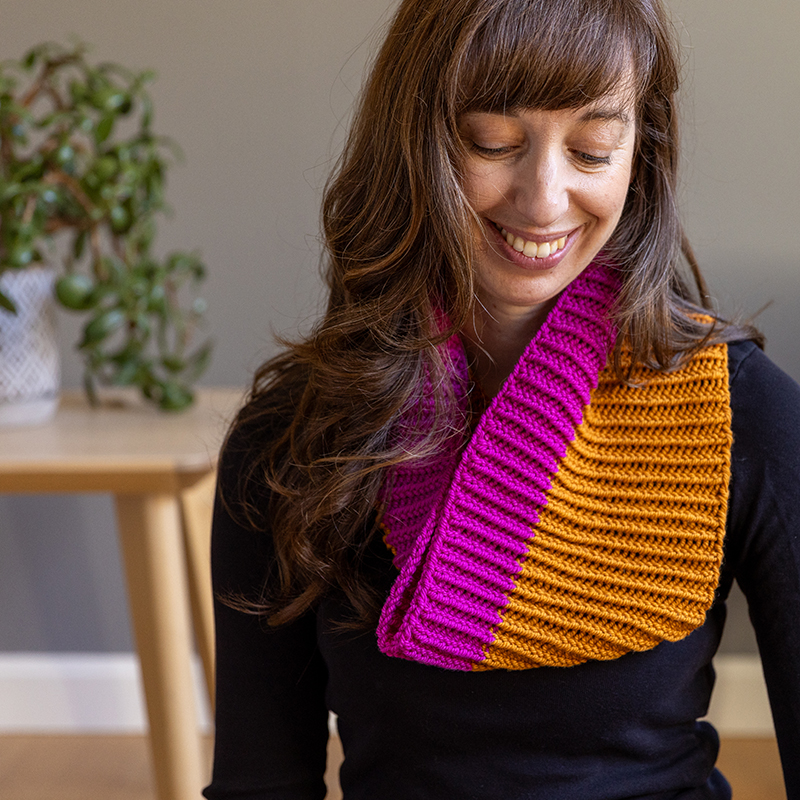
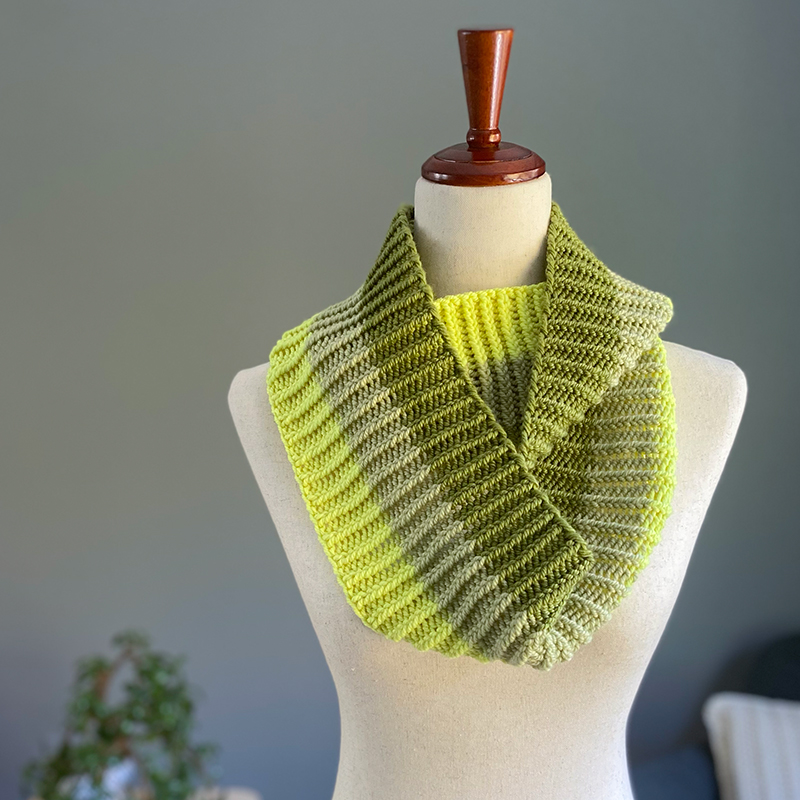
The long version uses 3 colors and the short version uses 2 colors (although you can use more if you prefer). My original Gray Street cowl used shades of neutrals/gray (hence the name!) But your own Gray Street can be “Green Street”, “Blue Street”, “Orange Street” – any color you want! In my samples featured in the pattern, here were the shades I used in Ewe Ewe Yarns Baa Baa Bulky Yarn:
Looking for other color pairing ideas? Here are a few that I love!
3 color pairing ideas:
- Sapphire, Sky Blue, Brushed Silver
- Orange Peel, Saffron, Lemon Chiffon
- Aquamarine, Teal, Forest Fern
2 color pairing ideas:
- Lavender and Indigo
- Sky blue and Sapphire
- Brushed Silver and Charcoal
Gauge Tips
The stitch pattern featured in this cowl is a twisted 1×1 rib. There are a couple of important things to note about this stitch pattern:
- You typically have to use a larger needle in order to obtain the same gauge you would get in stockinette stitch. For example, the stitch gauge in this pattern is 15 sts = 4″. Typically with this yarn I would use a US 9 or 10 to get that kind of gauge in stockinette stitch. But in twisted rib, I am up on a US 11 needle to get that same gauge. So it’s a dense stitch pattern.
- And although it’s dense, so long as you’re using a larger needle like we’re doing in this pattern, it’s very stretchy. So sometimes it’s hard to even measure your gauge because it depends on how stretched you are making the fabric. This is why I say gauge is not critical in this pattern (see point #3 below).
- Exact gauge is not critical (as long as you’re in the ballpark). Because of how stretchy the stitch pattern is, if your gauge is off a little, it won’t have a huge impact on fit. However, if you want to use an entirely different weight yarn (so not bulky-weight), see the topic below.
Adjusting for a different yarn weight
If you would rather use a lighter-weight yarn (such as a DK or worsted), you should use a different needle size and adjust your cast-on amounts. Here are some general suggestions:
- For Worsted-Weight: Using a US 9 needle (which will likely get you a stitch gauge of approx 4.75-5 sts per inch), I’d suggest casting-on 230 sts for the long version and 144 for the short version.
- For DK-weight: Using a US 8 needle (which will likely get you a stitch gauge of approx 5.75-6 sts per inch), I’d suggest casting-on 278 sts for the long version and 174 for the short version.
When in doubt, do a swatch (using the stitch pattern listed on page 1 of the pattern), using a needle size that is around 1-2 sizes larger than what the yarn label recommends for that yarn. Measure your swatch to figure out how many stitches you’re getting per inch. Then multiple that by the finished circumferences listed in the pattern, rounding up to the nearest even number. That should be your cast-on amount.
Adjusting depth
As written, the long version has a total depth of 9″. And this is created by working each of the 3 colors for 3″. But you can definitely change this up if you would prefer a slightly thinner cowl. I actually did this before – in the photos below, I worked each of the 3 colors for just 2″ instead of 3″, decreasing the depth by 3″. If you live in a warmer climate (or knit for someone in a warmer climate), this may be a better thickness to consider.
For the shorter version, you can also decrease the depth. I’d suggest working color A for just 4″ and color B for 1.5″ (this takes out 1″ of depth).
How to cast-on & join for working in the round
In the pattern, I suggest using the long-tail cast-on method – in the video below I show you how I like to work this method (it’s called the ‘thumb method’):
After you cast-on, you’re instructed to join for working in the round, being careful not to twist your stitches. Below is a video lesson on this concept:
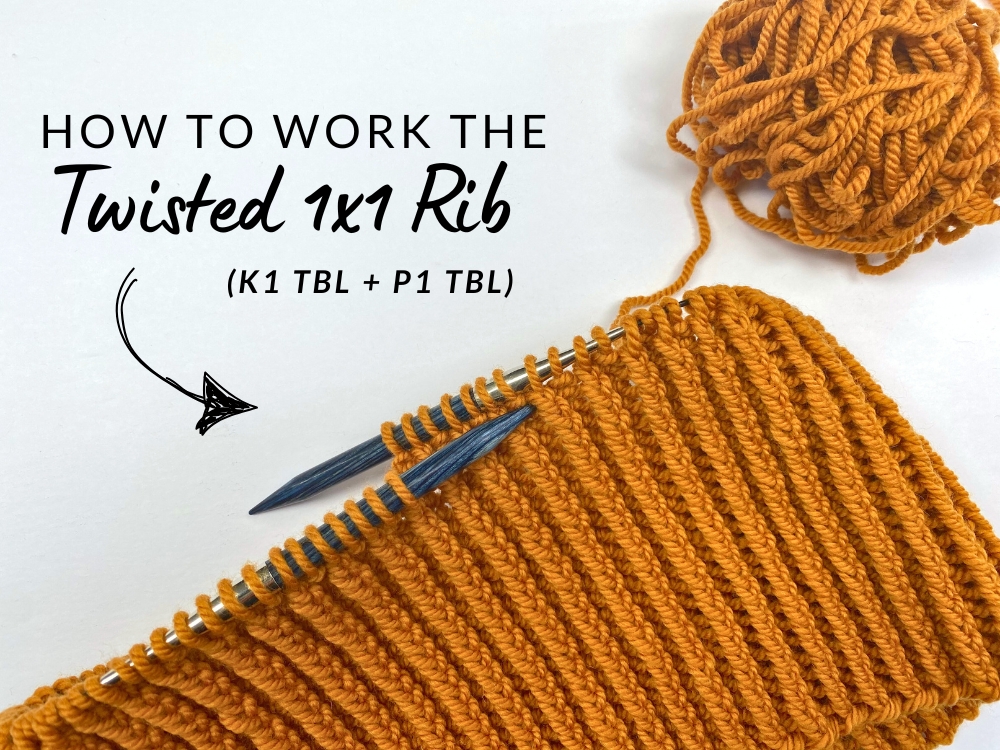
How to work the twisted rib stitch pattern
The twisted rib stitch pattern consists of these 2 stitches: k1tbl (knit 1 through the back loop) and p1tbl (purl 1 through the back loop). For video & photo tutorials on working these 2 stitches, visit this page.
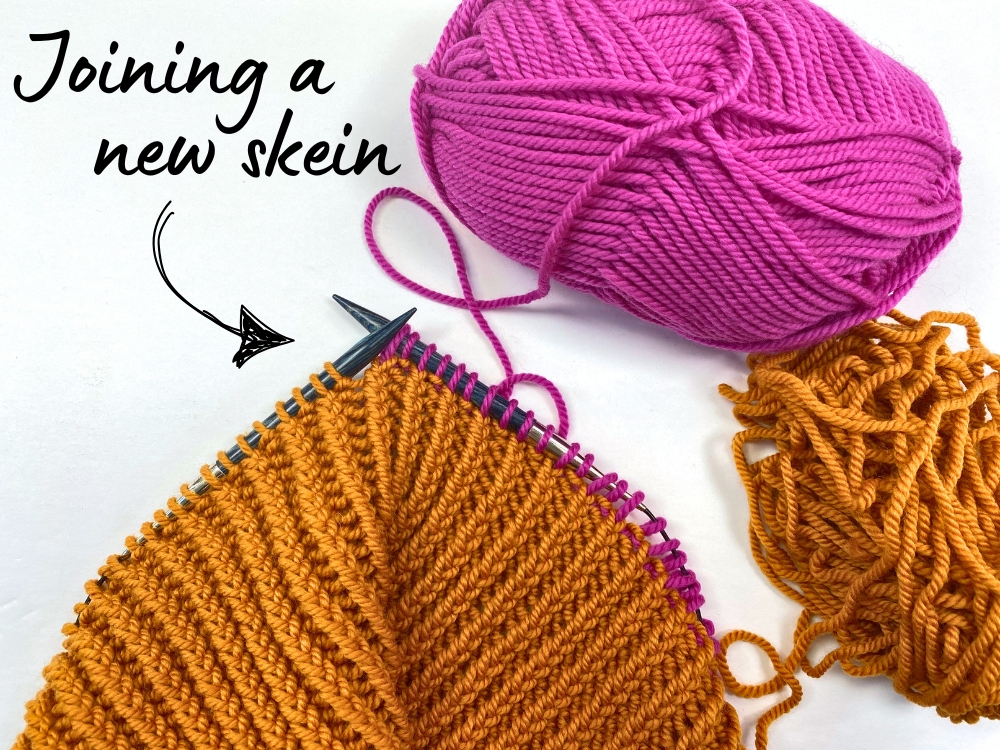
How to join a new color
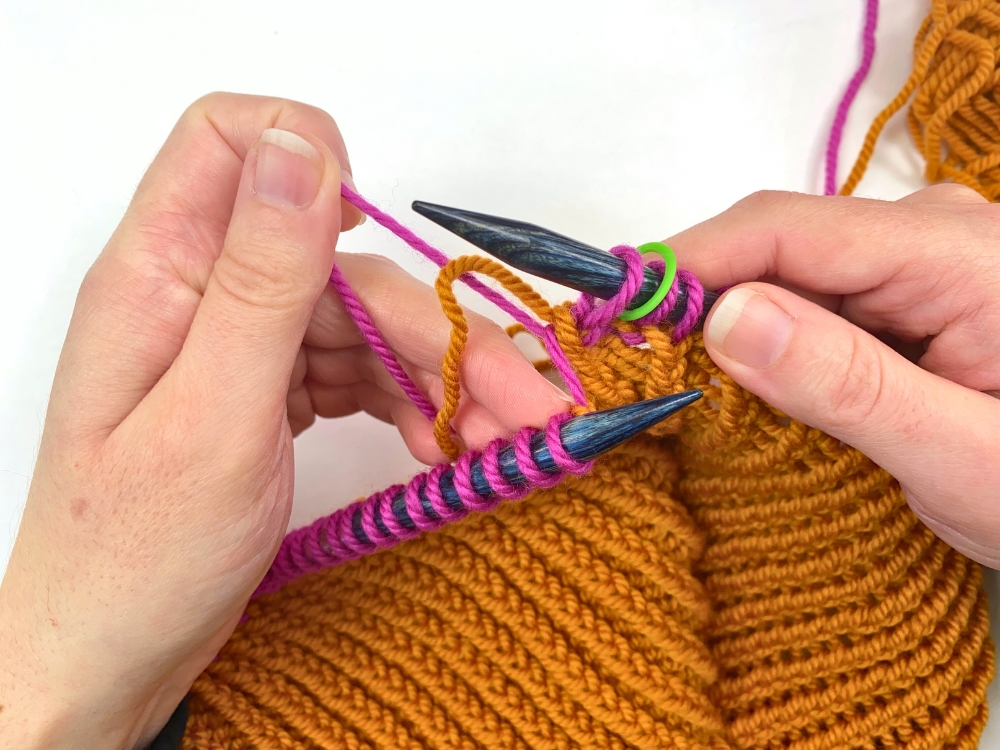
There are lots of different methods out there for joining a new color. But my personal preferred way is when you work the first stitch with both the old color and the new color (so creating a ‘double stitch’ just on that first stitch). This is the method I use in my video lesson below on the topic. But under that I have also provided a photo tutorial that show you exactly how I did it in Gray Street.
Video tutorial for this method:
Photo tutorial for this method (in Gray Street):
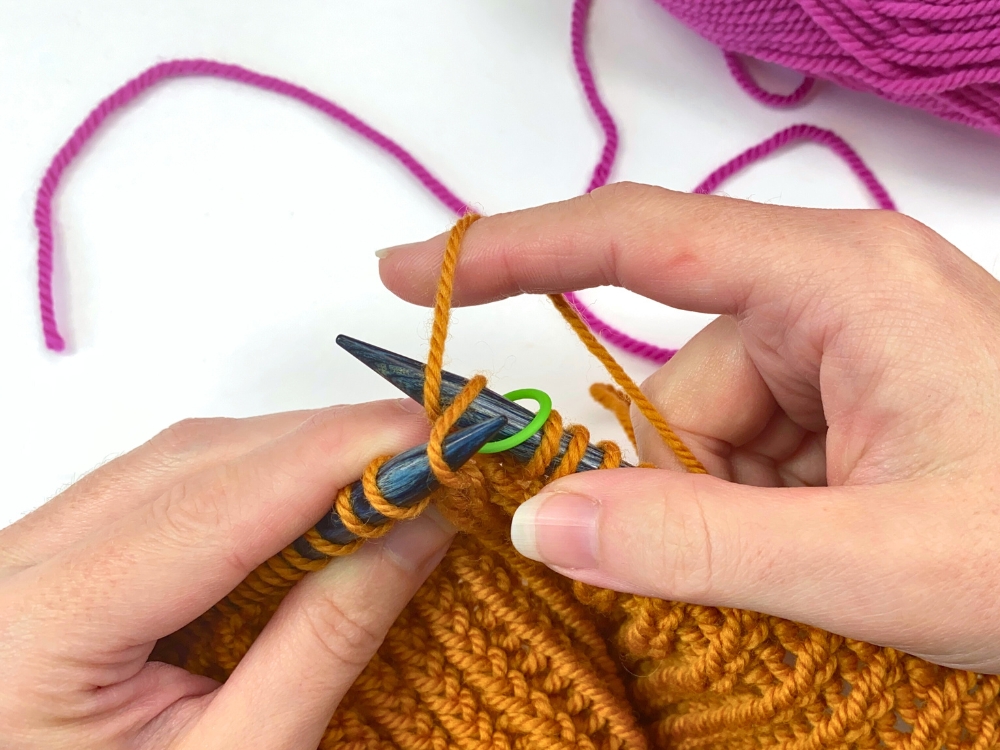
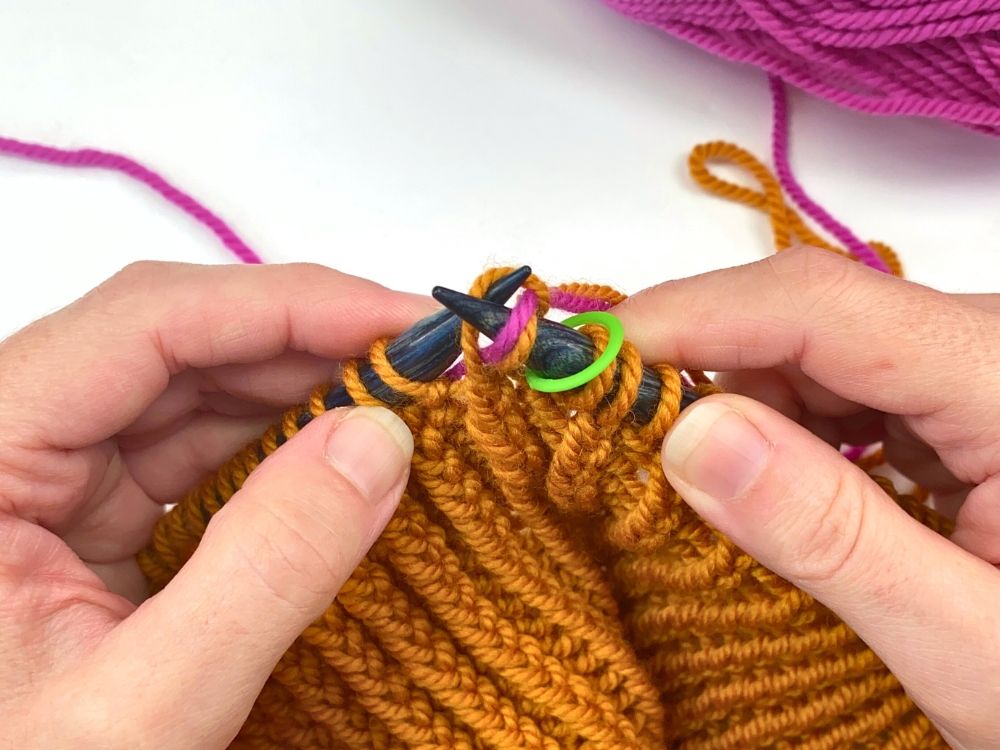
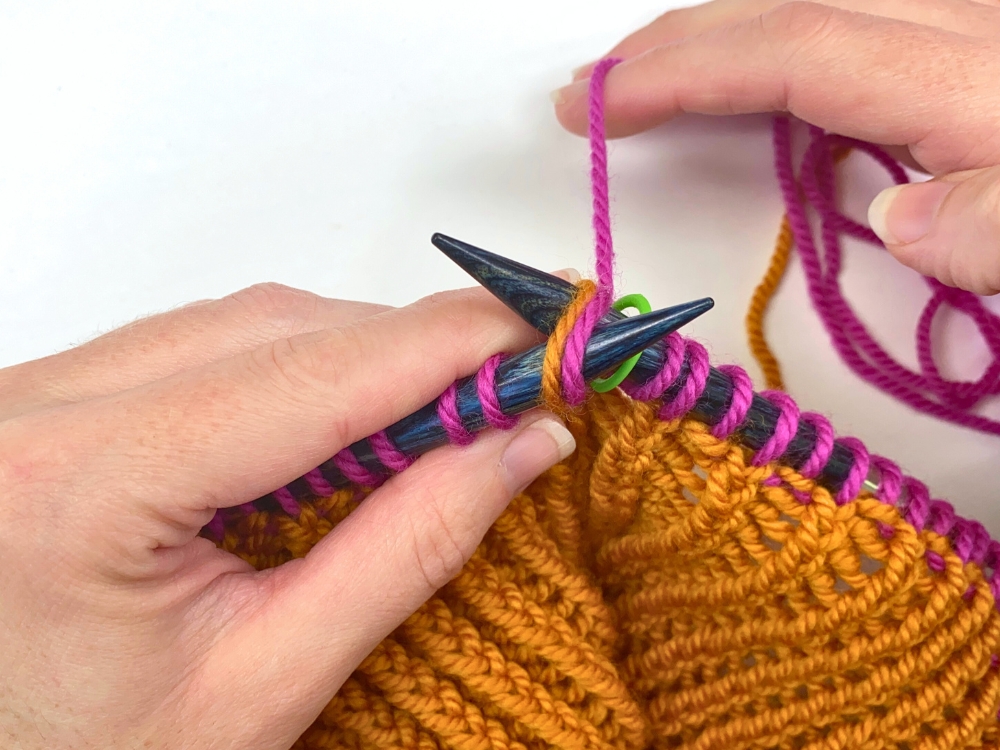
On the first stitch on the round where you are joining the new color, insert the right needle into the next stitch on the left needle just like you typically would to work a “k1tbl”. Wrap the old color around the working yarn just like you typically would…
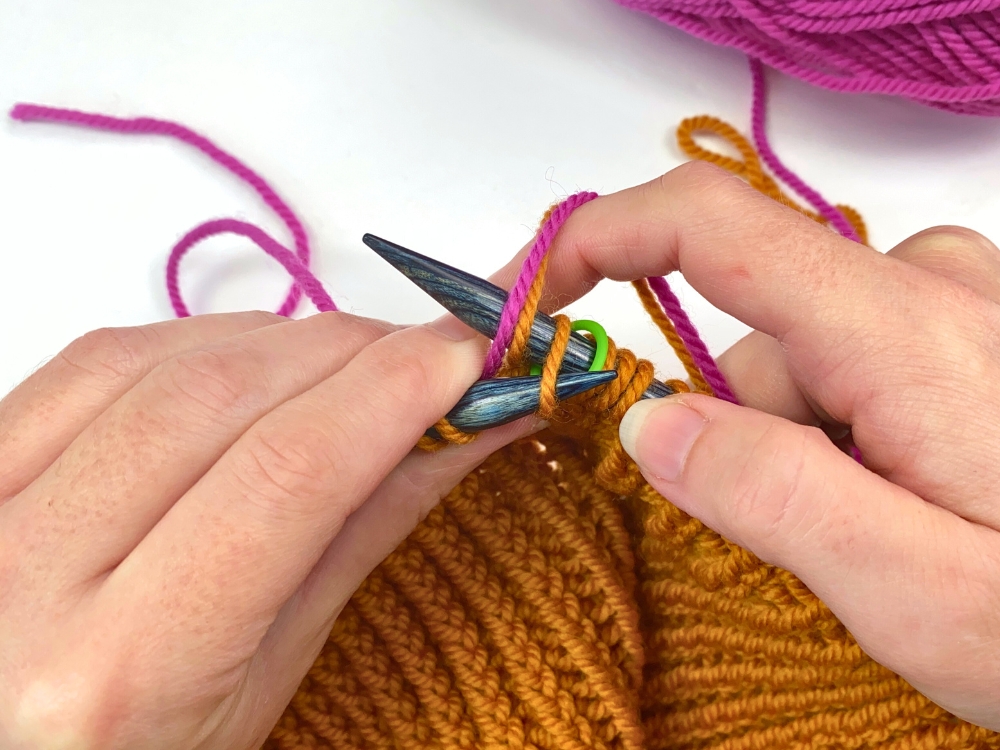
…but then also drape the new color over the top of the right needle as well. So you should have 2 strands of yarn in your right needle:
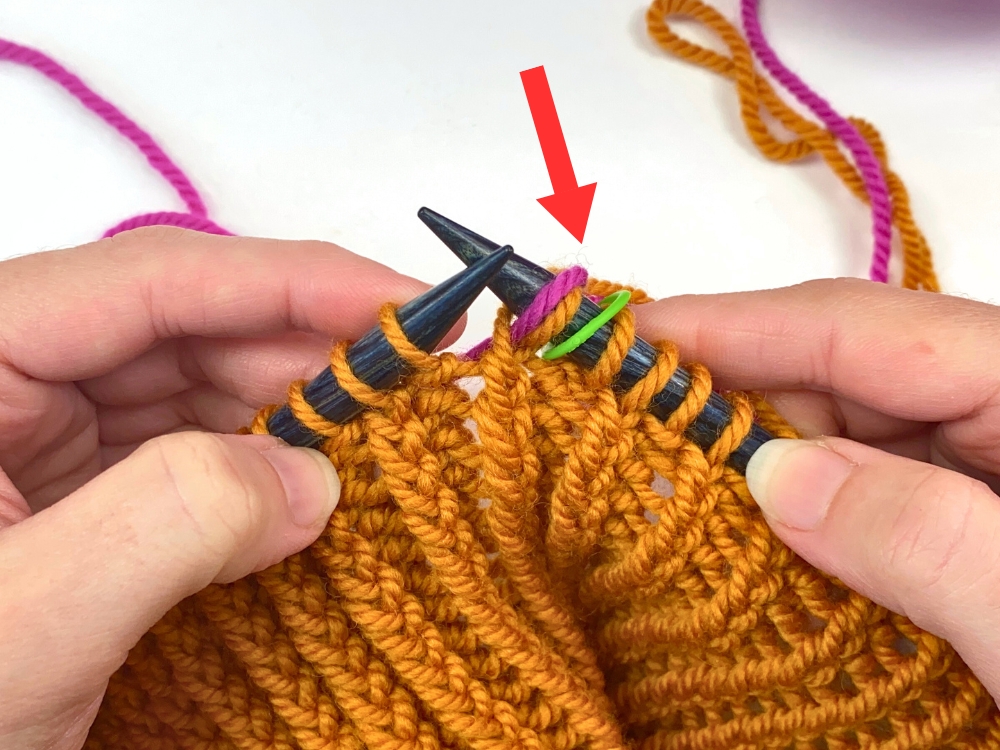
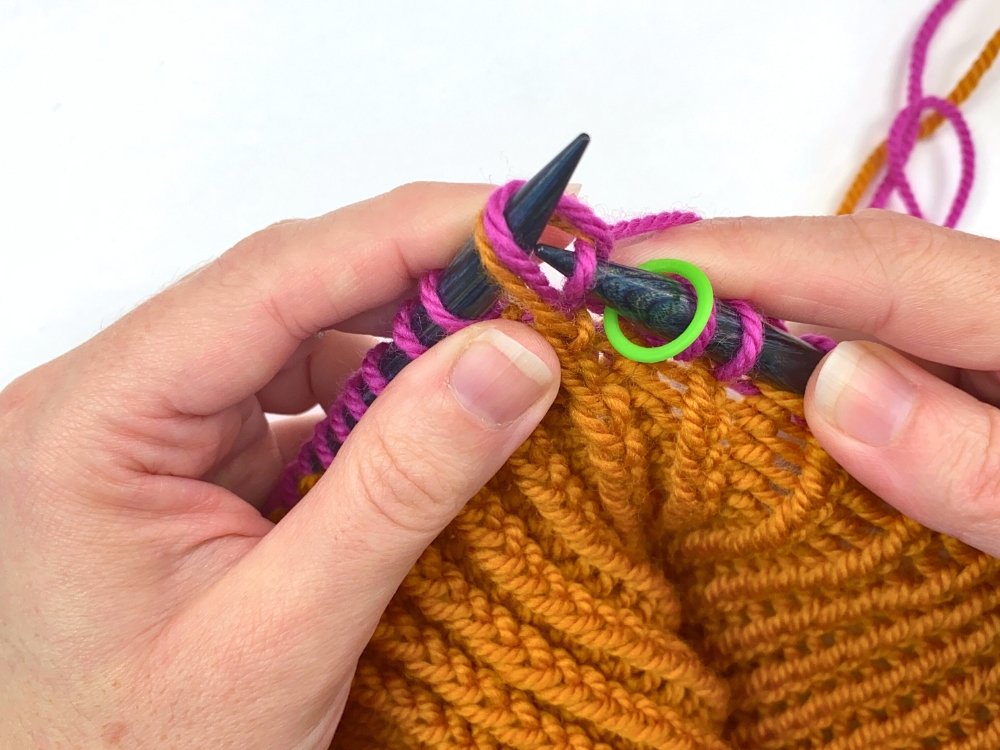
Then knit this stitch:
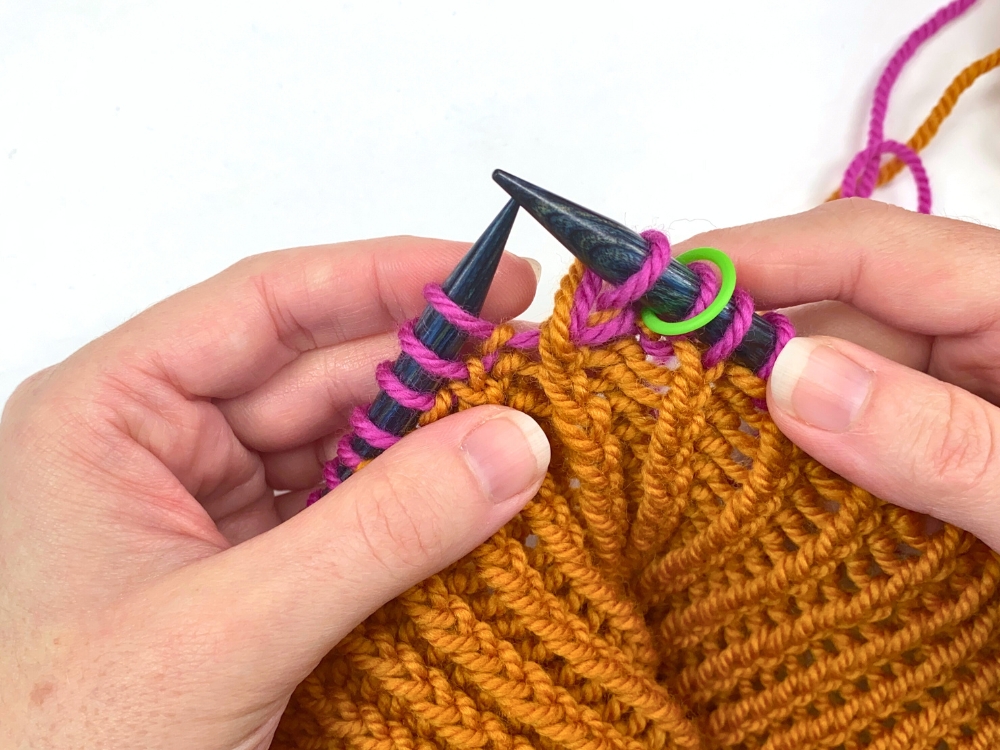
After it’s knit, it will look like a ‘double stitch’ because it has 2 loops like this:
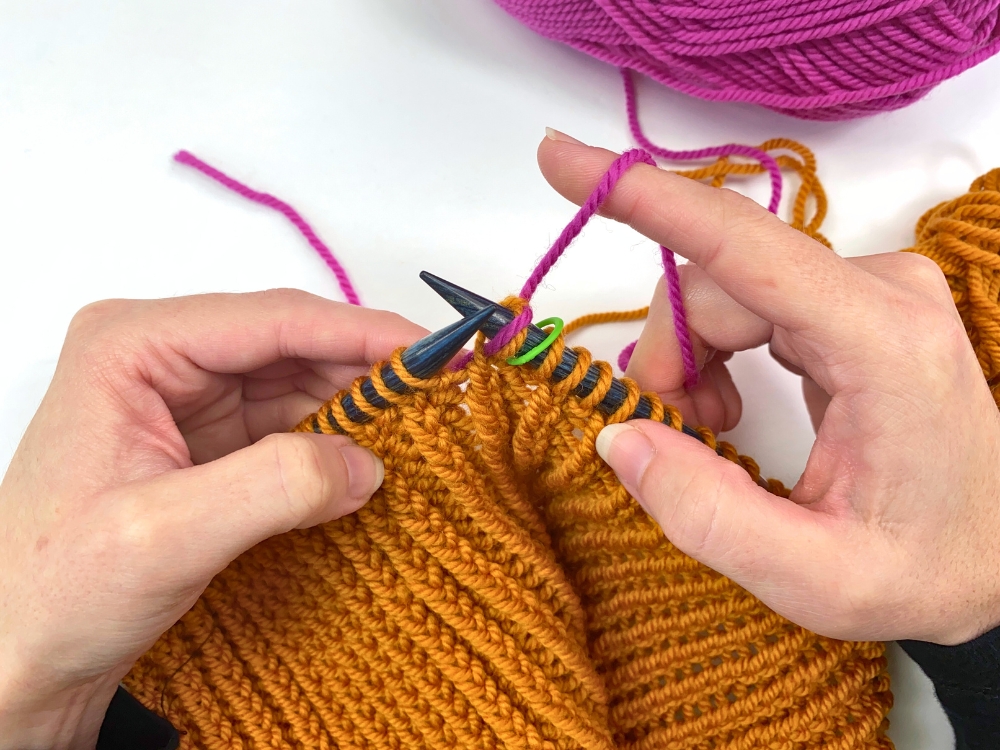
Then drop the old color and continue working the rest of the round as instructed with just the new color:
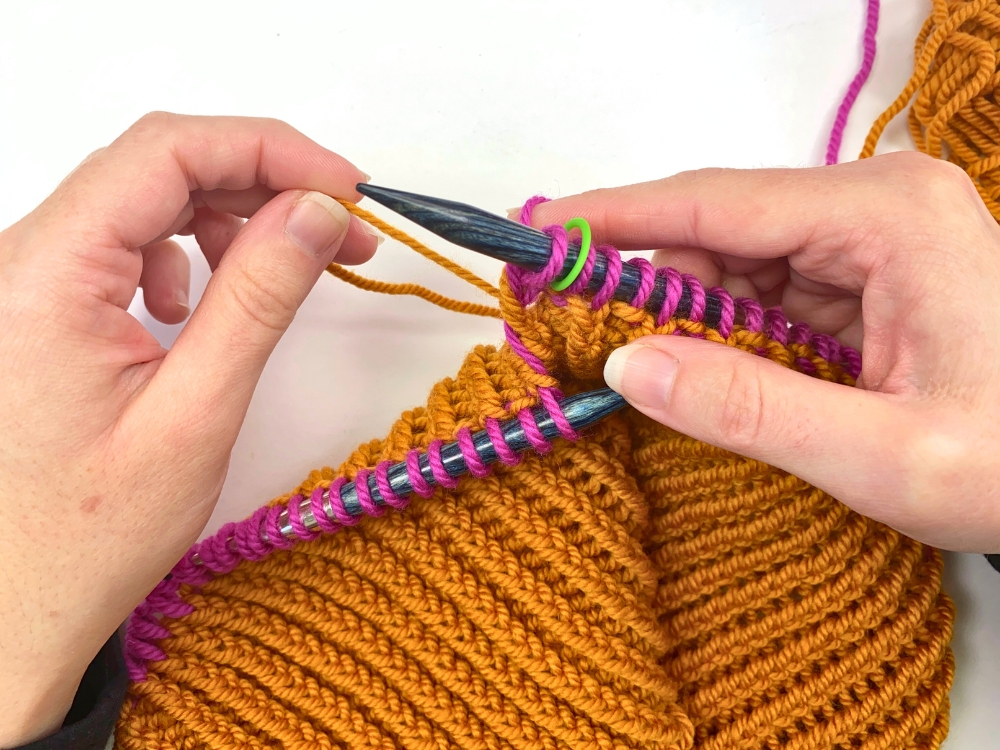
Once you’ve completed the round, you’ll encounter that first stitch again – your double stitch:
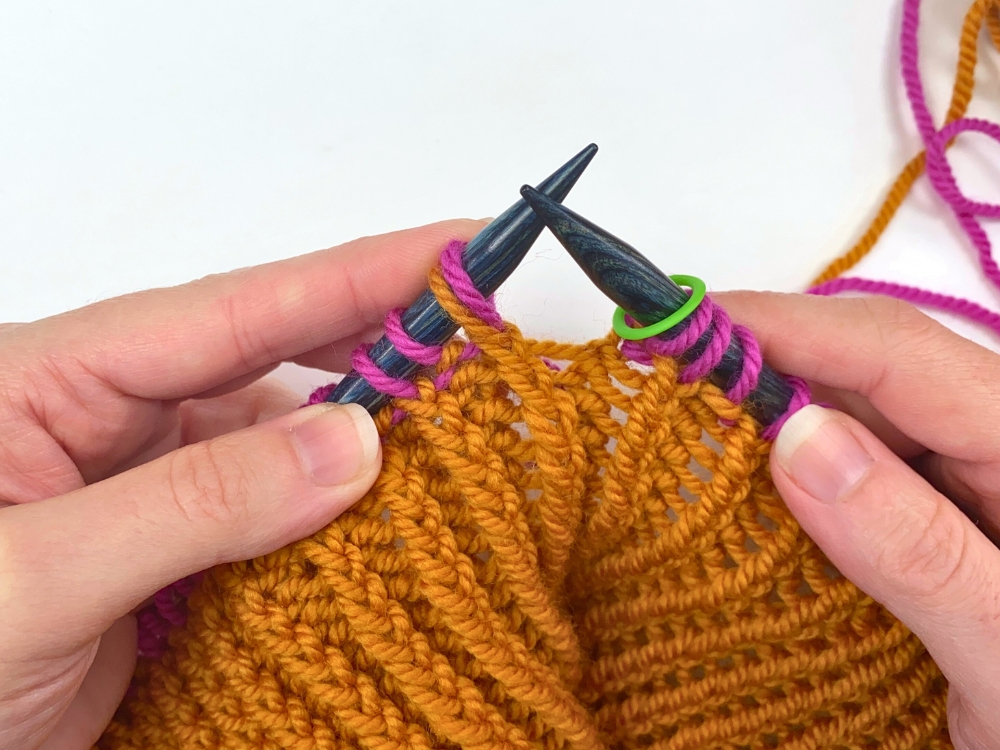
Simple knit these two loops together as if they were one:
Then, to cinch things up a bit, I like to first cinch up the tail of my old color:
And then I’ll cinch up the tail of my new color (but just slightly – don’t pull too tight):
And that’s it! It’s hardly noticeable that the first stitch was worked with both colors. And you’ve securely joined your new color this way.
How to bind-off in pattern
In the pattern, you’re instructed to BO k1, p1 pattern, but not through the back loop. So what that means is that you will bind-off the k1tbl stitches knitwise and the p1tbl stitches purlwise. And the key here is not through the back loop.
For a general tutorial on how to bind-off in rib pattern, check out this tutorial page. Note: In the video on this page, I’m binding-off in k2, p2 pattern (instead of k1, p1 like in Gray Street), but the concept is the same.

