Gauge Swatching for Brookdale Vest
When making a garment, gauge swatching is important because not getting the right gauge will mean your garment’s size will come out differently than you intended. A cardigan vest like Brookdale has a bit more leniency, meaning if it comes out a bit bigger or smaller, it will likely still be wearable at the end, but I still recommend you swatch because you’ve invested your time and money into this garment and so you might as well start on the right foot.
Why do you have to gauge swatch?
Just because I used a US 8 needle to get the pattern gauge does not mean that you will. Even if you pick the exact same yarn as I did, everyone’s tension can be different and so you may need to go up or down a needle size to match the pattern gauge. Two people can use the same yarn and the same needle size and get different gauge! The variable is human tension and some people just knit tighter and some knit looser. And, the type of yarn you are using can impact things. You may typically be a tight knitter but maybe when knitting with a cotton or cotton blend you knit more loosely. This is why it’s always good to swatch with the particular yarn you have chosen.
What’s a gauge swatch?
It’s a piece of fabric you’ll make with the yarn you have chosen for the project and the needle size you think you’ll need to get the gauge listed in the pattern. Usually you’ll make a swatch with the ‘suggested’ needle size listed in the pattern but then if you discover (through measuring your swatch) that your gauge is off, then you can make another swatch with a smaller or larger needle.
What is the gauge for the Brookdale vest pattern?
It’s 17 stitches & 24 rows = 4”. Broken down by the inch, that’s 4.25 stitches per inch and 6 rows per inch.
How do you make a gauge swatch for Brookdale?
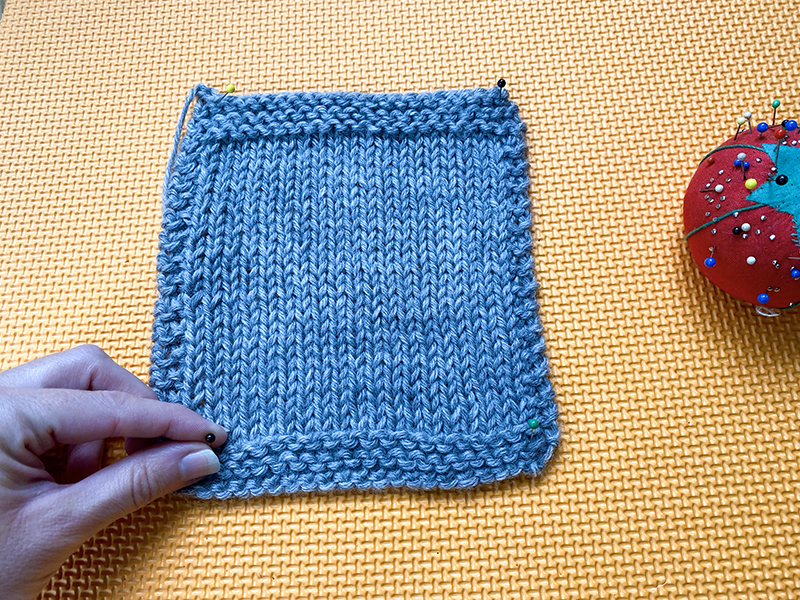
Because you will want to be measuring 4” horizontally and vertically, a swatch should be bigger than this. Plus I usually like to put a little side edging border on my swatches so the sit flat when I measure. So for brookdale, I recommend casting on a minimum of 25 stitches for your swatch. Here is how I would do it:
- Cast-on my 25 (or more) stitches
- Then knit every row for 4 rows.
- Then I’ll switch to stockinette stitch but keep my 3 edge stitches on either side in garter stitch. So what that means is that on my WS rows, I will k3, then p to the last 3 sts, and then k3. On RS rows I’ll just knit all of the stitches.
- I will work my swatch until it measures around 5” from the CO edge. And then I will work 4 rows in garter stitch at the top so it matches the bottom, and then bind-off.
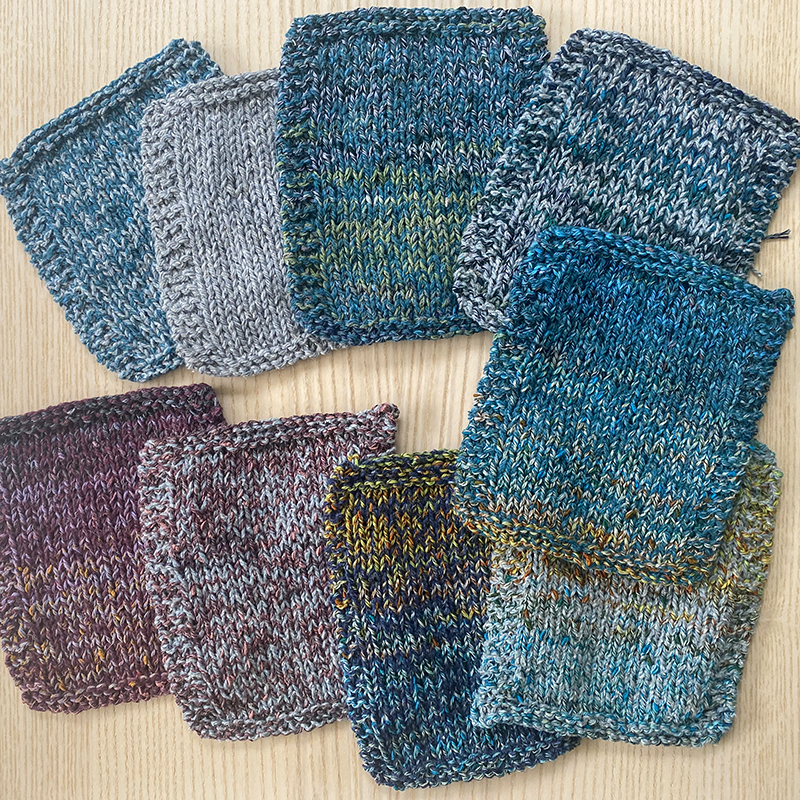
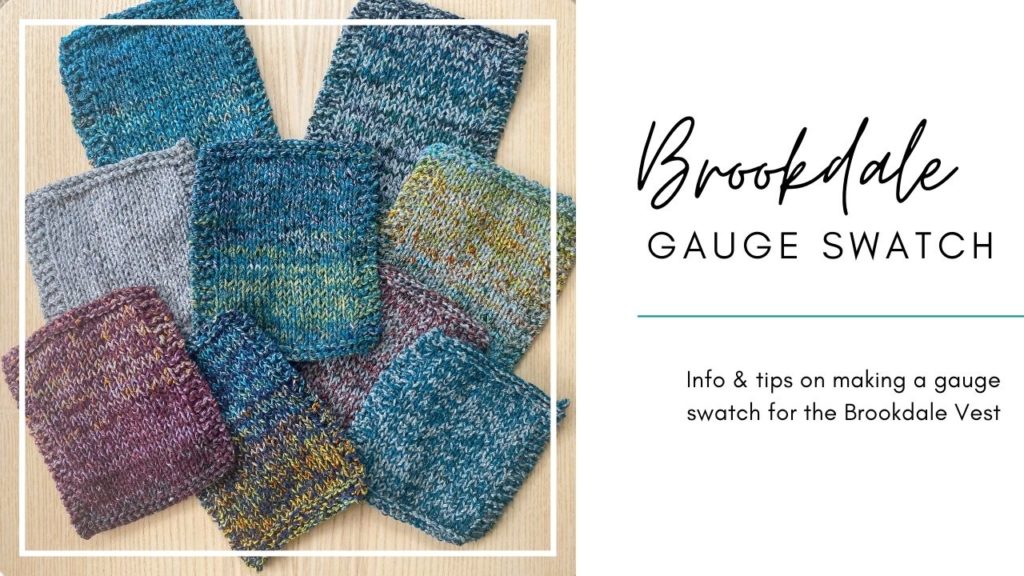
As preparation for creating my Brookdale KAL Workshop, I made quite a lot of swatches – here is a picture of what they looked like:
The pattern gauge listed is after blocking, so we should block our swatch. But, I like to measure my pre-blocked swatch first. This way I can see how much my gauge changed post-blocking.
How to measure a swatch
Check out my page here to see how to measure your stitches and rows. Note that in my demo on this page I am aiming for a different gauge than Brookdale, but the technique itself of measuring the gauge is the same.
How to block a swatch
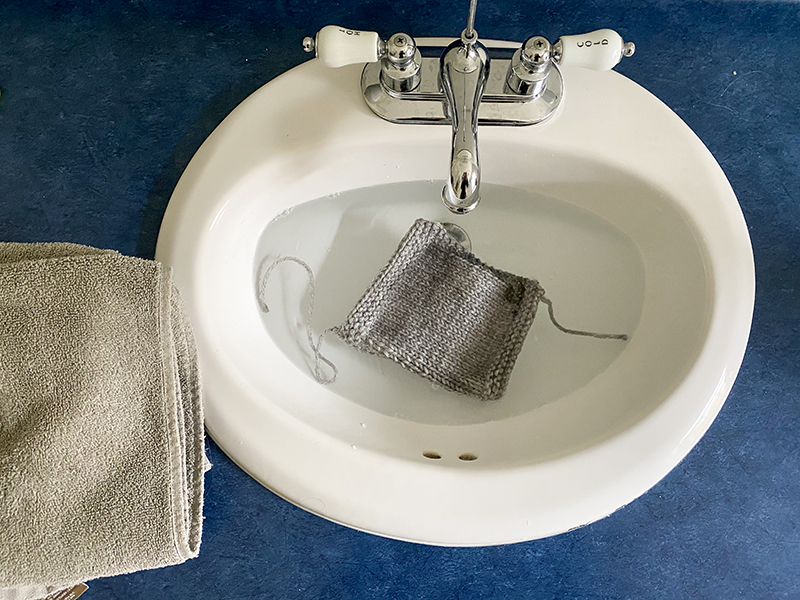
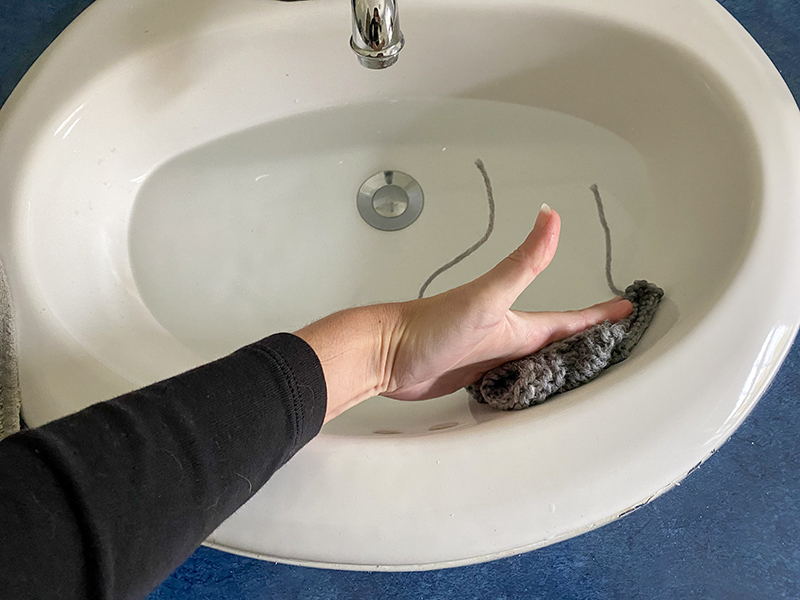
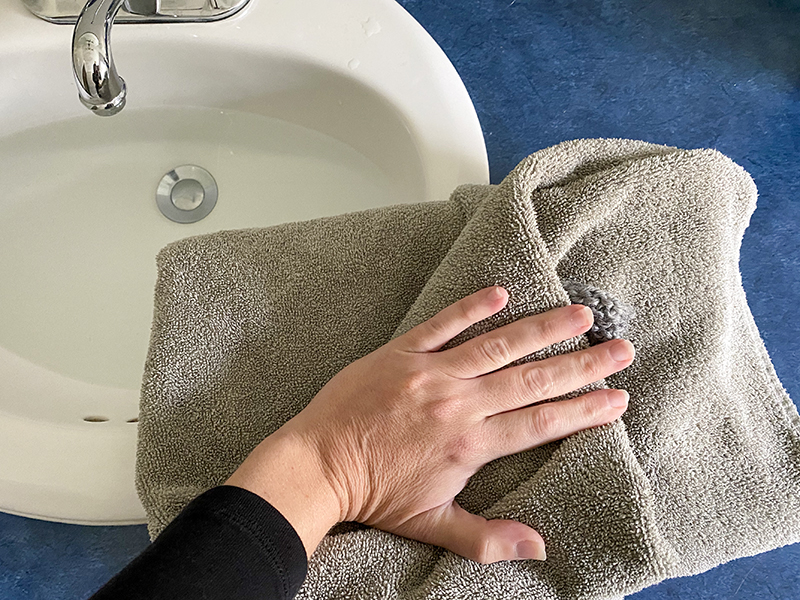
Simply fill a sink (or bowl) with water, add a tiny bit of woolwash to it, immerse the swatch in the water, and let it sit in there for 15 minutes. Then, clump the swatch together, bring it out of the water and push it against the side of the sink or bowl to get the majority water out. Then gently put it on a towel and roll it in the towel to get more water out. The goal is for your swatch to be damp, not soaking wet. Then lay it flat on a blocking tile or some other absorbent flat surface. When it’s dry, you’re ready to measure again to see what your “after blocking” gauge is.
Need to speed up swatch drying time? Use a fan! Placing your swatch near a fan will dramatically speed up your drying time. Just make sure to pin your swatch down.
What if you can’t get the right gauge?
So you’ve swatched on multiple needles and can’t get the right gauge. Or, you prefer the fabric of a different gauge. Can you still knit Brookdale? Yes! It just depends on how far off your gauge. Please note though: don’t stress if you can get stitch gauge but not row gauge – stitch gauge is more important and you can make up for row gauge discrepancies when you knit.
Being 1 stitch off over 4” (so, let’s say you get 16 sts = 4” or 18 sts = 4”), will make your finished garment circumference either 2-4” smaller (if it’s 18 sts/4”) or 2-4” larger (if it’s 16 sts/4”). If based on your own measurements and the desired positive ease you want, being “off” of gauge may work out in your favor. But if it doesn’t, your other option is to follow the instructions for a different size in order to get the finished measurement you want.
For example, if your gauge is 16 sts = 4” and you had wanted to knit size 4, you can instead knit the size 3 and you’ll end up with a garment whose finished circumference is closer to that of the size 4.
Tip: if you wind up switching the size you knit to account for your gauge discrepancy, just keep in mind that when a length measurement is given in the pattern (i.e, when it says to knit until it measures a certain number of inches), make sure to follow the inch measurement of your desired size.
I hope this gauge swatch tips have been helpful! Once you have your yarn picked, size determined, and gauge swatching complete, you’ll be ready to cast-on 🙂

