
Fresh Tracks Tips Page
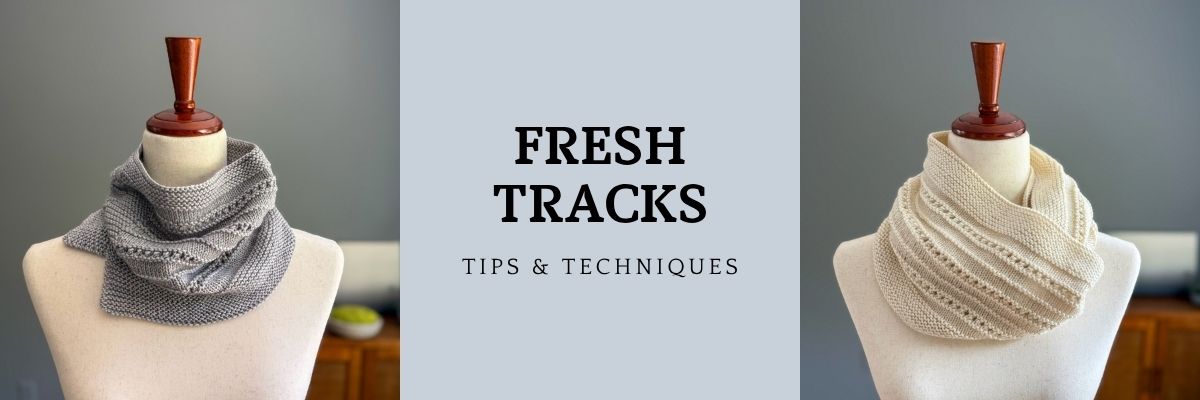
On this page you’ll find tips & tutorials to help you make your own Fresh Tracks cowl! You’ll find information about:
- Yarn & Gauge
- Stitches & Techniques Featured
- Short Version: The Hem Joining Process
- Short Version: Cinching-Up Split Hem Join (when weaving in ends)
Yarn & Gauge:
Fresh Tracks features Loop Yarn’s Flora DK, a 100% superwash merino. It provides excellent stitch definition for this pattern while still feeling super soft against your neck.
You’ll notice on the Pattern Information page that gauge is listed in both the Garter Ridge Eyelet Stitch Pattern and Stockinette Stitch. Although the row gauges are different, the stitch gauge is the same for both. So for swatching purposes, you can simply work a Stockinette Stitch swatch in the round and focus on matching the stitch gauge. Row gauge is not critical for this pattern.
Stitches and Techniques Featured
Below are tutorials for each of the techniques used in the pattern:


Short Version: The Hem Joining Process
For the short version of Fresh Tracks, after working the hem, you’ll reach the “Joining Hems” section which is broken out into 6 steps. The images below will help you to visualize each of the steps in this process:
Step 1:


Step 2:
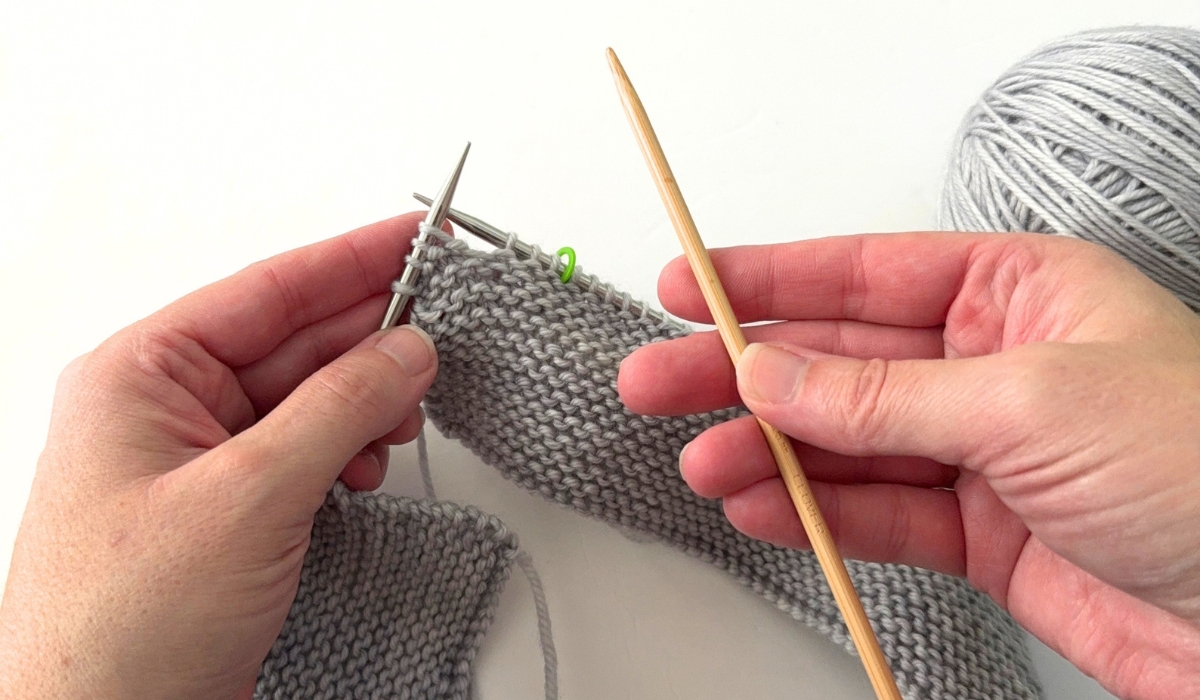
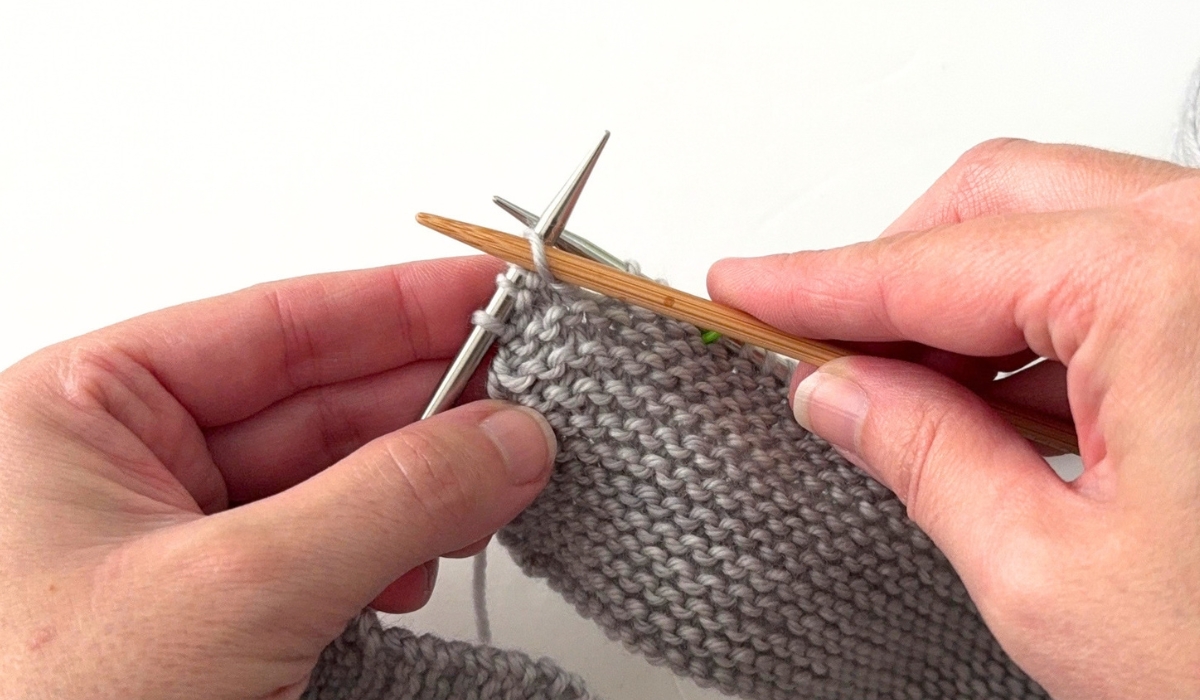
Step 3:


Step 4:


Step 5:


Step 6:


Note: When you knit the first stitch on the next round, you’ll notice that it’s really loose (as pictured below). Don’t worry, you can just cinch in the tails and it will tighten up. That tail can also be used to help reinforce the join when you’re weaving in ends at the end (scroll below for more visuals of this).

Short Version: Cinching-Up Split Hem Join (when weaving in ends)
If you feel like your split hem join is not as tight as you’d like, it’s super simple to tighten it up just by how you weave in your tail that’s at the join. The photos below show you how I did it for my cowl. In all of the below, I’m working the duplicate stitch method of weaving in ends – click here for a tutorial on this technique.


