Daffodil Days Tips
On this page you’ll find tips & tutorials to help you make your own Daffodil Days! You’ll find information about:
Choosing your 2 colors
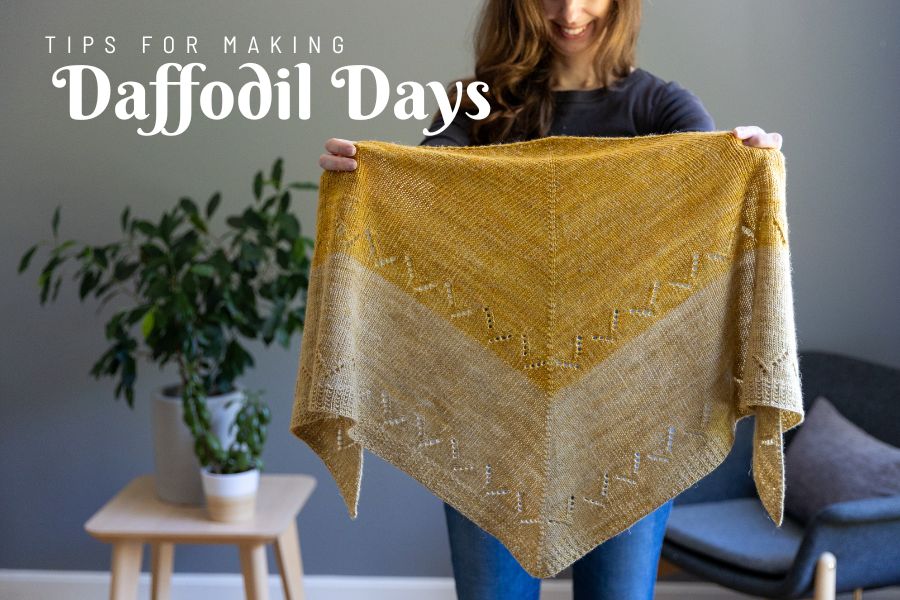
In Daffodil Days you only need 2 colors – 1 skein each of Manos del Uruguay Milo. The color you start with is color A and in the sample that is the darker yellow shade. When wearing your shawl/scarf, this is the color that will be closest to your neck, at the top of the shawl. Then color B is the color that is at the bottom of your shawl. When choosing your 2 colors, this is just good info to keep in mind!
m1 & YO increases
This shawl starts with just a few stitches and then you grow it out by working 4 increases every RS row – a YO at each edge (a couple of stitches in) and m1-R and m1-L on either side of the center stitch. If you are new to these types of increases, click below for my tutorials:
Working eyelet stitch
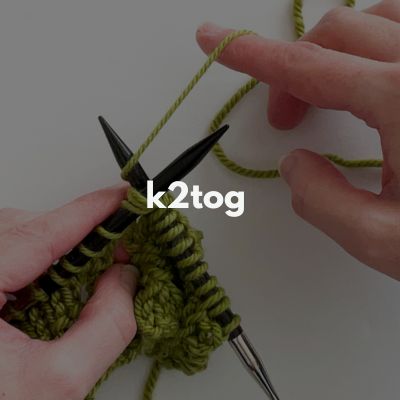
The eyelet motif featured in Daffodil Days includes the following increase/decrease stitches: YO, skp, k2tog. Below are tutorials for each of these techniques if you are not already familiar with them:
Tips on working the eyelet pattern: Utilize eyelet markers
The eyelet pattern is a 12 row pattern that is just worked in 2 spots in the shawl – at the end of the color A section and at the end of the color B section (before the bottom trim). Most of this shawl pattern I would consider relatively simple (since you’re working the same increase row over and over again), but the eyelet sections require just a bit more concentration. But one thing that can help you when working the eyelet pattern sections is to use markers to mark each eyelet repeat (the 11 stitches that are in brackets on each of the RS rows of the lace pattern).
Here is what I mean, using “Section 2 – Color A Eyelet Pattern” as my example (note: make sure the “eyelet markers” you use are a different color or style than the markers you already have placed in your shawl to help differentiate them):
- In row 1, work the “k2, yo, k2”, then because the bracketed instruction is what is repeated, place an eyelet marker on the right needle, then work the first sequence of “yo, skp, k9”. Then place another eyelet marker on your right needle. So now you have 11 stitches in-between your eyelet markers.
- Now you’re instructed to repeat the 11 stitch sequence that is in brackets 6 more times. So you’ll repeat what you just did – work the 11 stitch repeat of “yo, skp, k9” and then place an eyelet marker on the right needle. Do this for each of the 6 additional repeats you’ll work.
- After placing your last eyelet marker, you’ll then work the pattern as instructed which is “yo, skp, k6, m1R, sl m, k1, sl m, m1L, k6, k2tog, yo.
- Then you see the brackets again! So now you know you want to start placing your eyelet markers again (now on the other side of the shawl). So you’ll place an eyelet marker on your right needle and then begin the bracketed instruction which is “k9, k2tog, yo”. Then you’ll place another marker on your right needle. Then each time you repeat that bracketed 11-stitch sequence (6 more times) you’ll place an eyelet marker on the right needle.
- Once you’ve done that, you then finish the row as instructed, which ends with “k2, yo, k2.
- So now, every RS row of that lace pattern, you’ll know that the repeated sequence is worked over those 11 stitches in-between each set of eyelet markers.
- The eyelet pattern technically ends after working row 12, so on row 12 you can remove any eyelet markers you have placed (note: just make sure not to remove your center st markers – only remove the eyelet markers!),
By utilizing eyelet markers like this, it’s easier to keep track of the sequences, and it’s easier to spot potential mistakes because at the end of every RS row, you can double-check by making sure you still have 11 stitches in-between each set of eyelet markers.
Note: because you’re still working increases at the edges and at the spine of the shawl, your stitch counts will be changing outside of the eyelet markers, but in-between each eyelet marker should always be 10 stitches.

