Capo Tips
On this page you’ll find tips and techniques used in my Capo (bulky-weight) and Capolette (sport/DK-weight) patterns! Here are the topics I cover:
- Picking a size
- Picking a yarn for Capo
- Picking a yarn for Capolette
- Swatching (in the round)
- Long-tail Cast-On & Joining to Work in the Round
- Adjusting the length
- Armhole Shaping Techniques
- m1-R
- sl1 pwise
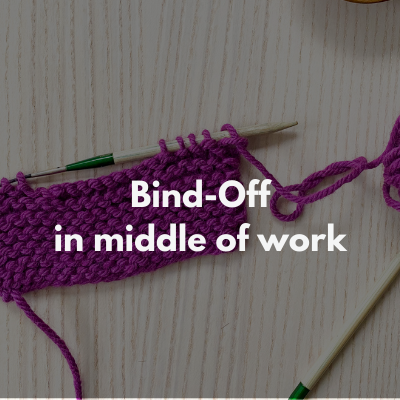
- binding-off in the middle of your work
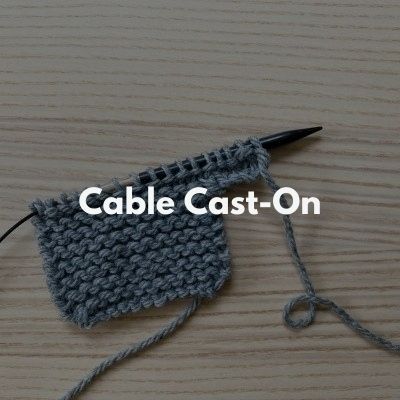
- cable cast-on
- ssk and k2tog decreases
- Blocking
Picking a Size
There are 5 sizes to pick from in both designs: XS/S, M/L, XL/2X, 3X/4X, 5X/6X. For both versions, I generally suggest picking a size who’s finished circumference is approximately 9-15″ larger than your actual chest circumference. In both patterns I also provided a “To Fit Bust Size” range as well to assist you with picking a size. You can also look at the finished projects on Ravelry (for the original Capo) to get an idea of the type of fit you might want in your own Capo).
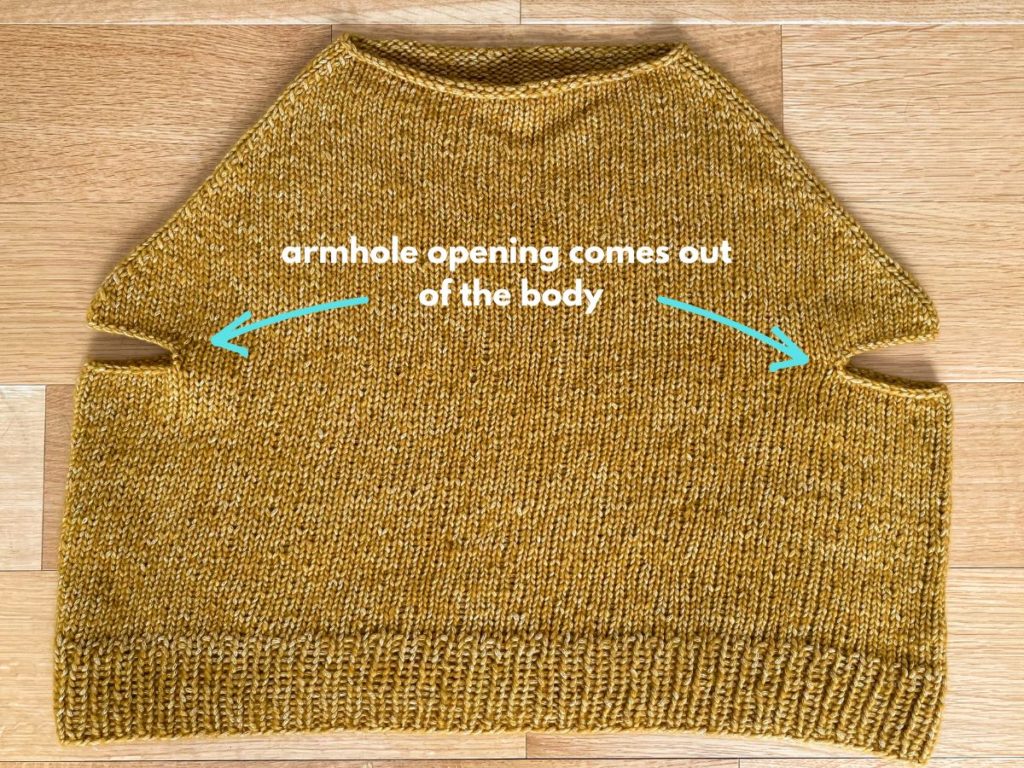
Why so much positive ease? The overall width of the garment needs to not only accommodate your torso and bust, but also your shoulder-to-shoulder width. Capo and Capolette are constructed more like a capelet where the circumference includes your upper arms (or put another way, your armhole openings come out of the body). So you need that extra width to accommodate everything. For a better visual, here is Capo laid flat on the ground:
So if you feel you are in-between sizes, but you know you have broad shoulders, I would suggest sizing up (and if you are have narrow shoulders, you could size down). To view my recent test knitter’s finished photos (and how much ease they chose to wear their Capo’s and Capolette’s with), check out this blog post.
Picking a Yarn for Capo
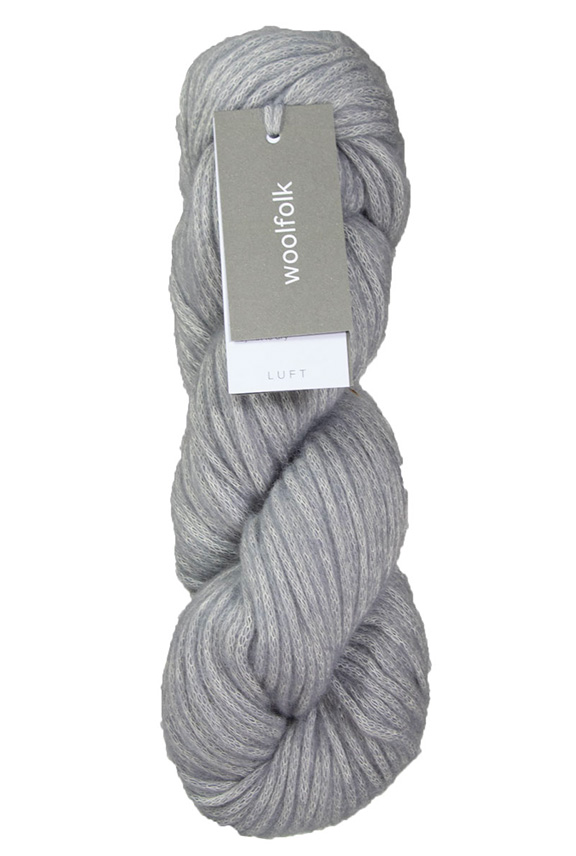
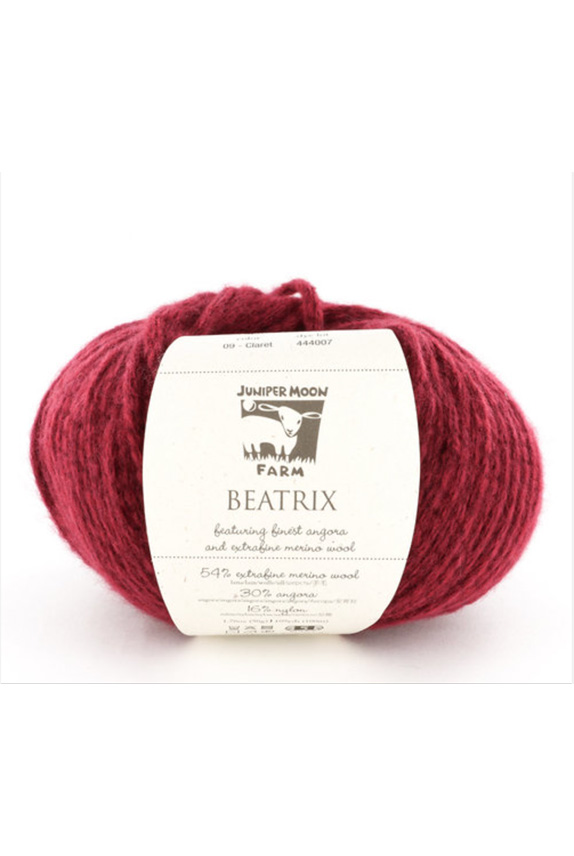
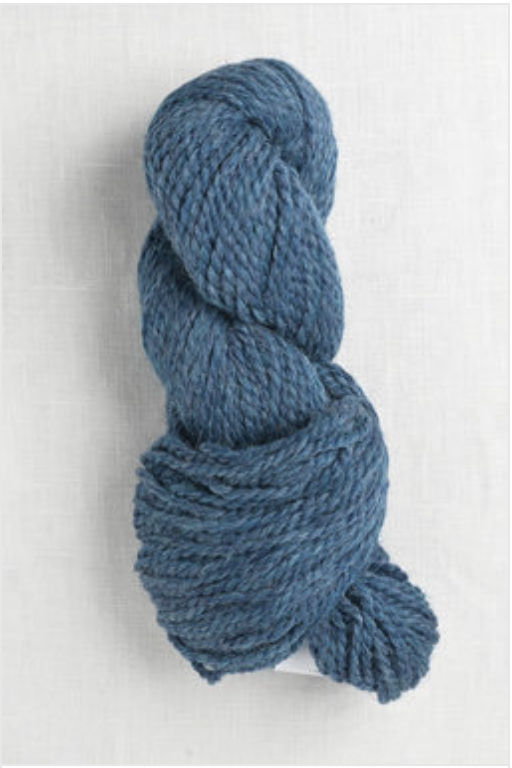
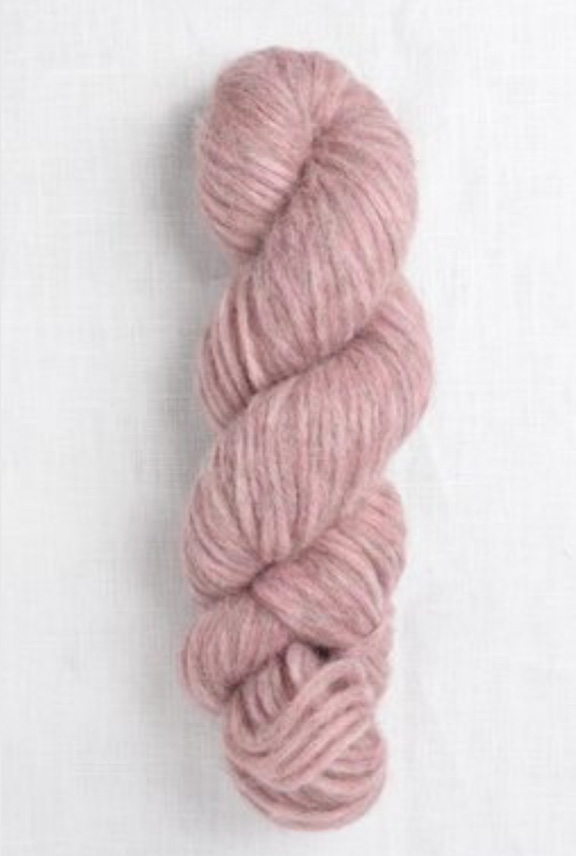
Capo has a stitch gauge of 14 sts = 4″ (in stockinette stitch in the round), and so this is a typical bulky-weight yarn gauge. I used Woolfolk Luft, a merino/cotton blend that has a chainette-construction so it feels so light & airy (despite being considered a bulky-weight). This design works so well for these types of yarns because it drapes so nicely off the body. To learn more about chainette-construction yarns, check out my blog post here. Below are just a few yarn ideas that I think work well for this design:
Many people have also chosen to knit Capo with worsted-weight yarn, and picking a needle size that will provide them with the pattern stitch gauge of 14 sts = 4″. Because it’s a lighter-weight than bulky, that just means the fabric will be looser. But in Capo, that’s not a bad thing – it provides more drape which, if the yarn is mostly wool and not chainette, it’s not a bad idea!
Picking a Yarn for Capolette
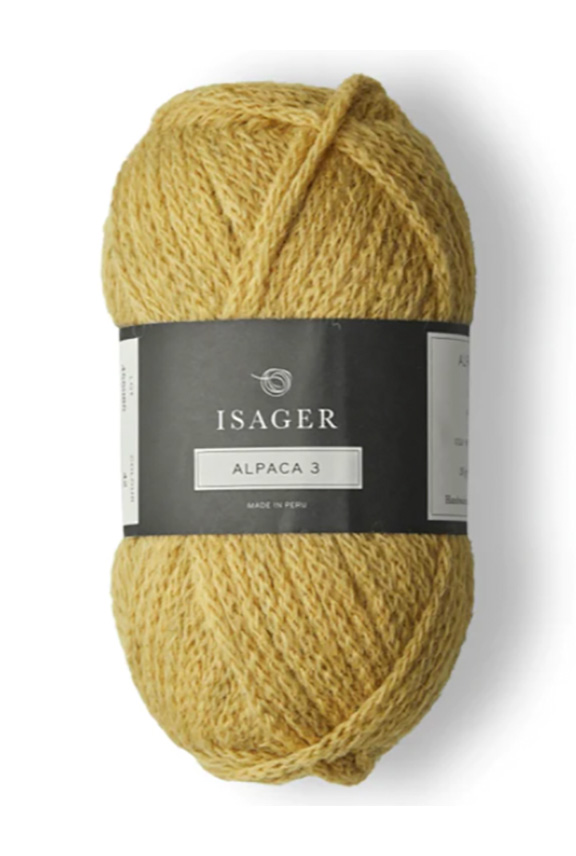
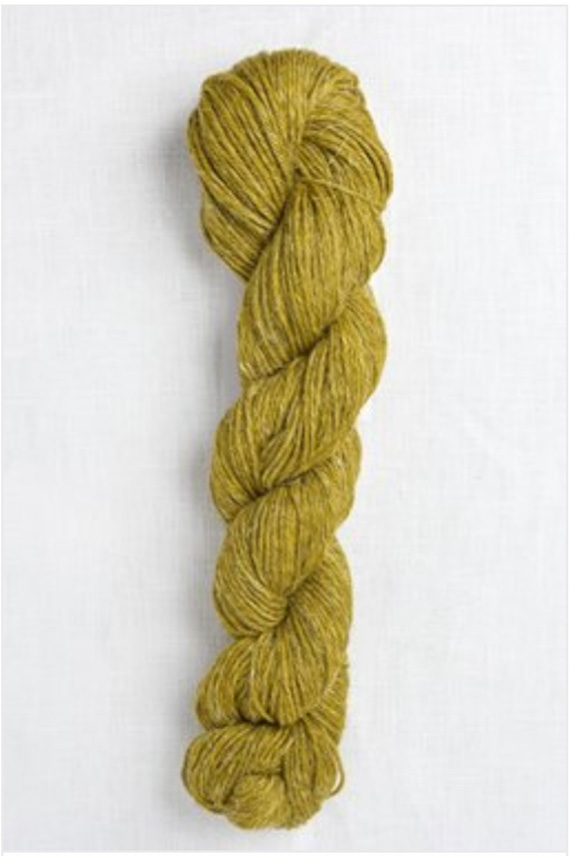
Capolette has a stitch gauge of 20 sts = 4″ (in stockinette stitch in the round) – this is a great gauge for sport or DK-weight yarns knit up just a little big loosely. In my sample I used Berroco Remix Light (on a US 6 needle). There are so many different types of yarns in this range that would work well for Capolette. I think blends that have some linen or cotton in them would work especially well. Below are just a few ideas to provide some inspiration!
Swatching
Capo and Capolette are worked in the round, so it’s important that when you swatch that you also swatch in the round. To learn more about swatching in the round (including a video tutorial lesson), click here!
Long-tail Cast-on & Joining to Work in the Round
Are you new to working the long-tail cast-on and joining to work in the round? Check out my video tutorials below!
Adjusting the Length
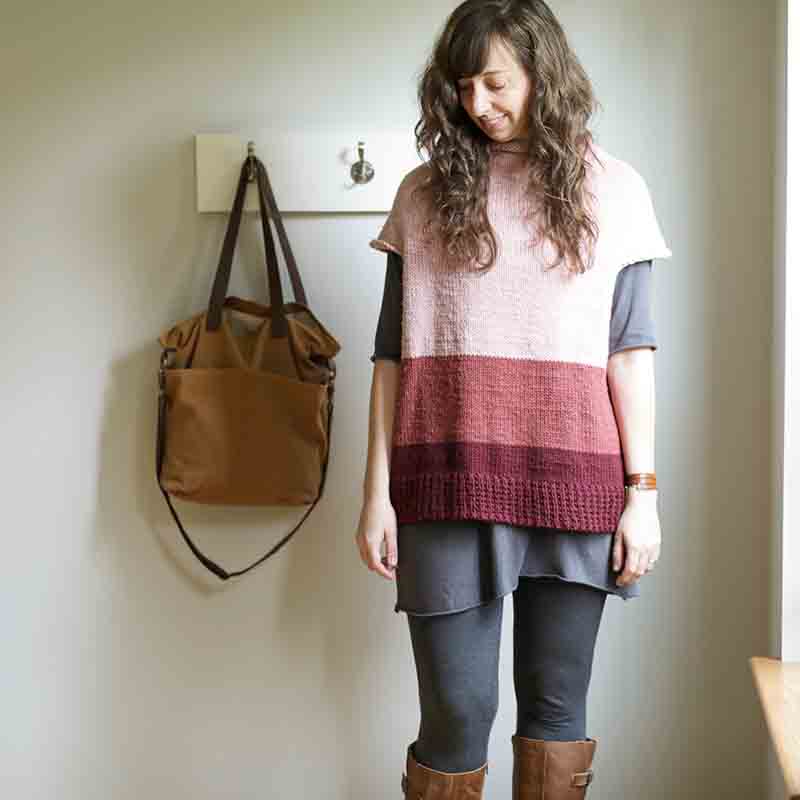
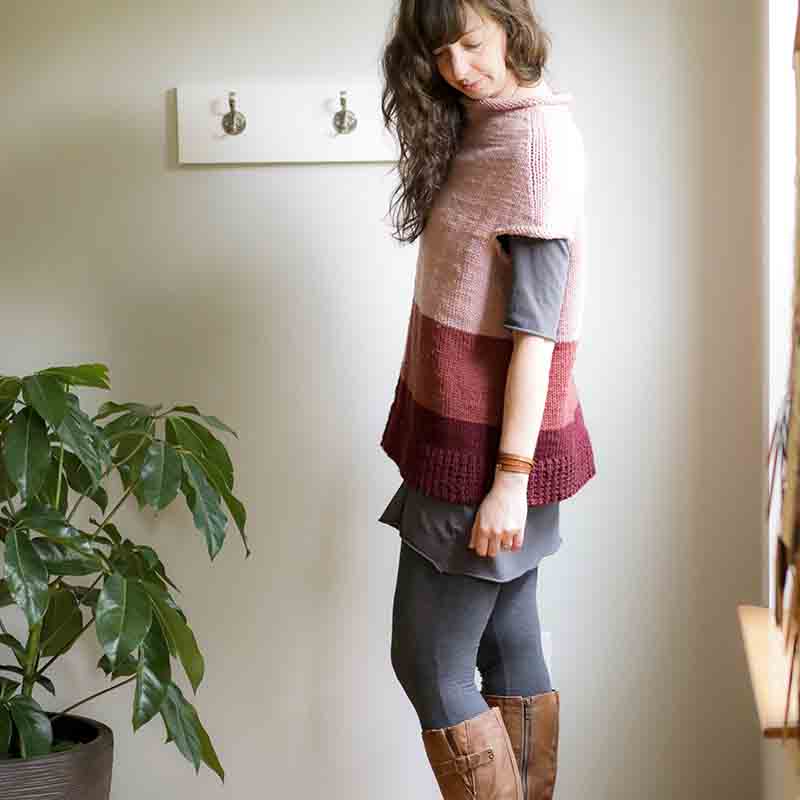
One of the popular pattern adjustments that people have often made to Capo is making it longer. The pattern as written is a cropped length which is great when you want to layer it over a tunic or dress, as I’ve done in the pattern photos. But if this is not your personal style, not to worry! Simply work Capo as long as you like. In fact, years ago (when I worked at a yarn shop), my friend Suzie made Capo longer (a bit of a tunic-length), and she did some color-blocking as well! Here are some photos of me wearing her version:
So to make yours longer, just keep working in stockinette stitch (in the round) until you’re happy with the hem to underarm length – that’s it! But here’s something to keep in mind – the armhole depth of Capo is longer than in a typical sweater (since it’s designed more like a capelet pullover). So when deciding on your underarm to hem length, keep in mind that your underarm area is not at your actual armpit – it’s a bit lower. Take a look at the schematic and see how long the armhole depth is for your size and measure that length on your body, from the shoulder downwards – this will show you were the actual “underarm” point is for your size.
Armhole Shaping Techniques
The Armhole Shaping section of both patterns consists of 3 rounds. In the first round you bind-off underarm stitches, on the second round you cast those stitches back on, and in the third round you reinforce the corners (and actually you work other reinforcement techniques in rounds 1 and 2 as well). I created a 20 minute video lesson that walks you through these 3 rounds in full, so if you are new to any of the techniques I work in these rounds then this lesson should be especially helpful!
If you just need a reminder about some of the techniques, here are the individual tutorials for those:
SSK and K2TOG
To shape the yoke/shoulders, you will be working 2 types of decrease stitches: ssk and k2tog (pictured below). For a refresher on these decreases, check out my tutorial page here.
Adjusting Yoke
If you notice that your row gauge is off, or if you want to make your yoke depth longer or shorter, or make your neck opening smaller or larger, then you will need to make some yoke adjustments. Here are some tips for how to do this in these different scenarios:
Adjusting Yoke Depth
- If you need to make your yoke depth shorter: This means you want to work less rounds. But if you want to end up with the same number of stitches listed in the pattern (to achieve the same neck circumference as the schematic), this means you will need to change how often you repeat the decrease round. So the first step is to decide how many rounds you want to remove from the pattern. Once you know this number, then the easiest spot to do this is in Yoke: Section 2. In this section, you repeat the decrease round every-other-round. Depending on how many rows you want to eliminate, you can instead repeat the decrease round every round for some of the rounds in this section.
- If you need to make your yoke depth longer: This means you want to work more rounds. But similar to the above situation, to acheive the same neck circumference you’ll need to change how often you repeat the decrease round. First figure out how many rows you want to add, and then I suggest adding them in Yoke: Section 2. Instead of repeating the decrease round every-other-round for the entire section work some rounds where you work it every 3rd round instead (how many times you do this depends on number of rounds you want to add).
Adjusting Neck Width
- If you want to make your neck wider: This means you want to work less decrease rounds. First you’ll want to know how many more stitches you want at your neck. Since you decrease 4 stitches total during each decrease round (2 for front/2 for back), you’ll then know how many decrease rounds you want to eliminate. You can just wait until the very end and just eliminate the last decrease rounds (and work in plain stockinette stitch instead).
- If you want to make your neck narrower: This means you want to work more decrease rounds. Similar to the above, first figure out how many less stitches you want at your neck. And then you’ll want to add extra decrease rounds – I suggest adding them in Yoke: Section 2 and working the same number of rows, but working some rounds where you decrease every round (instead of every-other-round).
Blocking
Looking for a wet blocking tutorial? I created a video lesson all about it for my Audrey’s Cardigan – although it’s a different design, the techniques I use are the same regardless of the pattern/garment. Click here to watch it!

