Blocking the Brookdale Vest

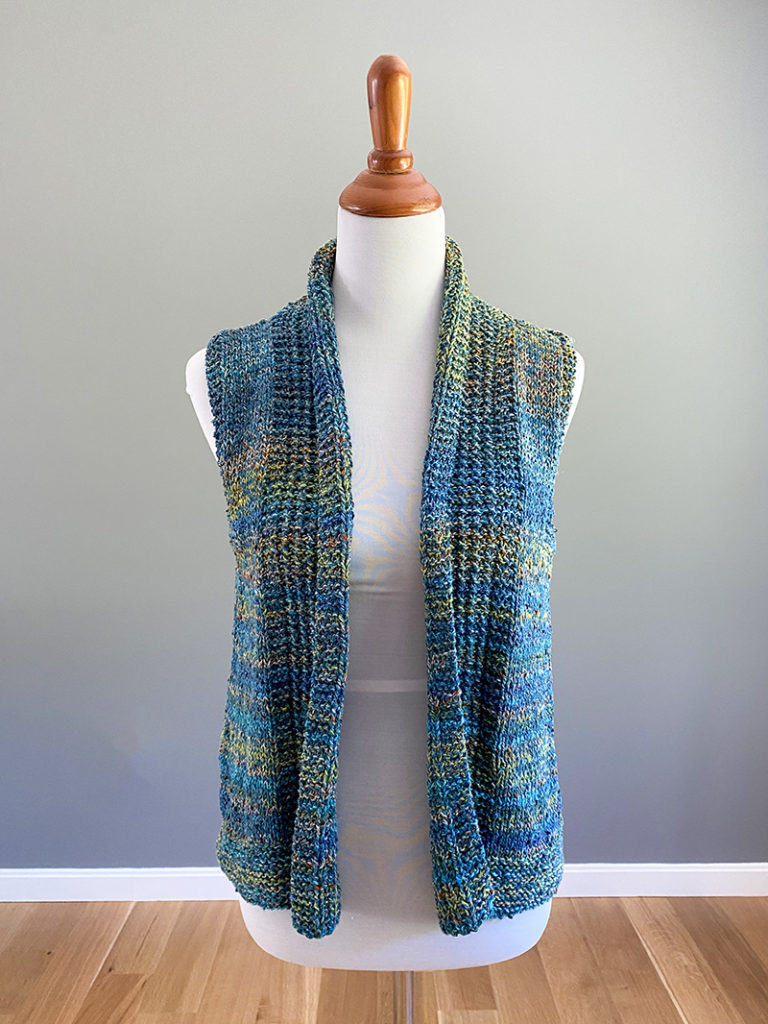
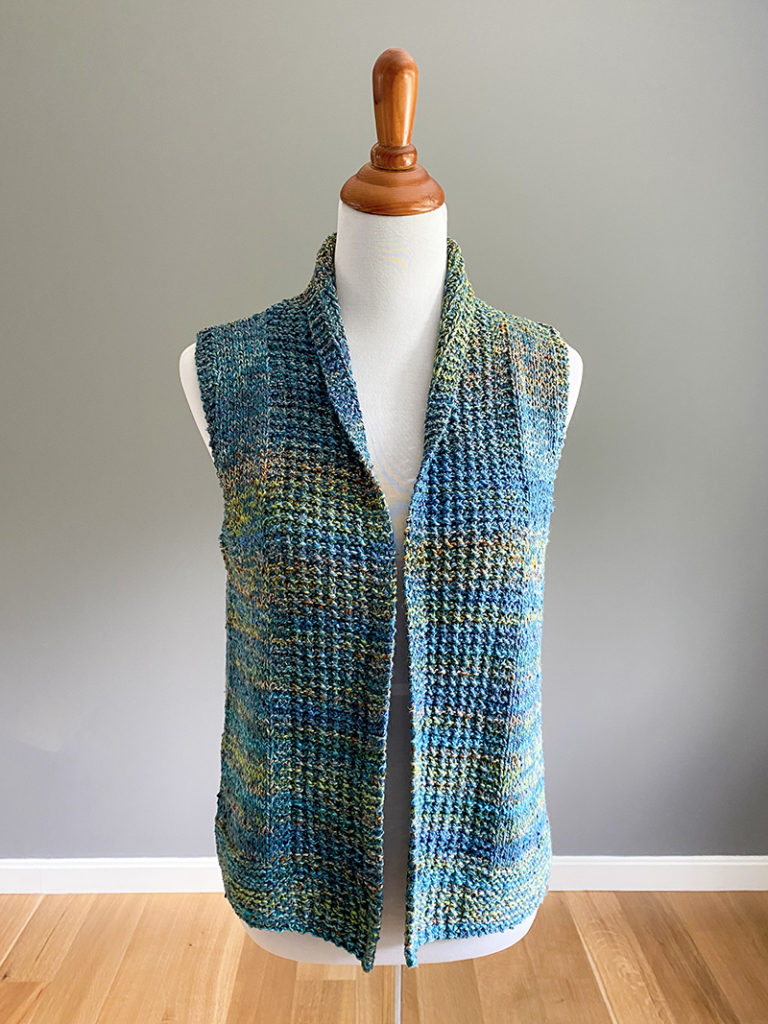
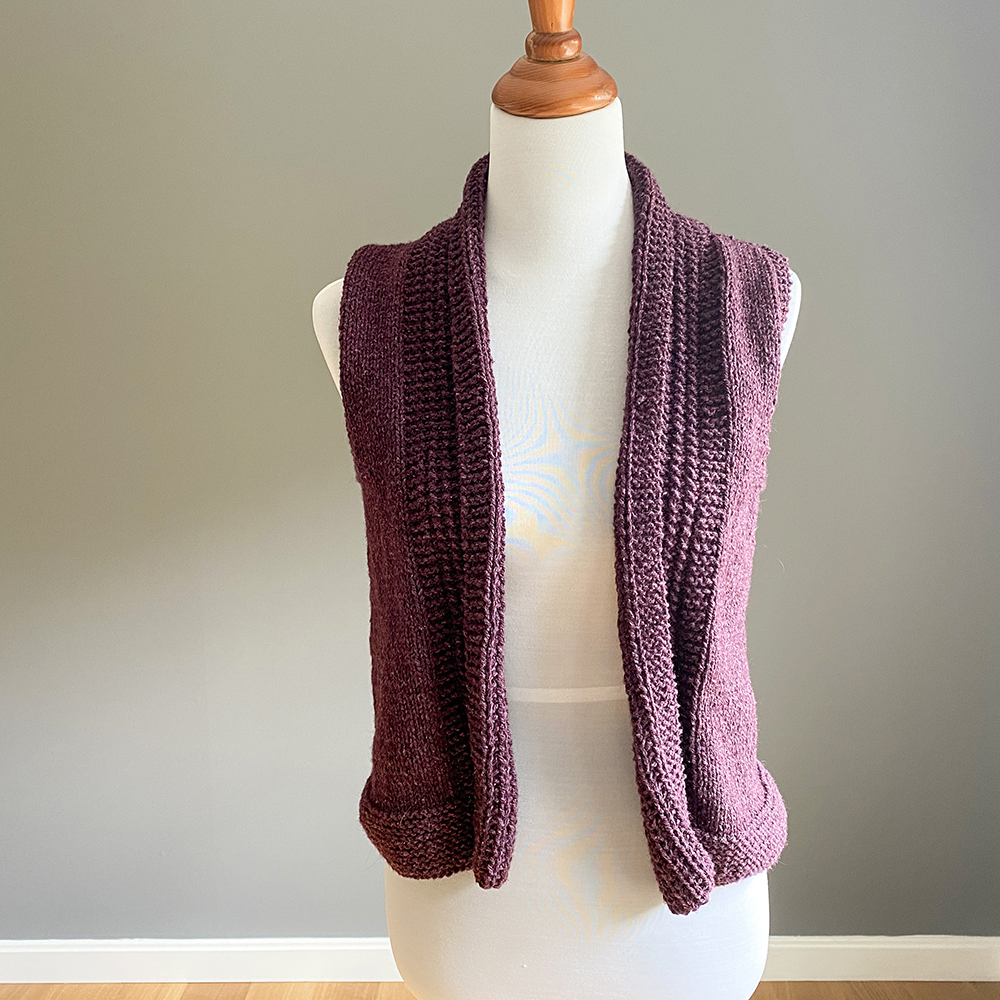
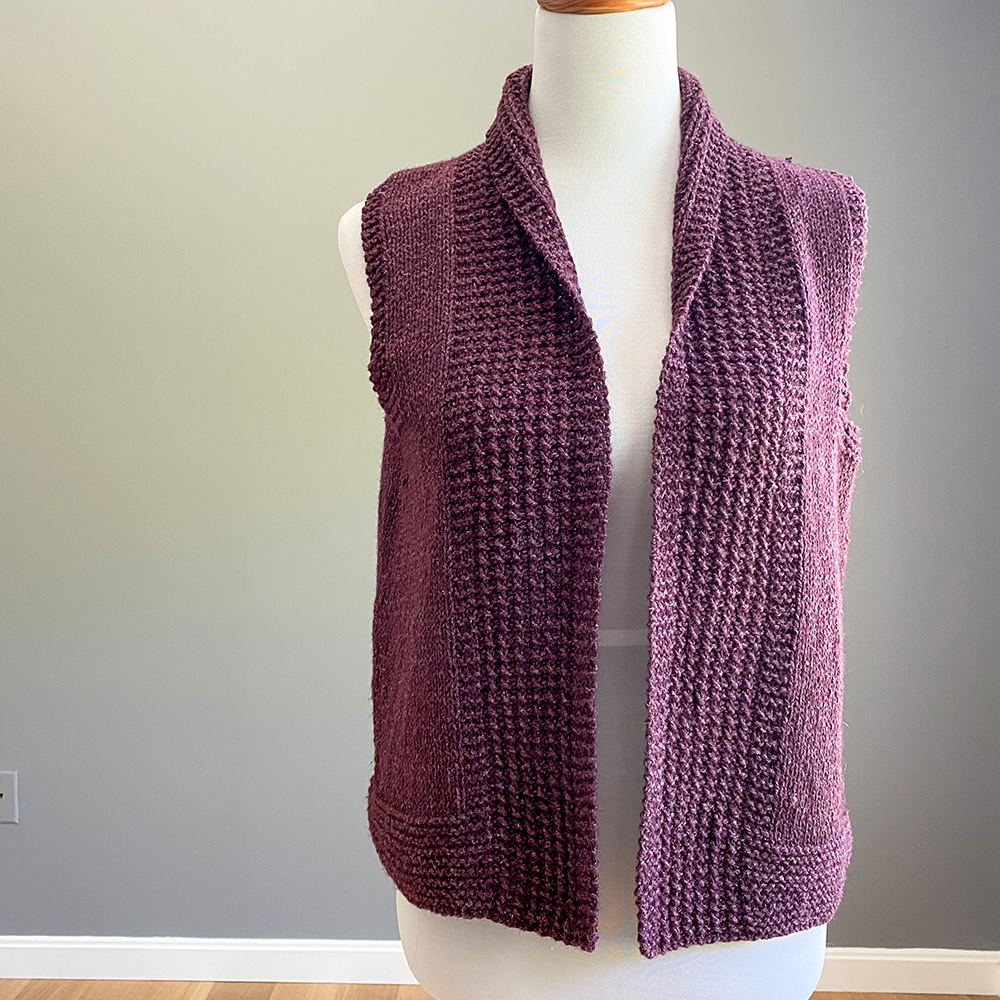
Blocking garments is such an important phase of the project because it’s really what makes the garment look finished. Here is what both versions of my Brookdale looked like before blocking and after:
Wet blocking process
Below is a photo tutorial of how I blocked my latest Brookdale vest. If you prefer to watch a video, you can click here – it’s of a different project but my steps in the process are the same. My Top 10 Tips for Wet Blocking blog post may also be helpful if you’re new to blocking!
Note: Make sure all your ends are woven in before you block! For a tutorial on how I weave in my ends, click here.
Step 1: Prepare for blocking
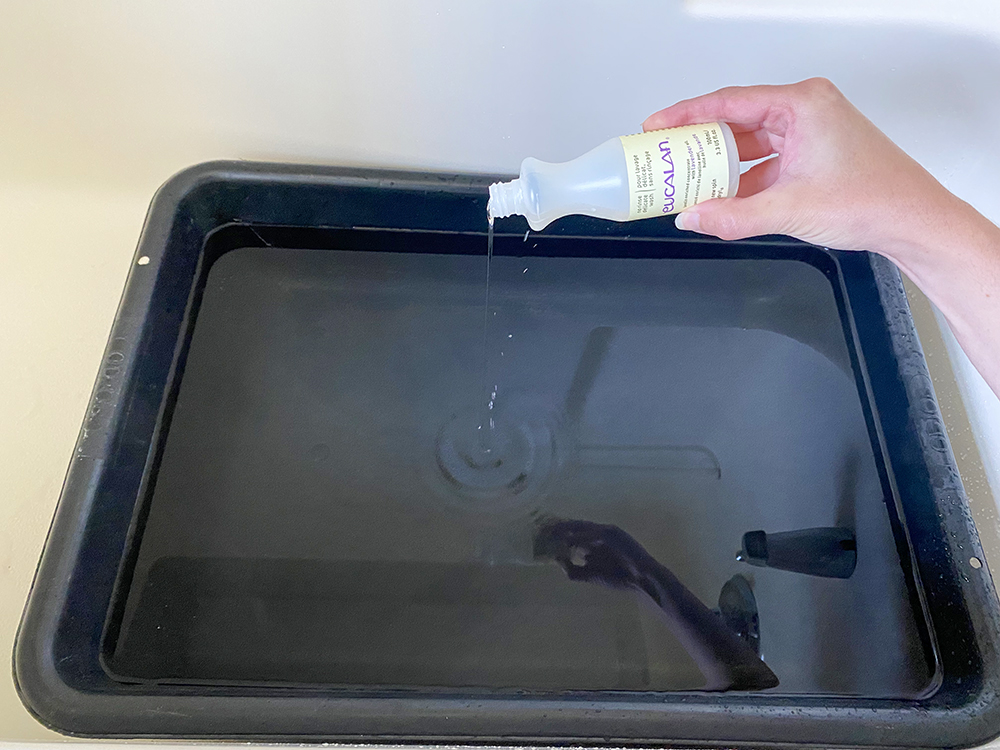
You’ll need something to submerge your garment in – I like to use this big cement mixing tray that I got at Home Depot, but you can use a large sink, basin, bowl, etc. I fill it with cool water and add a little bit of wool wash to it as well. Any brand will do but if you’re curious what I use, it’s typically Eucalan.
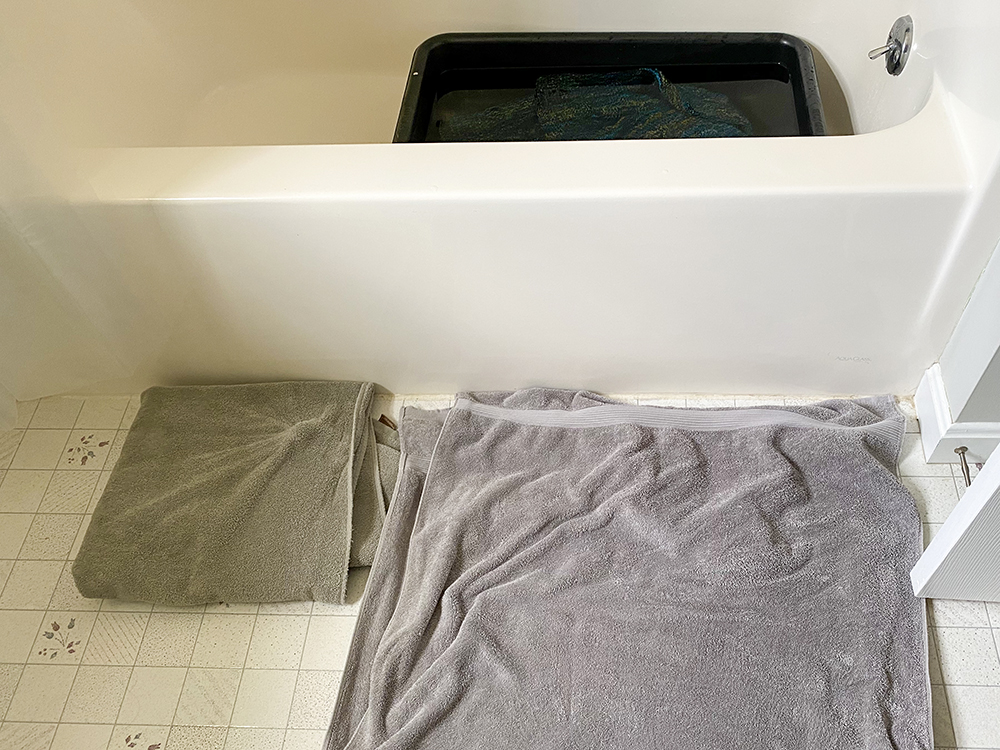
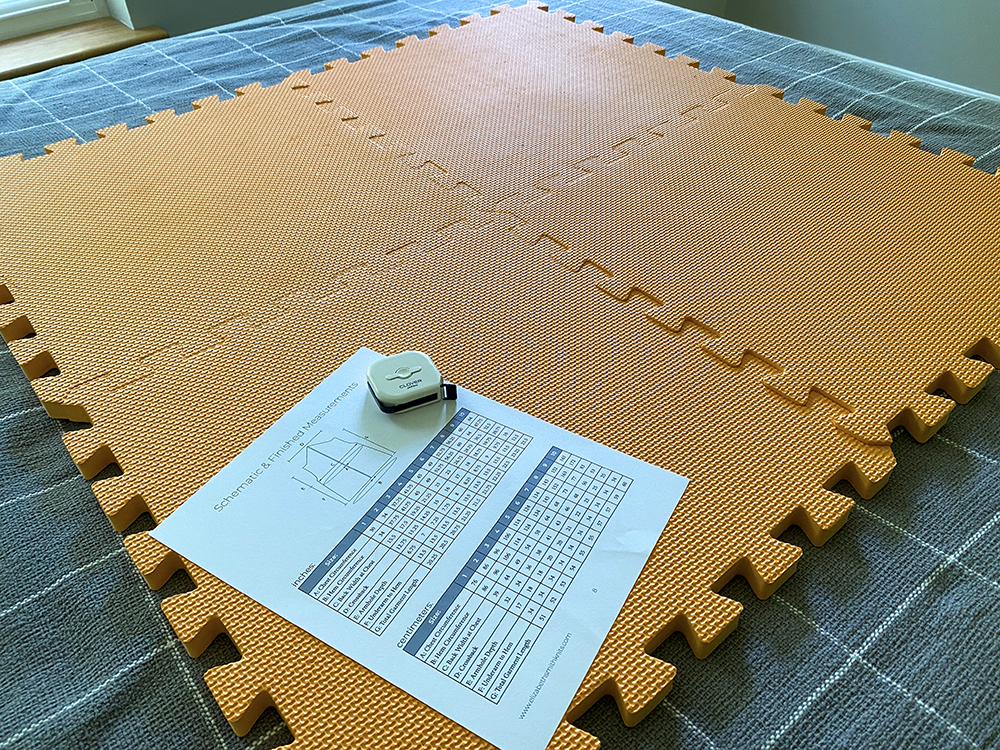
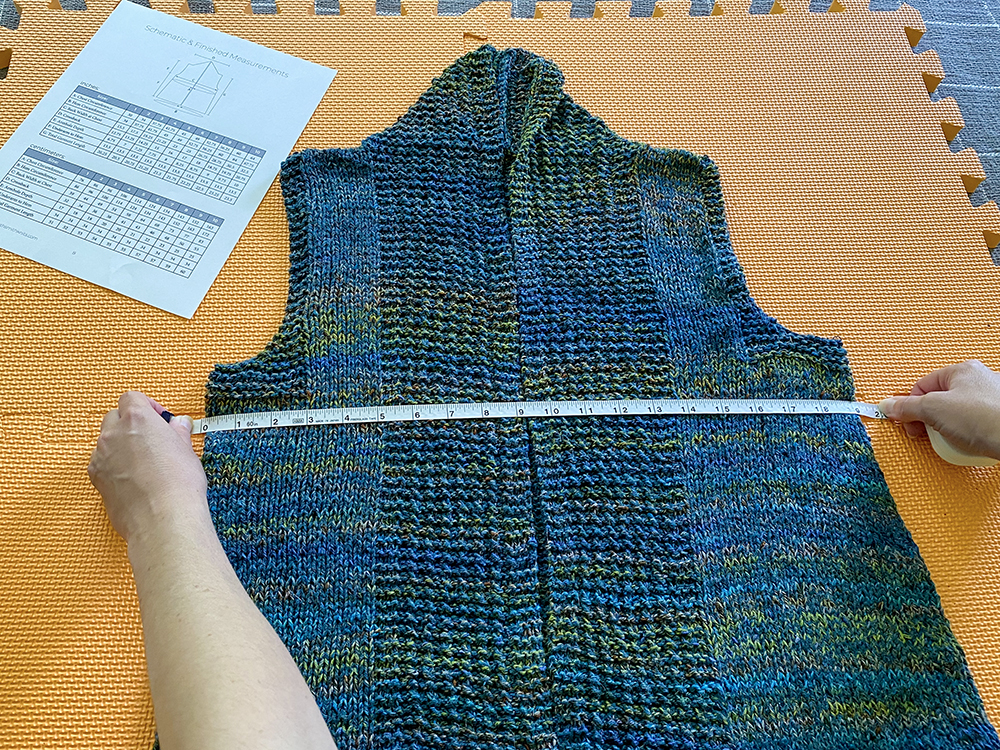
I also lay out some towels nearby (since that is what I’ll roll my garment in after it’s been in the water), and I’ll set up an area for my blocking tiles (like these or these for example). It’s handy to also have your schematic and a tape measure out as well.
Step 2: Submerge garment in water
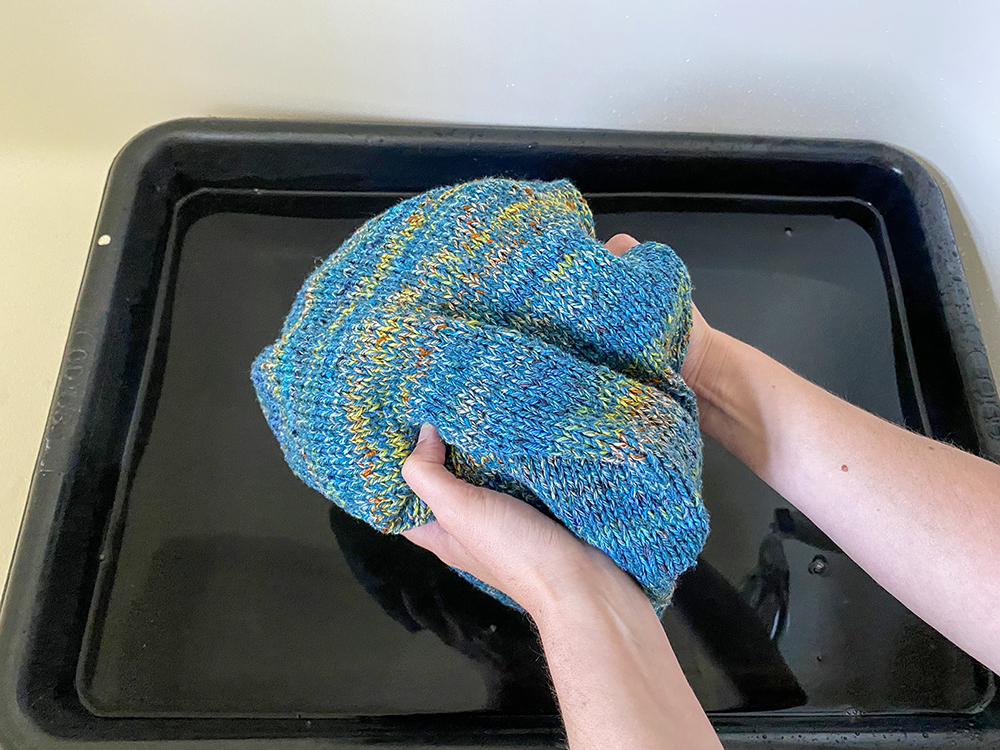
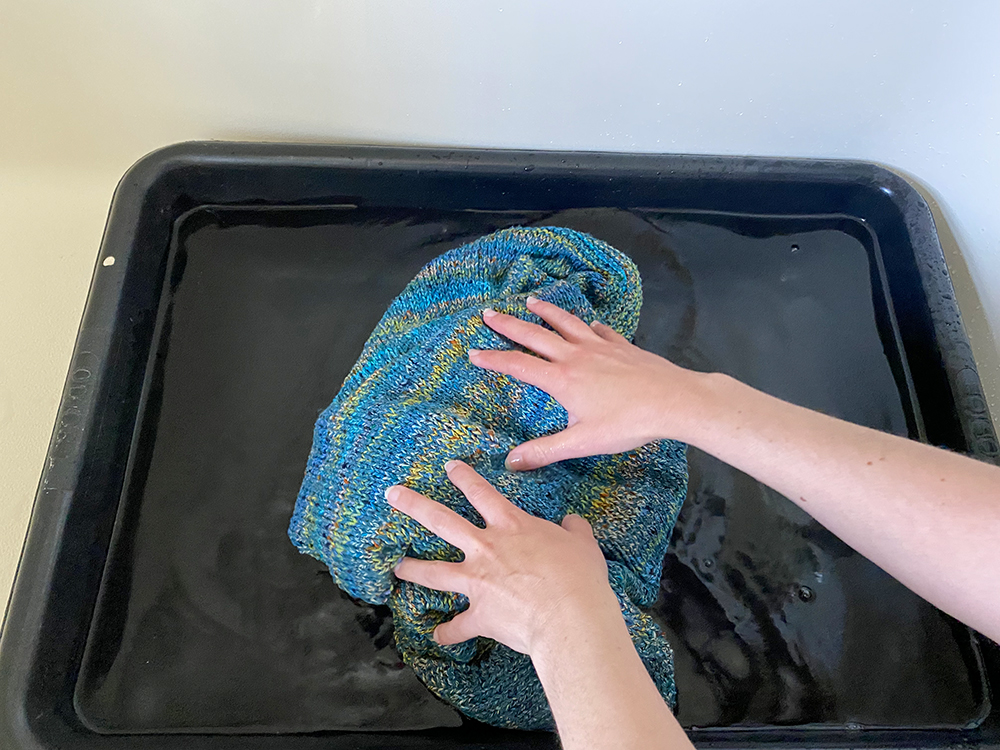
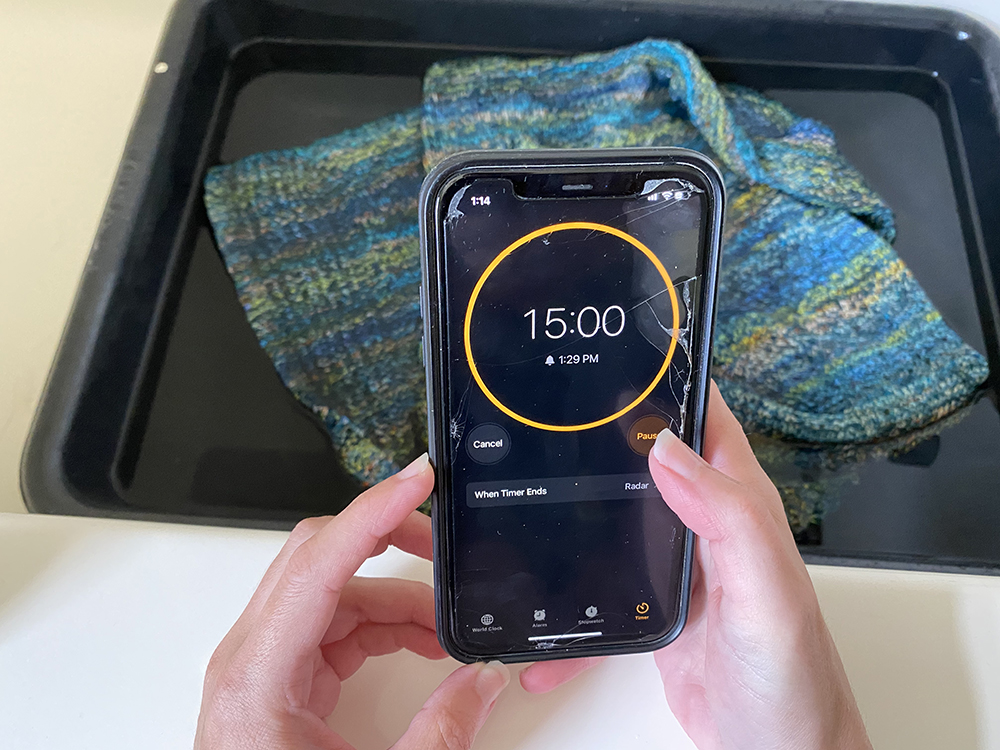
Clump up your garment and gently submerge it into the water. Press it down so that all of the garment gets wet. Then let it sit in the water for 15 minutes.
Step 3: Take garment out of water
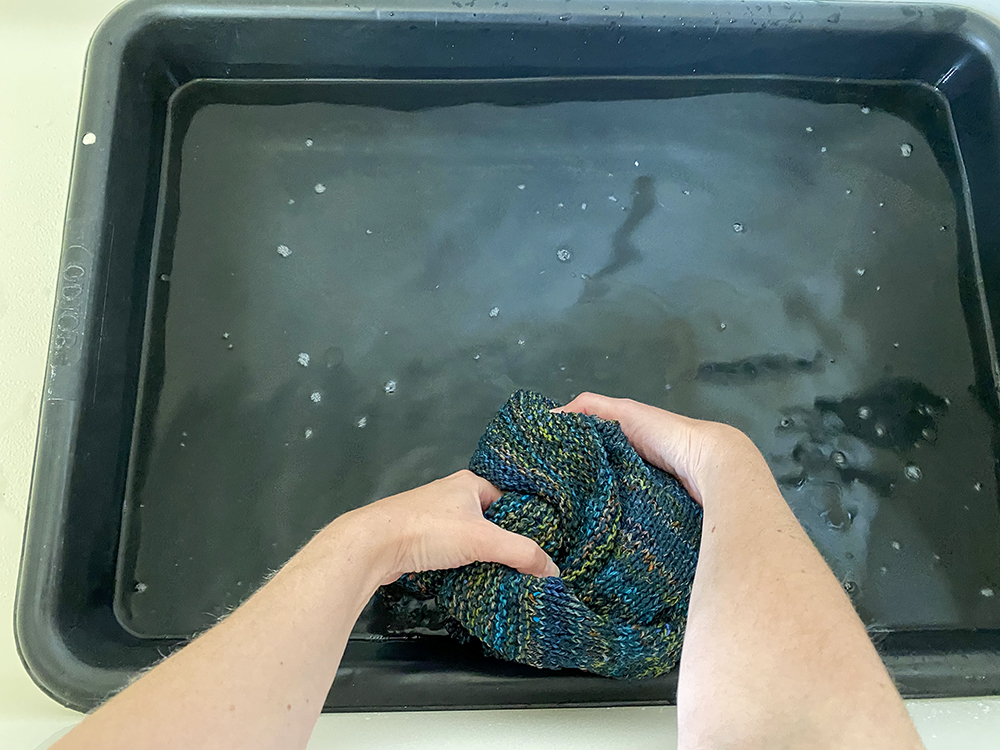
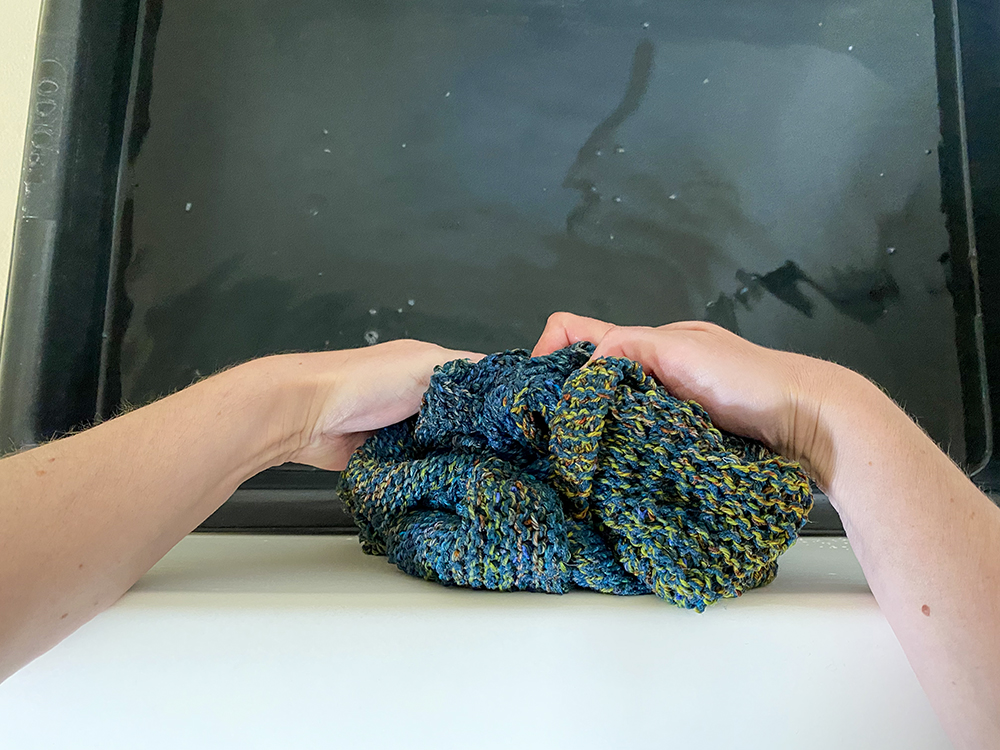
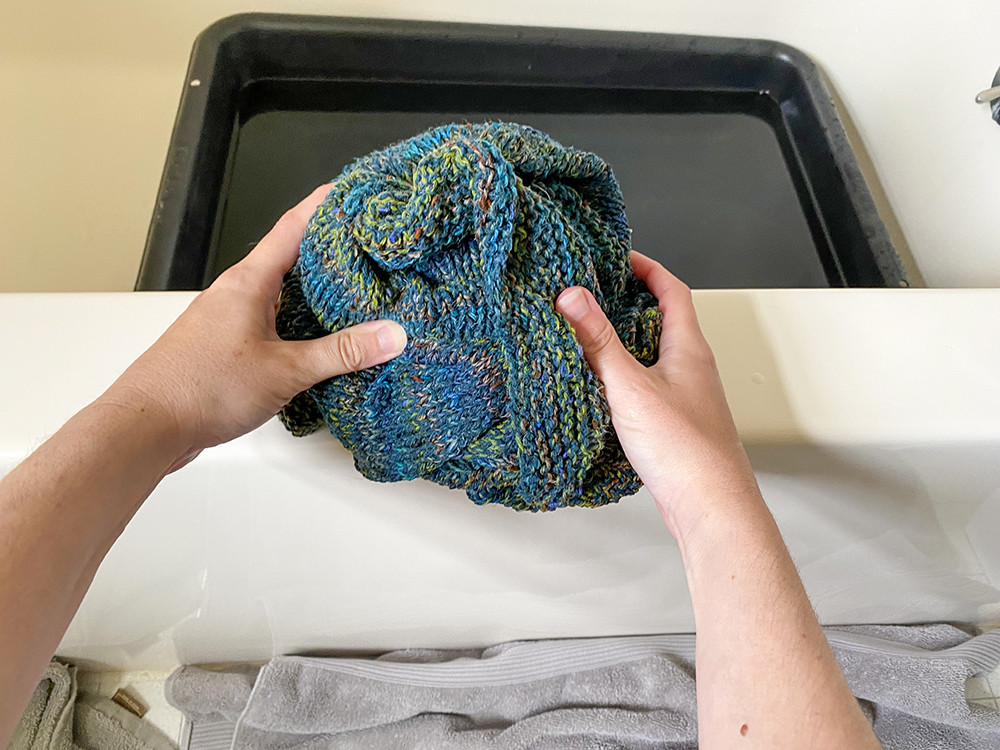
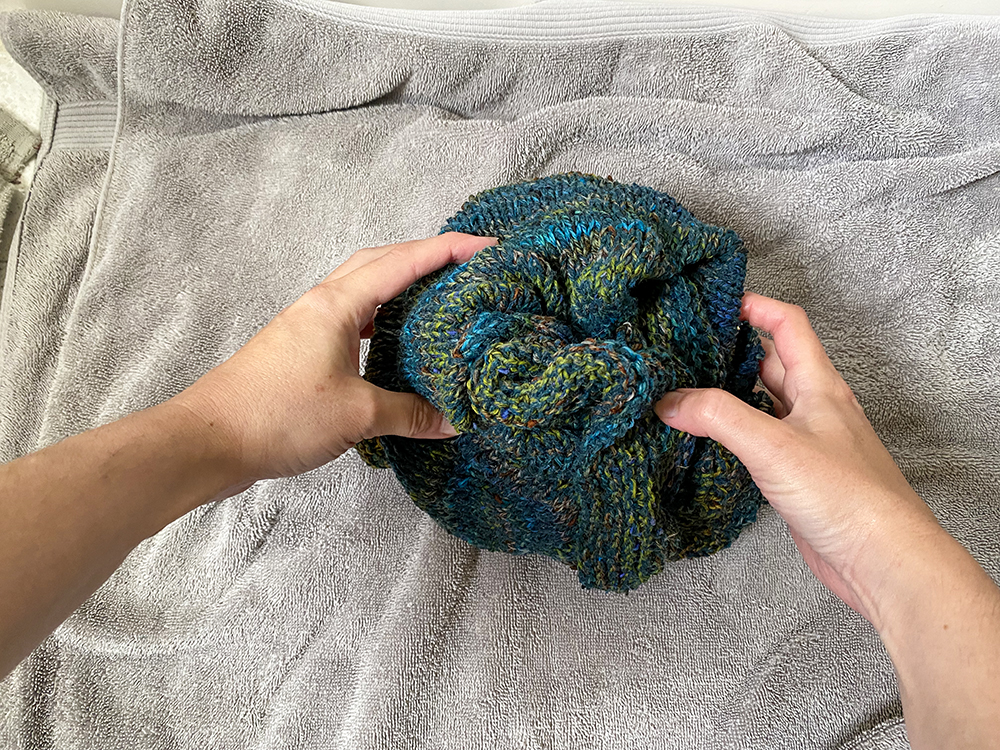
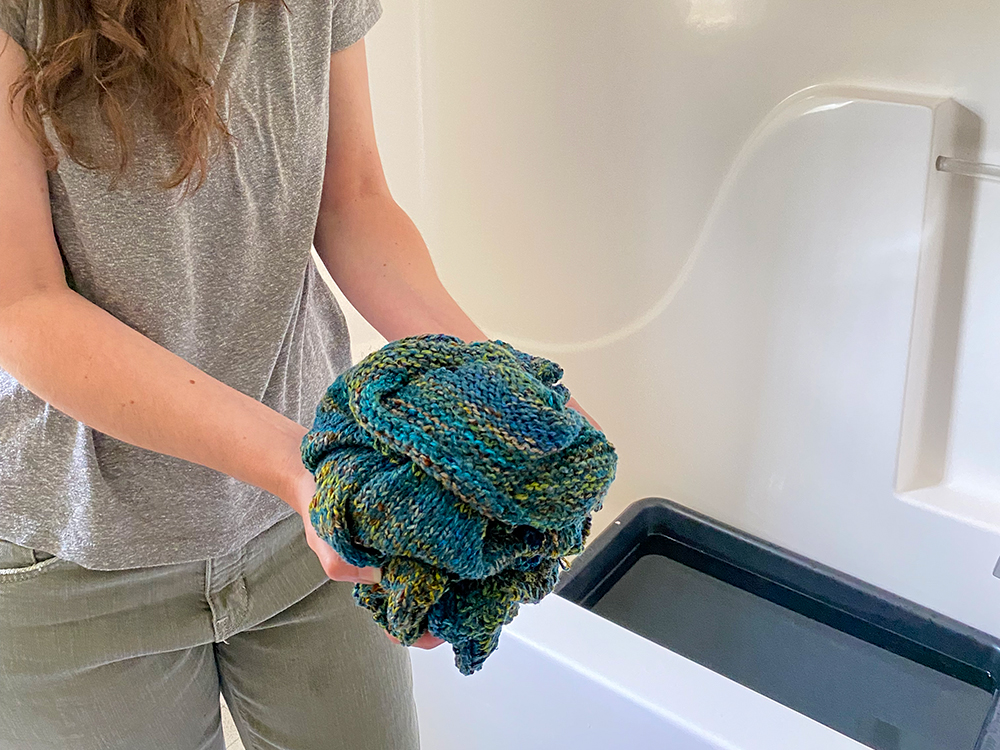
Gently clump garment together in a big ball while it’s still in the water, and then gently bring it out of the water (making sure you don’t have any dangling parts). Then press it against the side of the basin, or if you put the basin in a tub like me, against the sides of the tub. This is to get the bulk of the water out. Keep pressing until it feels like a bulk of the water has come out. Then holding the garment in the clump, place it on the towels.
Step 4: Roll garment in towels
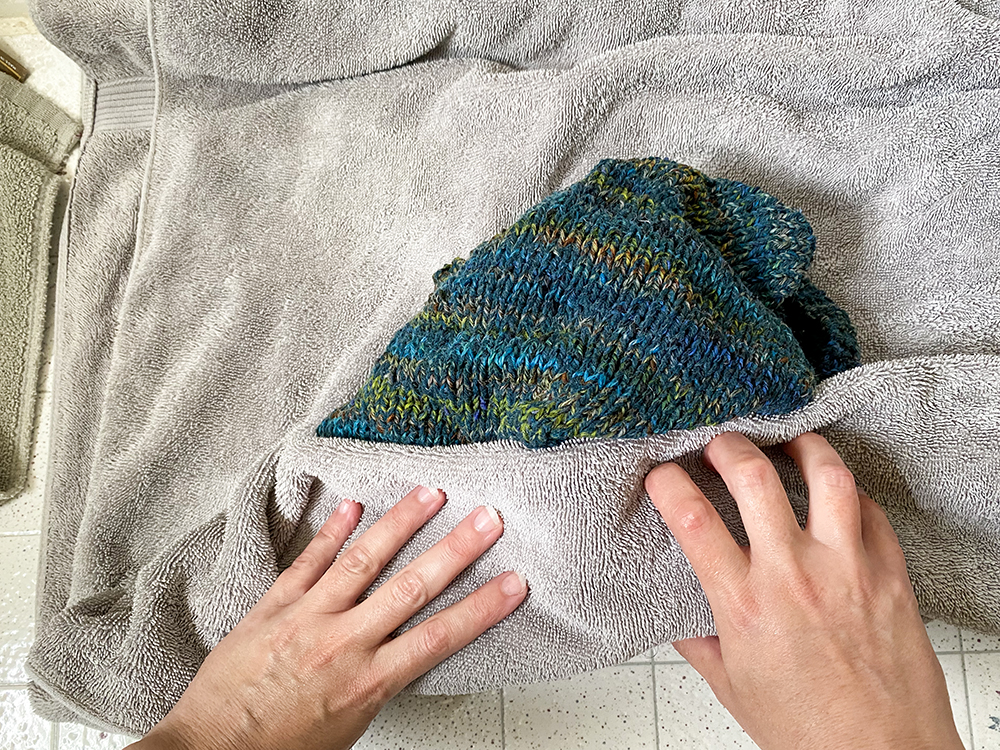
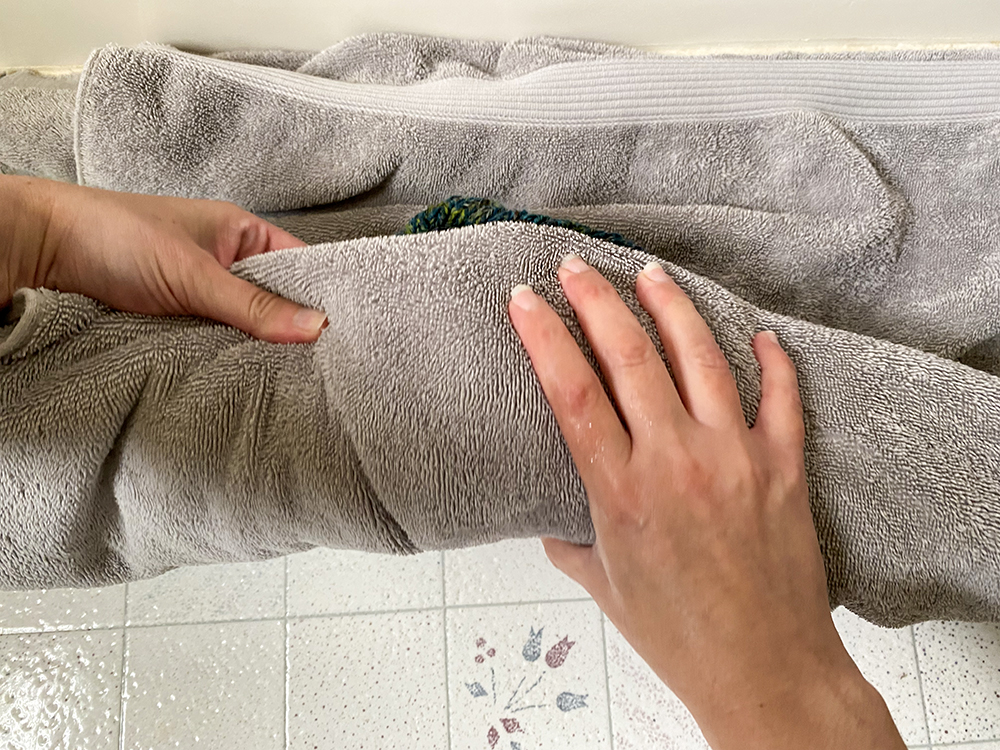
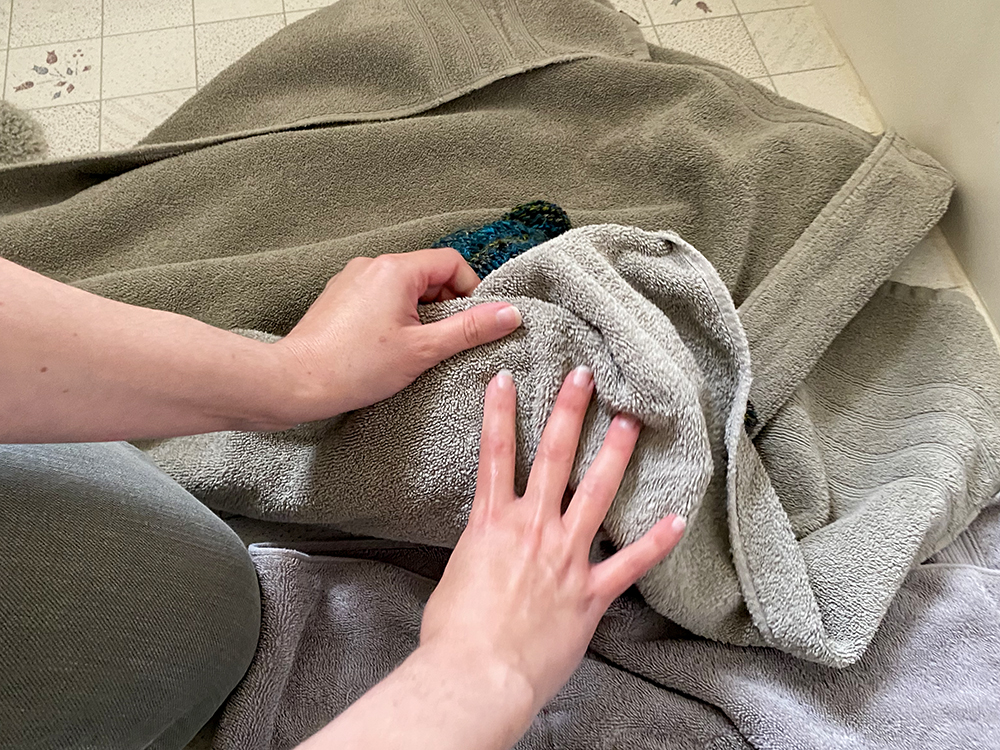
Now you want to get even more water out of the garment. The goal is for the garment to just feel damp when you lay it out on the blocking tiles (not soaking wet!). So once the garment clump is on the towels, you’ll want to roll it up and press it firmly. Then unroll it, put it on a new towel and roll it again and press. Keep doing that until the garment feels just damp. The wetter the garment is, the more likely it will ‘overgrow’ when you lay it out.
Step 5: Lay garment on blocking tiles & shape
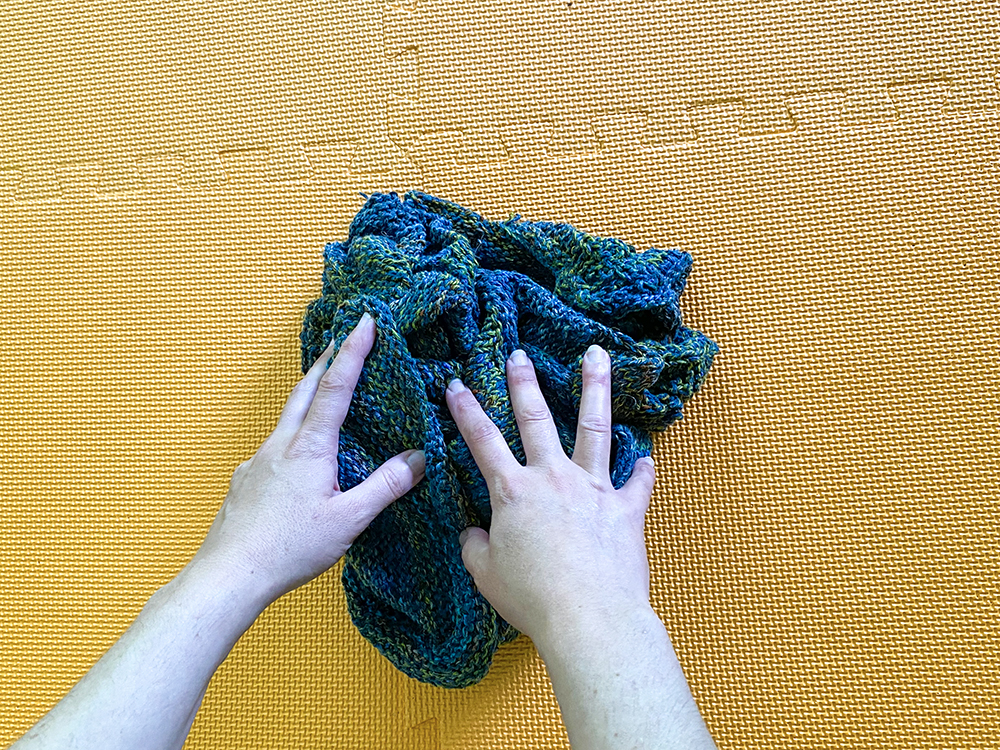
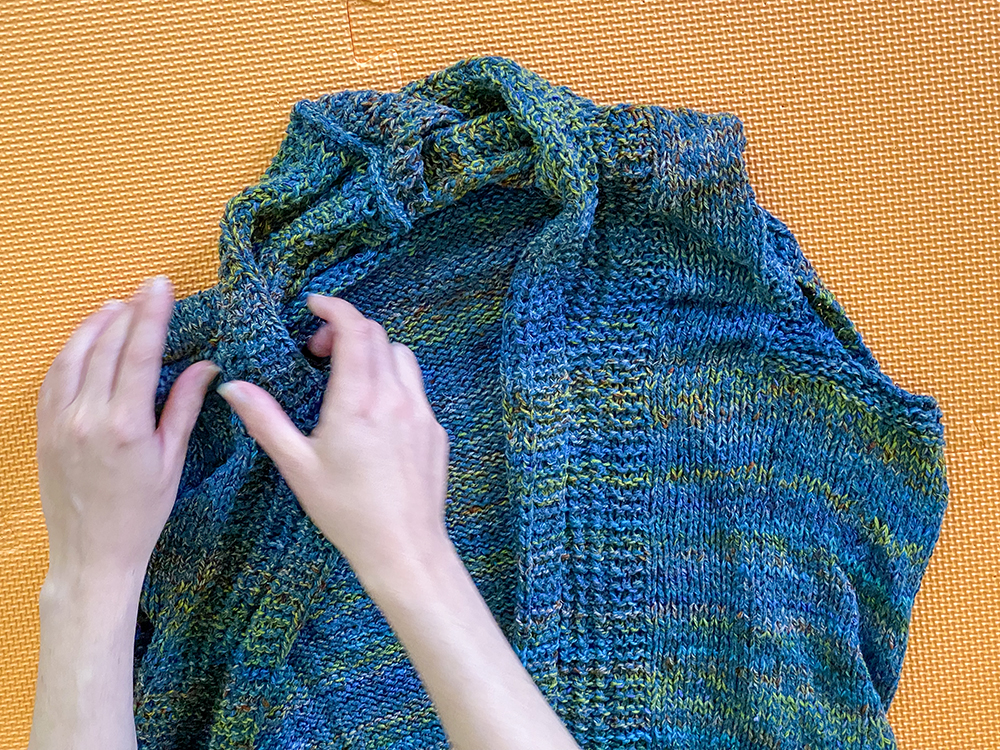
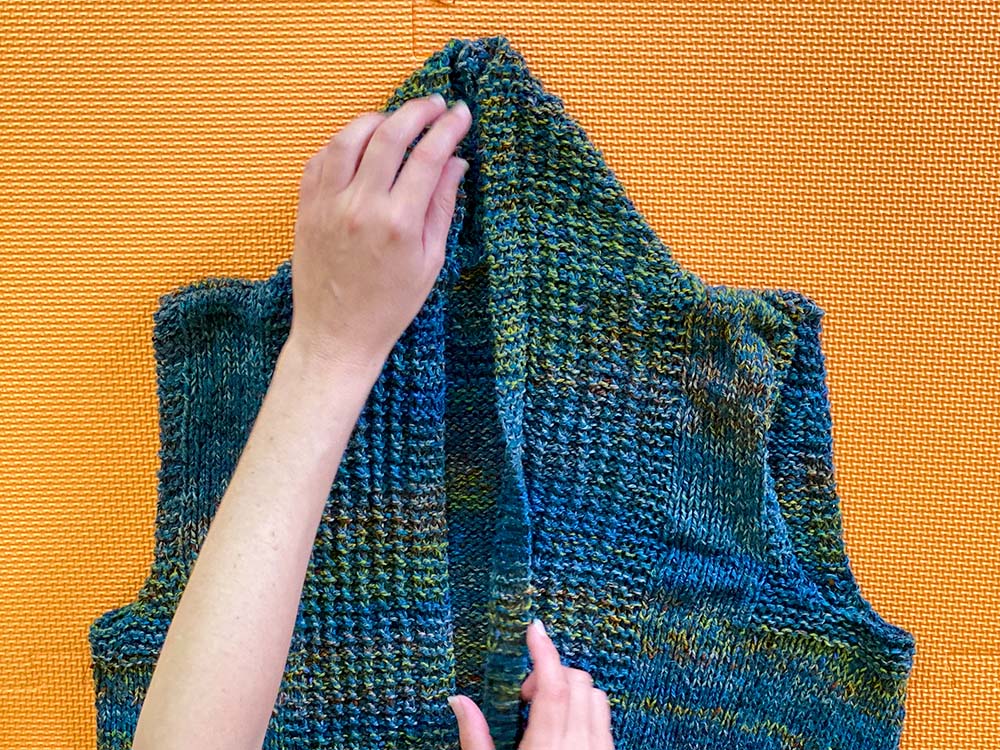
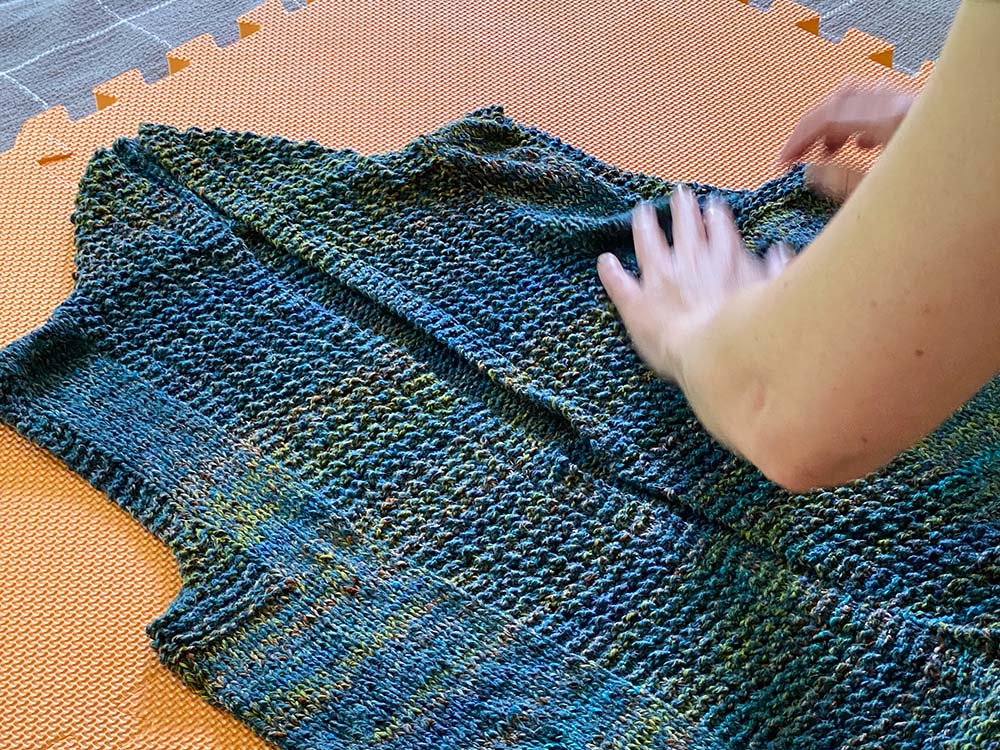
Now it’s time to transport! I take my ‘clump’ of a garment and bring it over to where I’ve set-up my blocking tiles. I gently start to unclump it, moving it around into the right shape. Once I have it in it’s basic shape, I start measuring the width and length and comparing it to my schematic to see if I need to stretch it out a bit more of pull it back in/up. See all my photos below for each step:
Step 6: Wait until it dries!
Now you just have to wait. To speed things up, you can put a fan on it and that will often speed up drying time significantly! Once it’s all dried, enjoy wearing your Brookdale. The fronts will naturally roll/fold-over a bit, but if you ever need to refresh them a bit you can try steaming them.

