Joining Shoulders in Azalea
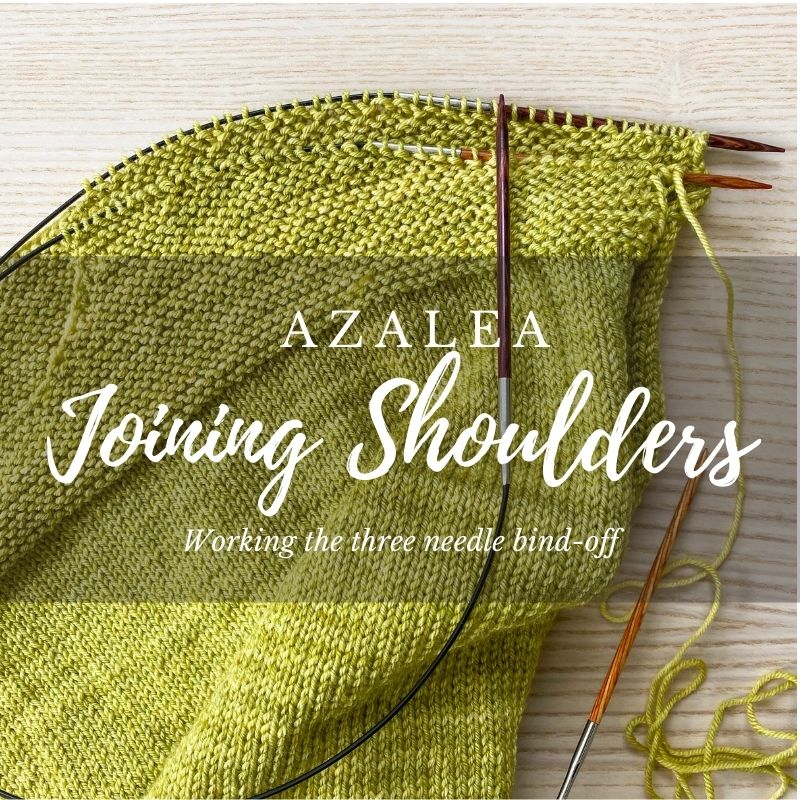
The Front and Back shoulders of Azalea are joined together using the three needle bind-off technique – this is one of my favorite knitting techniques and I utilize it in so many of my patterns. It creates a nice sturdy seam and there is no hand-seaming involved so it’s easy to do once you get the hang of it.
As I noted on my Back tutorial page, I prefer to join my shoulders (and do any of the other sleeve work) before I block. The original version of the pattern (published by Manos del Uruguay/Fairmount Fibers) however has you blocking before this step (this is just the publishing company’s writing style). Neither is right or wrong – they both have their pro’s and con’s so you can do either. But if you want to follow along with how I did mine (or are following my updated self-published version of the pattern), then you can wait to block. And that means that instead of your Back shoulder stitches being on holders, they are instead still sitting on the circular needle (you’ll notice that in the below video). Watch my video below to see me transfer my Front stitches from scrap yarn to the smaller needle and then work the three needle bind-off to attach the shoulders!
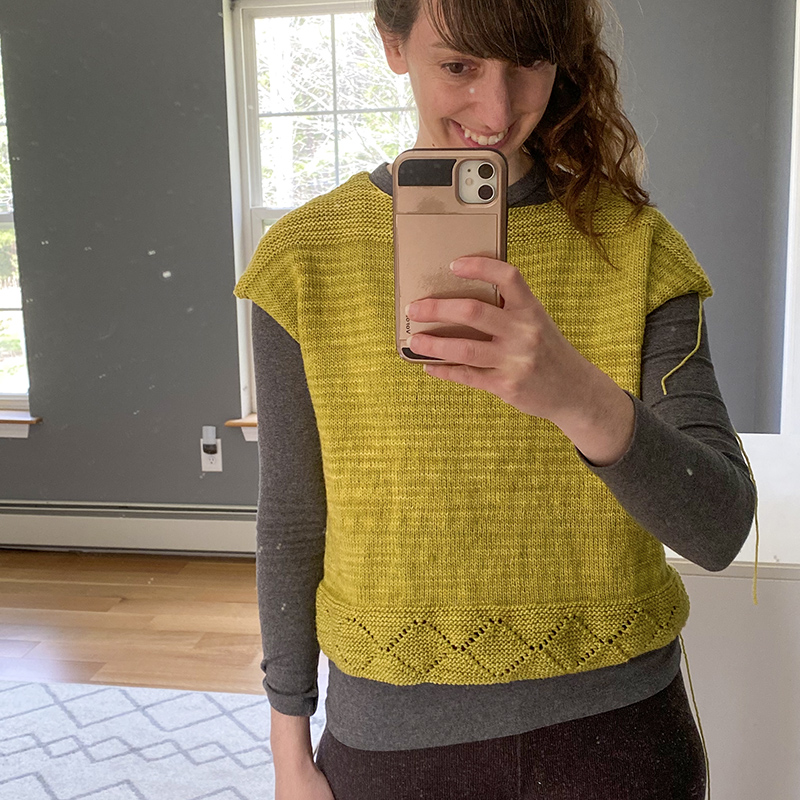
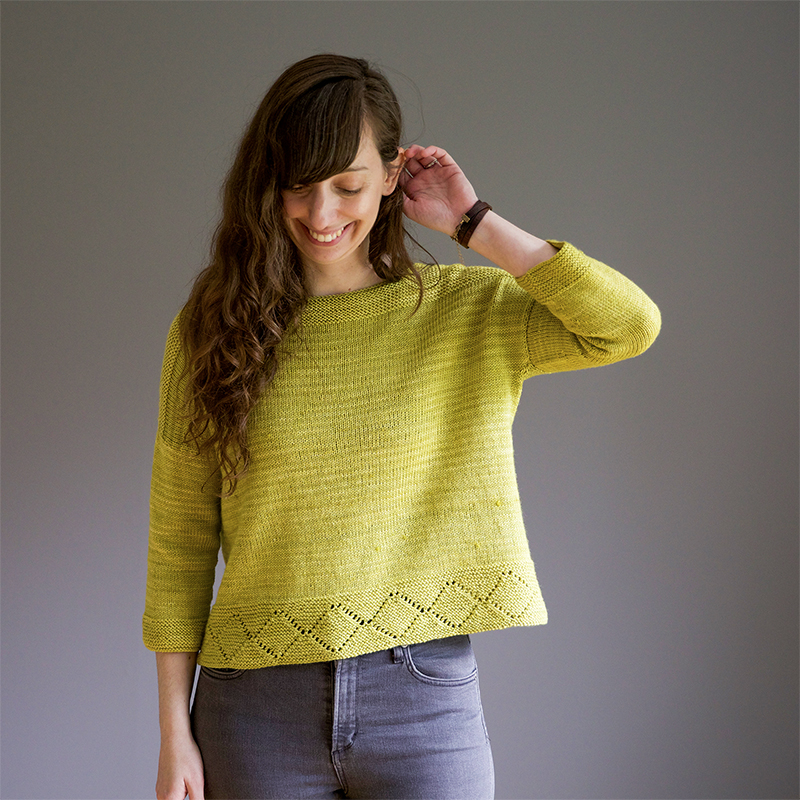
Once your shoulders are attached, you can try on your sweater! Now remember that you haven’t blocked yet, so your Azalea won’t drape as well yet and some of the lengths might be a bit short. But it’s still great to be able to finally try it on and see how it’s looking! Here’s a selfie I took of me trying on my Azalea at this point. As you can see, before blocking, the fabric looks a bit more stiff (especially in the eyelet hem). Compare it the “finished” photo and you’ll how much blocking later on will give it that more finished look.


