Front Armhole in Azalea
After you have worked your dividing row and you’ve cable cast-on your Front underarm stitches, you’ll then just continue working in Stockinette stitch (flat), working your Upper Front and creating the Front armhole depth. On this page I’ll be sharing 9 tips about working from the dividing row to right before you start the “Shape Front Neck & Shoulders” section.
Tip #1: Be aware that your gauge may loosen up
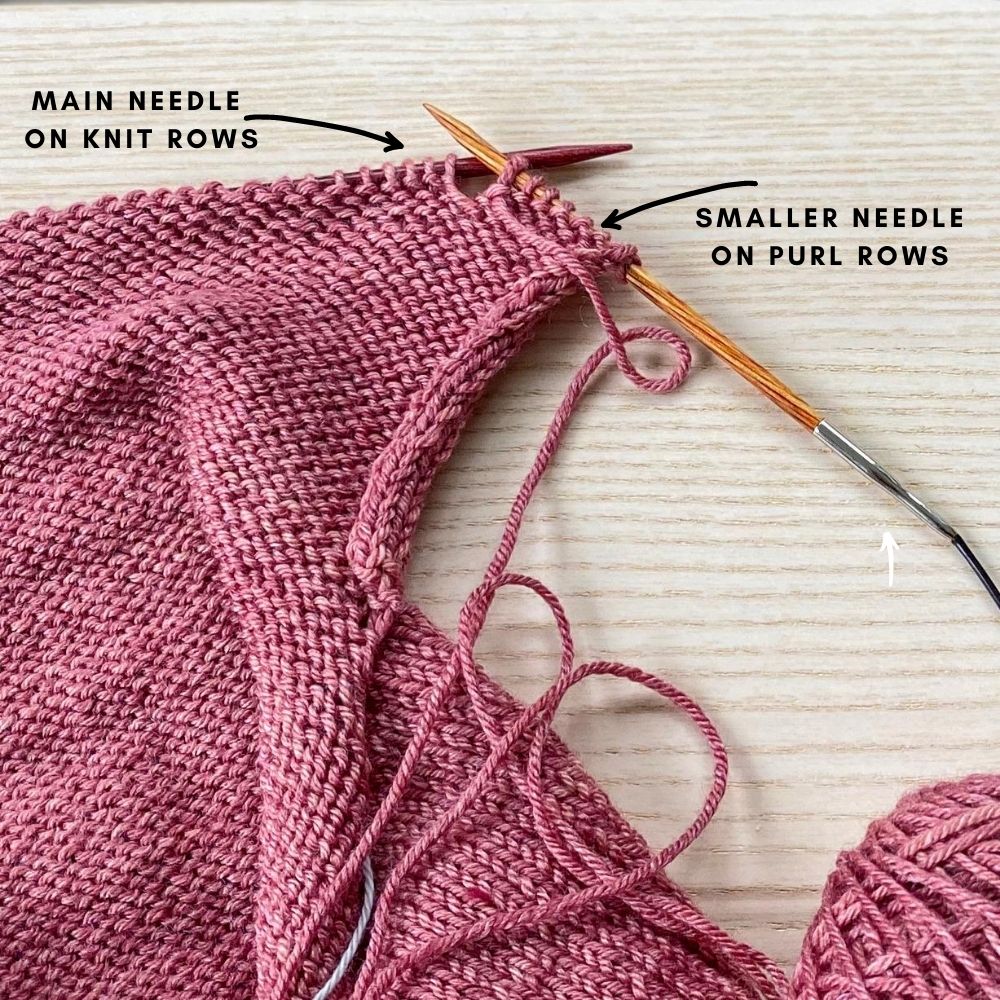
I mention this in the first video but it’s worth bringing up again…at this point in the pattern you switch from working in stockinette stitch in the round to stockinette stitch flat. When in the round, you’re knitting every single round but when working flat, you knit on right-side rows and purl on wrong-side rows. This change can be important because some people find their purl stitches to be looser then their knit stitches, so by switching to stockinette stitch flat and introducing purl stitches into your knitting, your gauge can potentially change up. If it’s a small change, don’t worry about it. In a boxy, oversized piece like Azalea, small fluctuations are very forgiving. However, if you either know from previous experience or notice as you are working on the front that things are looking way looser, then you can choose to work your purl rows with a needle size smaller.
Tip #2: Work the amount of inches for your desired size
I know there are many folks who are following a different size’s instructions than they had intended because their stitch gauge was off. For example, a person who wanted their finished Azalea to be between 47-49″ size is actually following the instructions for the 43.75″ size because their stitch gauge was 5 stitches to the inch (instead of the pattern gauge of 5.5 stitches). By casting-on for the 43.75″ size, at their gauge they’ll be within their desired size range (approx 48″). If you are one of these people – whether you are knitting a smaller or larger size to account for stitch gauge discrepancies – in the armhole depth area make sure to knit for the amount of inches listed for your desired size, not the size you have been following. So in my example where the person cast-on for the 43.75″ size but with their gauge will end up with a garment approx. 48″, they should follow the armhole depth measurement for either the 46.5″ or 49.5″ size (those sizes are closest to the size they will end up with). Or, check out tip #3…
Tip #3: Feel free to change your armhole depth!
Even if tip #2 doesn’t apply to you, you can still change the amount of inches you work for your armhole depth. There are a couple of things to keep in mind:
- Because this is a drop-shoulder piece, the armhole depths you see listed in the schematic may seem smaller than, say, a raglan or set-in sleeve. This is because drop-shoulder pieces tend to be worn with more positive ease – and because shoulder width is determined by overall body width in this type of construction, the more ease you wear your Azalea with the lower the sleeve will fall on your arm. So because it falls lower on the arm, the armhole circumference tends to be smaller than in a raglan sweater where your armhole falls higher up in the arm. Check out my graphic below that illustrates this a bit better:
- But everyone’s arm circumferences can be a little bit different, or perhaps you’re just knitting your Azalea with less ease and so it won’t fall as far down on your arm. In these cases, just make your armhole depth longer! It’s as simple as just knitting until you are 1″ less than what you want your final armhole depth to be, keeping in mind that your total armhole depth (including that 1″ you will work in the next bit of instruction) will be approximately half of your overall arm circumference. So if you know that you want your total armhole circumference to be about 13″, then your armhole depth on each side should measure approx. 6.5″ (so excluding that last 1″, you should knit until it measures approx. 5.5″).
Tip #4: Keep track of your rows
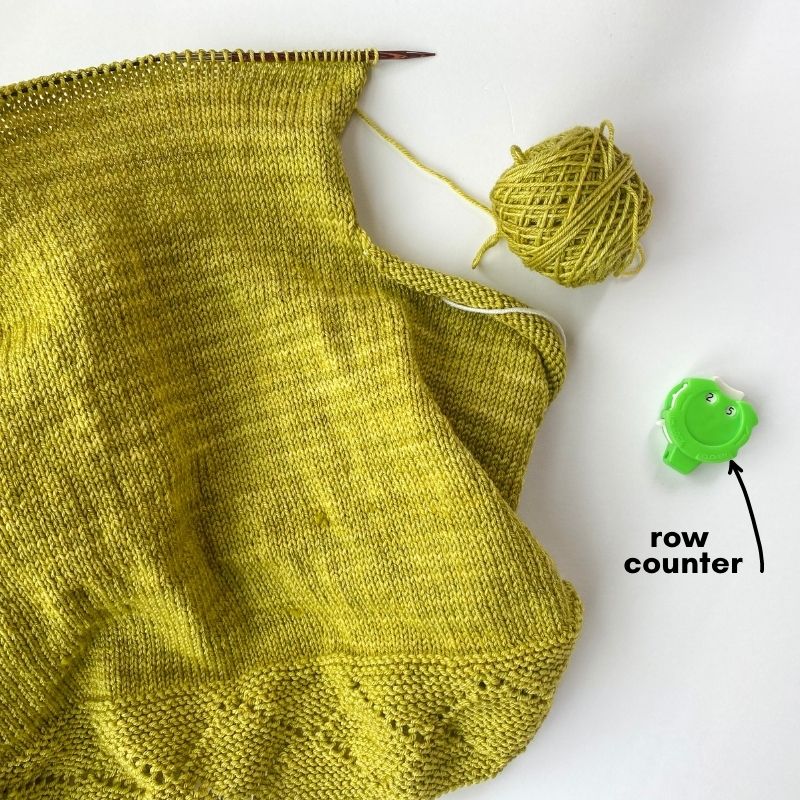
This tip isn’t totally necessary but I find it to be helpful because this way, when it comes time to work the Back armhole depth, you won’t have to worry if your measurement is exactly the same as the Front. You’ll know it is just by working the exact number of rows you had done for the Front! You can either just keep a tally on your paper, or I like to use a row counter in these situations (I find it easier to just click after each row without having to find my pencil/pen which always gets lost in my couch!):
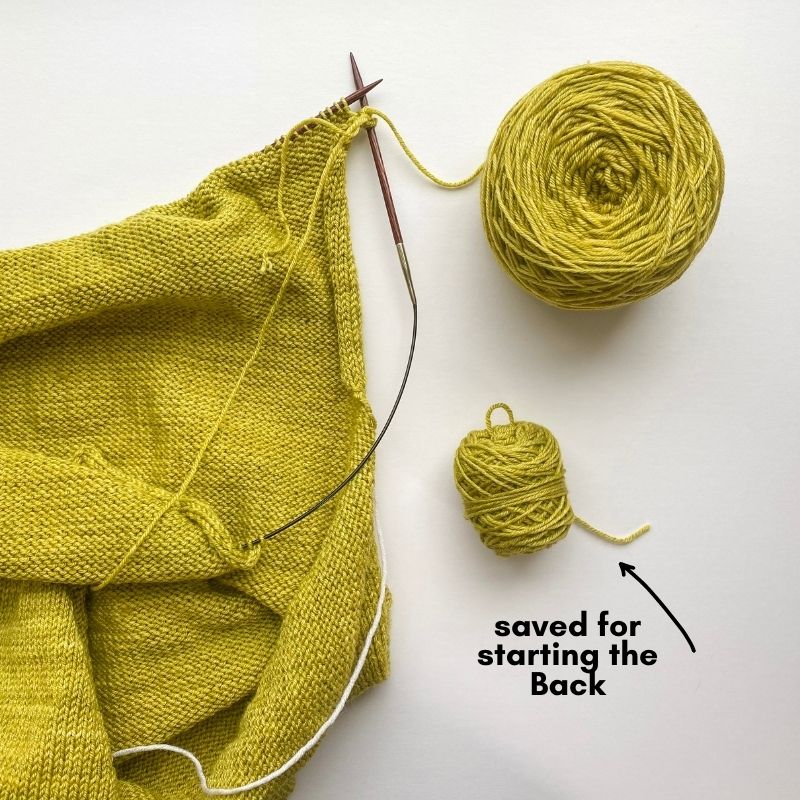
Tip #5: Make sure to save some of the skein you were working with at the Dividing Row
If you are alternating or blending skeins (for hand-dyed yarns), make sure to save some of the skein that you were working with at the time of the Dividing Row. This is because you will want a little bit of that skein when it comes time to start the Back and you’ll have color consistency at that dividing row area. So what I did was that I continued with that skein as I worked my Front, but I didn’t use the entire skein – I made sure to save some of it so I would have enough to blend in with a new skein when it came time to work on the Back.
Tip #6: If you are alternating or blending skeins, you’ll want to use the “Carry-up” method during this section
I talk about this in my carry-up method video and how the technique works for both in the round as well as flat (whereas the “Yarn Forward” method is just for in the round). Click here to review the carry-up method video again, or if you would like to see how it’s worked flat, you can check out this video (it’s for a different project but the technique is the same).
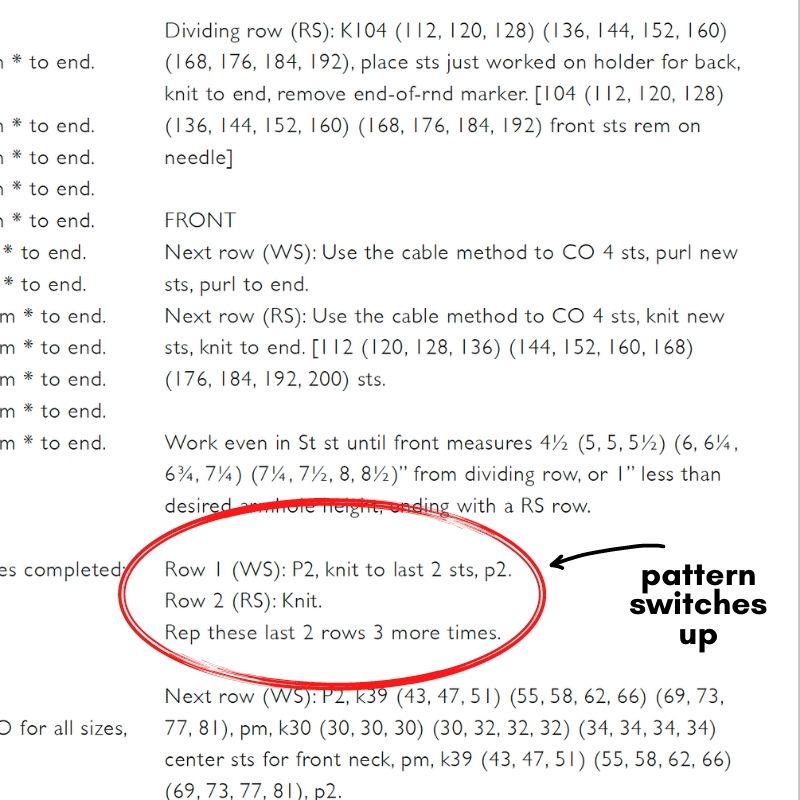
Tip #8: After you work to 1″ from your desired armhole depth, the stitch pattern changes!
I just wanted to point out that in the area noted below, the stitch pattern changes from Stockinette stitch to primarily Garter stitch (where you knit every row), except for the first and last 2 stitches which remain in Stockinette stitch (knit on RS rows and purl on WS rows). I’ve circled below where things change up:
The other thing to note about this pattern switch – because the texture is changing from stockinette stitch to garter stitch, it’s a great place to start a new skein of yarn. For my sample, I didn’t even blend skeins when I joined a new skein here – again, because the texture is so different due to the stitch pattern, if there were any color inconsistencies you wouldn’t notice them at this transition point.
Tip #9: If you are new to short rows and neck shaping, place a lifeline before the last row on page 4
So once you’ve worked your armhole depth to 1″ before desired length, and then you’ve worked the 8 rows in Garter stitch (with St st border), your very last row on page 4 has you placing markers to prepare for the future neck shaping. Placing a lifeline at this point, before working that last row, might be super helpful for you! This is because after that next setup row, you will be embarking on shoulder-shaping short rows, followed shortly by neck shaping (in addition to continuing your short rows). If you are new to either of those techniques (or perhaps just a little rusty), placing a lifeline right now will provide you with a safety net. If you really mess up your short rows or neck shaping, you can just rip out to the lifeline and try again. Check out my blog post here all about lifelines if you are new to this technique!
I hope these tips help as you work on the Front armhole depth! My next tutorial will be all about shoulder shaping (with short rows).

