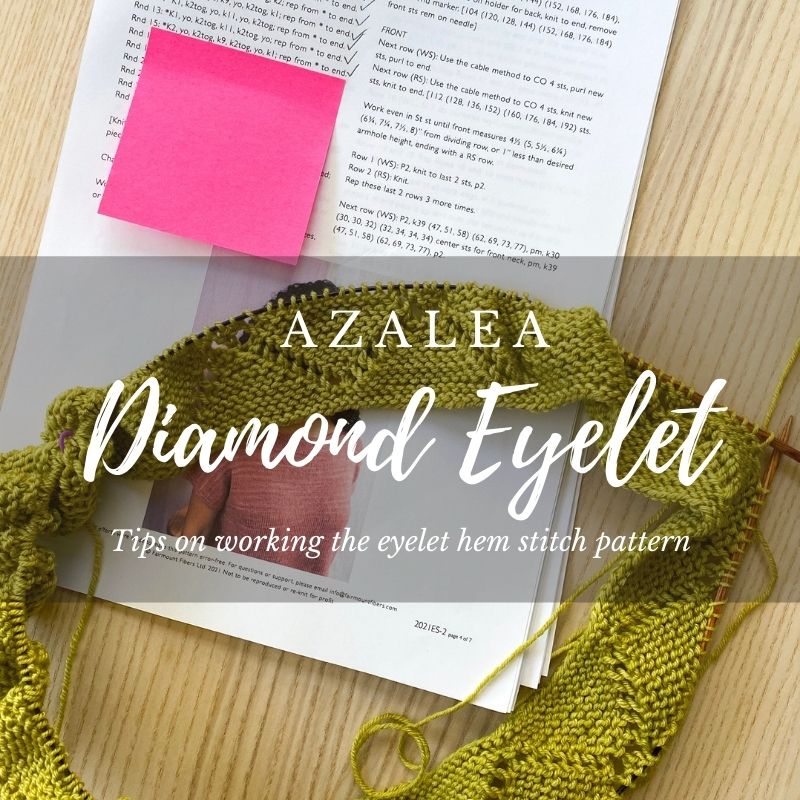
Diamond Eyelet Stitch Tips
After you’ve worked your first 4 rounds in Azalea (in Garter stitch in the round), it’s time to start the Diamond Eyelet stitch pattern. Before you get started, here are some initial tips you might find helpful (and keep scrolling for a video tutorial on how to work this stitch pattern!)
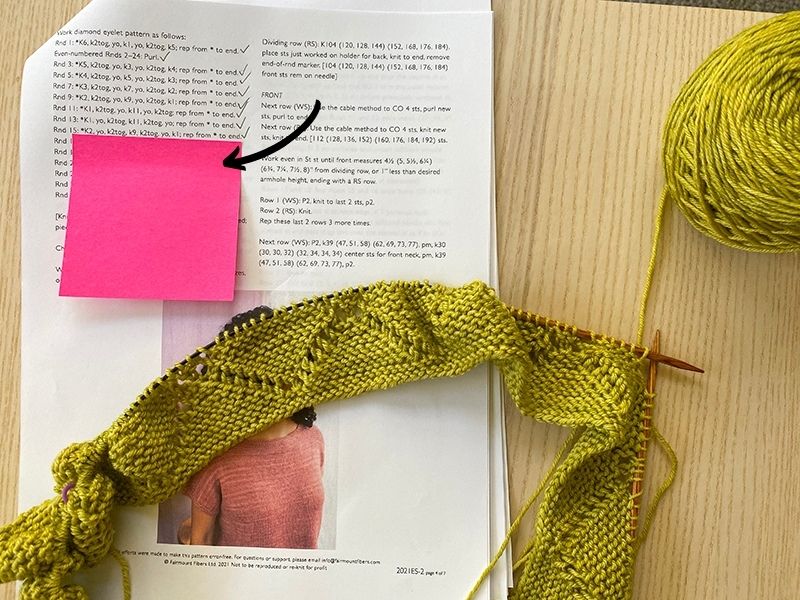
Tip #1: Use a sticky-note to keep track of which row you are on
There are 26 rounds in the diamond eyelet stitch pattern. And each row has the same type of stitches – knits, YO (yarn-over) and k2tog (knit-2-together) – it’s just the sequence of those stitches that varies with each row. So it’s important to make sure to keep track of what row you’re on and I have found a simple sticky-note can be your best friend in this situation! Just place it under the row that you are currently on. Important note: Every-other-round is a purl round and isn’t noted in the line by line instructions (it just says at the beginning that even rounds 2-24 are all purl rounds). So what I would do is, after working an odd numbered round, I would move the post-it to the next odd number round, but make sure to first work a purl round before I start it.
Tip #2: Place markers after each repeat
In each round of this stitch pattern, you work 16 stitches and then repeat them over and over again until you reach the beginning of round marker. So on your first round, if you place a marker after each 16 stitch repeat, it can help you in the following ways:
- If you loose track of where you’re at in a round, you simply need to look at where your markers are! Each repeat begins and ends at a marker so it’s super helpful to help avoid getting “lost” in a row.
- You’ll know sooner than later if you’ve made a mistake and you’ll be able to know where the mistake is as you’ll either have too few or too many stitches left in-between a set of markers.
Important Note: if you choose to place markers like this, make sure that your beginning of round marker looks different from all the others – otherwise it will be tricky to know where your round begins/ends.
Tip #3: Be careful with the end of Round 13…
On round 13, each pattern sequence ends with a “YO” (yarn-over). This is no big deal BUT be careful at the very end of this round and beginning of round 14. Here’s why: you end round 13 with a YO, but then you start round 14 with a purl stitch. So you need to make sure that you work your ending YO as follows: bring the yarn to the front of the work between the needles and then bring it over the top of the right needle, then slip your marker, and then bring your yarn to the front of the work ready to purl the next stitch. Then, after you’ve purled a few stitches, look back at your beginning of round marker and make sure that that last YO didn’t slip over the marker – this can sometimes happen when a YO is worked before a marker. If it has, just re-orient things so that the marker is clearly to the left of the YO.
I hope these tips are helpful as you prepare to get started on this fun stitch pattern! Also, if you prefer charts, I now have one available! Click below to download the PDF:
Watch me work the stitch pattern in the below video!
Below is my video tutorial all about it where I walk you through the first few rounds and get you comfortable with the stitches involved:


