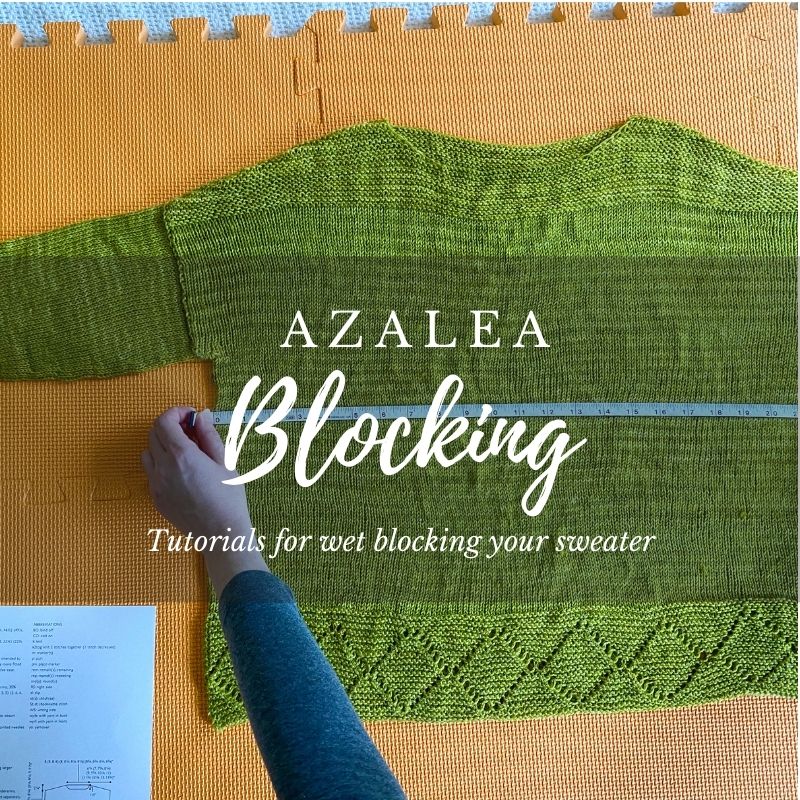
Blocking Azalea
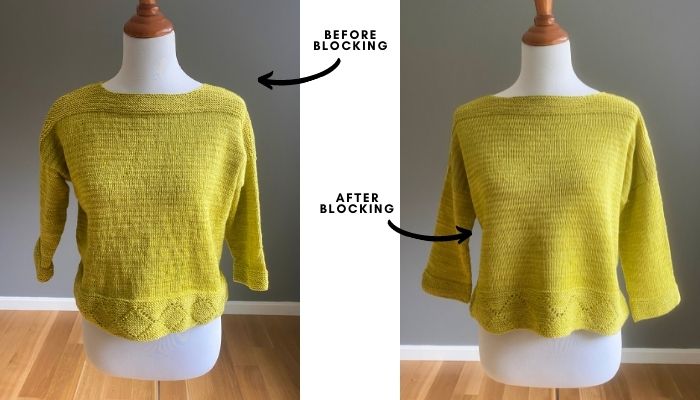
It may be the last step, but it’s also one of the most important! Blocking makes all the difference, evening out all of your stitches and making your edges nice and crisp.
My preferred method of blocking is wet blocking. Below I have photos of my blocking process with Azalea, but if you are new to wet blocking, I also recommend that you watch my blocking video tutorial. It was created for a different sweater pattern, but the steps taken are exactly the same as I did for Azalea – click here to watch!
5 Steps to Blocking My Azalea
Step 1: Prep your soaking area
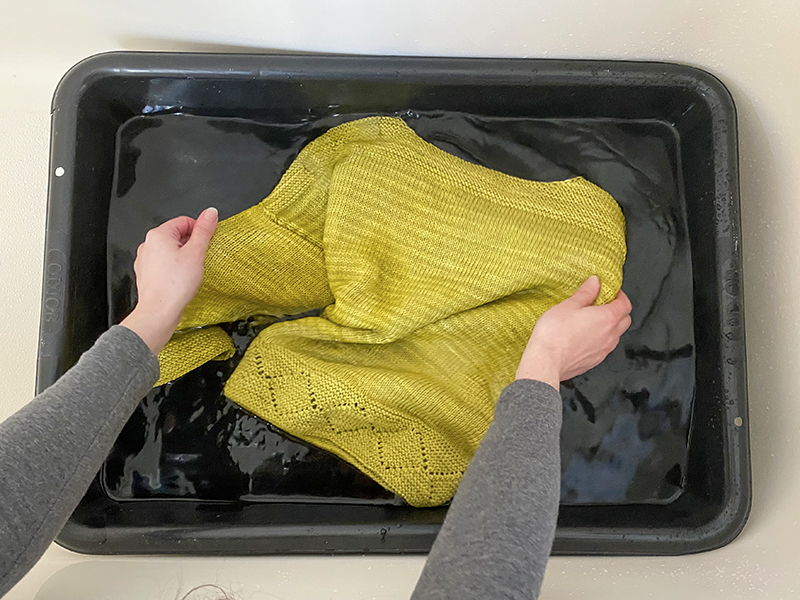
You need something to soak your sweater in – a large basin, sink, or as you can see from my picture below, I use a cement mixing tray purchased from Home Depot! I place it in my tub and it’s perfect for sweater soaking (but any of the above options will totally work!). I fill it up with cool water and then pour a little wool wash soap in it (I like to use Eucalen):

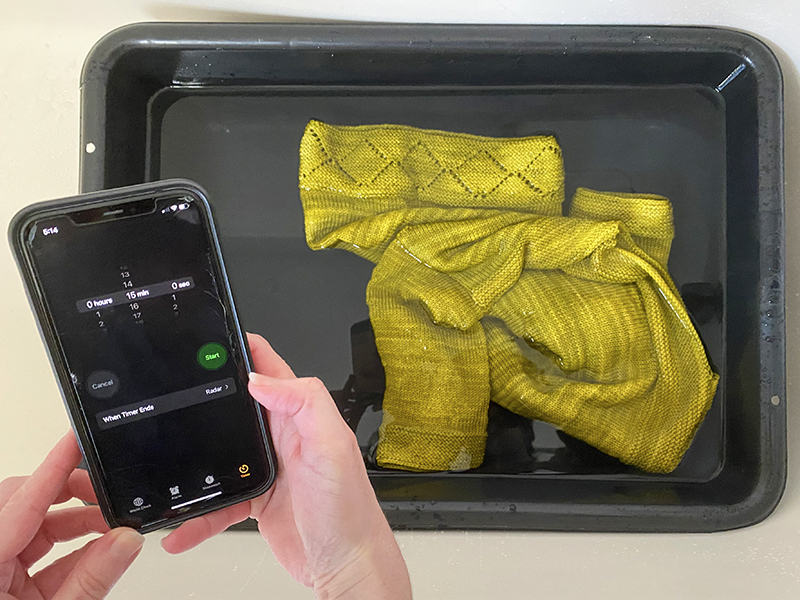
Step 2: Submerge your sweater in the water
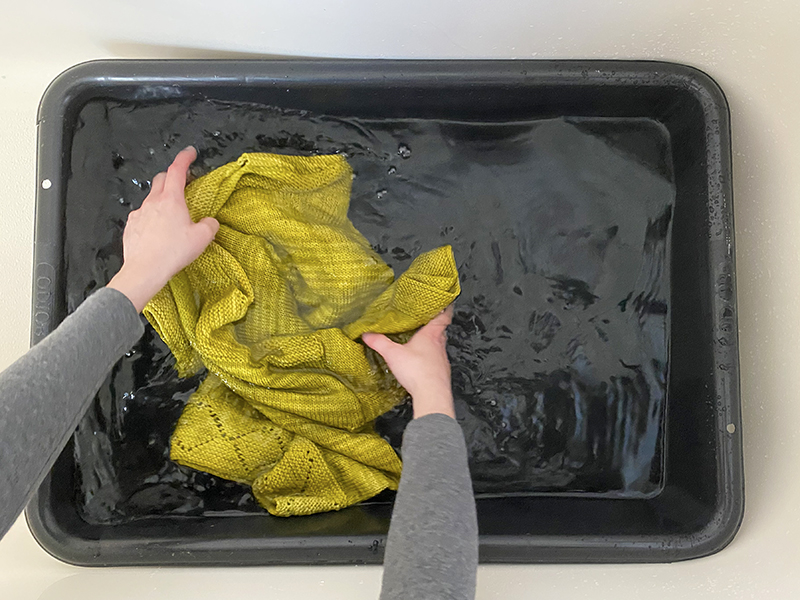
It’s time to take a deep breath and submerge your sweater! Make sure all parts of it are soaked, and then leave it submerged for approximately 15 minutes. I like to set a timer so I don’t forget (yep, I’ve totally forgotten before, so that’s why I set a timer now!).
Step 3: Prep your blocking area
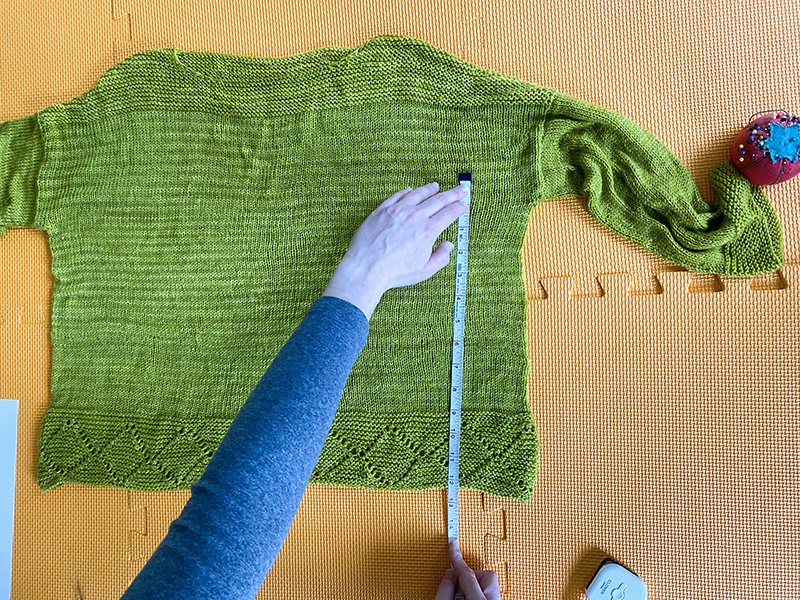
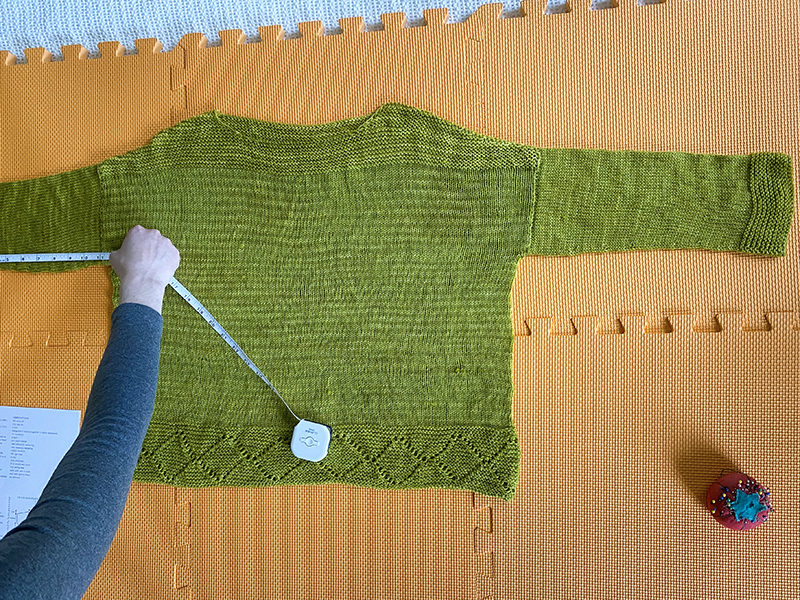
While you wait, prep your blocking area. I love using blocking tiles – you can either line them up on your floor or on a bed like I’ve done below. Also make sure to have your schematic nearby as well as your measuring tape.

Also, make sure you have a bunch of towels set up near your soaking area. You’ll need at least 2 towels for our next step…
Step 4: Remove sweater from water
This step requires multiple mini steps, but in all of them, the goal is to get as much water out of the sweater as possible. When you go to place your sweater on the blocking tiles, it should just feel damp – not wet.
First, bunch up your sweater in your hands (while it’s still in the water), and then in one clump, raise it out of the water and press it firmly against the side of the basin it’s in to try to press out a bulk of the water:
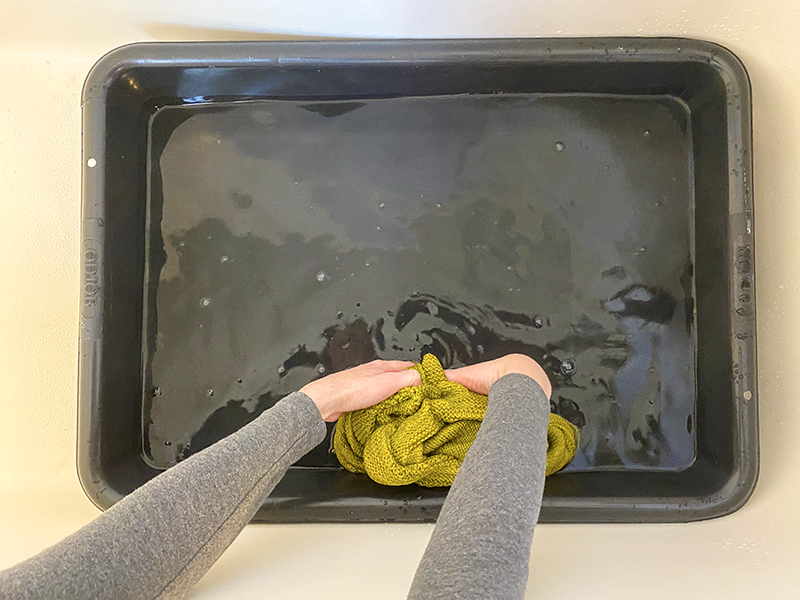
If you had placed your basin in a tub like I did, you can then gently take your sweater clump and raise it up a bit more and press it against the side of the tub:

Then, making sure to keep your sweater in one clump (so no dangling parts), place it on one of your towels:
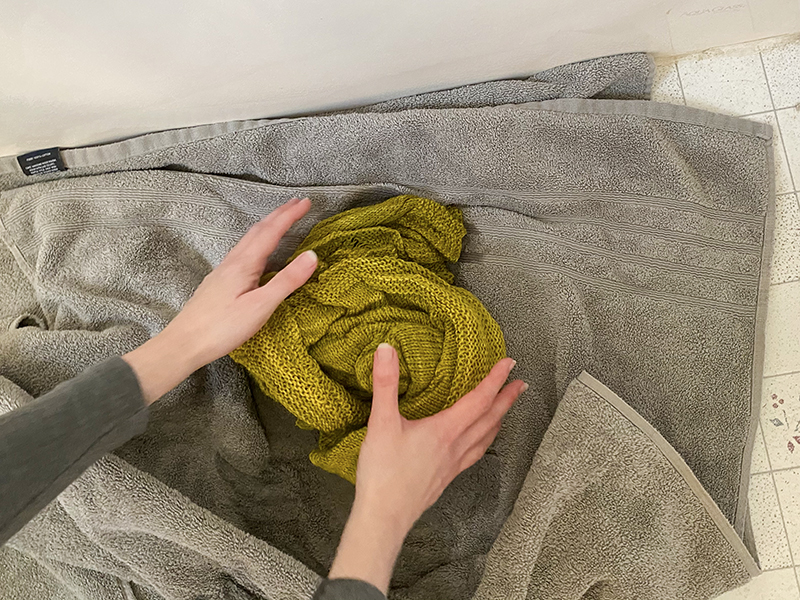
Now you want to roll your sweater up in the towel and then press it to try to get as much water out as possible. Then place it in another towel and do the same. Keep rolling and pressing until the sweater just feels damp:

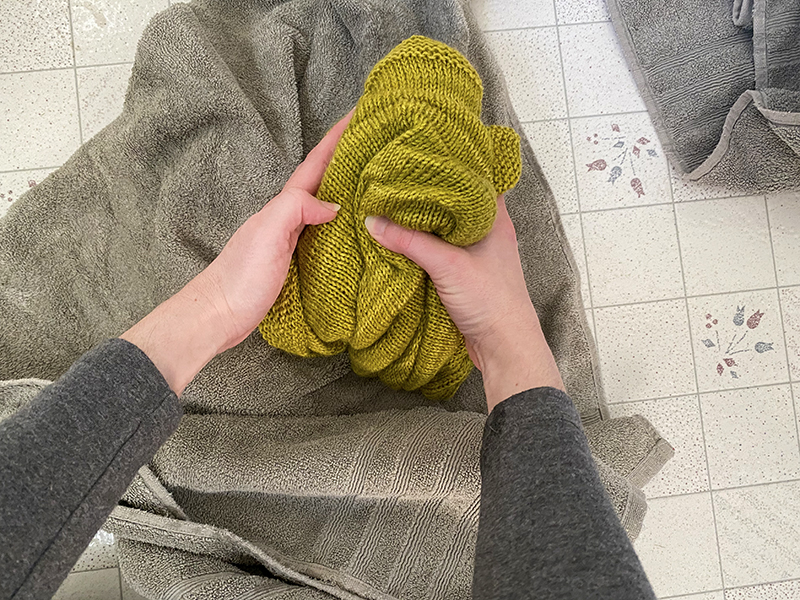
Once it just feels damp (and no longer really wet), take your sweater clump over to your blocking area. Just make sure to keep it in one clump with no parts of it hanging out:
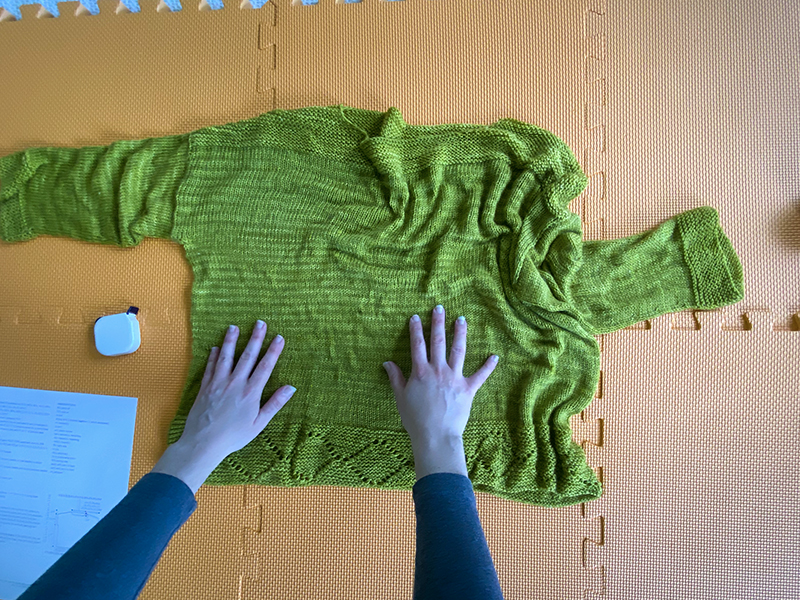
Step 5: Shape on your blocking tiles
Bring your sweater over to your blocking tiles and very gently start to shape it into place. Do not tug it – just gently move it around. Then start to measure to your schematic measurements, gently contracting or stretching to match up to the measurements:

And that’s it! Then you wait for it to dry. For speedier drying time, I like to use a fan, aimed right at my blocking piece. And here is one last tip – once you take it off of the blocking tiles, you’ll have creases on each side and along the sleeves from where it was laying flat. Eventually those just work themselves out, but to get more instant results, you can use a hand-steamer to relax those creases out:
