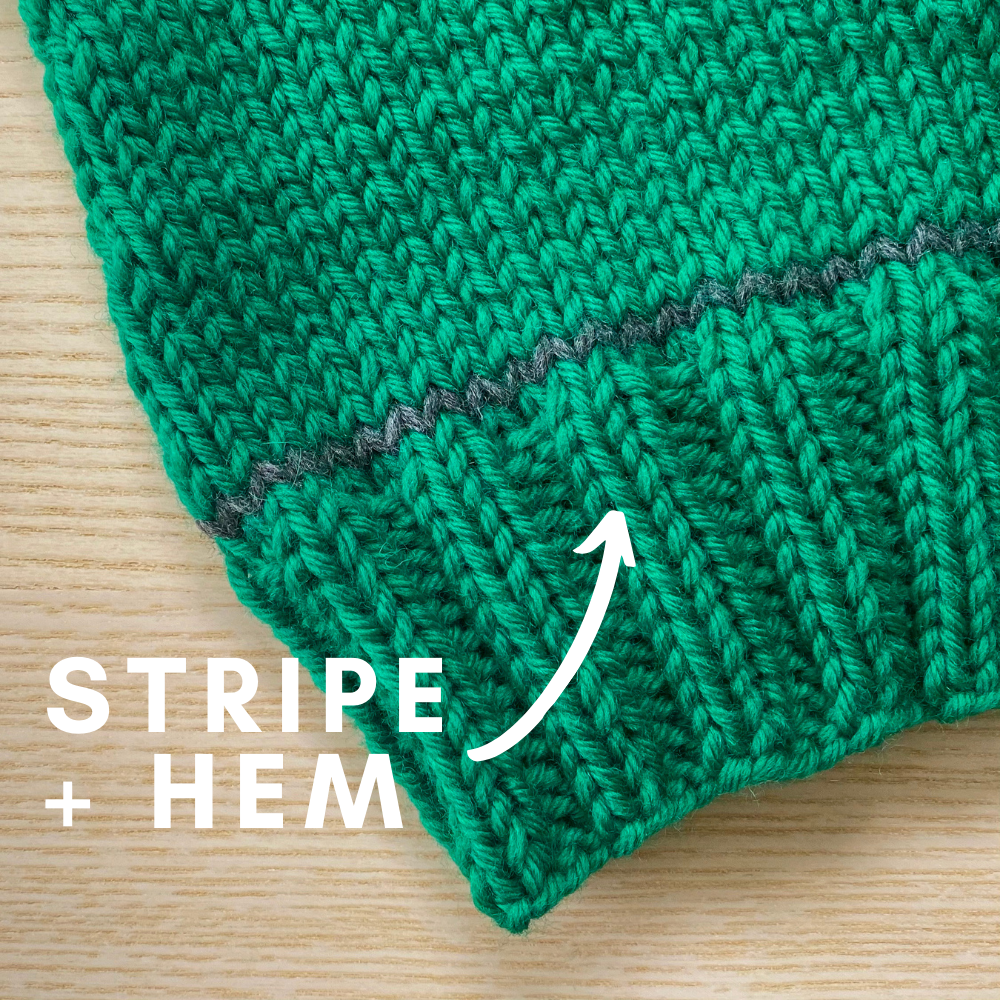
Hem Stripe and Ribbing

The last section of the body in Audrey’s Cardigan has you working a single contrasting color stripe, followed shortly by the rib hem. Check out my videos below for both of these steps!
The Stripe
The contrasting color stripe is added just a few rows before the hem ribbing. And I use a particular technique that allows you to create this single, skinny row without having to cut and rejoin the main color (you actually work 2 consecutive RS rows). Check out my video to see how it’s worked:
The Rib Hem
My next video shows you how to switch your needle, start working on the rib stitch of the hem, and then how to bind-off in pattern!
Other Hem Options
If you would like a hem border that lays flat (instead of cinching in towards to the body), you can consider doing a different stitch pattern. Here are some other options that could work well:
Broken Rib: This would still give you the look of rib but without the stretchiness (see my Ramona Cardigan hem to for what this looks like). Here’s how to create it:
- Row 1 (RS): knit to end.
- Row 2 (WS): same as listed in the pattern: p3, *k2, p2; rep from * to last st, p1.
Seed Stitch: This would also still give you some texture, but provide a much flatter tension (see my East Coast Swing hem for what this looks like). Here’s how to create it (note: in order for the stitch counts to work out, just decrease 1 stitch on the row prior):
- Row 1 (RS): k1, *k1, p1; rep from * to last 2 sts, k2.
- Row 2 (WS): p1, *k1, p1; rep from * to last 2 sts, k1, p1.
