Gauge Swatching
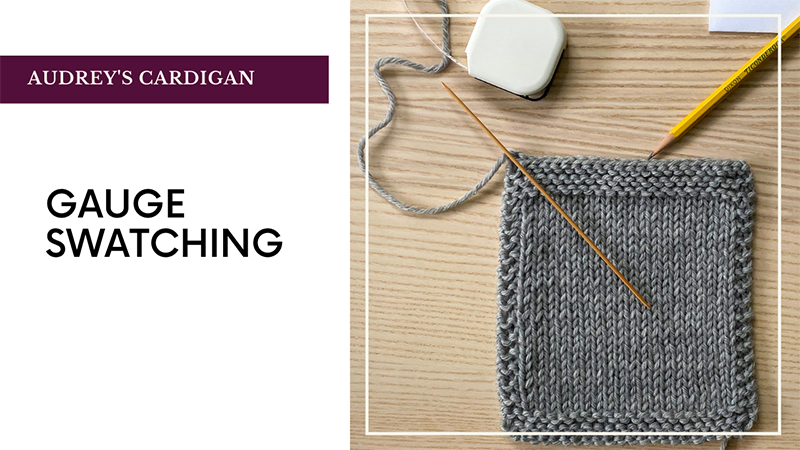
Note: This post was part of my Audrey’s Cardigan knitalong, but my process for swatching is the same regardless of the pattern. The only difference is that for projects knit in the round, I will swatch in the round which I describe here).
What is gauge?
Simply put, gauge is a measure of your stitches! It’s very important, especially in garments, because a pattern’s gauge determines the final measurement of the piece. In knitting patterns it’s usually communicated as a certain number of stitches and rows per 4″. In all of my patterns, I have gauge listed on my “Pattern Info” page (I highlighted it in red below):
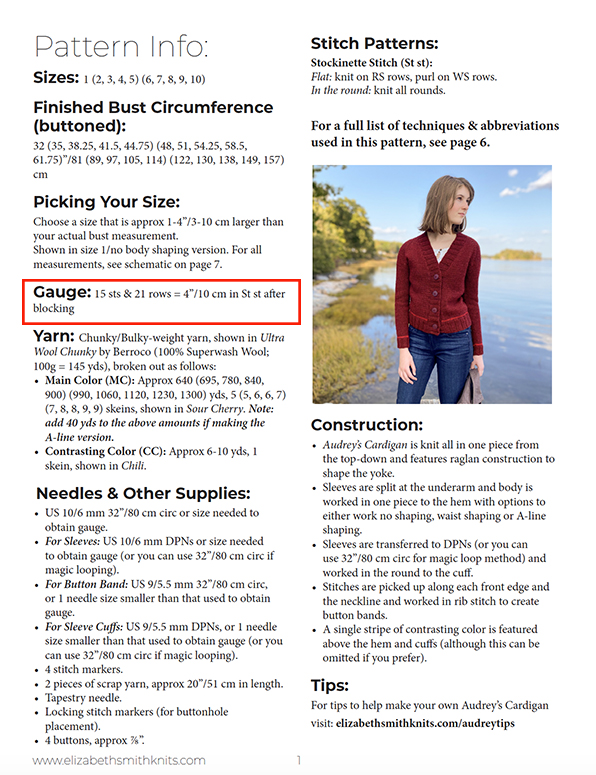
So in Audrey’s Cardigan, what the above gauge information is telling you is that when measuring your fabric, the goal is to have 15 stitches across 4” vertically and 21 rows across 4″ horizontally. When you look under “Needles & Supplies”, you’ll see next to the first bullet that it says “US 10 32” circular, or size needed to obtain gauge.” Let’s talk about why it says this…
There are 2 components to gauge – the yarn and the needles. It’s the combination of these 2 components that create gauge. This means that you can have 1 yarn and, depending on what needle size you use, you can get multiple different gauges. And, here’s the slightly tricky part – two people can use the same yarn and the same needle size and get different gauge! So the variable is human tension. Some knitters knit tight, some knit loose and some knit somewhere in-between. So to account for this human tension variable, the needle size listed in a pattern should always be viewed as ‘suggested’. This is just the needle size the designer used to get that gauge – you may use the same needle or you may need a different size.
Why is gauge important?
The gauge is what determines all of the numbers and calculations in the pattern. So if you don’t get the same gauge as that listed in the pattern, your finished knitting may turn out smaller or larger than you would like. Not a huge deal in something like a shawl, but it’s pretty important in a garment, especially more fitted sweaters.
How do I know what my gauge will be?
You make a gauge swatch! This is a piece of fabric you’ll make using the yarn you plan to use for the pattern and the needle size you think you’ll need to get the right gauge. Usually you’ll make a swatch with the ‘suggested’ needle size, but then make an additional swatch (or two) on different needles if you aren’t able to get the right gauge with the first needle.
How big should your swatch be?
Because you want to be measuring 4” horizontally and vertically, the swatch should be bigger than this. My swatch below measures approx 6” in each direction (you can make it bigger, but I wouldn’t make it smaller). In addition, when I make stockinette stitch swatches, I like to frame them in just a little bit of Garter stitch like I did below (this helps keep the edges flat). When you do this, you just need to make sure to measure away from the edge stitches since those edge stitches may be distorted a little due to the row gauge difference of the border. Some people are adamant about not doing a frame like this for that reason, but personally I haven’t experienced a big difference so long as I make a large enough swatch where I can measure in the middle. But you can definitely feel free to omit the frame as well!
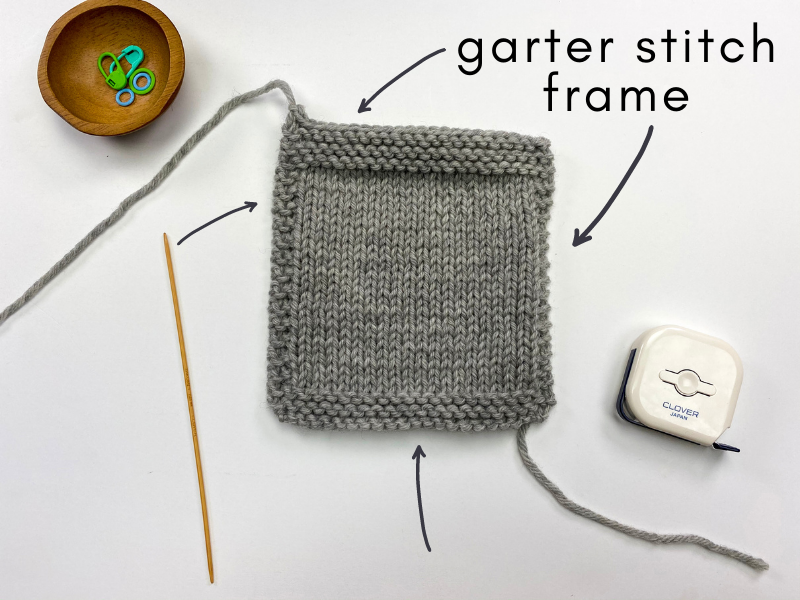
Here is exactly how I created my swatch:
Tip: since you’ll have a lot of extra yarn left from your contrasting color (assuming you’re using the same yarn brand for your contrasting color as you are for your main color), make your swatch with it!
- Cast-on 23 stitches
- Bottom Border: knit 4 rows
- Row 1 (RS): knit to end.
- Row 2 (WS): k2, p to last 2 stitches, k2.
- Repeat rows 1-2: 13 times (so you’ll have 26 stockinette stitch rows), or until measures at least 5-5.5” from CO edge.
- Top Border: knit 4 rows
- Bind-off.
Should you block your swatch?
Yes, absolutely! If you plan on blocking your sweater when it’s done (which you should, as it will relax the stitches and give you a nice, finished look), then you’ll want to block your swatch. This is why in the “Gauge” area it says “15 sts & 21 rows = 4” after blocking.” But before you block it, measure it. This way you’ll have an idea of how much your gauge changes after blocking. FYI, in the Berroco Ultra Wool Chunky yarn, my pre-block gauge measured 15.5 sts & 22 rows = 4″ (so my swatch grew by 1/2 a stitch horizontally and 1 row vertically). You’ll see this below!
How do you measure your swatch (both pre-block and post-block)?
How you measure your pre-block swatch will be the same as how you measure your post-block swatch. You can use a tape measure or there are also specific measuring tools meant just for gauge measuring too. Click here to watch my video where I show you how I measure my Audrey’s Cardigan swatches. I also have some visuals below that help explain the measuring process as well.
When measuring stitches:
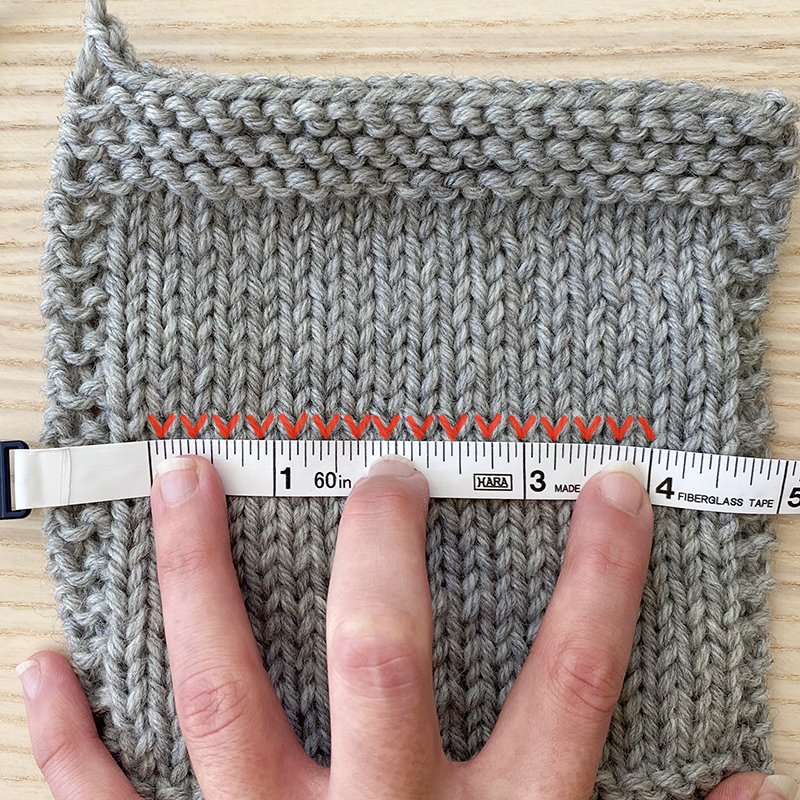
Place your measuring device horizontally over the middle 4″ of the stockinette stitch fabric. Each stitch is shaped like a “v”. Place your measuring tape at the left-side edge of one of the v’s and then count the number of v’s until you get to the 4″ mark, keeping in mind that you may have a partial v at the end (as I do in my below example). So in the picture below, I have highlighted each stitch (each v) in red. So you can count that over 4″, I have about 15.5 stitches over 4″:
When measuring rows:
Turn your measuring device so it’s now laying vertically over 4″ of the stockinette stitch fabric. Line it up so that the measurement starts at the base of one of the v’s. Then to measure a row, you’ll count into each v’s vase – you’ll see a little hole/space here so that is what you can count (identified below with a little red dot). I find it especially helpful to use a little DPN or pencil to count into each of these spaces. Below you can see that I have 22 rows over 4″:
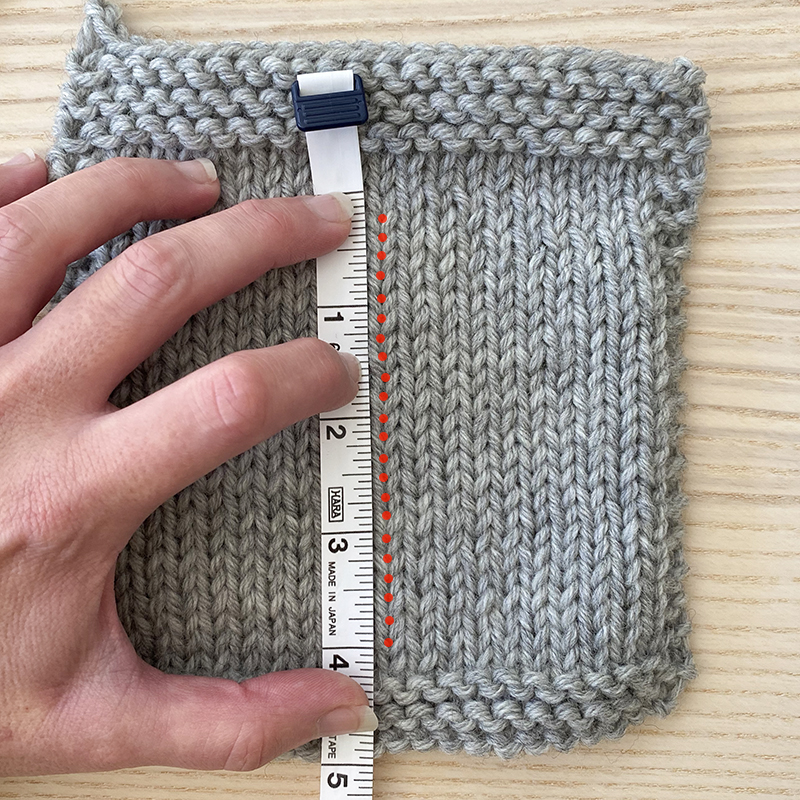
So before blocking, I have 15.5 sts & 22 rows = 4″.
And just so you can have a visual, here is a picture of measuring stitch gauge using a gauge ruler – I’m using Twig & Horn’s Gauge ruler here:
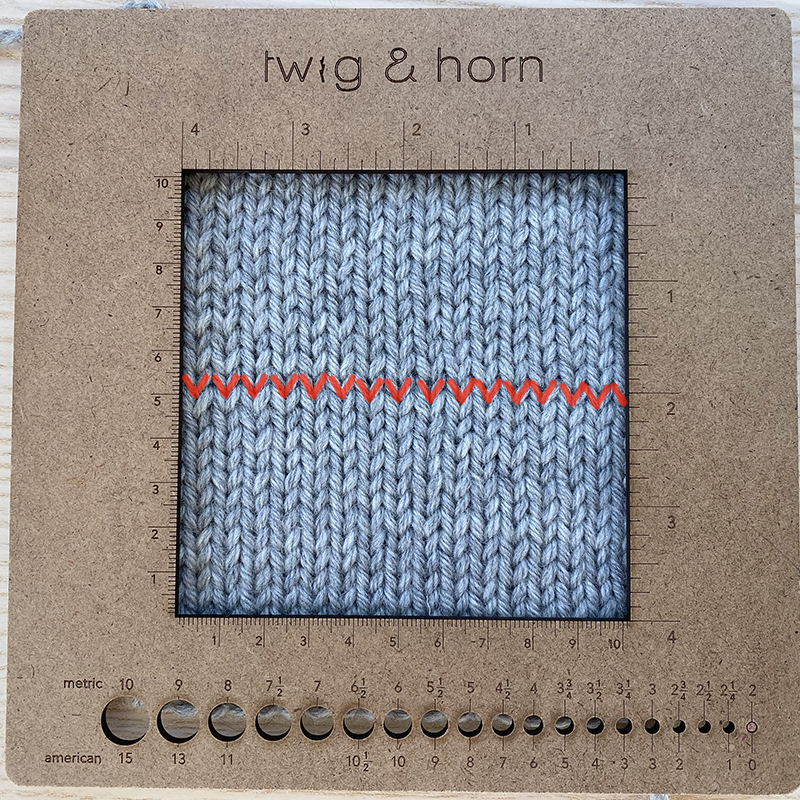
Let’s block it now to see how it changes (tip: write down your pre-block gauge so you remember what it is!).
Blocking your swatch:
You’ll need: Something to submerge your swatch in water in (like a sink, or you can use a large bowl), a towel and I’d recommend using a wool wash (I use Eucalan – it’s a rinse-free soap):
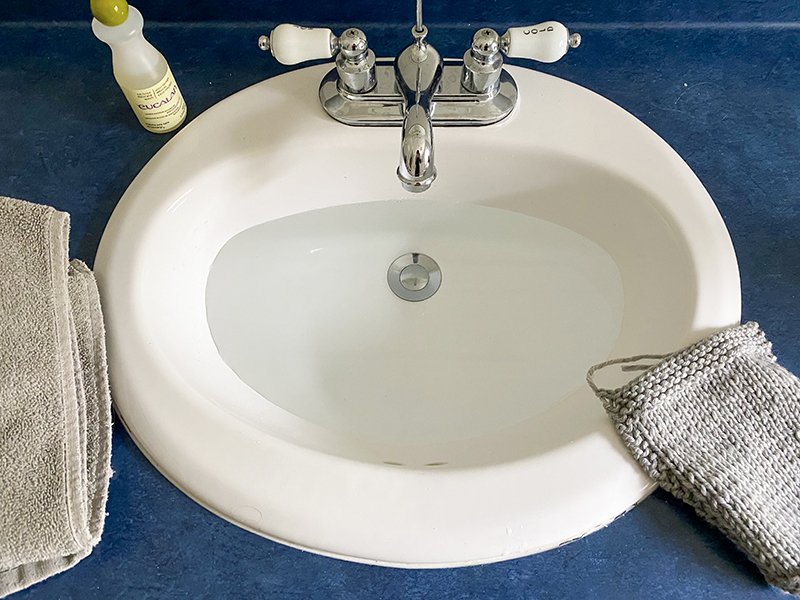
Step 1: Submerge your swatch in water (with a little wool wash in the water) and let it stay in the water for 15-20 minutes:
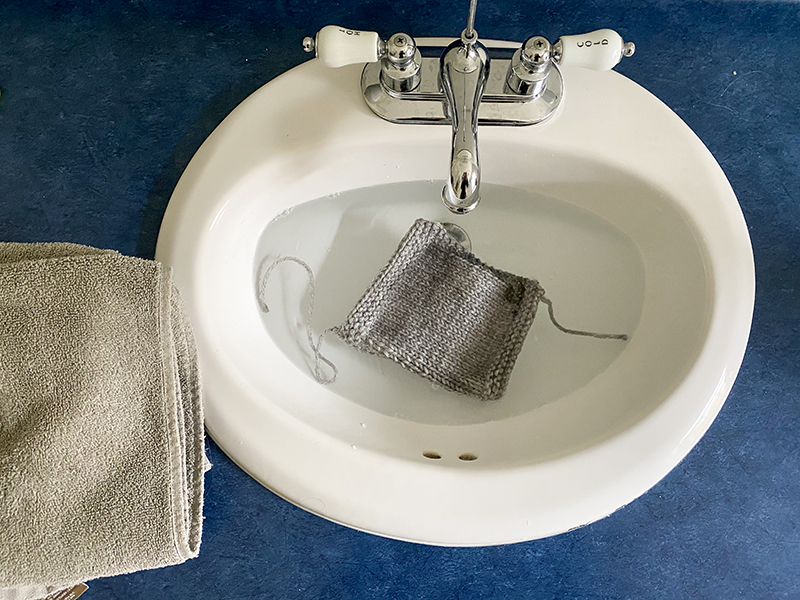
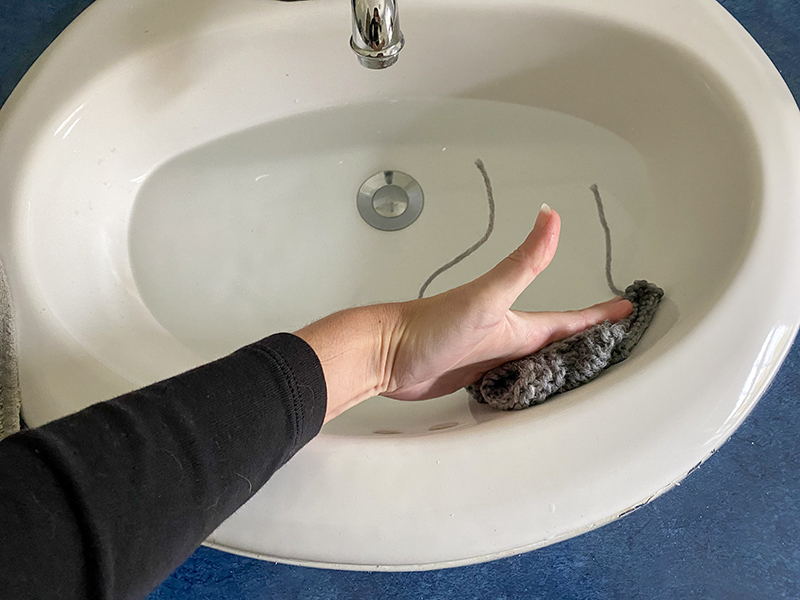
Step 2: Take the swatch out of water by first pressing it against the side of the sink (or bowl) to try to get as much water out as possible.
Step 3: Put the swatch on the towel and then fold the towel on top of it and press down – the goal is to press as much water out as possible so that your swatch just feels damp.
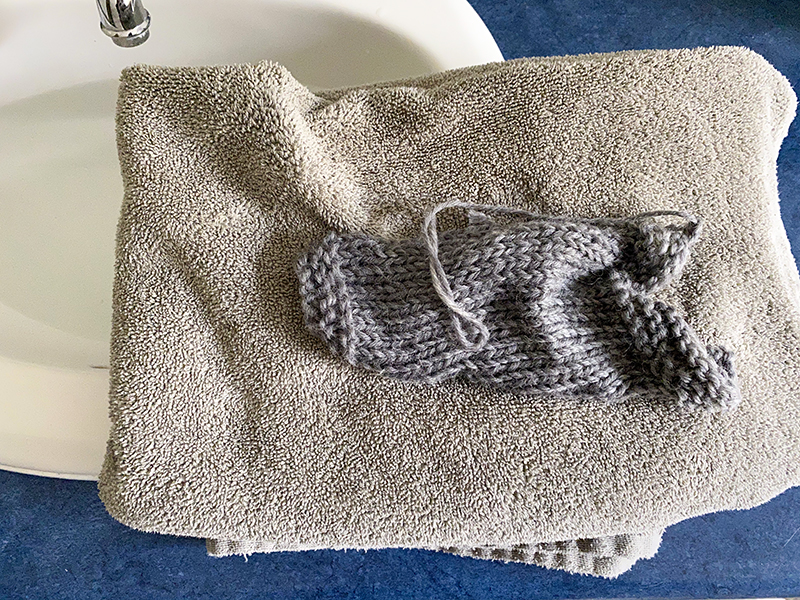
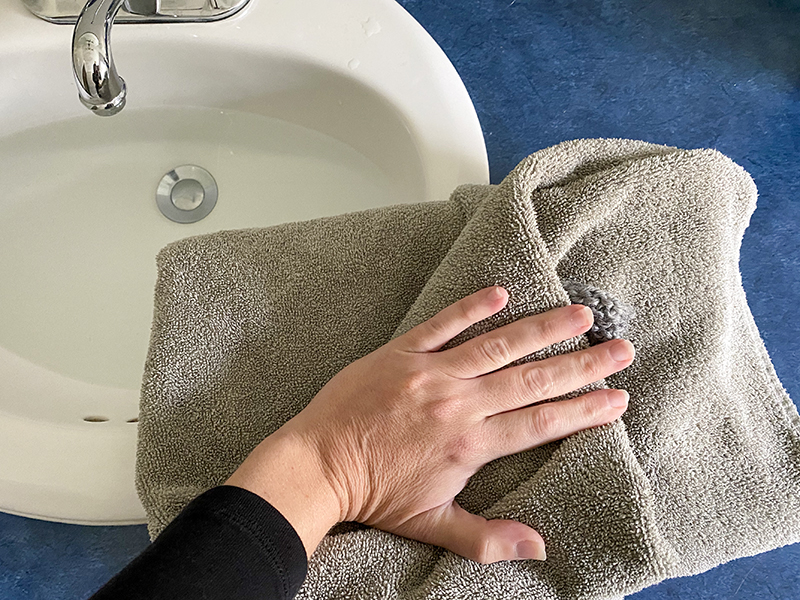
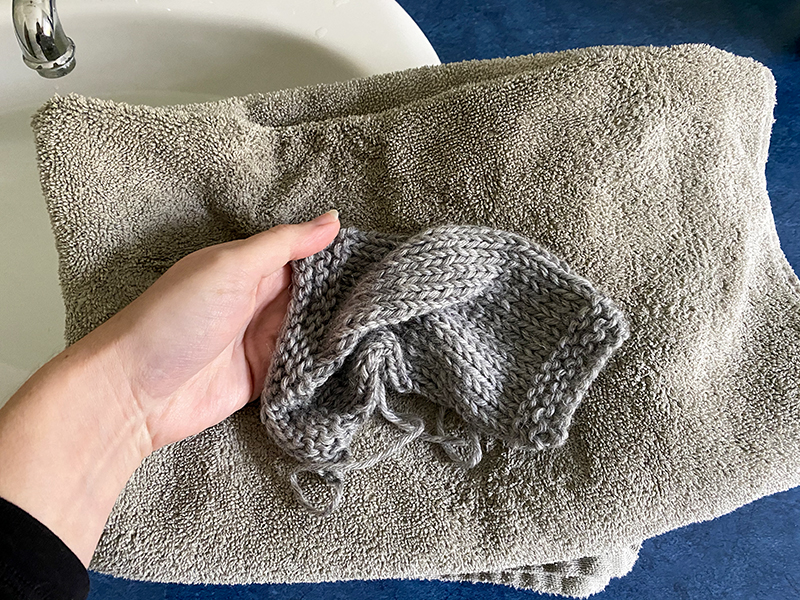
Step 4: Place swatch on a blocking tile (or some other flat surface – you could place it on a dry, flat towel on the floor or a table too). And then gently straighten it out – you can pin edges down too.
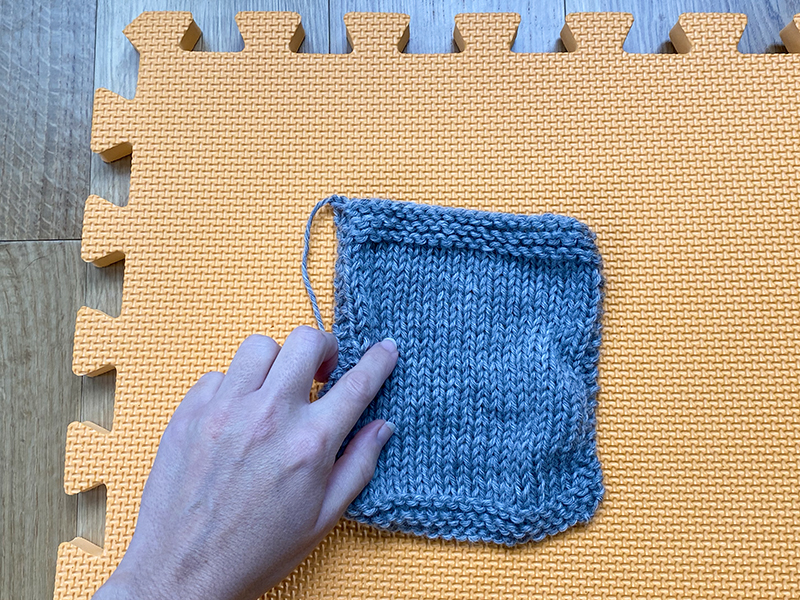
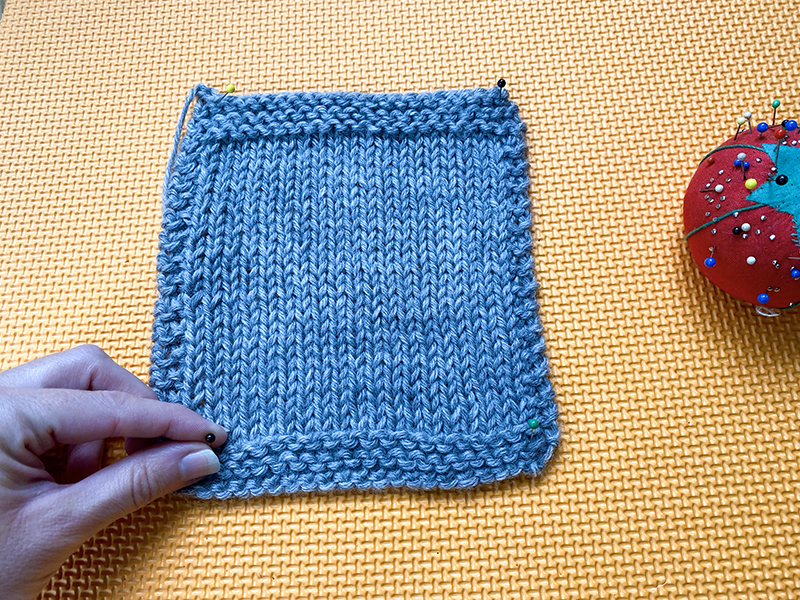
After it dries, measure your post-block swatch
So after it dries, repeat the same measuring steps as you did pre-blocking. See my post-block pictures below – when I did this, my stitch gauge went from 15.5 sts over 4″ to 15 sts over 4″ (so it grew by 1/2 a stitch) and the row gauge went from 22 rows over 4″ to 21 rows over 4″ (so it grew by 1 row).
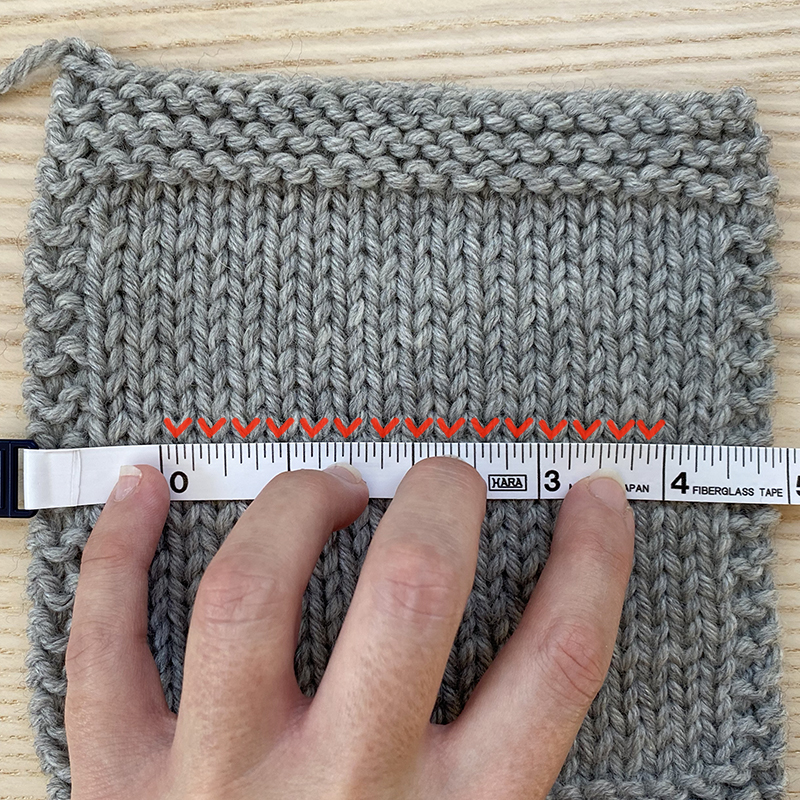
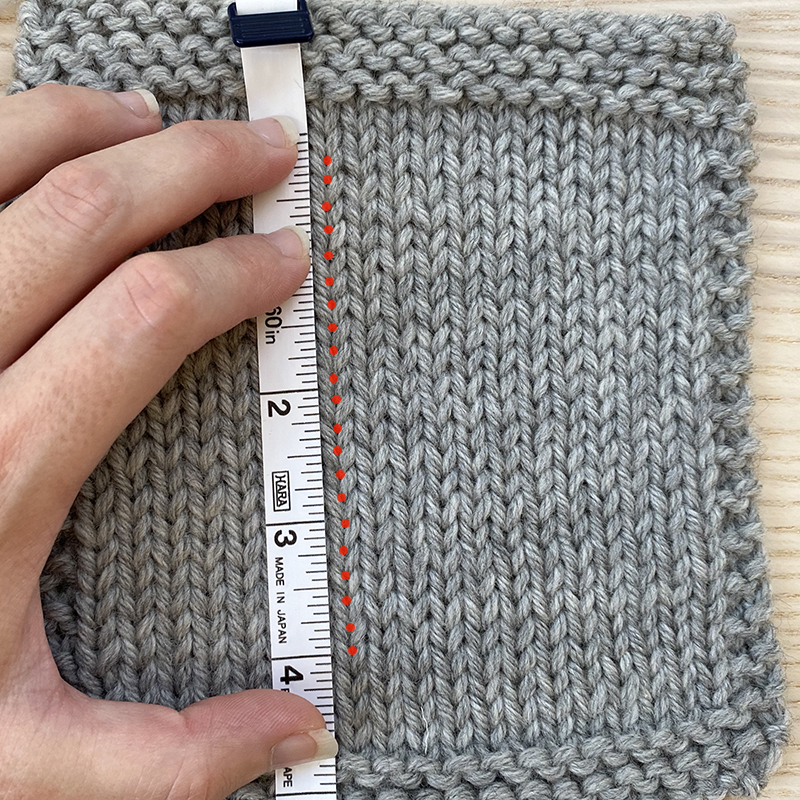
So the lesson here is definitely the importance of blocking – had I not blocked my swatch, I may have thought that my gauge was too tight and I may have bumped up a needle size. Had I done that, my sweater post-blocking would have turned out too big. So it’s worth the extra step, I promise!
Swatching FAQ’s
Below are a few common swatching questions. Feel free to reach out if you have any other questions!
Q: If my gauge swatch does not match the pattern’s gauge, how do I know if I should re-swatch with a smaller or larger needle?
A: If you get MORE stitches than what you want (let’s say you got 16 stitches instead of 15), then your gauge is too tight. If your gauge is too tight, you need to go UP a needle size. If you get LESS stitches than what you want (let’s say you get 14 stitches instead of 15), then your gauge is too loose. If your gauge is too loose, you need go DOWN a needle size.
Q: What if I can get stitch gauge but not row gauge (or vice versa)?
A: In a top-down pattern like this, stitch gauge is the most important thing as it controls your overall circumference, which you can’t fiddle with much while you’re knitting. So for Audrey’s Cardigan, focus on matching the stitch gauge first and foremost.
What you CAN more easily fiddle with is length, especially in the body of the sweater. If your row gauge is tighter than the pattern gauge, that means you need to knit more rows in your body than the pattern specifies. If your row gauge is looser, than the need to knit less rows. For specific help to make your row gauge work for Audrey’s Cardigan, send me an email and we can work it out!
Q: Do the yardage requirements listed in a pattern include enough to do a swatch?
A: I can’t speak to other patterns, but in mine – yes, I always include 10-15% extra yardage in my totals to account for swatching. In Audrey’s Cardigan, I recommend using the contrasting color just because you’ll have a lot of the skein leftover (since you won’t use more than 6-10 yds for the stripes). However, there is enough of the main colors should you prefer to use that.
